Saturday, 9 July 2022

Being Grateful


Welcome
I have to say that this was a fun card to create using a new stencil called Megaphones from A Colorful Life Designs.
A very unique looking stencil that I wanted to play with to see what I could come up with.

So here's what I did to create my card.
  • I began by getting out my Waffle Flower Stencil Mat and the Megaphones stencil.  
  • I found the center point of my cardstock and positioned one of the parts of the stencil going outwards from that point.  I inked that up with some Blueprint Sketch Distress Oxide ink.
  • I moved the stencil to the opposite side of the first inking and added more ink.  I continued that process until I had 4 of the blue areas inked to use as my starting point.  
  • Next, I cleaned off the stencil and moved it around to add the Peacock Feathers Distress Oxide ink in the same way I did the Blueprint Sketch. 
  • Again, I cleaned off my stencil and then filled in the leftover areas using some Cracked Pistachio ink, moving the stencil around each time.
  • When I had all the inking done, it looked like a flower to me, so I decided to fussy cut it out around the outside edge.
  • I placed it into my Misti to stamp the sentiment, then set it aside to dry.
  • Next, I went in search of a background I could use from my stash.  I found this one that I had done a bubble painting technique on......
This is what I wrote when I first did the bubble backgrounds: 
I decided to make a bunch of 'bubble' backgrounds.  I did this one using some Blueprint Sketch and some Distress re-inkers.  Simple put some water in a cup, add some dish soap then drop in some ink.  Mix well then blow some bubbles with a straw and catch them onto the paper.  So fun.  *when I bubble paint, I add one colour of re-inkers to my soap mixture, then instead of dumping that out after a few backgrounds are made, I just continue to add different colours to the same mixture to create different bkg.*


  • I glued the bubble print onto a piece of light blue cardstock, then onto a 4 1/4" square note card.
  • Finally, I pop dotted the stenciled 'flower' over the bubble bkg.


Here is the stencil I used:

Discount Code for A Colorful Life Designs
(affiliate with no extra cost to you)

Adding my card to these challenges:
Cardz 4 Galz- TRIANGLES
Corrosive Challenge- ANYTHING GOES


Thanks so much for coming by and taking a look.

Supplies
Stamps- Smile Often (IO- discontinued)
Inks- Versafine Clair, DOX
Paper- heavy white (Scribes Nook- Waterloo, Ont.)
Accessories and Tools- Stencil (ACLD); Stencil Mat (Waffle Flower); TE Blending Brushes;
Dawn soap; straw

Monday, 4 July 2022

Always Friends


Welcome
I can't believe its the beginning of July already.  
That means there is a new release from A Colorful Life Designs.
This card is featuring the Striped Balls stencil.  I decided to pair it up with New Foliage stencil from the May release.  
They worked so well together.

So here's what I did to create my card.
  • I got out my Stencil Mat and positioned the New Foliage stencil over some white cardstock into the corner.  I laid the Striped Balls over that and inked it all up with some Cracked Pistachio Distress Oxide ink.  
  • To add more interest, I went over some areas with some Rustic Wilderness just to highlight.
  • I removed the stencil for the reveal but there were still a lot of open areas, so using just the New Foliage stencil, I went back in and randomly added them in the open areas to better fill the panel.
  • I pressed the Rustic Wilderness pad directly onto my non-stick craft mat, diluted it with some water and splattered the panel with a paint brush.  I let that dry completely before moving on to the next steps.
  • When it was dry, I die cut a circle right from the center of the panel, then a white circle a bit larger and glued them together.
  • I placed the circle into my Misti and stamped the sentiment with some black Versamark Clair.
  • I glued the finished panel onto a white card base, then popped the circle die cut back into place matching it up.

Here are the stencils I used:


Discount Code for A Colorful Life Designs
(affiliate with no extra cost to you)

Thanks so much for coming by and taking a look.

Adding my card to these challenges:
Simon Says Wed.- ANYTHING GOES
Use Your Stuff- PLANT/FLOWERS
The Paper Players- GREEN THUMB

Supplies
Stamp- No Distance (IO- not available)
Inks- Versafine Clair; DOX
Paper- heavy white (Scribes Nook- Waterloo, Ont.)
Accessories and Tools- stencils (ACLD); Stencil Mat (Waffle Flower); TE Blending Brushes;
Infinity Circle die (HA)

Sunday, 3 July 2022

Best Wishes


Welcome
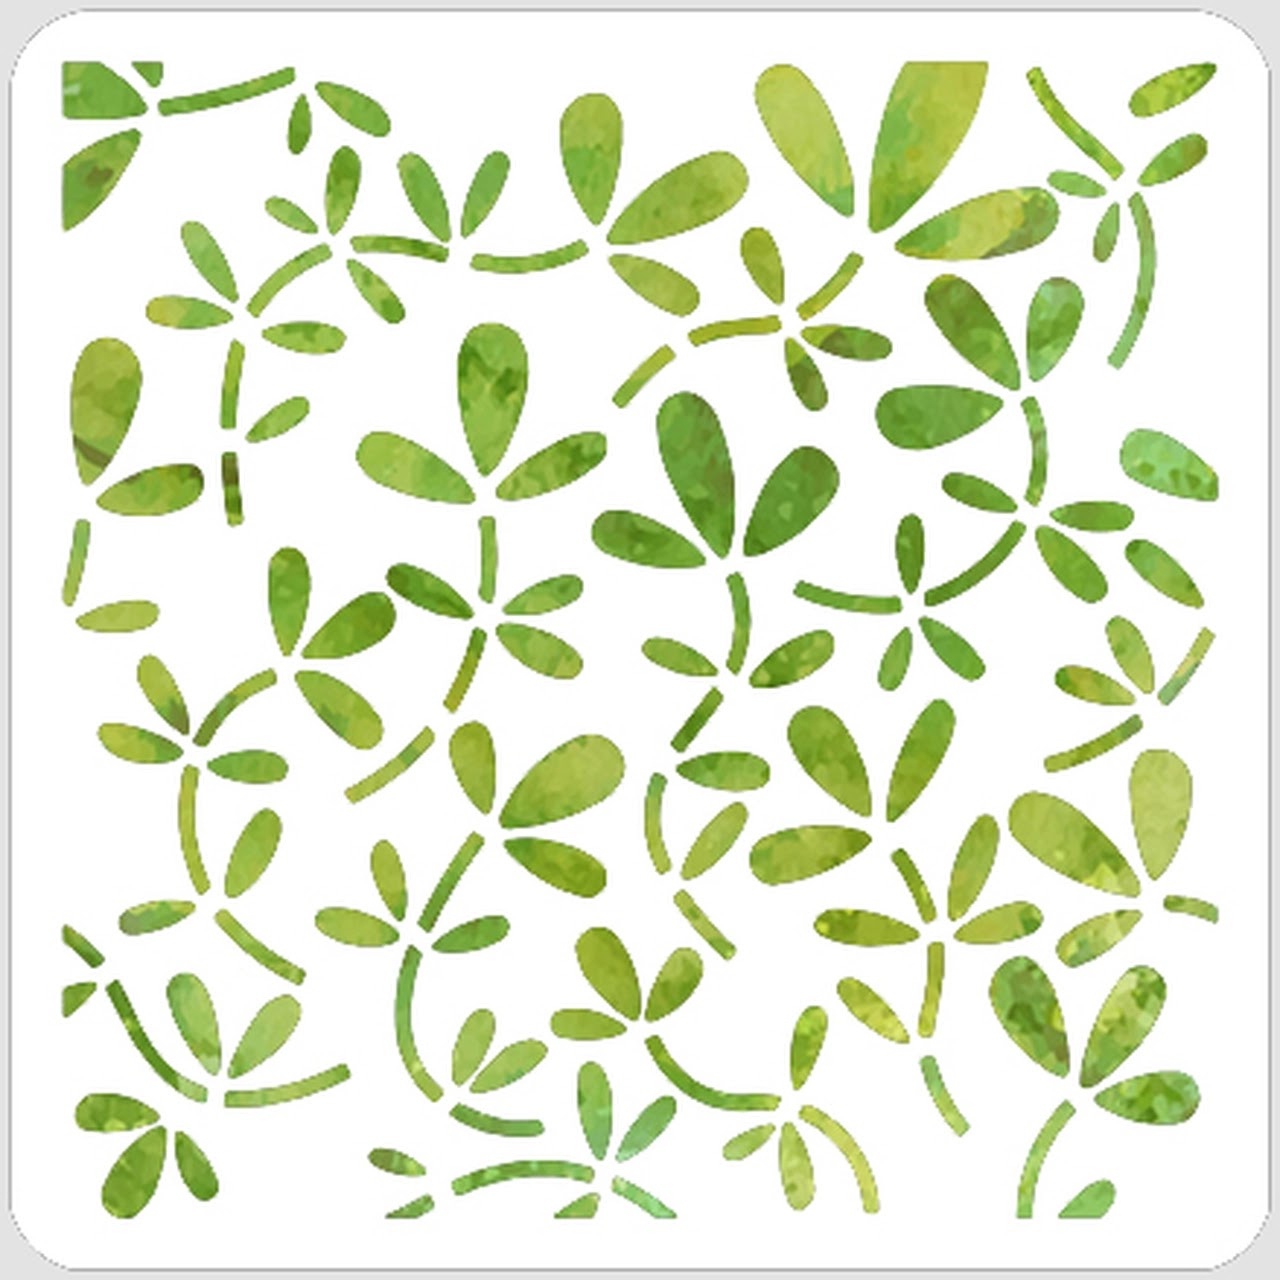
It's the start of a new month which means new stencils are out at A Colorful Life Designs.
This simple notecard was made using the Even Pairing stencil.

So here's what I did to create my card.
  • I decided to make a little notecard, so I cut a piece of white cardstock that was 3 3/4" square.
  • I placed the paper onto my Make Art Station and positioned the Even Pairing stencil over that.
  • Using some Wilted Violet Distress Oxide ink, I blended it over the stencil.  I add just a hint of Dusty Concord DOX in areas to add interest.
  • I removed the stencil and placed the panel into my Misti to stamp the Clover Silhouette to one side in black.
  • I stamped the sentiment near the top and then splattered with my black Posca pen just over the flowers.
  • I glued that finished panel onto a piece of purple cardstock, then onto a heavy white card base that was 4 1/4" square.
  • I added 3 black gems under the sentiment to bring attention to it.

Here is the stencil I used:
Even Pairing

Discount Code for A Colorful Life Designs
(affiliate with no extra cost to you)

Thanks so much for coming by and taking a look.

Supplies
Stamps- Clover Silhouette (Magenta); More Sentiments (Avery Elle)
Inks- Versafine Clair; DOX
Paper- heavy white (Scribes Nook- Waterloo, Ont.)
Accessories and Tools- stencil (ACLD); TE Blending Brushes; Make Art Station (Ranger);
black Posca pen; black gems