Hello and Welcome
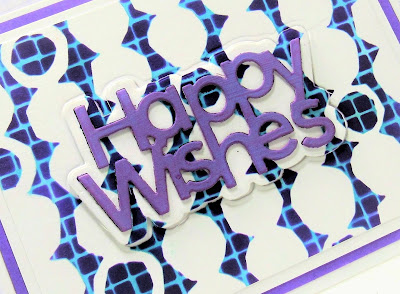
Meet the Chunky Circles stencil, another new one this month from A Colorful Life Designs.
I gave my card added interest by embossing it after I was done with the inking.
So, here's what I did to create my card.
- I began by going to my stash, where I found this 'roll off' sheet that I had rolled my brayer onto while Gel Plate printing using Distress Oxide inks. The top was blue and the bottom had some purple on it.
- I placed that onto my Make Art Station and positioned the Chunky Circles stencil over that.
- I inked up the top portion with more blue ink; Uncharted Mariner DOX ink and the bottom part that was purple, with some Villainous Potion DOX ink.
- I removed the stencil and splattered using my white Posca pen and set aside to dry.
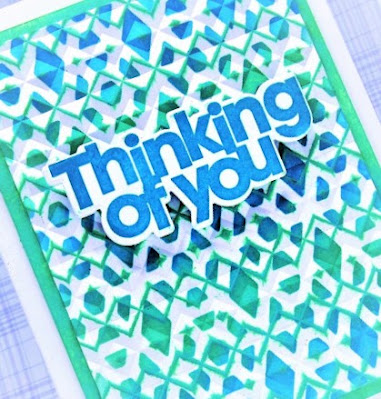
- When it was dry, I placed it into the Angled Mosaic embossing folder and ran it through my die cutting machine.
- Next, to help the raised embossing show up a bit more, I lightly sanded it off.
- I die cut the sentiment with some white cardstock, then I die cut the word shadow right from the center of the panel and glued the two together.
- I glued the finished panel onto a piece of light blue cardstock, then onto an A2 sized card front.
- I pop dotted the sentiment back into place in the center of my card.
Here is the stencil I used:
Discount Code for A Colorful Life Designs
*Just use the code KarenFan10 to get a discount on stencils and masks.*
(Affiliate with no extra cost to you)
Thanks so much for coming by and taking a look.
Adding my card to these challenges:
Simon Says Wed.- ANYTHING GOES
Inkspirational- DOTS AND STRIPES
Corrosive Challenge- ANYTHING GOES
Supplies
Stamps- none
Inks- DOX (Ranger)
Paper- Scribes Nook- Waterloo, Ont.
Accessories and Tools- stencil (ACLD); Make Art Station (Ranger);
Angled Mosaic eb folder (Altenew); sanding block; white Posca pen;
TE Blending Brushes; Happy Wishes die (SSS)


