
Hello and Welcome
I hope your first few days of the New Year have been happy ones.
I had a few days off so was glad to have some time to play with some new Christmas goodies.
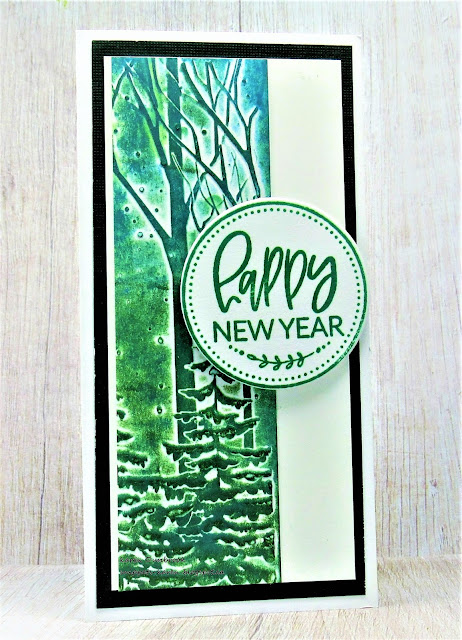
I was inspired by a video I watched and decided to try and make my first 'mini' slimline card.
Super easy to make but may be difficult to find the right size envelope so I will add how I made one at the end.
A standard Slimline card is size is 8 1/2 x 3 1/2 whereas a Mini Slimline is 6" x 3".
So here's what I did to create my card.
- I began by embossing a piece of heavy white cardstock using my new Snowy Forest eb folder. I ran it through my machine to get a good impression.
- I wanted to add colour so I got out my brayer and rolled some Lucky Clover Distress Oxide ink along the bottom where the trees are. I cleaned off my brayer and then added some Rustic Wilderness DOX ink over the middle area, overlapping the colours a bit.
- Finally at the top, I brayered on some Salty Ocean DOX ink to give the sky a hint of blue.
- While the ink dried, I cut my card base. For my mini slimline the white cardstock was cut 6 x 6" and scored at 3"and folded in half.
- I then took the embossed panel and cut it in half so I could make 2 slimline cards (another one coming soon) using the one embossed/inked piece I had made.
- I glued it to one side of a piece of white cardstock, then onto a dark green that looks black here and finally, onto the white card base.
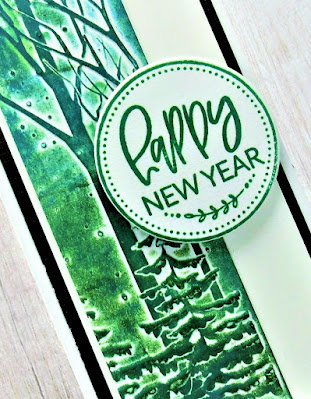
- I stamped the sentiment and circle from a new Avery Elle set I got for Christmas using some more Rustic Wilderness ink in my Misti, then die cut out the circle and pop dotted it off to the side.
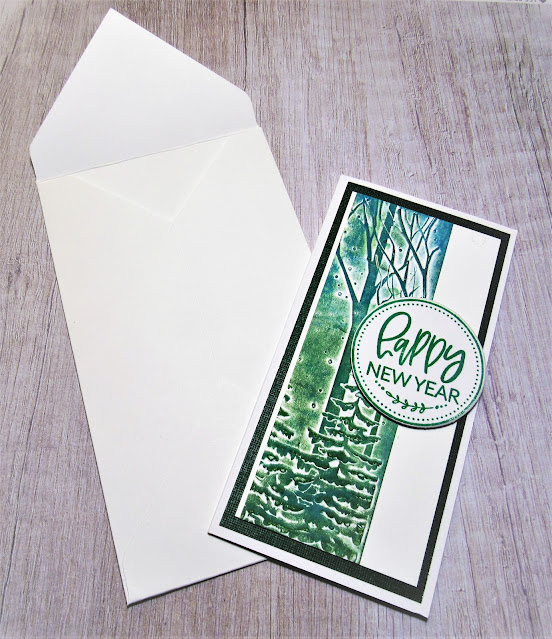
- The envelope to mail this card is very simple. I used my Envelope Punch Board to create it.
- I cut my lightweight white cardstock to 8 1/4 x 8 1/4". (I used the lightweight cs as it is easier to fold and not as stiff as the heavy.)
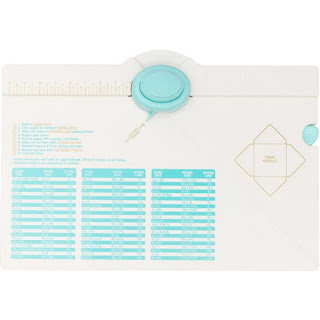
- I placed it into my Envelope Punch Board and punched the first mark at 3 1/8" and scored along the marked line. I rotated my cardstock and followed the instructions, continuing around until my envelope was made. It is so simple to do using this Punch Board. You can make any size envelope. All the measurements are included on the front of the board.
Here is a picture of the Envelope Punch Board:
Thanks so much for coming by and taking a look.
Adding my card to these challenges:
Simon Says Wed.- TIME TO PARTY
CAS on Friday- HAPPY NEW YEAR
Shopping Our Stash- BEGINS WITH 'S'
(slimline)
Supplies
Stamps- Merry Circle Tags (Avery Elle)
Inks- Distress Oxides (see above)
Paper- cardstock (Scribes Nook- Waterloo, Ont.)
Accessories and Tools- Snowy Forest eb folder (Memory Box); Misti (My Sweet Petunia);
Speedball Brayer; Envelope Punch Board (We R Memory Keepers);
Infinity Circle dies (Hero Arts); foam tape
16 comments:
I always appreciate yours step-by-step instructions ... awesome way to use an embossing folder to get two cards. I love the watery look you got with brayering over the embossed texture. Thanks so much for joining us at Shopping Our Stash.
Beautiful card and I love the technique that you used. I may have to try that!
I love everything that you did with this card! The difference in color looks amazing! And what a fun punchboard to have.
Just so beautiful Karen, a lovely image and colours, Kate x
This is a beautiful embossing folder Karen and I love the two greens with the touch of blue at the top rolled on with a brayer which has worked brilliantly, also finished with that wonderful sentiment plate, and the mini slimline card is the perfect size. Looking forward to seeing the second make with the other half of the EF. x
Your card is beautiful Karen. I bought some Taylored Expressions mini slimline dies. I got Two Scrapbook Friends to bring in TE mini slimline envelopes. You're lucky that you can make your own too.
What a great embossed image, Karen! I love how you've brayered color onto it! Love that mini slimline size!
gorgeous embossed image it looks awesome with the brayering :)
What a fabulous panel Karen - thanks for sharing how you created it. It haas made a stunning card
Stay safe
Blessings
Maxine
A slimline card was perfect for our "something that begins with S" challenge over at SOS!! Thanks for playing along with us! I love the bright inking over the embossed image!!
you can find envelopes at Dollar Tree that fit the mini slimlines.
Beautiful cards. I always enjoy stopping by and looking at them.
Barb Housner
Stunning card, Karen! I love it!
Beautiful card! Thank you for sharing all the details.
Fabulous tonal card, great texture and a wonderful technique. Thank you for the information about the board x.
Another very striking card Karen, well done you on making an envelope for it too.
Faith x
Play Live Casinos | Lucky Club Casino Sites
Find out how to play live casinos in Las Vegas and the best sites for you. Play slots and live table games at the best luckyclub.live slots, blackjack, and roulette online!
Post a Comment