Sunday 29 November 2020

Making Some Plaid with Inked Tape


Hello and Welcome.
Today, I have the pleasure of hosting the TLC (Technique Lovers Challenge) over at Splitcoast Stampers.
Basically what I do is to choose a technique and set it up like a challenge for everyone to try.
I like to present some easy ones, using materials that everyone will have on hand.
This one is simple and fun and is called Magical Masking Tape.

So here's what I did to create my card.
  • I began with a piece of heavy white cardstock for my front panel.
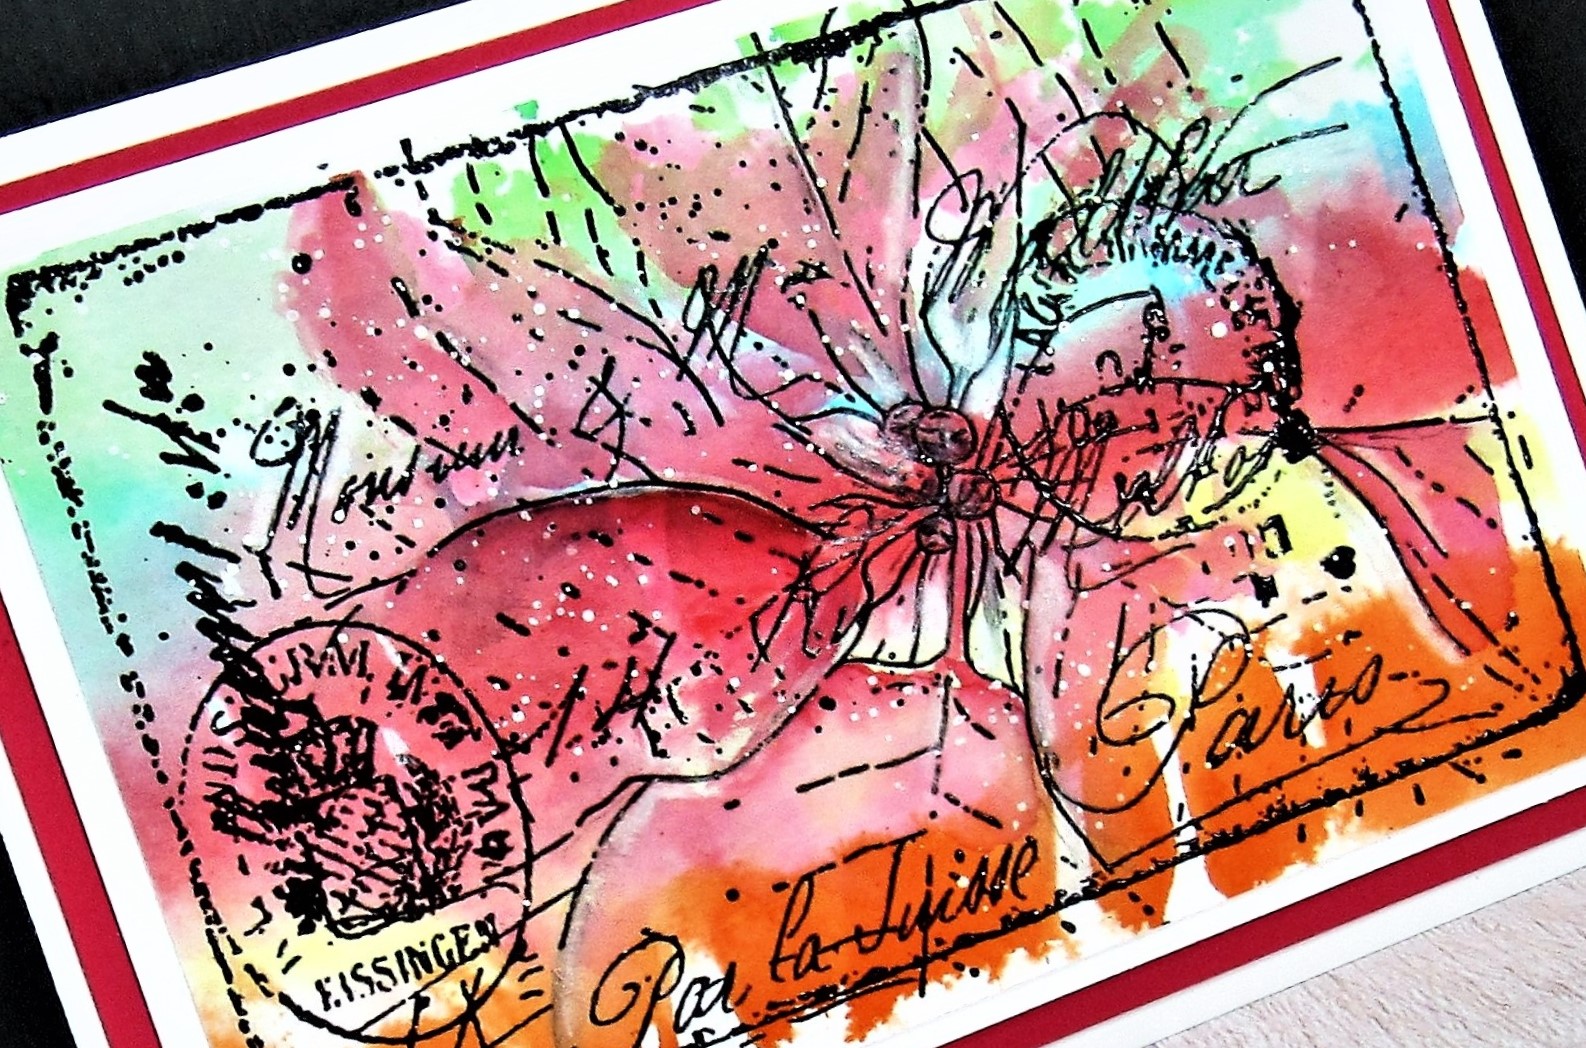
  • I got out some Distress inks (Barn Door, Mowed Lawn) and some Painter's Tape.  You could use masking tape, washi tape or even Scotch tape if you don't have the other. 
  • I took a piece of the tape as long as my panel and pressed it onto my ink pad, sticky side on the pad.  I laid the tape onto my white cardstock and rubbed.


  • I started with some green stripes and then added some red ones.  Where the red and green stripes overlap, it made another colour.
  • I continued this process until the front of my panel was all inked up.  I just love the texture impression the tape made.
  • To give my card the look of plaid, I drew in some lines and dashes with a Signo Fineline marker.  
  • Next, I placed the piece into my Misti and using the Outline Snowflake stamp, I inked it up with some Versamark ink, pressed it over the inked panel and then white heat embossed it.
  • I splattered with my white Posca paint pen and coloured in a few areas white.
  • I added the die-cut sentiment from Simon Says. It is a two part die so I cut one from black cs and the other from a piece of vellum and then lastly added some red sequins.
  • I mounted the piece onto some red and then green cardstock and then onto a heavy white card base.


Thanks so much for coming by and taking a look.

Adding my card to these challenges:
Simon Says Wed.- ANYTHING GOES
Little Red Wagon- PREPARED FOR CHRISTMAS
Just Add Ink- LETTER S
Papercraft- MAKE YOUR BKG 


Supplies
Stamps- Outline Snowflake (SSS)
Inks- Distress, Versamark
Paper- heavy white (Scribes Nook); Vellum
Accessories and Tools- Painter's Tape; Merry Christmas die (SSS); Misti, white eb powder;
red sequins; Posca paint pen, Signo marker, Cuttlebug, heat tool

Tuesday 24 November 2020

Merry Wishes


Hello and Welcome
Meet today's card.
Not your traditional red and green but I like how it turned out a bit different and I had fun creating it too.

So here's what I did to create my card.
  • I began with a large piece of heavy white cardstock.  Using some Gesso, I spread it over my paper using a palette knife as though you were spreading butter onto a piece of toast.  I let the Gesso dry completely before moving onto the next step.
  • When my cardstock was completely dry, I rubbed some Tumbled Glass and some Seedless Preserves Distress Oxide inks onto my glass mat and sprayed with water to dilute.  Using my brayer, I rolled into the diluted ink, then onto the Gesso.  I love the mottled look it created.
  • Next, I cut out my card panel that would become the front of my card and set the other piece aside for die cutting the poinsettia.
  • I ran the card front panel through my Cuttlebug with the Rectangle Hemstitch die to create a border effect.
  • Using my Misti I stamped the sentiment from Penny Black set called Love and Peace with some Versafine Clair Noir ink then clear heat embossed it.  I splattered using my white Posca pen.
  • Using the other half of the gessoed,inked cardstock, I die cut the poinsettia from Penny Black called Scarlet Season.  It cuts a solid and a detailed design which is great and can be changed up in a few different ways. (I used the solid die to cut some heavy white and the detailed pieces using the inked paper.)
  • Assembly:  I glued the inked main panel onto a heavy white card base, then added the layered poinsettia into the corner.  
  • I added a black dome to the flower center and a few sequins for shine and interest.


Thanks so much for coming by and taking a look.

Adding my card to these challenges:
Simon Says Wed.- CHRISTMAS
Stamping Sensations- GARLANDS, WREATHS AND CHRISTMAS FLOWERS
Papercraft Challenge- CREATE YOUR OWN BKG
Love to Craft- ANYTHING GOES

Supplies
Stamps- Love and Peace (PB)
Inks- Versafine Clair Noir; Distress Oxides (listed above)
Paper- heavy white (Scribes Nook)
Accessories and Tools- Scarlet Season die (PB); Gesso; Speedball Brayer; Cuttlebug; palette knife; black dome; 
Hemstitch die (Spellbinders); sequins; clear eb powder; Posca pen

Saturday 21 November 2020

Rainbow Poinsettia

Welcome
Meet today's card.
A fun one filled with lots of colours thanks to the Bleeding Tissue Paper technique.
I easily found the tissue paper on Amazon.ca; a large package of it for a very reasonable price.
I love how this turned out...bright and happy and festive.
So here's what I did to create my card.
  • I began with a piece of heavy white cardstock as my card panel.  I tore the Bleeding Tissue Paper into strips and laid them over the panel, then sprayed them down with some water and set aside to dry.  
  • **Helpful hint....let the tissue dry on it's own so the colour will transfer.  If you go to lift it and some of the color still hasn't gone onto your cardstock, just add more water.**
  • When the tissue was totally dry, I removed the pieces to reveal the beautiful colour blends.
  • Next, I placed the dried piece into my Misti and stamped this new to me gorgeous stamp called Poinsettia Collage from Impression Obsession and stamped it with some Versafine Clair.
  • To help the image pop, I clear heat embossed the image, then splattered with my white Posca pen.
  • I cut the panel down a bit and mounted it onto some red cardstock and then onto a heavy white card base.

Thanks so much for coming by and taking a look.

Adding my card to these challenges:
Simon Says Wed- CHRISTMAS
Moving Along with the Times- CHRISTMAS FLOWERS

Supplies
Stamps- Poinsettia Collage (IO)
Inks- Versafine Clair
Paper- heavy white (Scribes Nook); red cs (Michaels)
Accessories and Tools- Bleeding Tissue Paper (Amazon link above); clean eb powder; heat tool; 
Mister (TH)

Friday 20 November 2020

Peace


Good Morning.
I hope everyone is staying safe and happy out there during these trying times.
Today's card shows another way to get more mileage from your stencils...and don't we all want to get more of that from what we already have in our stash!
The technique is called 'Stencil Embossing'.
A simple technique that can be done using any stencil.

So here's what I did to create my card.
  • I began with a piece of heavy white cardstock and this beautiful snowflake stencil called Big Snowflake from A Colorful Life Designs.  I just love playing with this one.  
  • I placed the snowflake over my white card panel and embossed it using my Cuttlebug.  You may have to experiment a bit to get a good impression depending on what kind of machine you have.  **Helpful hint:  give you paper a LITTLE spray of water before embossing for a better result.**
  • Using the raised side of the embossed panel, I rubbed some Distress Oxides directly over it by dragging the ink pad across.  I used some Peacock Feather, Salty Ocean and a bit of Faded Jeans.
  • When I was happy with the inking, I scored the lines using my ScorPal to make the piece look like a piece of barnboard.  To help bring out the scored lines, I rubbed on some Black Soot and Weathered Wood DOX, again, by dragging the pad directly onto the panel.
  • To help add some highlights to areas, I rubbed on some white acrylic paint and then splattered with my white Posca paint pen.
  • I stamped the sentiment from Paper Smooches with some Versafine Clair ink and pop dot mounted the sentiment in the corner. 
  • I mounted the panel onto a heavy white card base.
  • Finally, I added a blue dot to the center of my snowflake.

Thanks so much for coming by and taking a look.

Discount Code for A Colorful Life Designs

Adding my card to these challenges:
Simon Says Wed.- CHRISTMAS
CRAFT- CHRISTMAS
Double D- WINTER BLUES


Supplies
Stamps- Greetings (Paper Smooches)
Inks- DOX (listed above); acrylic paint; Versafine Clair
Paper- heavy white (Scribes Nook)
Accessories and Tools- Big Snowflake stencil (A Colorful Life Designs); Posca Pen; pop dots; 
Cuttlebug; ScorPal

Monday 16 November 2020

Second Spring


Hello and Welcome
Meet today's card.  
I wanted to try my hand at creating an ombre style card using the wonderful colours of Fall.

So here's what I did to create my card. 
  • I began with a piece of heavy white cardstock.  I positioned my Marvelous Rectangle Mask over the panel, then the Orderly Leaves stencil over that as I wanted to be left with a clean, crisp white border.
  • Next, I got out some Distress Oxide inks in the Fall colours.  Using a blending brush, I started at the top blending in some yellows (Squeezed Lemonade, Fossilized Amber).  Next, orange (Carved Pumpkin), then finally reds along the bottom (Candied Apple, Barn Door).
  • When I was happy with the blending, I removed the leaf stencil but left the mask in place and splattered with my black Posca Pen.
  • I removed the mask and placed the piece into my Misti to stamp the sentiment with some Versafine Clair Noir ink, then clear heat embossed it.
  • I mounted the panel onto some red cardstock, then onto a heavy white card base.
 

Thanks so much for coming by and taking a look.

Discount Code for A Colorful Life Designs

Adding my card to these challenges:
CAS on Sunday- USE A BIG SENTIMENT
Corrosive Challenge- ANYTHING GOES

Supplies
Stamps- Second Spring (Art Gone Wild)
Inks- DOX (TH); Versafine Clair Noir
Paper- heavy white (Scribes Nook); red cs (Michaels)
Accessories and Tools- Misti; Orderly Leaves (A Colorful Life Designs);
Marvelous Rectangle Mask (ACLD); Posca Pen; Blending brush; clear eb powder; heat tool

Sunday 15 November 2020

Fall Wishes


Good Morning.
Another Fall themed card before all the leaves in my backyard are gone.  
This is a fun technique using real leaves and some acrylic paint.  I love the results.

So here's what I did to create my card.
  • I went out into my backyard and picked out some leaves that would not be too big for my card front panel.  I have a shrub that still had these lovely leaves intact, so I picked a few to use for my card.  
  • I die-cut the panel with the Wonky Stitched die so I knew what size I was working with.
  • Using the raised veined backside of the leaf, I brayered on some acrylic paints in reds and oranges being sure to cover the whole surface.  I carefully picked up the leaf and pressed it onto my panel.
  • I repeated that process with another leaf that was a bit bigger and placed it along the side for interest.
  • I set that aside to dry which didn't take long as there was a thin coat of paint used....that's important so you don't lose the detail of the leaf.
  • While that dried, I pulled out some Distress Oxide inks that I thought would match the orange and reds.  I ended up with some Barn Door, Candied Apple and Carved Pumpkin inks.
  • I randomly stamped and filled in all the areas around the leaves using a variety of stamps from AALL and Create.  They have such wonderful stamps for creating a collage style background on cards.
  • When I was happy with all the stamping, I placed the piece into my Misti and stamped the sentiment and clear heat embossed it.  
  • I splattered with my black Posca pen, then I mounted the piece onto some red, then orange cardstock and then onto a heavy white card base.


 Thanks so much for coming by and taking a look.

Adding my card to these challenges:
Simon Says- THANKSGIVING
Inkspirational- FRAME IT
Crafty Calendar- ANYTHING GOES


Supplies
Stamps- Everyday Sentiments (YNS); Splattered Numbers #350 (AALL and Create); 
Overlapping Texture #307 (AALL and Create)
Inks- Distress Oxides (colours above); acrylic paint (Dollar Tree)
Paper- heavy white (Scribes Nook)
Accessories and Tools- brayer (Speedball); leaves from the garden; 
Wonky Stitched Die (Avery Elle); Cuttlebug; Posca pen

Friday 13 November 2020

Christmastime


Welcome
Meet today's card. 
 A fun and festive one for the holidays which is coming way to quick for my liking.
I created this card using a fun new stencil from A Colorful Life Designs called Circus Harlequin and traditional Christmas colours.

So here's what I did to create my card.
  • I began with a heavy white cardstock panel and using some ScorTape that is low tack, I added pieces across my card front to work as masks.
  • Next, I positioned my Circus Harlequin stencil from A Colorful Life Designs, over the masked panel and inked it up with some Candied Apple Distress ink.  
  • I removed the tape and repositioned it over the red inked areas, matching up the stencil pattern and then added the Mowed Lawn Distress inks over those areas.  
  • I removed all the tape to reveal the inked background, then using my ScorBug, I scored lines along the masked strips to help add interest.  
  • I placed the panel into my Misti and stamped the sentiment using some black Versafine Clair ink.
  • Next, I die-cut the snowflake from SSS twice and glued them together for stability.  I took the center piece of the snowflake and inked that red to match the red in the background.
  • I glued the snowflake to the front of the card, then pop dotted the red center over that adding a black gem to the center of it.
  • I mounted the whole piece onto a heavy white card base.


 Thanks so much for coming by and taking a look.

Discount Code for A Colorful Life Designs
Adding my card to these challenges:
Use Your Stuff- ADD STRIPES
Craft Rocket- CHRISTMAS/WINTER
Krafty Chicks- CHRISTMAS
Stinkin' Inkers- QUILTING


Supplies
Stamps- Christmas Cheer (TT)
Inks- Versafine Clair; Distress (TH)
Paper- heavy white (Scribes Nook)
Accessories and Tools- Circus Harlequin (ACLD); Post it Tape; Misti (My Sweet Petunia);
Snowflake die (SSS); black gem; ScorBug