Hello and Welcome
This week it's my turn to host the TLC (Technique Lover's Challenge) over at Splitcoast Stampers.
It's such a fun challenge where we try new techniques. I always try and think of presenting a technique that is easy enough to do for everyone and that you will have the supplies needed on hand.
So I'm calling my challenge
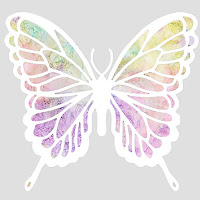
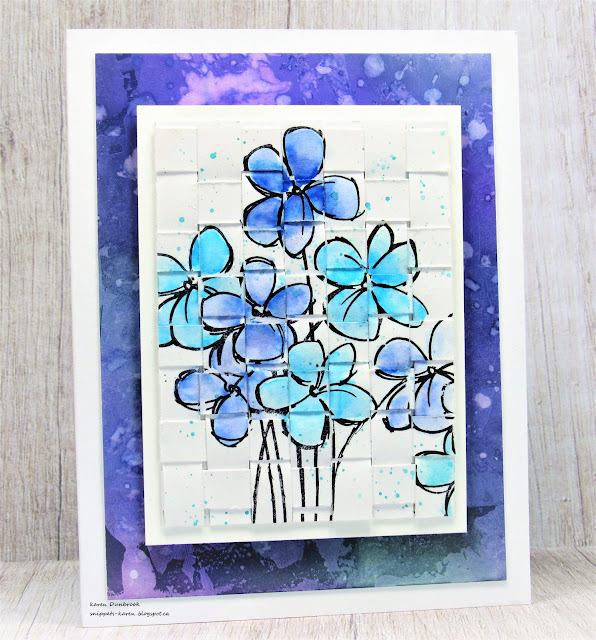
Paper Weaving with a Twist
(the twist being we are going to stamp on top of the weaving)
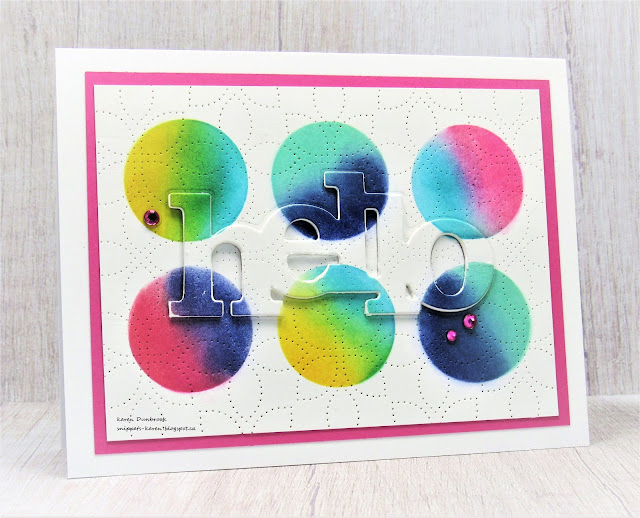
So here's what I did to create my card.
- I actually began by scratching my head and try to think about what challenge I would present. I do love the look of paper weaving. Lately, as I have been going through all my random strips of paper, these white ones inspired me to use them.
- I cut a scrap of white cardstock and glued 7 paper strips vertically just along the top edge to hold them in place.
- Using the other paper strips, I wove them over and under horizontally until the piece was all woven.
- I glued all the edges down securely and waited for them to dry.
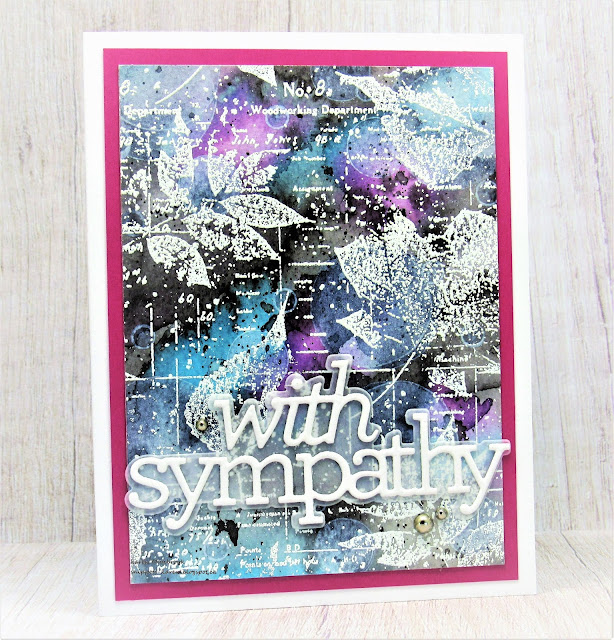
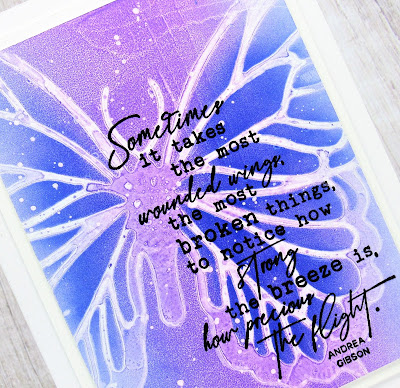
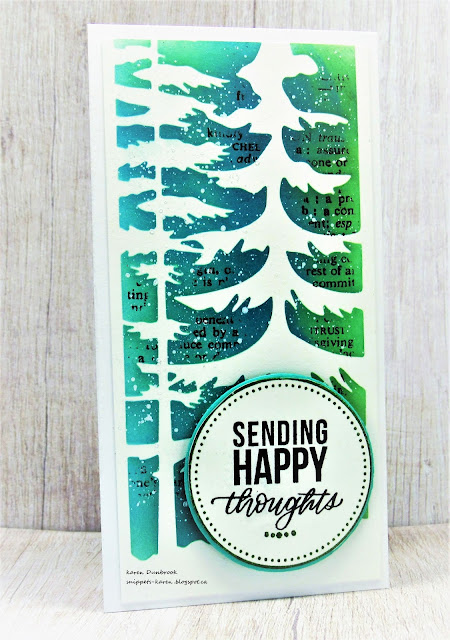
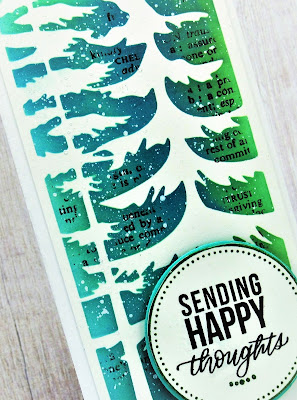
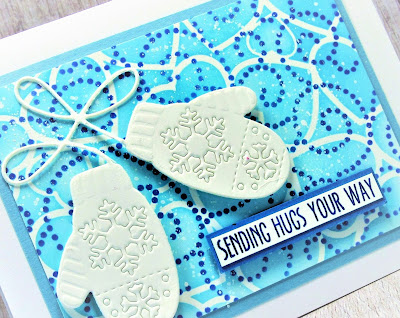
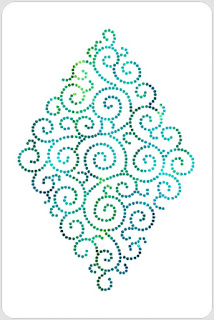
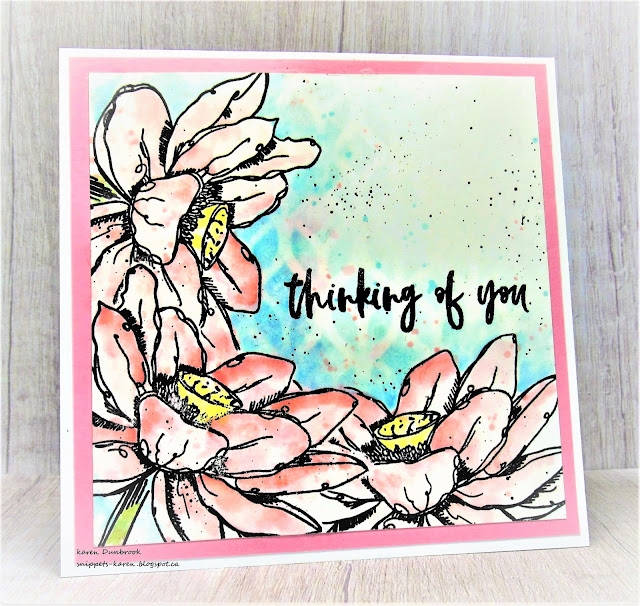
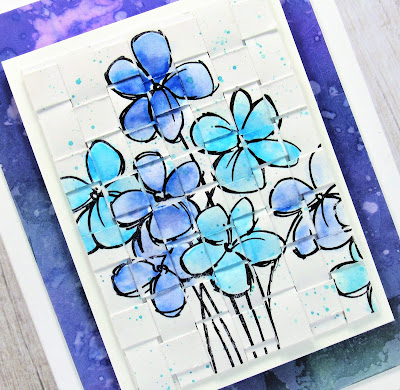
- When all was dry, I placed the woven piece into my Misti and stamped the Blossom Bunch right over the weaving with some black Versafine Clair.
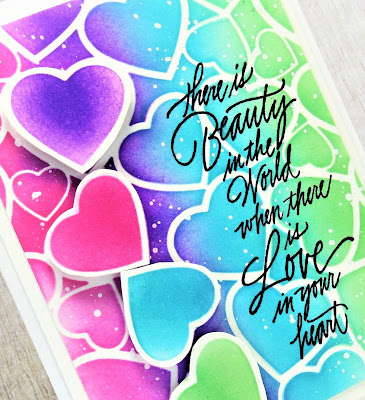
- After the ink had dried, I diluted some Distress Oxide ink (Blueprint Sketch, Peacock Feathers) with some water on my non-stick craft mat and used a paint brush to colour in my flowers.
- I had some diluted ink left on my mat so I used a wet paint brush to splatter it onto my card front.
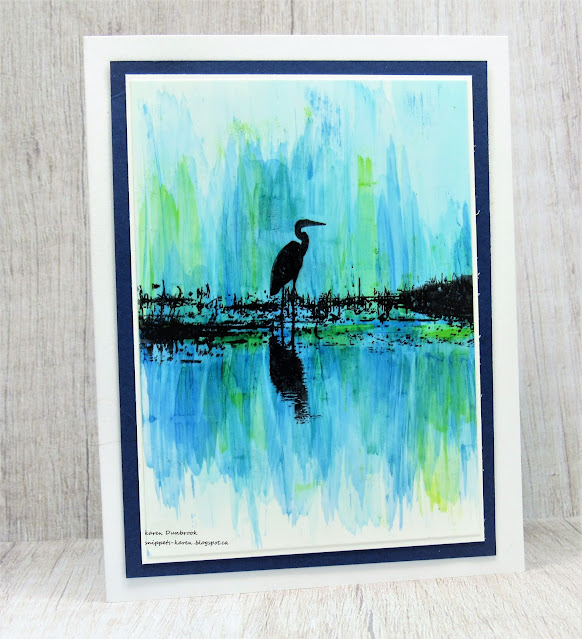
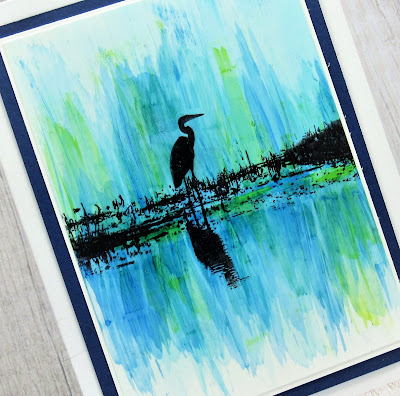
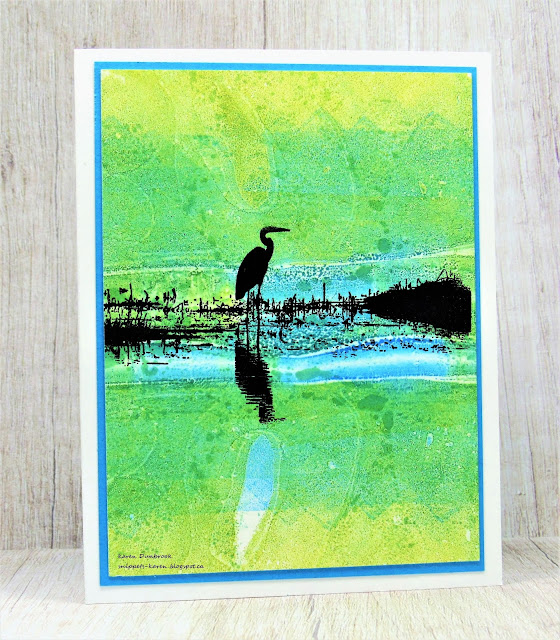
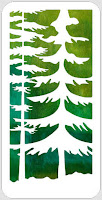
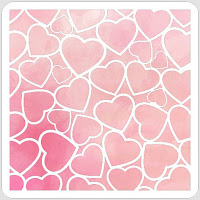
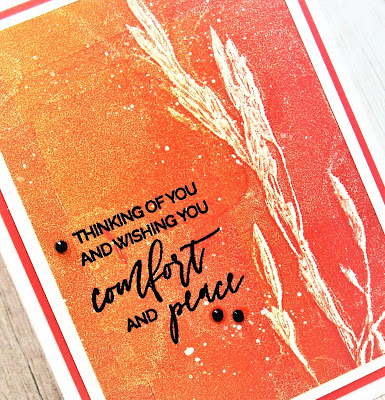
- Now for the background....I found this piece in my stash. I had put some Gesso onto it with a palette knife and let dry. I inked it up with Distress Oxide inks, then splattered with water.
Here's what the panel looked like:
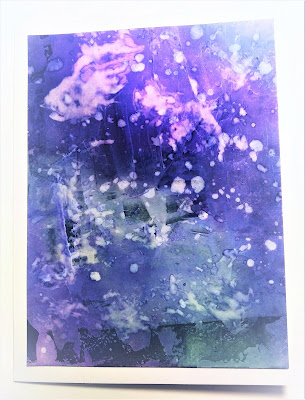
- You can see how the Gesso resists the ink....I also threw some water on it to lift some of the colour.
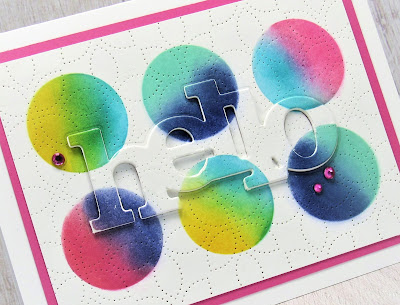
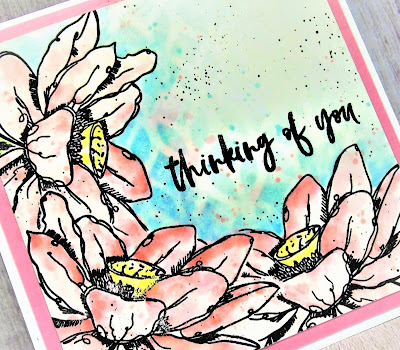
- I glued the gesso piece onto a white card base and pop dotted the woven flowers over that.
- I left off the sentiment so you could fully see the weaving in the background.
Thanks so much for coming by and taking a look.
Supplies
Stamps- Blossom Bunch (Stampendous)
Inks- Versafine Clair, DOX
Paper- white (Scribes Nook, Waterloo, Ont.)
Accessories and Tools- paper strips; Misti (My Sweet Petunia); paint brush;
non-stick craft mat; Gesso; palette knife