Welcome
I have the pleasure of hosting the TLC at Splitcoast Stampers this week that I'm calling
Who doesn't like the look of plaid?
You can make it look masculine or feminine.
This challenge is to create your own plaid using some fun and simple techniques.
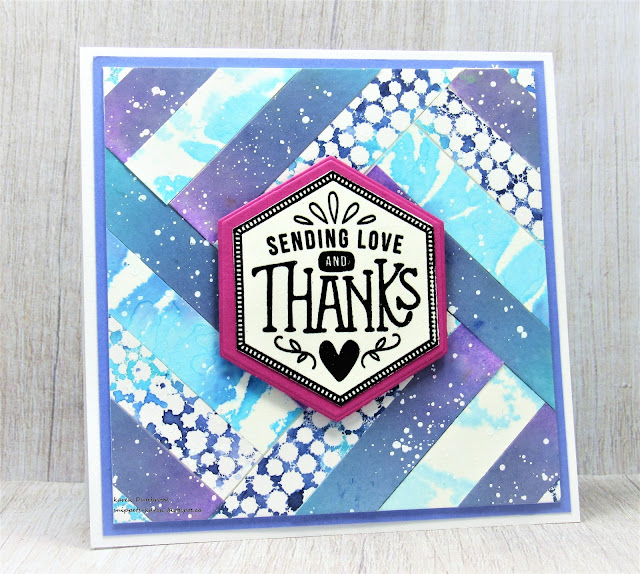
So, here's what I did to create my card.
- I cut a piece of white cardstock for my card front and got out my low tack tape.
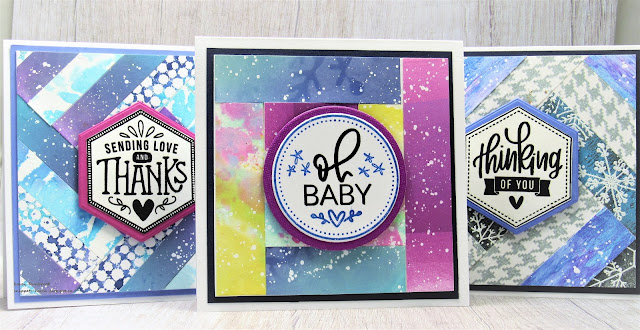
- I pulled out a piece of my tape that was the same size as my card front, then pressed the sticky side of the tape onto my Salty Ocean Distress Oxide ink pad.
- I laid the tape across my white cardstock and rubbed over it to transfer the ink to the paper. I inked up the tape again and made 2 more inky lines across my card front.
- I took another piece of tape and repeated that process with some Wilted Violet DOX ink and I rubbed that between the lines, filling in the white spaces.
- I used the same pieces of tape and colours of inks to go vertically across my card front, creating the plaid pattern.
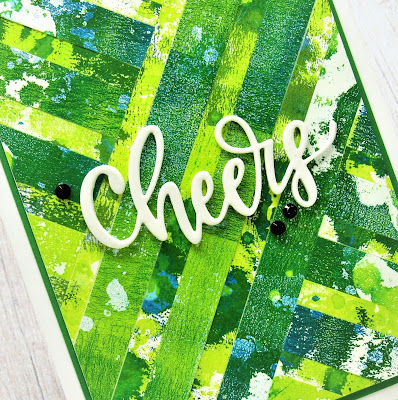
**Since I was going for a more rustic, masculine look, I wasn't worried about the mottled look the inking left behind. You can also go back over the strips with more ink for a more solid look.**

This is a previous picture I took using some green ink.
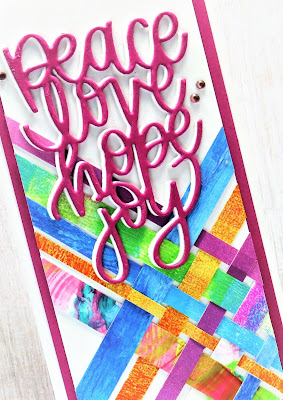
- To help define the plaid lines, I added some doodled lines along the tape inking.
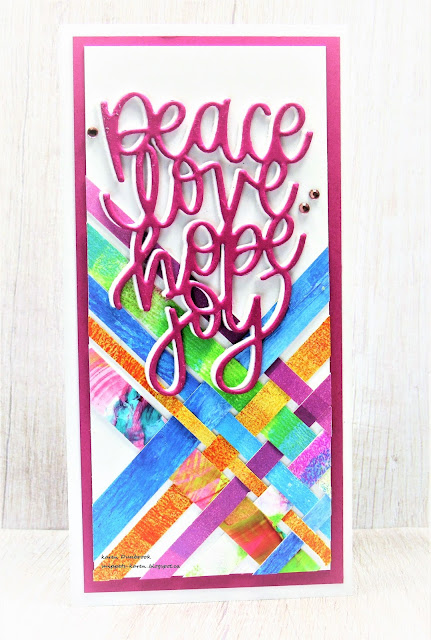
- I die cut the sentiment 5 times, glued them together stacking them and inked the top one with some more Wilted Violet and Salty Ocean DOX ink. I splattered it with my white Posca pen.
- I glued my inked card front onto a piece of white cardstock, then onto a light purple and then onto a white A2 sized card base.
- I glued the sentiment across my card front and added 3 black gems around the sentiment.

Thanks so much for coming by and taking a look.
Let me know if you get a chance to try it out.
Adding my card to these challenges:
Simon Says Wed.- ANYTHING GOES
Krafty Chicks- MASCULINE
Dragonfly Dreams- BIRTHDAY
Supplies
Stamps- none
Inks- DOX
Paper- Prism Solar White
Accessories and Tools- low tack tape; Fine line black pen; white Posca pen;
Happy Birthday die (Amazon)


.jpg)


.jpg)