Showing posts with label SSS. Show all posts

Friday, 19 April 2024

Rainbow Birthday


Good Morning
Today's card has a bit of a rainbow look to it.
I used the new stencil from A Colorful Life Designs called

So, here's what I did to create my card.
  • I placed the Rotating Rings stencil over a piece of white cardstock on my Make Art Station.
  • Starting at the top and moving my way down, I inked it up with some Fossilized Amber, Ripe Persimmon, Picked Raspberry and then some Peacock Feathers Distress Oxide inks.
  • While that dried, I stamped and die cut the sentiment.
  • I glued the stenciled card front onto a piece of white cardstock, then onto a piece of blue and then onto an A2 sized card base.
  • Lastly, I used some foam tape to pop the sentiment over the panel and finally, I added some bling around the sentiment.

Here is the stencil I used:

Discount Code for A Colorful Life Designs
(Affiliate with no extra cost to you) 

Thanks a lot for coming by and taking a look.

Adding my card to these challenges:
Simon Says Wed.- STENCIL IT
Simon Says Monday- MAKE YOUR OWN BKG

Supplies
Stamps- Big and Bold Sentiment and die (SSS)
Inks- DOX
Paper- heavy white (Scribes Nook- Waterloo, Ont.)
Accessories and Tools- stencil and bling (A Colorful Life Designs); blending brushes;
foam tape

Sunday, 7 April 2024

Birthday Fun


Good Morning
Today, I decided to make a monochromatic card using the new for April stencil from A Colorful Life Designs called

So, here's what I did to create my card.
  • I placed a piece of white cardstock onto my Make Art Station and placed the Four Squares stencil over that.  
  • Starting at the center of the stencil, I inked it up with some Villainous Potion Distress Oxide ink.
  • Next, I inked the outer edges using some Wilted Violet DOX ink.  To add some interest, I went back into the middle area and inked with some Uncharted Mariner DOX ink that gave a bit of contrast.
  • Using the same colours as mentioned above, I inked up a scrap of white cardstock and then used that to die cut the sentiment.
  • I die cut an oval from white cardstock, then glued the sentiment over that.
  • To assemble my card, I glued the stenciled panel onto a piece of pale mauve cardstock, then onto an A2 sized card base.
  • I used some foam tape to add the sentiment over the middle of the panel.
  • Finally, I added some bling around the sentiment.

Here is the stencil I used:

AND DON'T FORGET THE BLING:


Discount Code for A Colorful Life Designs
(Affiliate with no extra cost to you) 

Thanks so much for coming by and taking a look.

Adding my card to these challenges:
Simon Says Wed.- HAPPY BIRTHDAY
Dragonfly Dreams- USE A DIE

Supplies
Stamps- NONE
Inks- DOX
Paper- heavy white (Scribes Nook- Waterloo, Ont.)
Accessories and Tools- stencil and bling (A Colorful Life Designs); Make Art Station (Ranger);
Oval die (Concord and 9th); sentiment die (SSS)

Saturday, 24 February 2024

My Wish for You


Good Morning
Today's card is a fun one using a new for February stencil from A Colorful Life Designs called

Lots of possibilities with this one. 
Good one for layering too and it's big enough for scrapbook pages.

So, here's what I did to create my card.
  • I cut a piece of white cardstock and then measured to find the center point.
  • Instead of laying the whole Spinning Sun stencil onto my cardstock, I laid just half of it onto the middle line that I had marked on the panel, then inked it up with some Cracked Pistachio and some Uncharted Mariner.
  • I repeated that process until the whole piece of cardstock was inked.
  • Using my white Posca pen, I splattered the whole thing and set aside to dry.
  • I got out a scrap piece of white cardstock and inked that up with some more of the Cracked Pistachio and some Uncharted Mariner DOX ink and cut the sentiment from that.  I splattered that as well.  I die cut the sentiment shadow with some white and glued the sentiment into place onto that.
  • I glued the stenciled panel onto a piece of blue cardstock, then onto an A2 sized card base and used some foam tape to add the sentiment over the middle.

Here is the stencil I used:

Discount Code for A Colorful Life Designs
(Affiliate with no extra cost to you) 

Thanks so much for coming by and taking a look.

Adding my card to these challenges:
Just Us Girls- ANYTHING GOES STENCIL WEEK
Craft Rocket- BIRTHDAY
As You Like It- MASCULINE OR FEMININE
(I think bold designs work best for men)
My Time to Craft- MAKE YOUR OWN BKGD

Supplies
Stamps- none
Inks- DOX
Paper- heavy white (Scribes Nook- Waterloo, Ont.)
Accessories and Tools- stencil (A Colorful Life Designs); die- SSS; white Posca pen;
foam tape; TE Inking Brushes

Saturday, 3 February 2024

Happy Day!


Good Morning
Well, A Colorful Life Designs has done it again.
They have just added these wonderful new masks called 
There are 2 different size sets, but for my card, I used set B.

So, here's what I did to create my card.
  • I cut a piece of white cardstock and placed the middle sized mask from the Marvelous Masks Hexagon B set onto the middle of my cardstock on my Make Art Station.
  • I inked over the mask with some Peacock Feather and then added some Villainous Potion Distress Oxide ink just along the edges.
  • I moved the mask around on my card front and kept inking with the same colours.
  • I placed the panel into my Misti and stamped the Wildflowers along the bottom with some more of the Villainous Potion DOX ink.  I love the look it gave.
  • While that dried, I rubbed some more of the Villainous DOX ink onto a scrap piece of white cardstock, splattered with my white Posca pen and then die cut out the sentiment.  I glued that onto the white shadow die I cut from another scrap.
  • I splattered the whole finished panel with my white Posca pen and then glued it onto a piece of pale mauve cardstock and then onto an A2 sized card base.
  • Finally, I used some foam tape to pop the sentiment near the top of the panel.

Here are the masks I used:

Discount Code for A Colorful Life Designs
(Affiliate with no extra cost to you) 

Thanks so much for coming by and taking a look.

Adding my card to these challenges:
Simon Says Wed.- ANYTHING GOES
Cut It Up- THIS MAKES ME HAPPY
Tic Tac Toe- STENCIL,DIE CUT, FRAME

Supplies
Stamps- Wildflowers (Simon Says)
Inks- DOX
Paper- heavy white (Scribes Nook- Waterloo, Ont.)
Accessories and Tools- stencil (A Colorful Life Designs); white Posca pen;
Happy Wishes die (SSS); Make Art Station

Tuesday, 8 August 2023

Wishes


Welcome
I made today's card as an experiment to see how stenciling would look over some patterned paper that I have so much of and never use.
This new stencil called Aztec Pattern from A Colorful Life Designs was calling for me to try it out.

So, here's what I did to create my card.
  • I looked through my stash of patterned paper and picked out this one that had some yellow and green dots on it.  
  • I cut a piece of the patterned paper, placed it onto my Make Art Station and positioned the Aztec Pattern stencil over it, then I inked it up with some Rustic Wildness Distress Oxide ink.  The designs blended together so well.
  • I splattered with my white Posca pen and set aside to dry.
  • When dry, I die cut the sentiment from some white cardstock and then the sentiment shadow from the center of the inked panel.  I glued those 2 together.
  • I glued the stenciled panel onto a piece of yellow cardstock, then onto an A2 card base.
  • I used some foam tape to pop the sentiment back into place in the center of the card front.
  • I added 3 silver gems around the sentiment.

Here is the stencil I used:

Discount Code for A Colorful Life Designs
(Affiliate with no extra cost to you) 

Thanks so much for coming by and taking a look.

Adding my card to these challenges:
Simon Says Mon.- HAPPY BIRTHDAY
Crafting Happiness- ANYTHING GOES
AAA Birthday- ANYTHING GOES

Supplies
Stamps- none
Inks- DOX
Paper- heavy white (Scribes Nook- Waterloo, Ont.); patterned paper ??
Accessories and Tools- stencil- (A Colorful Life Designs); Make Art Station (Ranger);
TE Blending Brushes, white Posca pen, silver gems

Tuesday, 23 August 2022

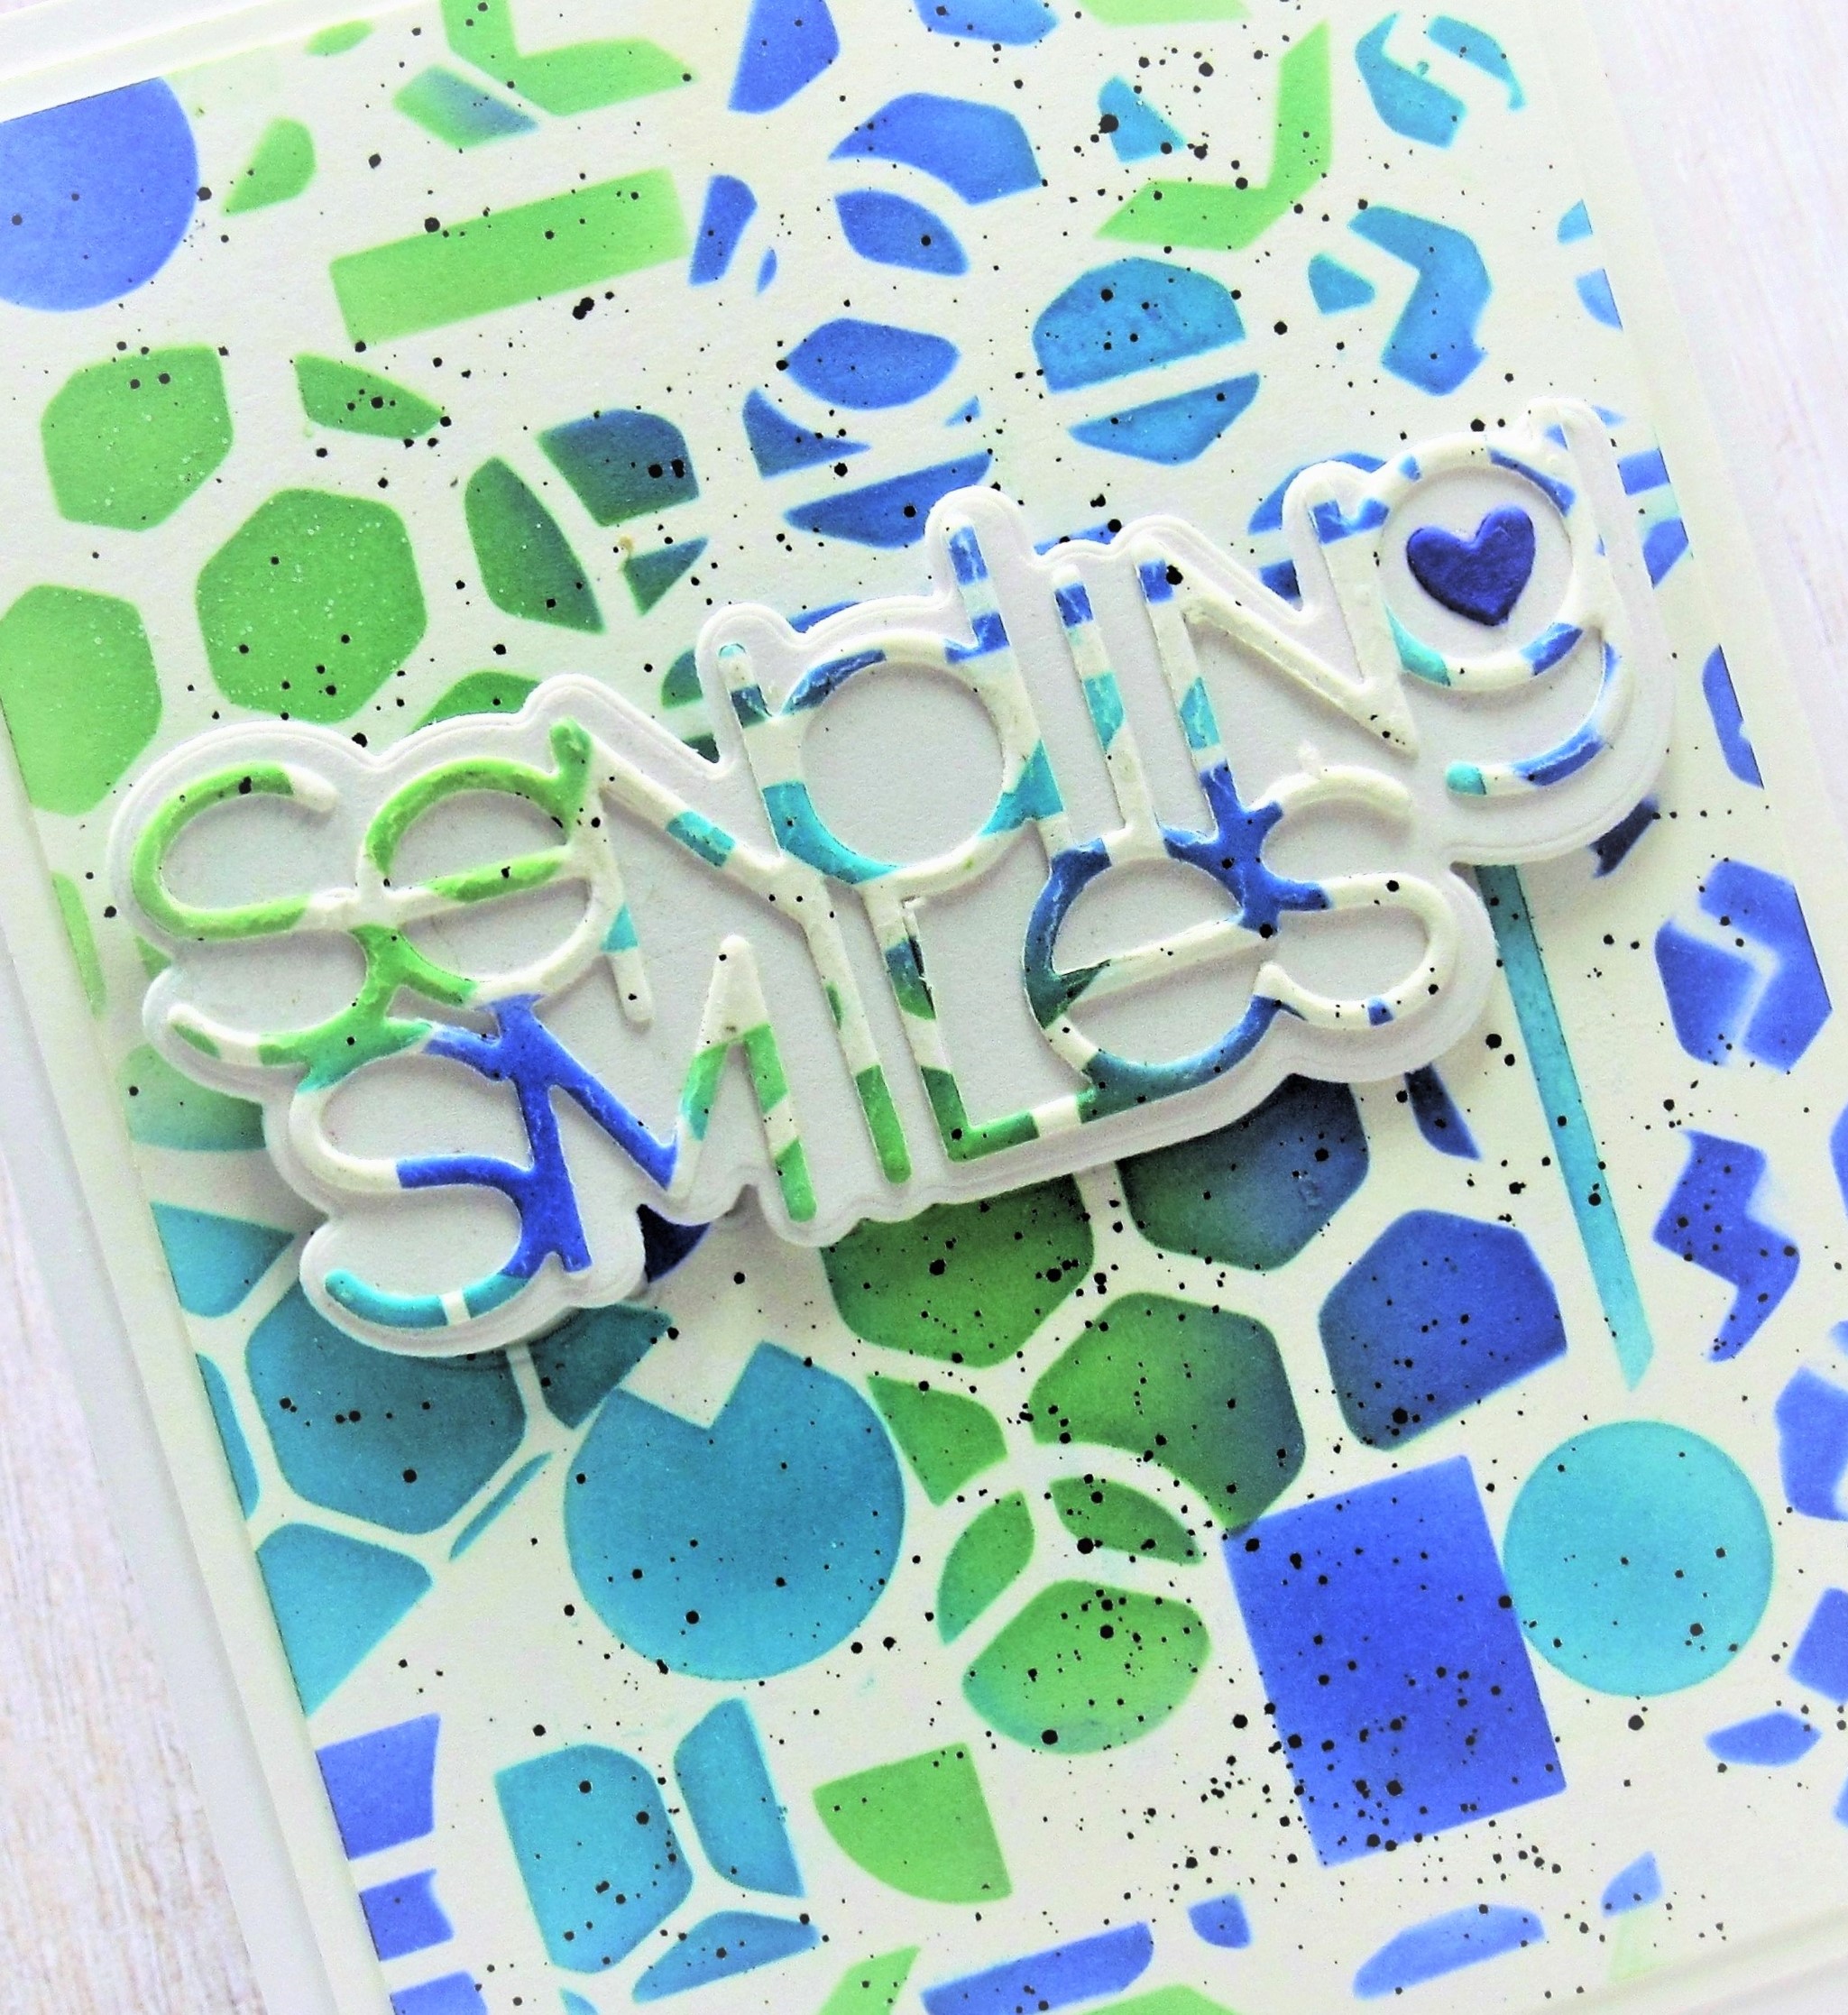
Geometric Sending Smiles


Welcome
Why is the summer going by so quickly!!!??
I have had some time off and stepped away from social media, but I'm back now and ready to play.  

So meet today's card.
I used this fun Geo Framework stencil from A Colorful Life Designs to create my card.
Lots of geometric shapes.

So here's what I did to create my card.
  • I cut a piece of white cardstock and laid it onto my Make Art Station and positioned the Geo Framework stencil over that.
  • I inked it up in a random way with some Distress Oxide inks...Cracked Pistachio, Peacock Feathers and Blueprint Sketch, moving the stencil around and inking until the whole panel was covered.
  • Next, I die cut the 'Sending Smiles' sentiment from the center of the stenciled panel.
  • I cut the word shadow from some white cardstock next and glued them together.
  • I splattered using my black Posca pen, then glued it onto a piece of white cardstock, then onto an A2 size card base.
  • I popped the sentiment over the card panel.


Here is the stencil I used:

Discount Code for A Colorful Life Designs
(affiliate with no extra cost to you)

Thanks so much for coming by and taking a look.

Adding my card to these challenges:
Paper Minutes- DIE CUT
Cardz 4 Guys- STENCIL


Supplies
Stamps- none
Inks- DOX
Paper- heavy white (Scribes Nook-Waterloo, Ont.)
Accessories and Tools- Geo Framework stencil- ACLD; Sending Smiles die (SSS); 
black Posca pen; Make Art Station (Ranger)

Saturday, 16 April 2022

Many Smiles


Happy Saturday!
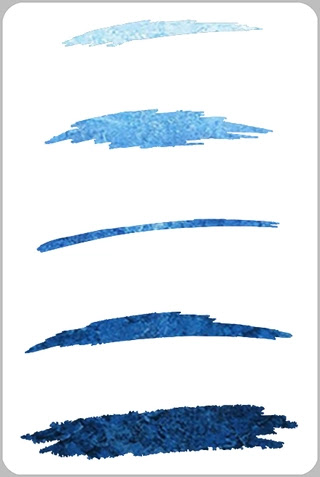
Today, I'm having some fun with this great Paint Strokes stencil from ACLD inked up with happy colours of Distress Oxide inks.
So many possibilities using it too.

So here's what I did to create my card.
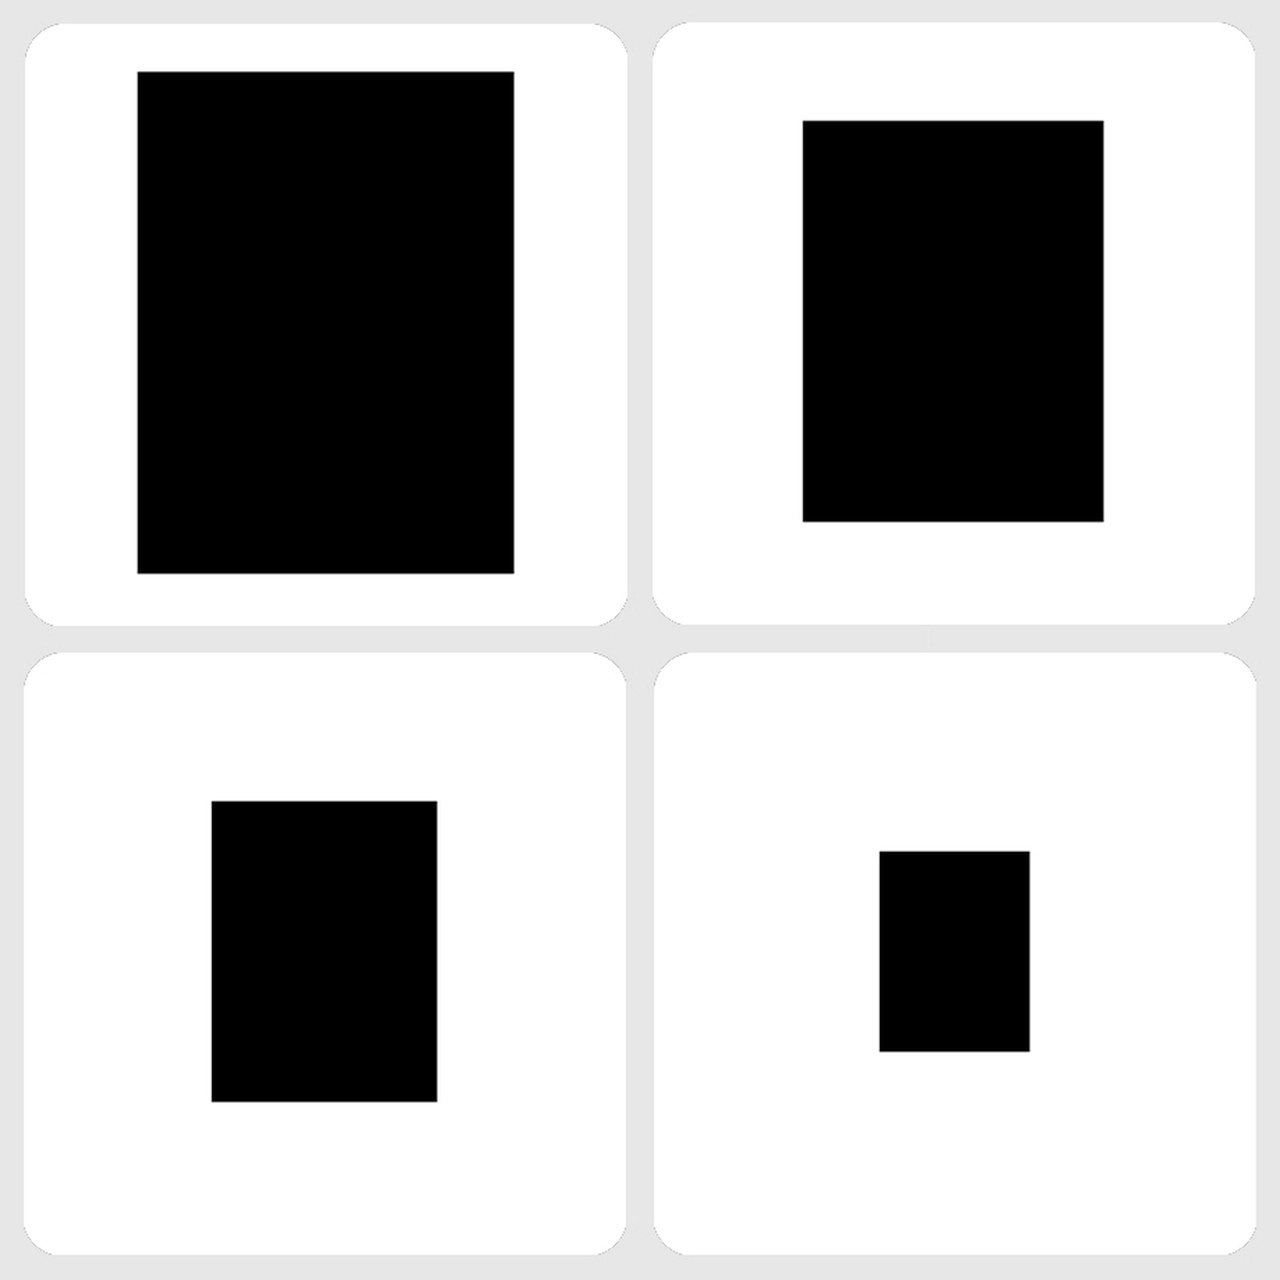
  • I cut a piece of white cardstock that was 3 3/4" x 5" first.  I wanted my card to be simple with a clean white border around it, so I placed one of the Marvelous Rectangle Masks from ACLD over my cardstock that masked off an area in the center of my card panel.
  • I used the Paint Strokes stencil in a random way, placing it onto the panel and inking some of the strokes from the top and some going up from the bottom all within the rectangle mask.  Here are the colours I used in order from left to right:  Peacock Feathers, Cracked Pistachio, Carved Pumpkin, Mustard Seed and Picked Raspberry.
  • When I was happy with the inking, I splattered using my white Posca pen.
  • When the ink was dry, I die cut the sentiment outline from the middle of the panel and the word part from some white cardstock, then glued them together.
  • I used my ScorPal board to score a border around the inked area after removing the rectangle mask.  It really helped to frame it up and gave some more visual interest.
  • I glued the stenciled piece onto some blue cardstock, then onto a heavy white card base.
  • I pop dot mounted the sentiment back into place in the center and glued on the white heart.


Here is the stencil and masks I used:


Discount Code for A Colorful Life Designs
(affiliate with not extra cost to you)

Thanks so much for coming by and taking a look.

Supplies
Stamps- none
Inks- Distress Oxides
Paper- heavy white (Scribes Nook- Waterloo, Ont.)
Accessories and Tools- stencils and masks (ACLD); ScorPal; Posca pen;
Sending Smiles die- (Simon Says)