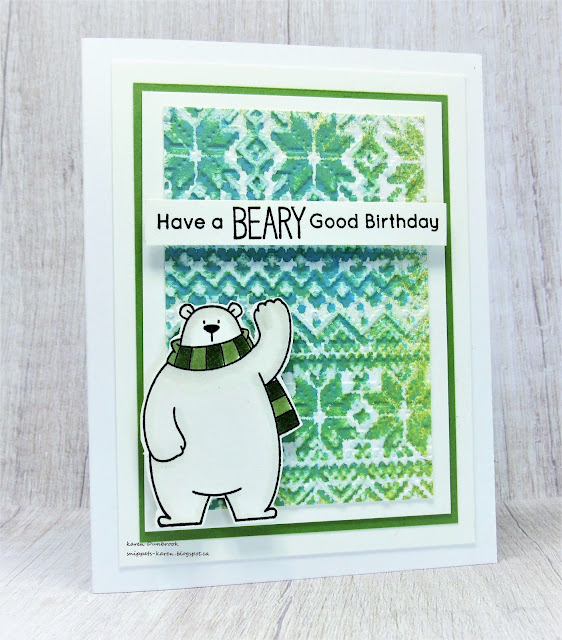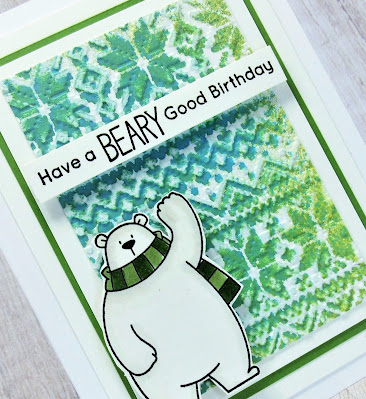
Hello and Welcome
Posting a few last minute cards.
I ran out of time after being so busy with my daycare kids and having the stomach flu.
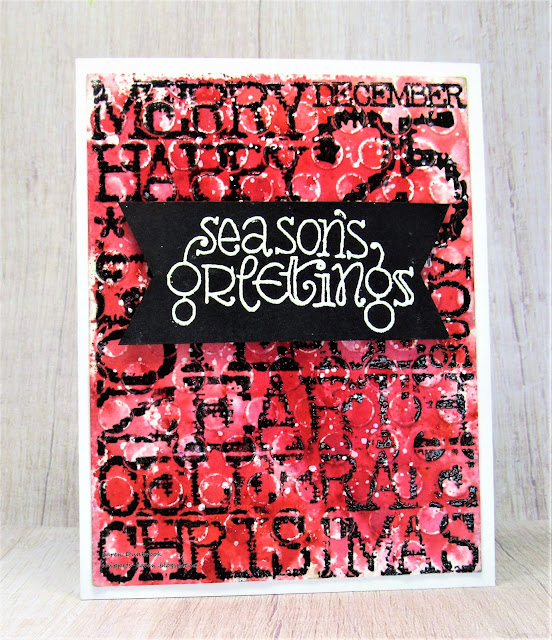
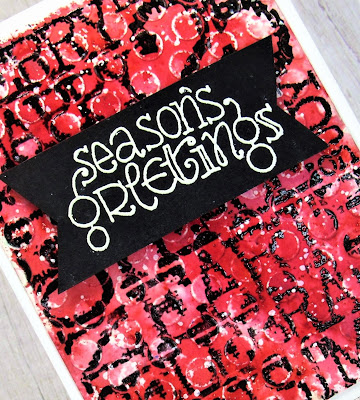
So here's what I did to create my card.
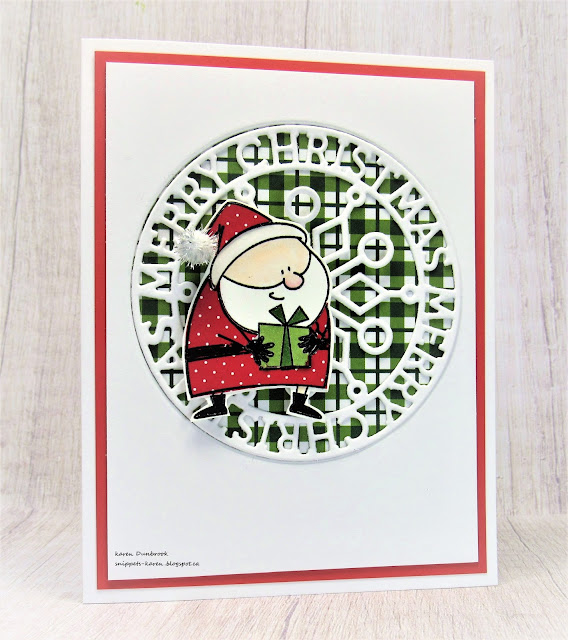
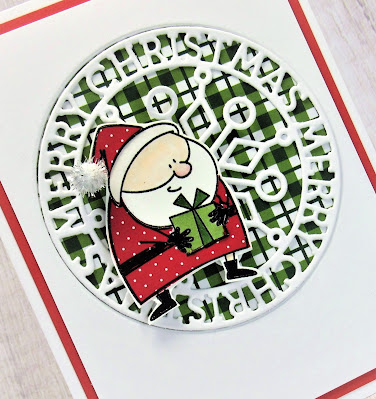
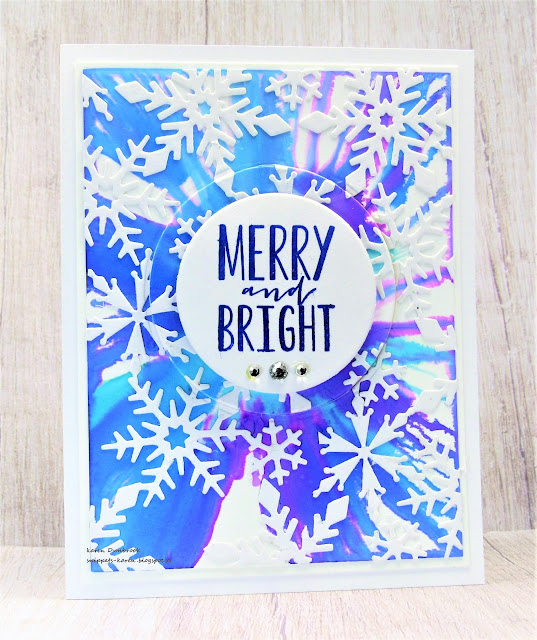
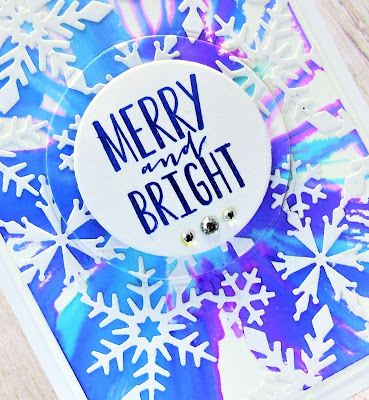
- I pulled out a piece of Yupo paper, my salad spinner and some Alcohol inks. **For any of you that missed my 'Salad Spinner Alcohol inks' video, you can see it HERE.
- After creating my background with the Alcohol inks, I glued on the snowflakes that I had die cut from the Blizzard Corner with some white cardstock. It cuts a corner but I altered it to fit cover the panel.
- When I was happy with the design, I die cut a circle from the center and set it aside.
- I glued the AI inked panel onto a heavy white card base, then pop dotted the circle back into place, matching up the snowflakes.
- I cut another circle from some white cardstock, smaller then the first one, stamped the sentiment onto that, then glued them together.
- I added 3 silver gems under the sentiment.
Thanks so much for coming by and taking a look.
Supplies
Stamps- Tis the Season (PTI)
Inks- Ranger Alcohol Inks; Versafine Clair
Paper- Yupo; heavy white: Scribes Nook- Waterloo, Ont.
Accessories and Tools- Salad Spinner; rubbing alcohol, Blizzard Corner (Poppy Stamps);
Infinity Circle die (HA)