Welcome
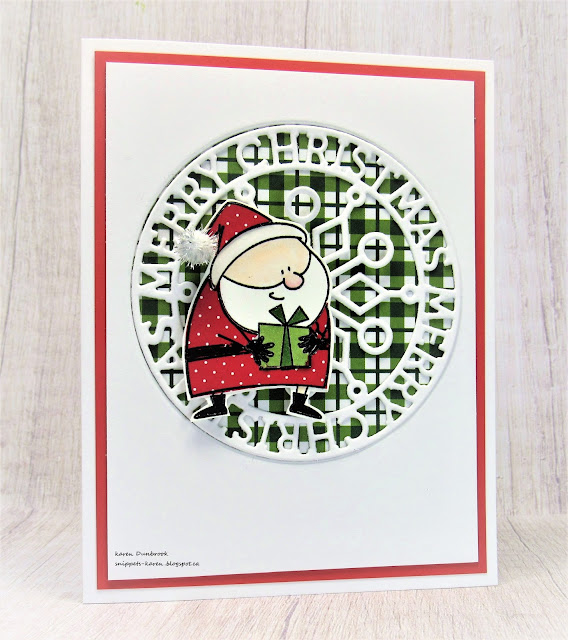
Today's card features a technique I did earlier that I called Stripped Down.
I thought this new Dotted Flakes stencil from A Colorful Life Designs, worked so well for the theme of the card I was making.
So, here's what I did to create my card.
- I began with a piece of white cardstock and inked it up with some Broken China, Peacock Feathers and Tumbled Glass Distress Oxide ink.
- Next, I die cut the inked panel into strips and carefully set them aside.
- I cut another piece of white cardstock and glued the strips onto that, flipping every other one in the other direction. It really adds a lot of interest.
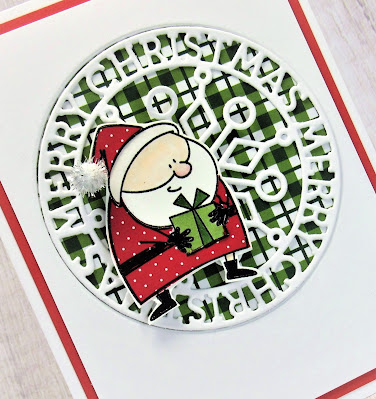
- I set that aside to dry and I die cut the round Christmas Token sentiment with some white cardstock.
- When the glue was dry on the strips, I placed the Dotted Flakes stencil over the panel and inked it up with some Unicorn white ink.
- Next, I splattered with my white Posca pen.
- I popped the strips panel onto an A2 card base using some foam tape.
- I glued the sentiment circle over the finished card front and added a blue dot to the center.

Here is the stencil I used:

Discount Code for A Colorful Life Designs
*Just use the code KarenFan10 to get a discount on stencils and masks.*
(Affiliate with no extra cost to you)
Adding my card to these challenges:
Simon Says Wed.- STENCIL
Cardz 4 Galz- USE A STENCIL
Through the Purple Haze- MONOCHROMATIC
Stamps- none
Inks- DOX, HA
Paper- heavy white (Scribes Nook- Waterloo, Ont.)
Accessories and Tools- Dotted Flakes stencil (ACLD); TE Blending Brushes;
Slim Strips die (Pinkfresh Studios); Posca pen; Christmas Token (SSS)