Sunday 28 June 2020

Let's Celebrate- Stamping with Rubber Bands


Hello and Welcome
I have the pleasure of hosting the TLC (Technique Lover Challenge) over at Splitcoast Stampers today.  
I wanted to present a challenge I haven't done in years that would use something accessible to everyone.  So that's what my challenge is.....

It's easy and fun to create simple backgrounds using them.
  I used a rainbow of colours that reminded me of streamers in a parade.  I thought it was perfect as Canada Day and the Fourth of July are right around the corner.

So here is how I created my card.
I began by wrapping 2 rubber bands around my acrylic stamping block, spreading them out and overlapping them.  My block was small so that's why I only used 2 bands.  For larger blocks, you could add more.  
*For an even different look, try wrapping your brayer in bands*
Next, I used my Distress inks and pressed them directly onto the bands, inking them up.
I began with some Mustard Seed, then went on to use some Ripe Persimmon, Candied Apple, Salty Ocean, Peacock Feathers, Mowed Lawn and finally Chipped Sapphire.
I wiped the bands off between each stamping so the colours would stay crisp and not get muddy.
When I was happy with the stamping, I used some of the same inks diluted with a bit of water and splattered some over the stamping.
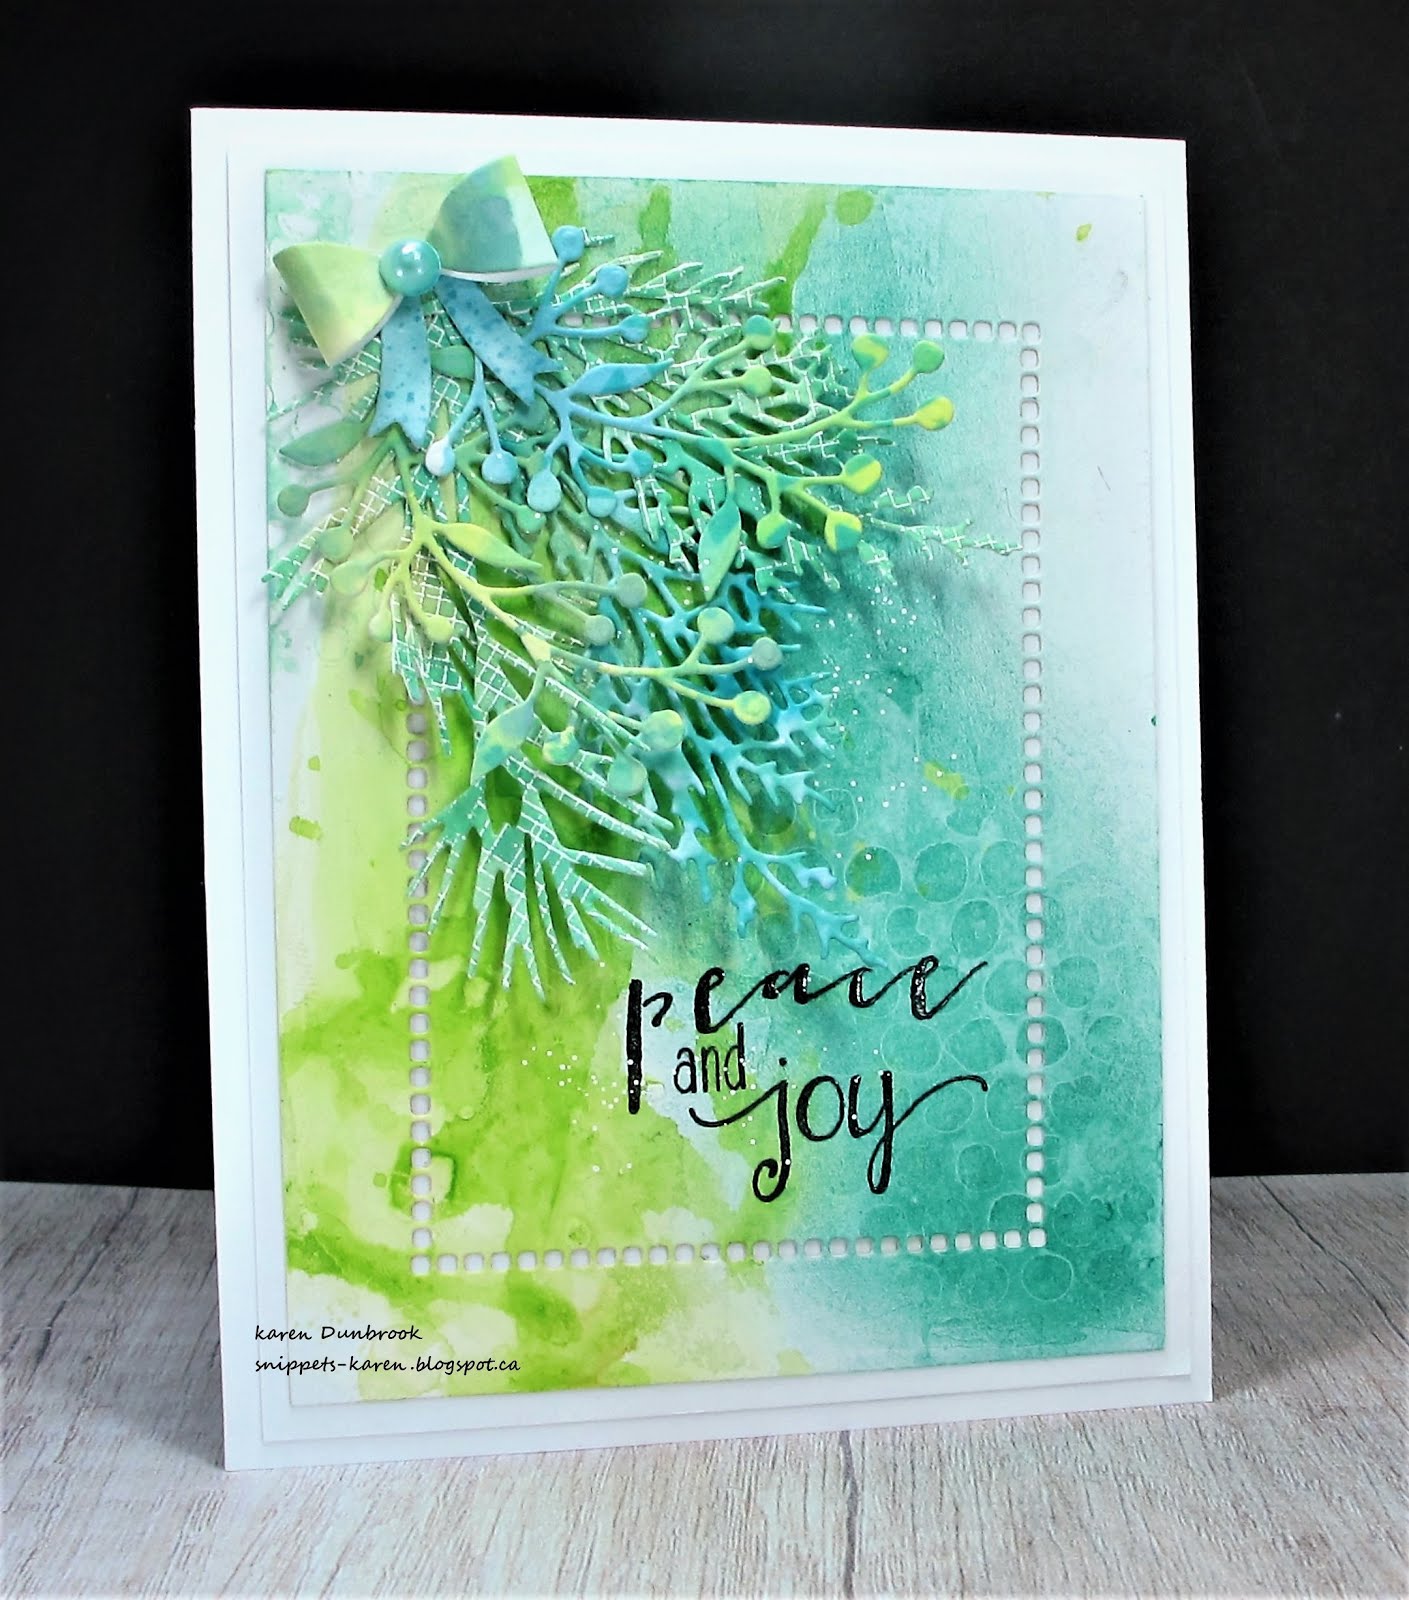
I die- cut the frame using a stitched rectangle die and pop dotted it over the background.
I die-cut the sentiment 3 times and glued it together for stability and glued that over the framed area.
I added 3 small red pearl dots to finish it off.


Thanks so much for coming by and taking a look.

Adding my card to these challenges:
Simon Says Wed.-ANYTHING GOES
The Male Room- DIE CUT
Dragonfly Dreams - MAKE IT MASCULINE
Stamping Sensation- MAKE IT COLORFUL


Supplies
Stamps- none
Inks- Distress (TH) colours listed above
Paper- heavy white (Scribes Nook)
Accessories and Tools- rubber bands; acrylic block; Stitched Rectangle die (Memory Box);
pop dots; red pearl dots; paintbrush; Celebrate die (MFT)

Saturday 27 June 2020

Peace and Joy


Welcome
Meet today's card.
Since I am still not working yet, I've been trying to be productive in my extra time.  I thought it was a good time to start working on a few holiday cards when I heard the guy on the radio said it was 6 months until Christmas.  lol
On another note, I have been watching the Facebook Lives by Vicki Boutin.  I love her fun attitude about creating and 'making magic happen'.  The other night she challenged us to create a background with some blending and watermarking and that is how my background was created. 
If you are interested in seeing any of her 'lives' she posts them all on her FB artist page and also on YouTube.

Here is what the piece looked like:


So onto my card details.
I began with a piece of heavy white cardstock.  I loosely covered it with some Gesso using a palette knife.  Not all the areas are covered, I applied it like I was buttering my toast.  I set that aside and let the whole thing dry.  It dried quickly as the layer of Gesso was pretty thin.  
(you can tell if it's dry when it doesn't feel cool to the touch)
Next, using a piece of acetate, I rubbed some of Vicki's Art Crayons directly onto the acetate, diluted it with water and pressed it onto my panel which you can see on the left hand side.  On the right hand side, I rubbed some VB crayons in blues onto my acetate and without diluting it, I picked up the colour using a stencil brush and rubbed it along the side and up into the green, blending the colours together.
Since the crayons are water soluble, I was able to remove some of the ink with a baby wipe and add some watermarking to the piece using the Messy Dots stencil from A Colorful Life Designs.
I used the Hemstitch die to cut the inner frame then stamped the sentiment from PTI and clear embossed it.
Using a scrap of inky paper, I die-cut the evergreen boughs and glued them at the top.
I finished it off by splattering using my white Posca pen and added the bow at the top of the bough.


Thanks so much for coming by and taking a look.

Adding my card to these challenges:
Simon Says Wed.- ANYTHING GOES
Creative Artiste Mixed Media- ANYTHING GOES
Fab 'n' Funky- CHRISTMAS

Discount Code for A Colorful Life Designs


Supplies
Stamps- Tis the Season (PTI)
Inks- VB Art Crayons; Versafine Clair
Paper- heavy white (Scribes Nook)
Accessories and Tools- Hemstitch die (Spellbinders); Everygreen dies (TH)
Messy Dots stencil (A Colorful Life Designs); sheet of acetate; Mister (TH)

Sunday 21 June 2020

Happy Father's Day


Welcome
Today we celebrate Father's Day.  
What a great way to let our Dad's know how much we care about them. 
Here is a card I made for my husband to celebrate this special day.

So here's what I did to create my card.
I began with a piece of heavy white cardstock.  I decided to use my Gel Plate to make a quick easy card since it was already out on my desk.  I rolled on some green and blue acrylic paint that I picked up at the Dollar Tree and brayered it all over my Gel Plate.  You can use just about any kind of acrylic paint on your plate.  This kind is more watery which I like as I get those little bubbles on my print.
Next, I laid the Big Leaf Stencil onto my plate and pulled a print with the stencil left in place.  I then removed the stencil and let the print dry.  The stencil will leave an impression on your plate.
While the paint dried, I ripped a piece of copy paper as I wanted to use that as a mask.
When the paint was dry on my plate, I brayered on some vanilla acrylic paint, laid on the torn paper mask and then pulled the print that would become my card front.
After pulling the print, there was just enough room on the masked area to stamp the greeting.
I mounted the panel onto a piece of matching green cardstock, then onto a heavy white card base.


Thanks so much for coming by and taking a look.

Adding my card to these challenges:
Watercooler Wed.- ANYTHING GOES/MASCULINE TWIST
Southern Girls- ANYTHING GOES
Creative Artiste- ANYTHING MIXED MEDIA


Here  is the stencil I used:

A Colorful Life Designs

Supplies
Stamps- Greetings Galore (IO)
Inks- Versafine Clair
Paper- heavy white (Scribes Nook)
Accessories and Tools- Big Leaf Stencil (A Colorful Life Designs); brayer; Geli Press; 
Acrylic paint (Dollar Tree); black dots; printer paper


Friday 19 June 2020

Crackle Florals


Good Morning
Meet today's card.
I am so thrilled with the results I achieved using Tim Holtz Crackle Paste and his new Embossing Glaze.
It gave my card such a wonderful vintage look.

So here's what I did to create my card.
I began with a piece of white cardstock that was brayered with some blue and green acrylic paint from the Dollar Store. Whenever I am using my Gel Plate, I keep extra paper on hand to roll off onto so I can have it for future use as a background or to die-cut. 
I place the Floral Layering Stencil over my painted background and applied a layer of Tim Holtz Crackle Paste over that being sure to smooth it all out for an even coat using my Stencil Pal.   I sprinkled some Broken China and some Cracked Pistachio Embossing Glaze over the paste and set aside to dry completely.  
* Last Saturday Tim did a video showing how to use these Embossing Glazes...check his website or FB*
When it was all dry, I heat embossed it to reveal all the powder embedded in the cracks.  
Next, using the Faded Text Stamp, I randomly stamped down the side of my card to add interest.
I added some tiny pearl dots and splattered with white using my Posca pen.
I stamped the sentiment and pop dotted it to one side.


Thanks so much for coming by and taking a look.

Supplies
Stamps- Faded Text (TH); Tag Banner Sentiment (YNS)
Inks- Archival; Versafine Clair
Paper- heavy white (Scribes Nook)
Accessories and Tools- brayer, Embossing Glaze (TH); Crackle Paste (TH); pearl dots; Posca pen;
Acrylic Paint (Dollar Tree); heat tool; Floral Layering Stencil (TH); Deco Foil Stencil Pal


Tuesday 16 June 2020

Baby Boy

Good Morning
Meet today's card.
A very simple one using a digital image from MelonHeadz….isn't it just the cutest?

So here's what I did to create my card.
I began by printing off the image onto some heavy white card stock.  I cut the piece down to the size I wanted then using my Copic markers, I coloured it in.
I mounted the coloured piece onto a piece of blue cardstock, then onto a piece that I die cut using the Swatches die from Spellbinder.
I took another piece of white cardstock and placed it into my Misti and then stamped the plaid with some Peacock Feathers Distress ink.  I wanted the bkg to match the baby's bib, so using a purple Copic marker, I drew in some lines using a ruler.
I pop dotted the image onto the plaid panel, added 3 buttons under the image and then mounted that all onto a heavy white card base.


Thanks so much for coming by and taking a look.

Supplies
Stamps- Plaid Background(Concord and 9th)
Inks- Copic Markers
Paper- heavy white (Scribes Nook); other- Michaels
Accessories and Tools- printer; buttons; Square Swatches die (Spellbinders); pop dots; ruler

Monday 15 June 2020

Navy and One Other Colour- The Flower Challenge


Good Morning
Here is another card I made for
The Flower Challenge.

This month our theme is:


Our Guest Designer this month is Jenny Hall from jennyhalldesign.com. Do check out her blog if you have a minute as she makes such fabulous cards.


Here are my card details.
I began with a background piece that I made on my Gel Plate using some fringed yarn.
This is what it looks like:


So I brayered some light blue paint onto my Gel Plate, laid on the yarn and then let the paint dry.  I removed the yarn and then brayered some navy paint over that and pulled the print.
While that dried, I looked through some of my painted backgrounds that didn't work out, so instead of tossing them, I like to save them to use for die cutting.  I die cut the flowers using one of those pieces.
I layered the flower dies, then I glued a pearl gem into the center of the flowers.
I die-cut the panel with the Hemstitch die to add interest and then glued the flowers into the one corner.
I stamped the sentiment onto a small leftover painted piece with Versamark and white heat embossed it.  I pop dotted that into the top corner.
Finally, I mounted it all onto a heavy white card base.


Thanks so much for coming by and taking a look.

Adding my card to these challenges:
We Love to Create- ANYTHING GOES
Shopping Our Stash- UFO's
(made the flowers from unusable prints)
Time Out- INSPIRED BY WORDS

Supplies
Stamps- Cool Tag Banner Sentiments (YNS)
Inks- Versamark; Dollar Store paints
Paper- heavy white (Scribes Nook)
Accessories and Tools- Gel Plate; Flower die (Unknown...from a friend); Cuttlebug;
Hemstitch Die (Spellbinders); pearls; brayer; yarn, white eb powder; heat tool

Saturday 13 June 2020

Big Hugs


Happy Saturday
It's weird that throughout this Pandemic, I have to really think about what day it is!  lol
Are you finding that you are having the same problem?  So much of our life has been tipped upside down.

Well meet today's card. 
Happy to see that all the flowers are growing in my garden which inspired my card.

So here are the details.
I had my small Gel Plate out and wanted to use it to create the background...so simple to do.
First, I added a deckle edge mask to my card as I wanted a plain white border frame, then using a brayer, I rolled some Cracked Pistachio Distress ink onto the plate.  I splattered some diluted Distress ink along the bottom of the plate plate as well and then pulled the print.  
Next, I positioned the Magnolia Rhapsody into my Misti and I coloured the flowers and stems with my Tombow markers, sprayed with water and stamped.  I repeated that process until I was happy with the concentration of colour.  
I removed the mask and set it aside to dry.  
Finally, I placed the panel back into my Misti and stamped the sentiment from the PB Beautiful Heart set and added some white splatters with a Posca pen.
I mounted the panel onto a piece of light green cardstock, then onto a heavy white card base.


Thanks so much for coming by and taking a look.

Adding my card to these challenges:
Just Us Girls- FRAME IT
Simple Create Too- ALL SUMMER LONG
Southern Girls- ANYTHING GOES

Supplies
Stamps- Beautiful Heart (PB); Magnolia Rhapsody (PB)
Inks- Distress Inks (TH); Versafine Clair; Tombow markers
Paper- heavy white (Scribes Nook)
Accessories and Tools- Deckled Edge Acrylic Mask (A Colorful Life Designs); Gel Plate; brayer; 
Mister (TH); Misti (My Sweet Petunia); white Posca pen

Wednesday 10 June 2020

Sunny Days


Welcome
Hope you are well during these unprecedented times
Being creative certainly has helped me feel happy.  Having some extra time to play has been good.
I had this stencil sitting out on my desk after using it last week so decided to try a totally different colour palette to create a sunny, summery looking card.

So onto my card details.
I began with a piece of heavy white cardstock.  I'm using the Altenew Dahlia stencil which is a 2 part stencil meaning that you add colour over Stencil A, remove it and position Stencil B over to add another colour and the details.
I laid Stencil A down first and rubbed over it with some Squeezed Lemonade Distress ink.  When I was happy with the coverage, I removed that stencil and positioned Stencil B over then panel and inked with some Mowed Lawn DI using a blending sponge.
I placed the piece into my Misti, then stamped the sentiment with some Versafine Clair black ink then clear heat embossed it.
I mounted the panel onto a piece of matching yellow, then onto a heavy white card base.


Thanks so much for coming by and taking a look.

Adding my card to these challenges:
Allsorts- YELLOW
Just Us Girls- SUNSHINE
My Time to Craft- USE A STENCIL


Supplies
Stamps- Scripted Bold Sentiments (Pinkfresh Studios)
Inks- Distress (TH); Versafine Clair
Paper- heavy white (Scribes Nook); yellow cs (Michaels)
Accessories and Tools- Dahlia stencils (Altenew); sponging tool; Misti (My Sweet Petunia); 
clear eb powder; heat tool