It's the last day of September and where has the month gone.
Time for one more card using a newly releases stencil from A Colorful Life Designs called:
So, here's what I did to create my card.
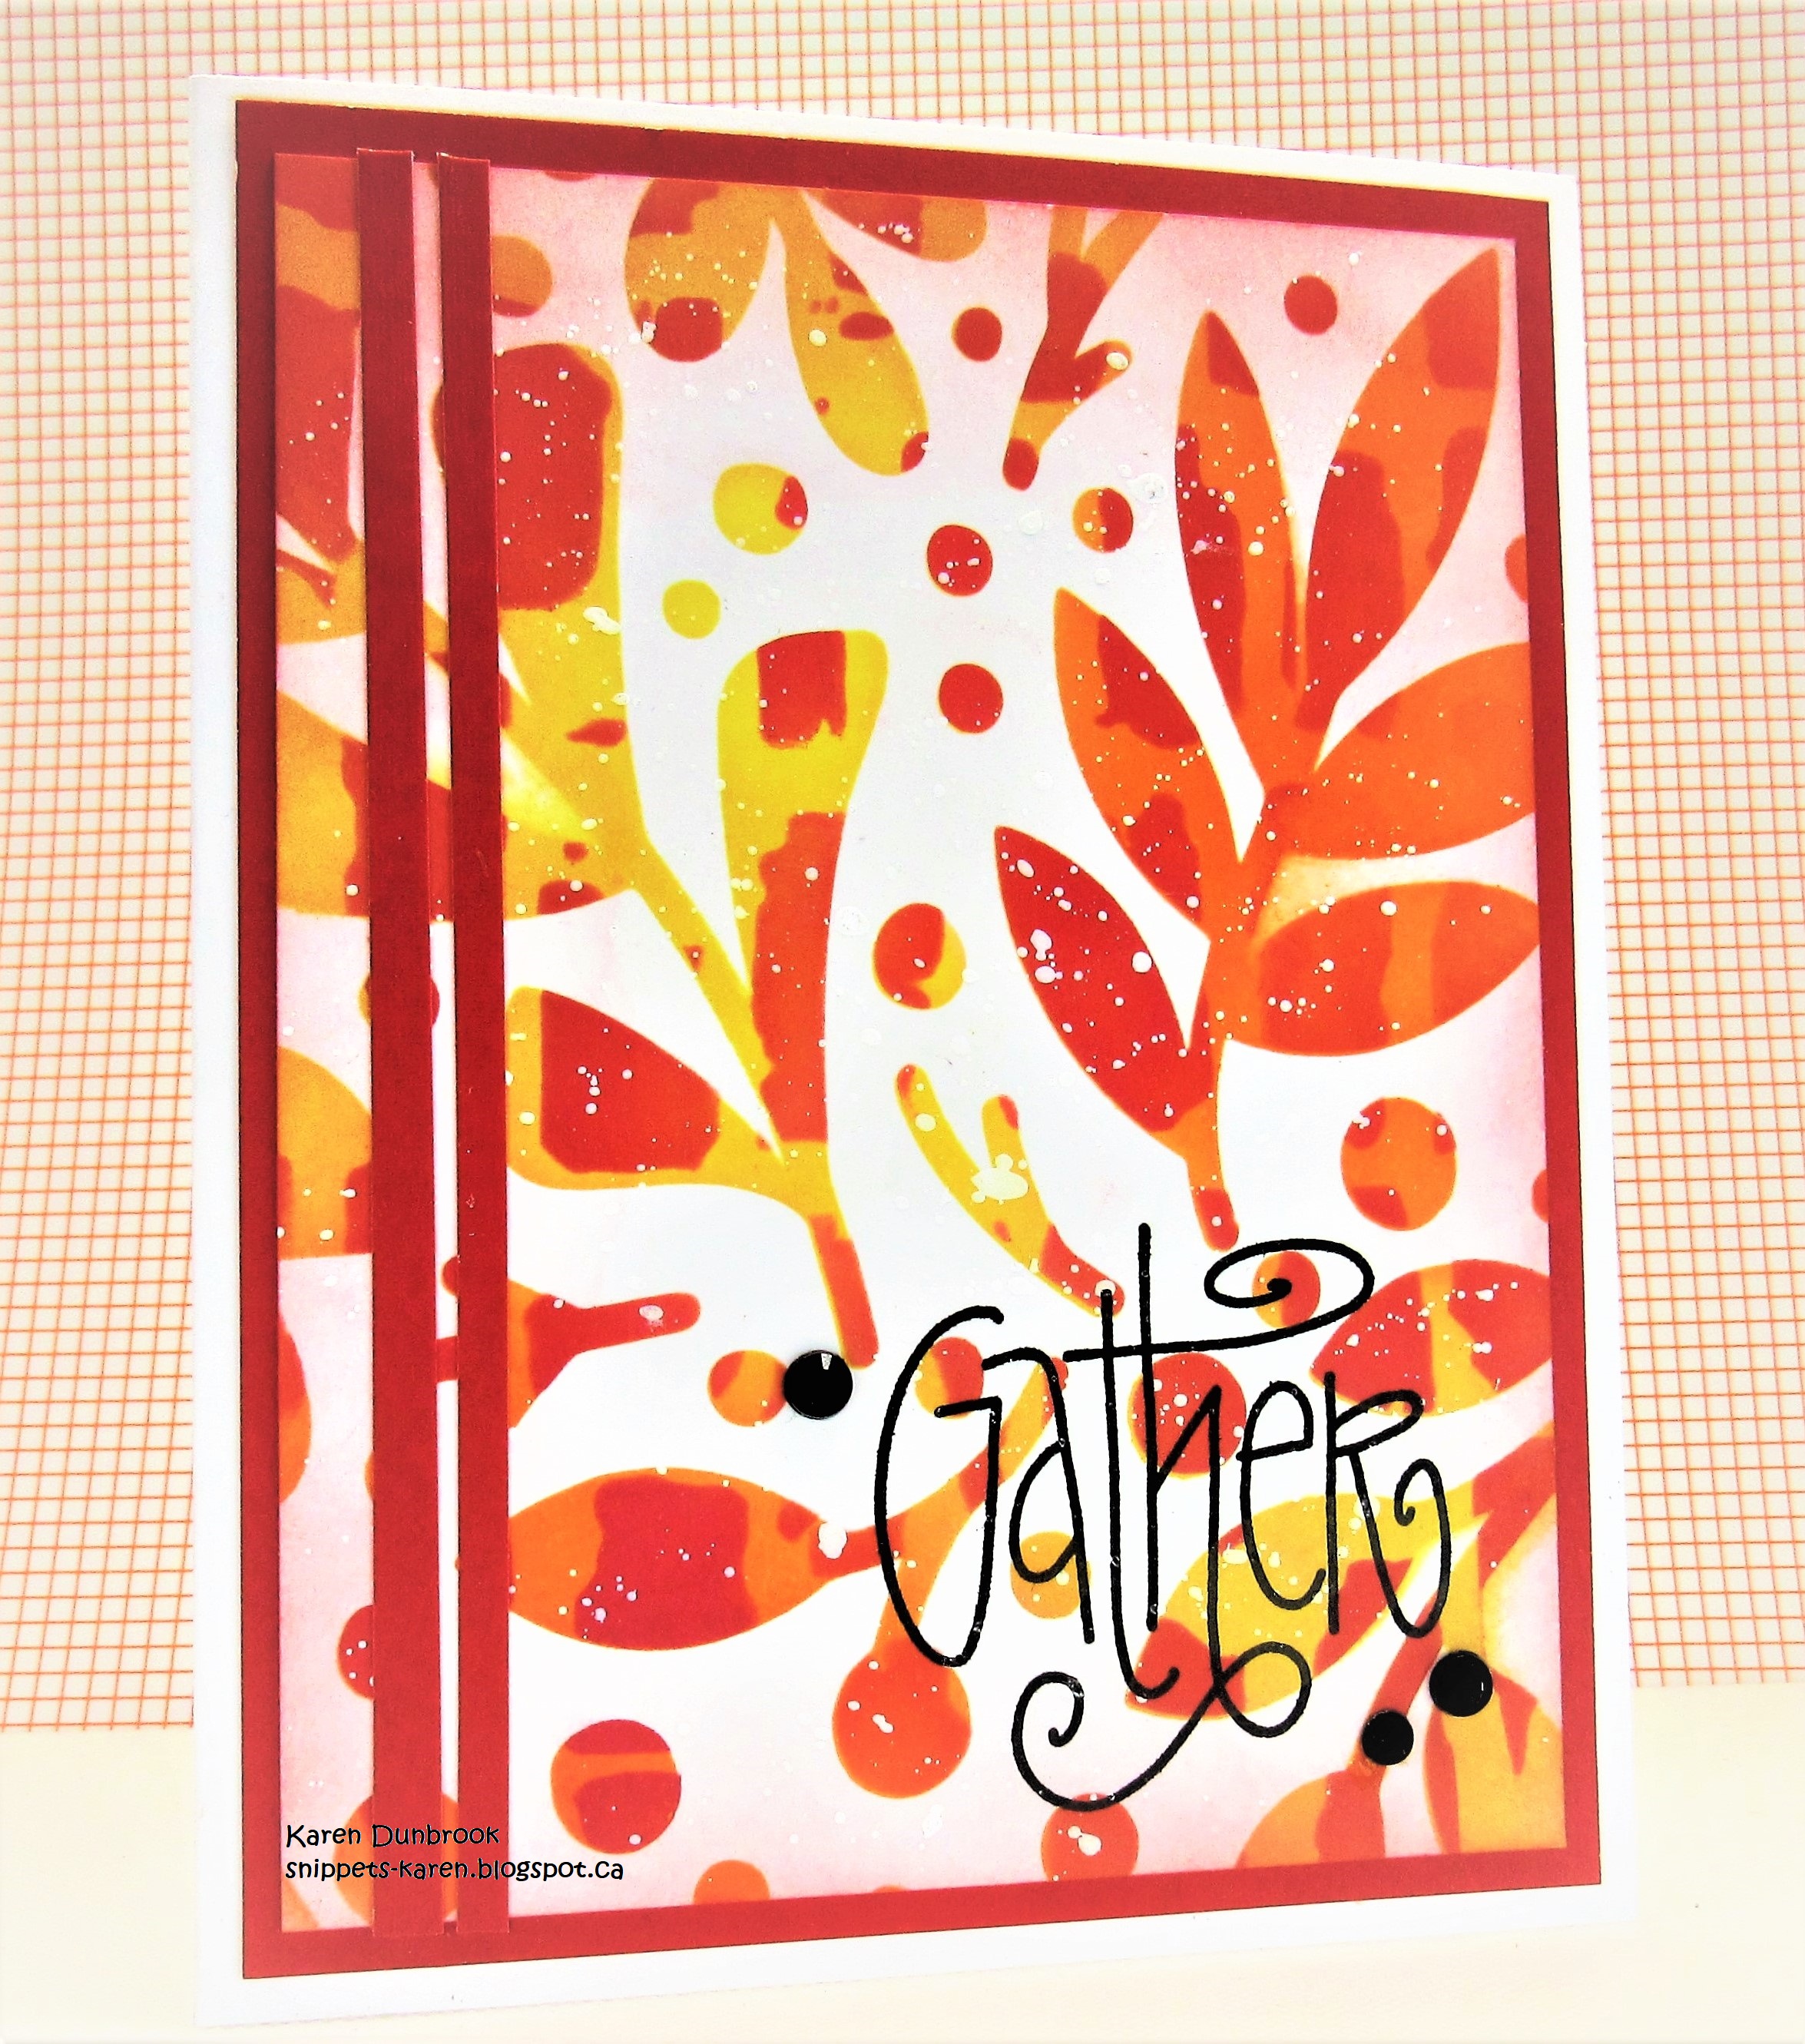
- I began by getting out my Gel Plate and I pressed a few of my Distress Oxide ink pads directly onto the plate. The colours I used were: Rustic Wilderness, Ripe Persimmon ande Fossilized Amber.
- I took my brayer and blended the inks over the plate, then placed the Geometric Leaves stencil over that.
- I took a scrap piece of paper and rubbed over the plate to lift some of the ink off, then removed the stencil and rubbed my piece of white cardstock over the plate to create the print.
- While that dried, I die cut the thin white frame using a frame die.
- I die cut the sentiment from a piece of pale green cardstock, then die cut the word shadow right from the middle of the stenciled panel.
- I glued my card front panel onto another piece of green cardstock, then onto a white A2 sized card base.
- I glued the frame over the print and then used some foam tape to pop the sentiment back into my card front.

Here is the stencil I used:

Supplies
Stamps- none
Inks- DOX
Paper- Prism Solar White
Accessories and Tools- stencil (A Colorful Life Designs); Gel Plate;
Speedball Brayer; Just Saying die (Concord and 9th)