Showing posts with label embossed. Show all posts

Monday, 11 September 2023

Lined Leaves

Good Morning
Today's card is in honour of those lost in the 911 tragedy.
I'm using a new stencil from A Colorful Life Designs called

So, here's what I did to create my card.
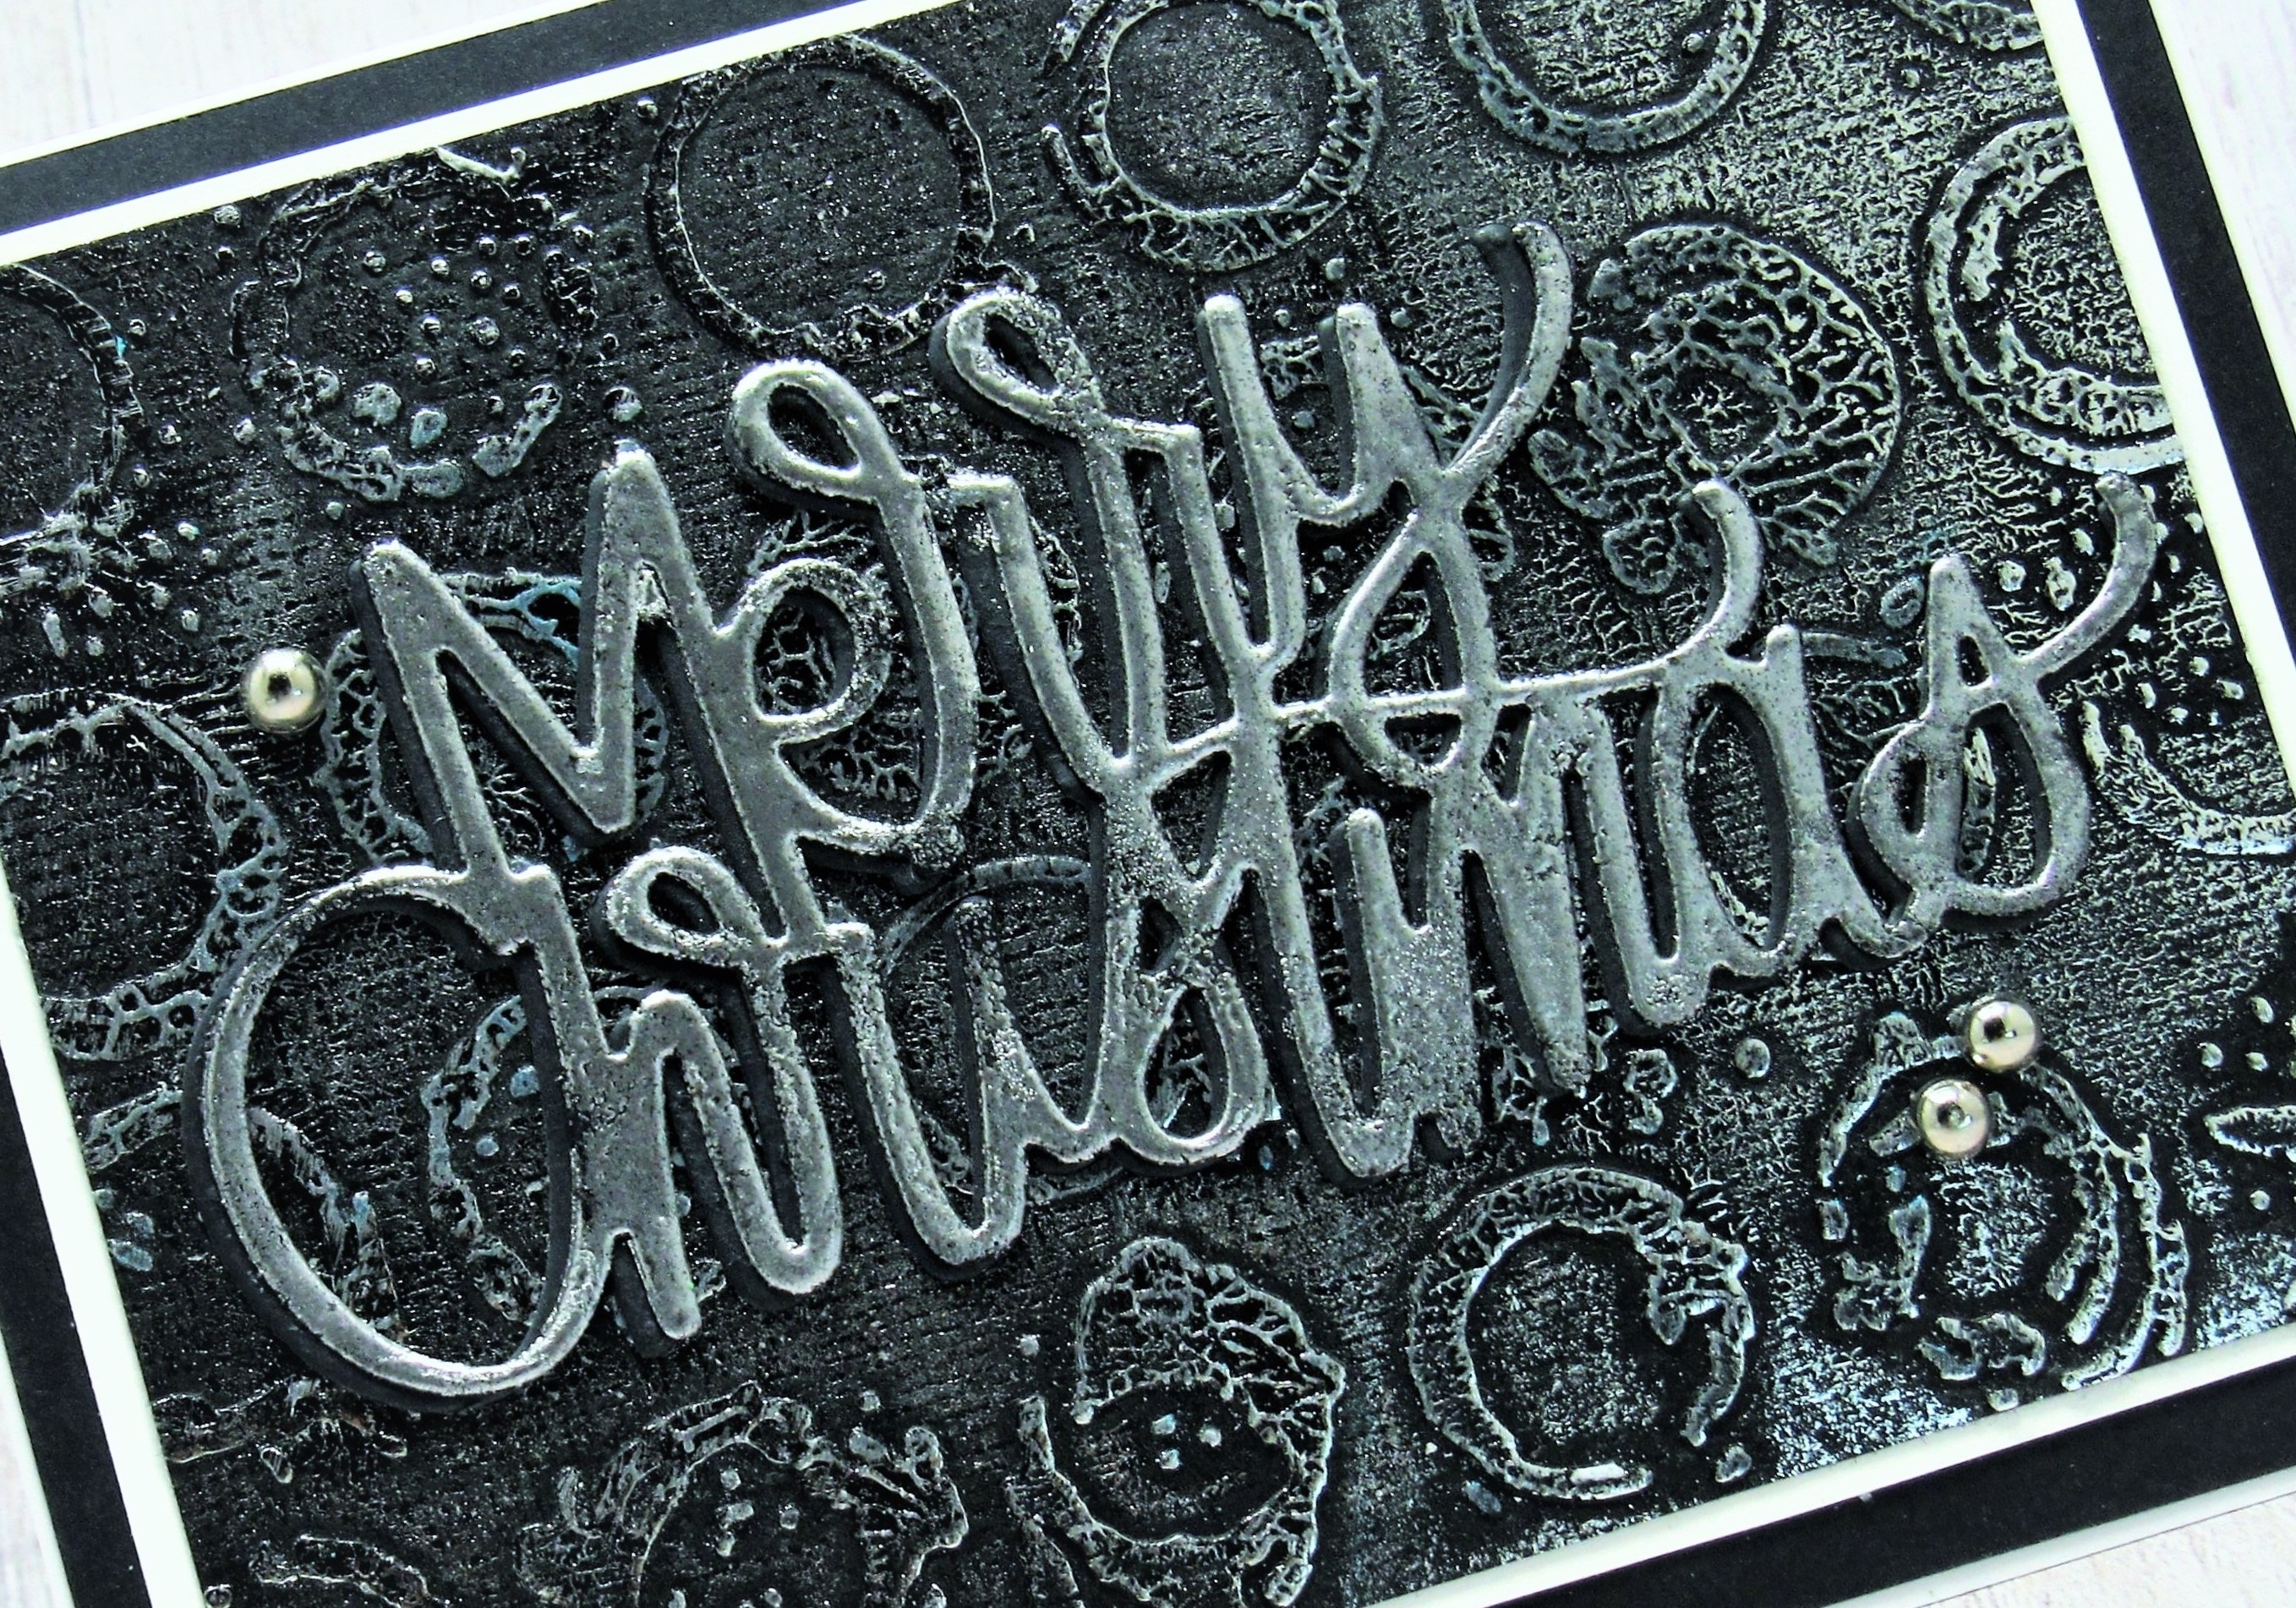
  • I began by embossing my white cardstock with the Angled Mosaic Embossing folder, then I placed it onto my Make Art Station and placed the Lined Leaves stencil over that.
  • I inked over the whole stencil with some Bundled Sage Distress Oxide ink.  I wanted to add a bit of shadow and add to the interest of the background, so I shifted the stencil slightly and inked over it again but this time with some Weathered Wood DOX ink.
  • I removed the stencil and splattered with my white Posca pen.
  • While that dried, I stamped the sentiment and then die cut it out.
  • I glued the dried panel onto a piece of black cardstock, then onto an A2 sized card base.
  • I used some foam tape to pop the sentiment up over the background.

Here is the stencil I used:

Discount Code for A Colorful Life Designs
(Affiliate with no extra cost to you) 

Thanks so very much for coming by and taking a look.

Adding my card to these challenges:
Crafting Happiness- ANYTHING GOES

Supplies
Stamp- Big and Bold Sentiments (SSS)
Inks- DOX
Paper- heavy white (Scribes Nook- Waterloo, Ont.)
Accessories and Tools- stencil (A Colorful Life Designs); Make Art Station (Ranger);
TE Blending Brushes; white Posca pen; Angled Mosaic EB folder (Altenew)

Friday, 30 December 2022

Christmas- Black Embossed


Welcome
I know, black Christmas cards are not a common thing to see.
I think this one turned out looking very cool and my son loved it.

So, here's what I did to create my card.
  • I got out a piece of black cardstock and embossed it using a Tim Holtz embossing folder. (sorry, I can't seem to find the name of it anywhere)
  • Next, I took the embossed panel and sanded off the raised areas.  
  • I took my Weathered Wood Distress Oxide ink pad and rubbed over the whole panel, giving it a unique look.
  • I set that aside to dry and then using a another piece of black cardstock, I die cut the Merry Christmas sentiment.  I pressed my Versamark ink pad over the die cut and silver heat embossed it.  
  • I glued the main panel onto a piece of white cardstock, then onto a black piece pf cardstock and then finally onto an A2 sized card base.
  • I glued the sentiment over the panel and added 3 silver gems.

Thanks so much for coming by and taking a look.

Supplies
Stamps- none
Inks- Versamark, DOX
Paper- black cardstock
Accessories and Tools-  Embossing Folder; silver embossing powder; silver gems;
Merry Christmas die (SSS)

Monday, 27 December 2021

Beary Good Birthday


Happy Hello.
Here's a simple card I made using a background I found in my stash.  
Yes, I keep saying I find these backgrounds in my stash, it is a large collection.  Often when I get time to play, I just make backgrounds, then tuck them away for a future card.

So here's what I did to create my card.
  • Like I mentioned above, I looked through my stash until I found this background.  I had either embossed a Gel Plate roll off sheet or I inked the inside of the embossing folder? (I need to do a better job at writing down what I have done while creating these backgrounds.)
  • I stamped the bear from the Polar Pals set, fussy cut it out and then used my Copic markers to add colour.
  • I stamped the sentiment from the same set on a scrap strip of cardstock.
  • I glued the embossed piece to some white, then onto green cardstock, then onto a heavy white card base.
  • I pop dotted the bear into the corner and added the sentiment strip along the top.

Thanks so much for coming by and taking a look.

Adding my card to these challenges:
Little Red Wagon- DOTS OR STRIPES
Simon Says Wed.- LET'S PARTY
Creative Crafters- ANYTHING GOES
Allsorts- ANYTHING WINTER


Supplies
Stamps- Polar Pals (MFT)
Inks- Versafine Clair, Copic markers
Paper- heavy white (Scribes Nook- Waterloo, Ont.)
Accessories and Tools- Holiday Knit eb folder (Sizzix); foam tape

Saturday, 18 April 2020

Lead the Way


Hello and Welcome
Today I'm trying my hand at some Mixed Media with this card.  Just playing around is fun.

So here's how my card came to be.
I began with a piece of heavy white cardstock.  I embossed it with my Cuttlebug using a folder from Carabelle Studio.  I think it's called Graffiti but I can't find it at the moment.
* helpful tip:  Lightly spray your paper before placing it inside your embossing folder to get a better impression*
Next, I sprinkled some Brushos onto my embossed card panel, sprayed with just a bit of water and let the colours bloom.  I used some black, lemon and some orange Brushos.  The black is the most amazing as when it is activated with water, you see shades of gray, blue and green.  I dried that with my heat tool. 
When it was all dry, I use the Compass stencil from AAll and Create with some Ranger Archival ink to stencil over to the side of the panel.  Some of the areas looked a bit dark, so I added touches of white acrylic paint using my brayer to lighten them up a bit.  I splattered with some black acrylic paint, then I stamped the sentiment onto a piece of black cardstock, white heat embossed it and pop dotted it over my background.
I glued it over a piece of black cardstock, then onto a white card base.


Thanks so much for coming by and taking a look.

Supplies
Stamps- Everyday Sentiments (YNS)
Inks- Ranger Archival, Brushos, Versamark
Paper- heavy white (Scribes Nook)
Accessories and Tools- EB folder (Carabelle Studios); Compass stencil (AAll Creates);
brayer; pop dots; white eb powder; black and white acrylic paint