Showing posts with label silver. Show all posts

Friday, 30 December 2022

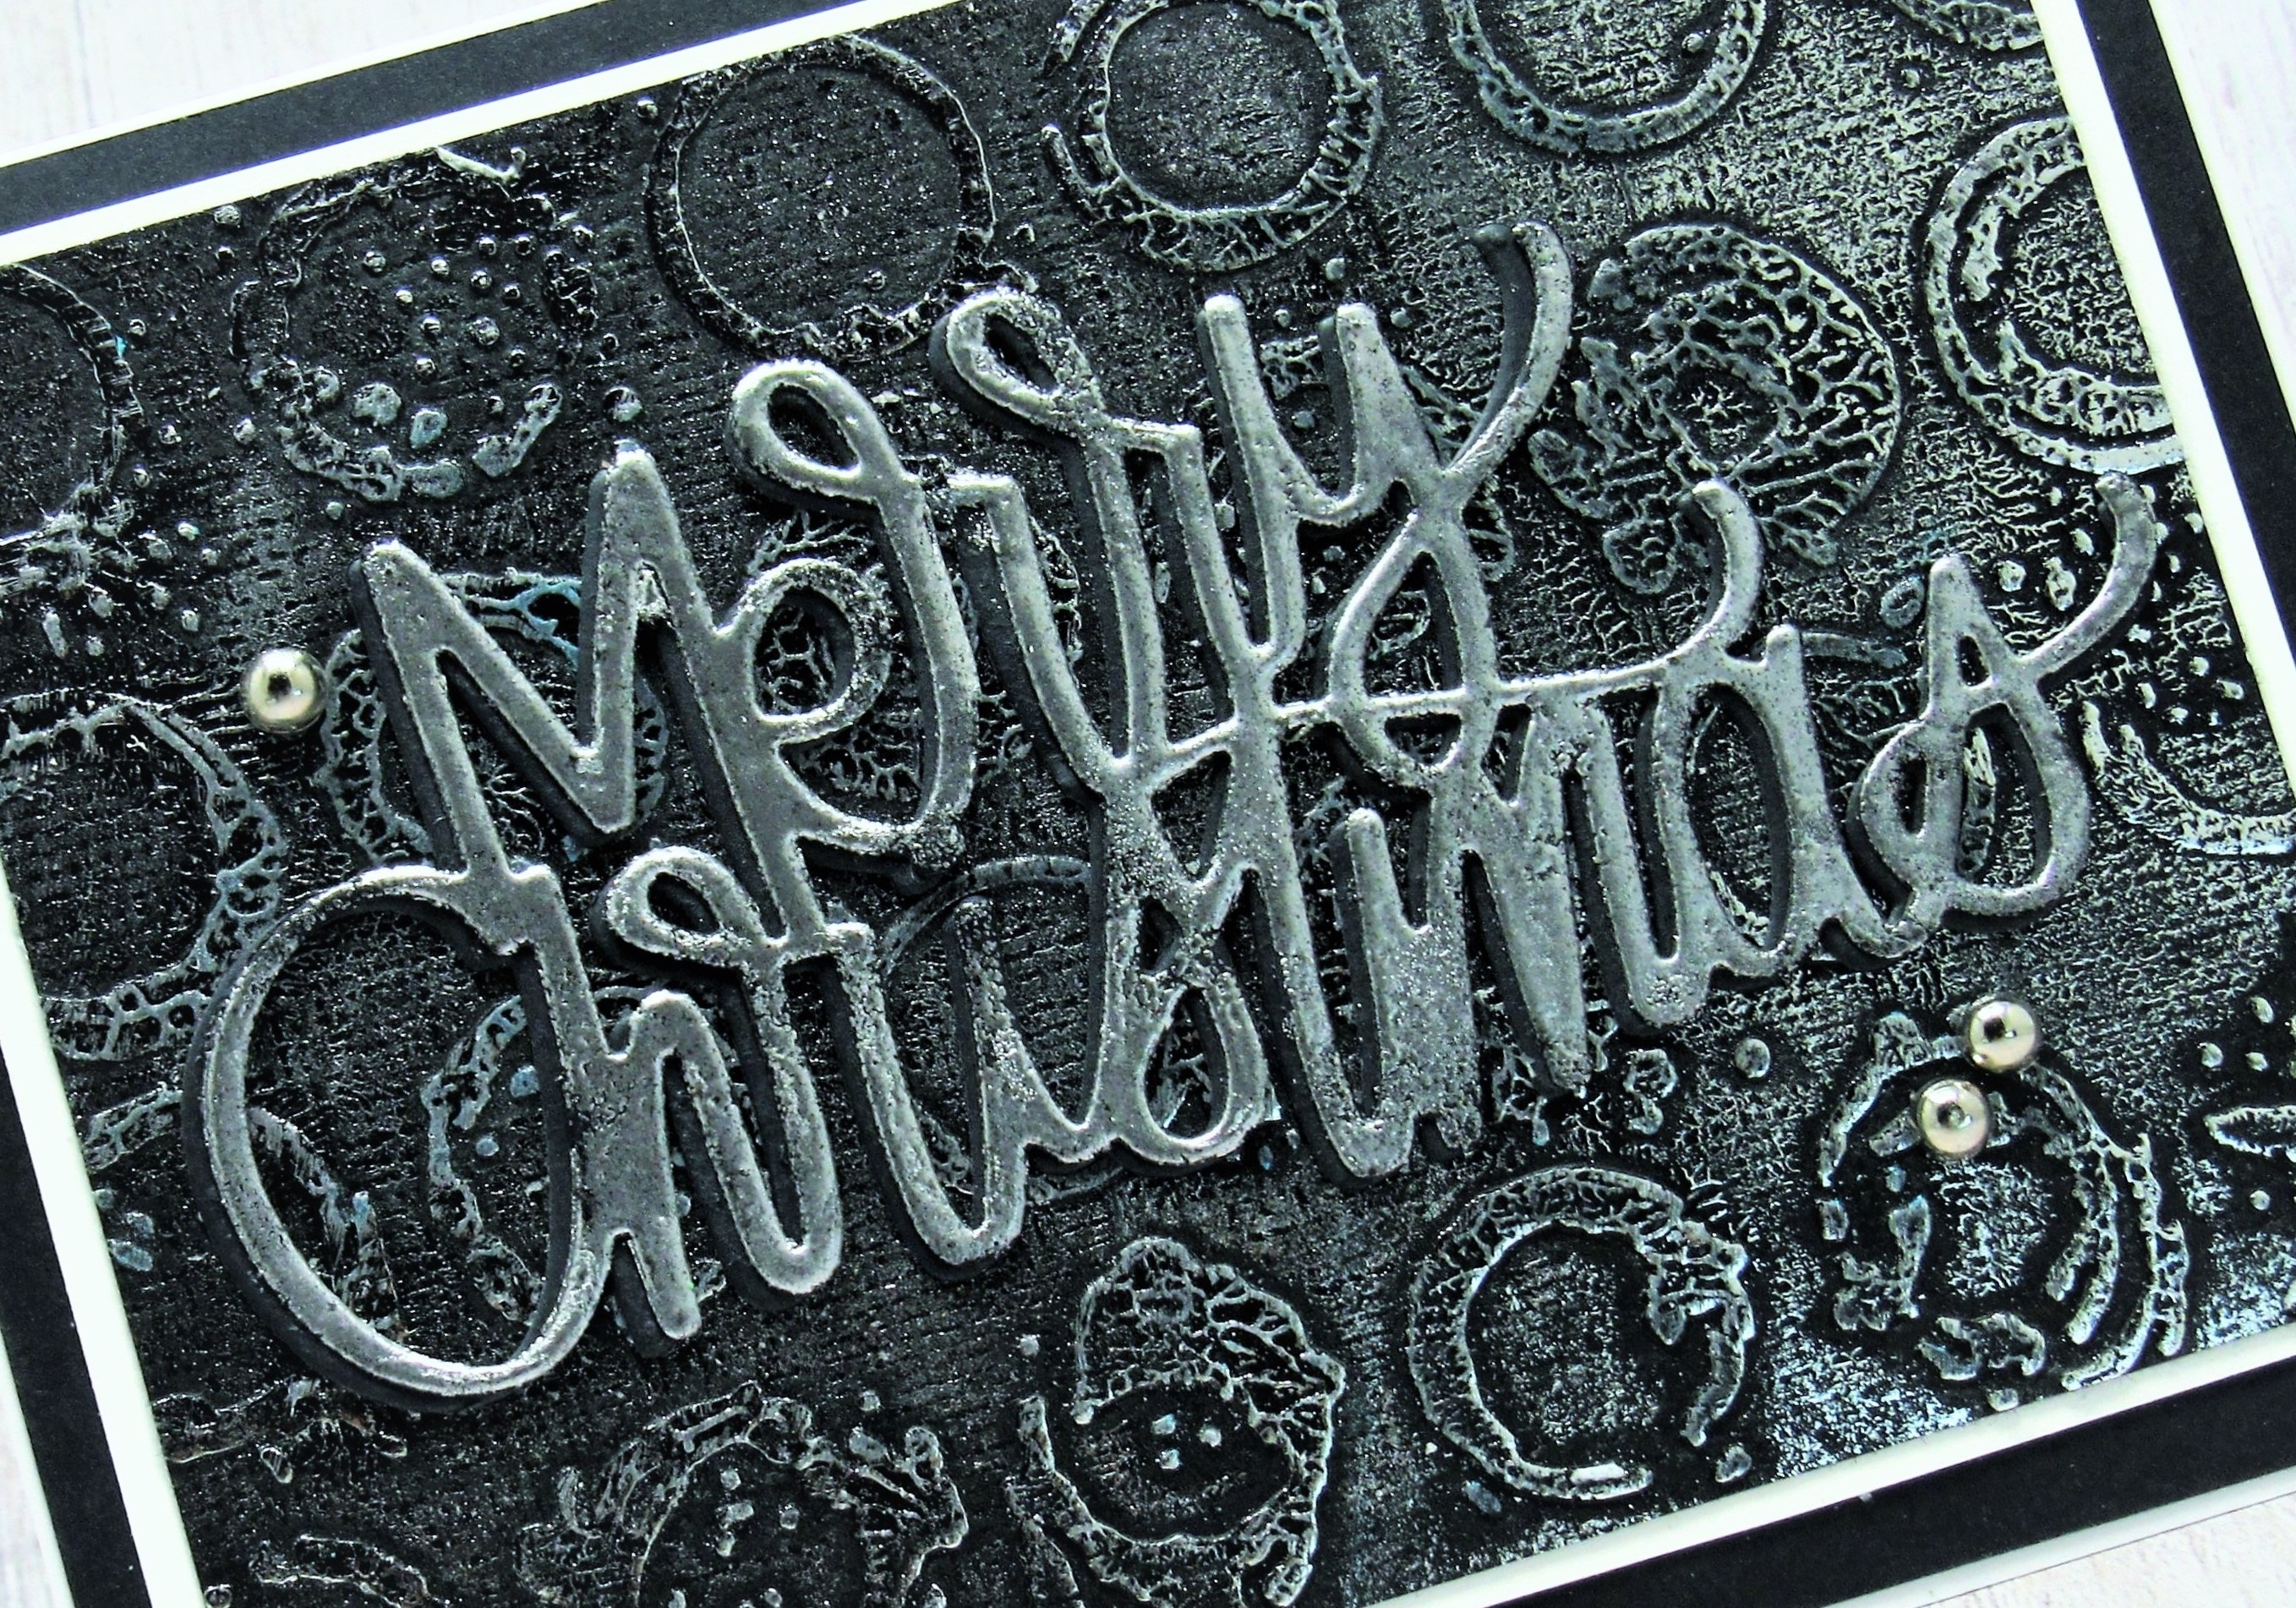
Christmas- Black Embossed


Welcome
I know, black Christmas cards are not a common thing to see.
I think this one turned out looking very cool and my son loved it.

So, here's what I did to create my card.
  • I got out a piece of black cardstock and embossed it using a Tim Holtz embossing folder. (sorry, I can't seem to find the name of it anywhere)
  • Next, I took the embossed panel and sanded off the raised areas.  
  • I took my Weathered Wood Distress Oxide ink pad and rubbed over the whole panel, giving it a unique look.
  • I set that aside to dry and then using a another piece of black cardstock, I die cut the Merry Christmas sentiment.  I pressed my Versamark ink pad over the die cut and silver heat embossed it.  
  • I glued the main panel onto a piece of white cardstock, then onto a black piece pf cardstock and then finally onto an A2 sized card base.
  • I glued the sentiment over the panel and added 3 silver gems.
Thanks so much for coming by and taking a look.

Supplies
Stamps- none
Inks- Versamark, DOX
Paper- black cardstock
Accessories and Tools-  Embossing Folder; silver embossing powder; silver gems;
Merry Christmas die (SSS)

Monday, 4 October 2021

Snowy Noel


Welcome
Meet today's card that I made after watching a Vicki Boutin Friday night Live.
I used 3 colours of Distress inks to create my background...sort of an ombre look.

So here's what I did to create my card.
  • I began with a piece of heavy white cardstock and a piece of acetate.  You can use the packaging from any stamp set if you don't have a dedicated piece of acetate.  I rubbed some Peacock Feathers Distress ink directly onto the acetate, sprayed with a lot of water and then pressed onto the left hand side of my cardstock since I knew I wanted my panel to go from light to dark. I splattered and rubbed it on until that area was covered with ink, drying as I went along to get a nice layered look and leaving some white areas.
  • When I was happy with the inking in that area, I did the same in the middle section with some Salty Ocean DI and then finally, the right side with some Prize Ribbon DI.  
  • When the panel was dry, I measured and cut it into 3 pieces.
  • I used the Blizzard Corner die to cut out the snowflakes.  That was the only die I had, small enough to fit across the tops of my panels.  I like how they are all attached to each other. That die is meant to cut a corner but after die cutting it, I cut it all up into pieces to add to the top of the panels.
  • I splattered with my white Posca pen and then pop dotted them onto my card panel front.
  • I wanted the 'NOEL' letters to be silver, but I didn't have any metallic paper, so I pressed my Versamark ink pad onto a piece of white cardstock and embossed it using some silver embossing powder.  I die cut the letters from that and glued them onto the inked panel.  
  • I added 3 silver sequins around the sentiment to finish off my card.

Thanks so much for coming by and taking a look.

Adding my card to these challenges:
Simon Says Stamp- ANYTHING GOES
Crazy 4 Challenges- INSPIRED BY A SONG 
(Let it Snow)
Allsorts- I LOVE....
(this technique of inking and the blue)

Supplies
Stamps- none
Inks- Distress Inks, Versamark
Paper- heavy white (Scribes Nook- Waterloo, Ont.)
Accessories and Tools- silver EB powder; heat tool; Bold Letters (Scrapbook.com); 
Blizzard Corner (Poppystamps), silver sequins; acetate; white Posca pen

Sunday, 3 November 2019

Snowflake


Good Morning
Trying something new again.  Playing with this gorgeous snowflake as well.

So here's what I did.
I got a piece of Yupo paper and positioned the snowflake mask over it.  For those of you that don't know what Yupo paper is, it is a plastic coated product that works great when using Alcohol inks.
Next, I put on some rubber gloves then I took a baby wipe and squeezed some Ranger Alcohol inks onto it then pressed the baby wipe over my mask.  I kept pressing and pressing being sure to get into all the little nooks and crannies.  
Using a new baby wipe, I applied another colour in the same way, removed the mask, then set it aside to dry. I cleaned my mask right away using some Ranger Blending solution.

I die-cut the sentiment with some heavy white cardstock twice and glued the two pieces together for stability.  I presses the sentiment onto my Versamark ink pad then sprinkled on some silver embossing powder and heat set it with my gun.
I glued the sentiment over the snowflake background, then added a few sequins and glued it all onto a heavy white card base.


Thanks so much for coming by and taking a look.


Discount Code for A Colorful Life Designs

Supplies
Stamps- none
Inks- Ranger Alcohol inks; Versamark
Paper- Yupo; heavy white (Scribes Nook)
Accessories and Tools- Big Snowflake (A Colorful Life Designs); Merry Christmas die (Creative Expressions);
 silver EB powder; heat tool; silver sequins; baby wipes

Tuesday, 14 August 2018

Happy Wedding Day

We had the pleasure of attending a special friend's wedding on the weekend.  It was a joy and a blessing to see how happy they are together.

I wanted to make an elegant, yet simplified card and here is what I came up with.
I began with a piece of white cardstock.  I place my Mini Lace stencil from TCW over the paper and pressed on some Versamark ink over it being sure to get into all the corners and edges.
I sprinkled on some shiny silver embossing powder and heat embossed it.
Next, using my Misti, I stamped the 'Congratulations' sentiment across the bottom and I splattered some silver paint over the stenciled area as well.
 I die-cut the Olive Branch and the Berry Branch with more white cardstock and glued them onto the front.  I tied a piece of silver ribbon at the top to add to interest and more shine.


Instead of putting the card into an envelope, I created a small box to place it in.
I stamped it using a large floral image, then tied it up with more silver twine and a congrats die-cut.


Thanks so much for coming by and taking a look.

Adding my card to these challenges:
Craft Stamper Magazine- ANYTHING STAMPED GOES

Supplies
Stamps- Everyday Greetings (Mama Elephant)
Inks- Versamark
Paper- heavy white
Accessories and Tools- silver embossing powder= heat tool- Mini Lace Stencil (TCW)=
silver twine= Berry Branch die (PB)= Lg Olive Branch (Poppy Stamps)
Box-Sketchy Florals (Altenew)

Sunday, 19 November 2017

All That Glitters

Good Morning.
Meet today's card. 
This card was inspired by this lovely snowflake from Cheery Lynn.  I love the details it has and wanted to showcase it on my card.

I began by creating the blue top of my card.  I used the Splash Watercolour Technique to apply colour using my Distress Oxide inks, then when that was dry I stamped and embossed with silver to give it some shine and a bit of elegance.
I stamped the sentiment using my Misti on my white card front, then embossed the piece using a snowflake embossing folder from Echo Park. 
Next, I used a stitched scallop die to cut the blue portion and glued it over the white embossing above the sentiment leaving enough room to add my die-cut snowflake.
Lastly, I added a silver Nuvo drop in the center of the snowflake.


Thanks so much for coming by and taking a look.


Adding my card to these challenges:
Crafty Hazelnut's- CHRISTMAS
Crafty Catz- ANYTHING GOES


Supplies
Stamps- Hand Lettered Holiday (MFT); Grunge (Kaisercraft)
Inks- Tuxedo Black Memento; Versamark; Salty Ocean, Peacock Feathers DOX (TH)
Paper- heavy white (local store)
Accessories and Tools- EB folder- Echo Park; Laced Pine Snowflake (Cheery Lynn);
Stitched Scallop Edge (MFT); Cuttlebug; Misti; Silver Nuvo Drops; heat tool