Good Morning
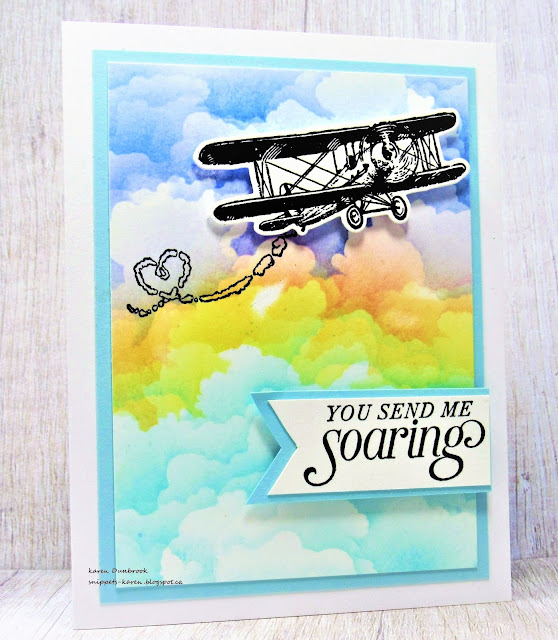
Today's card was a fun one to create using this new Portal stencil from A Colorful Life Designs and the new to me Music to My Ears stamp set by Catherine Pooler.
I went for a Retro looking card using this vintage radio.
So, here's what I did to create my card.
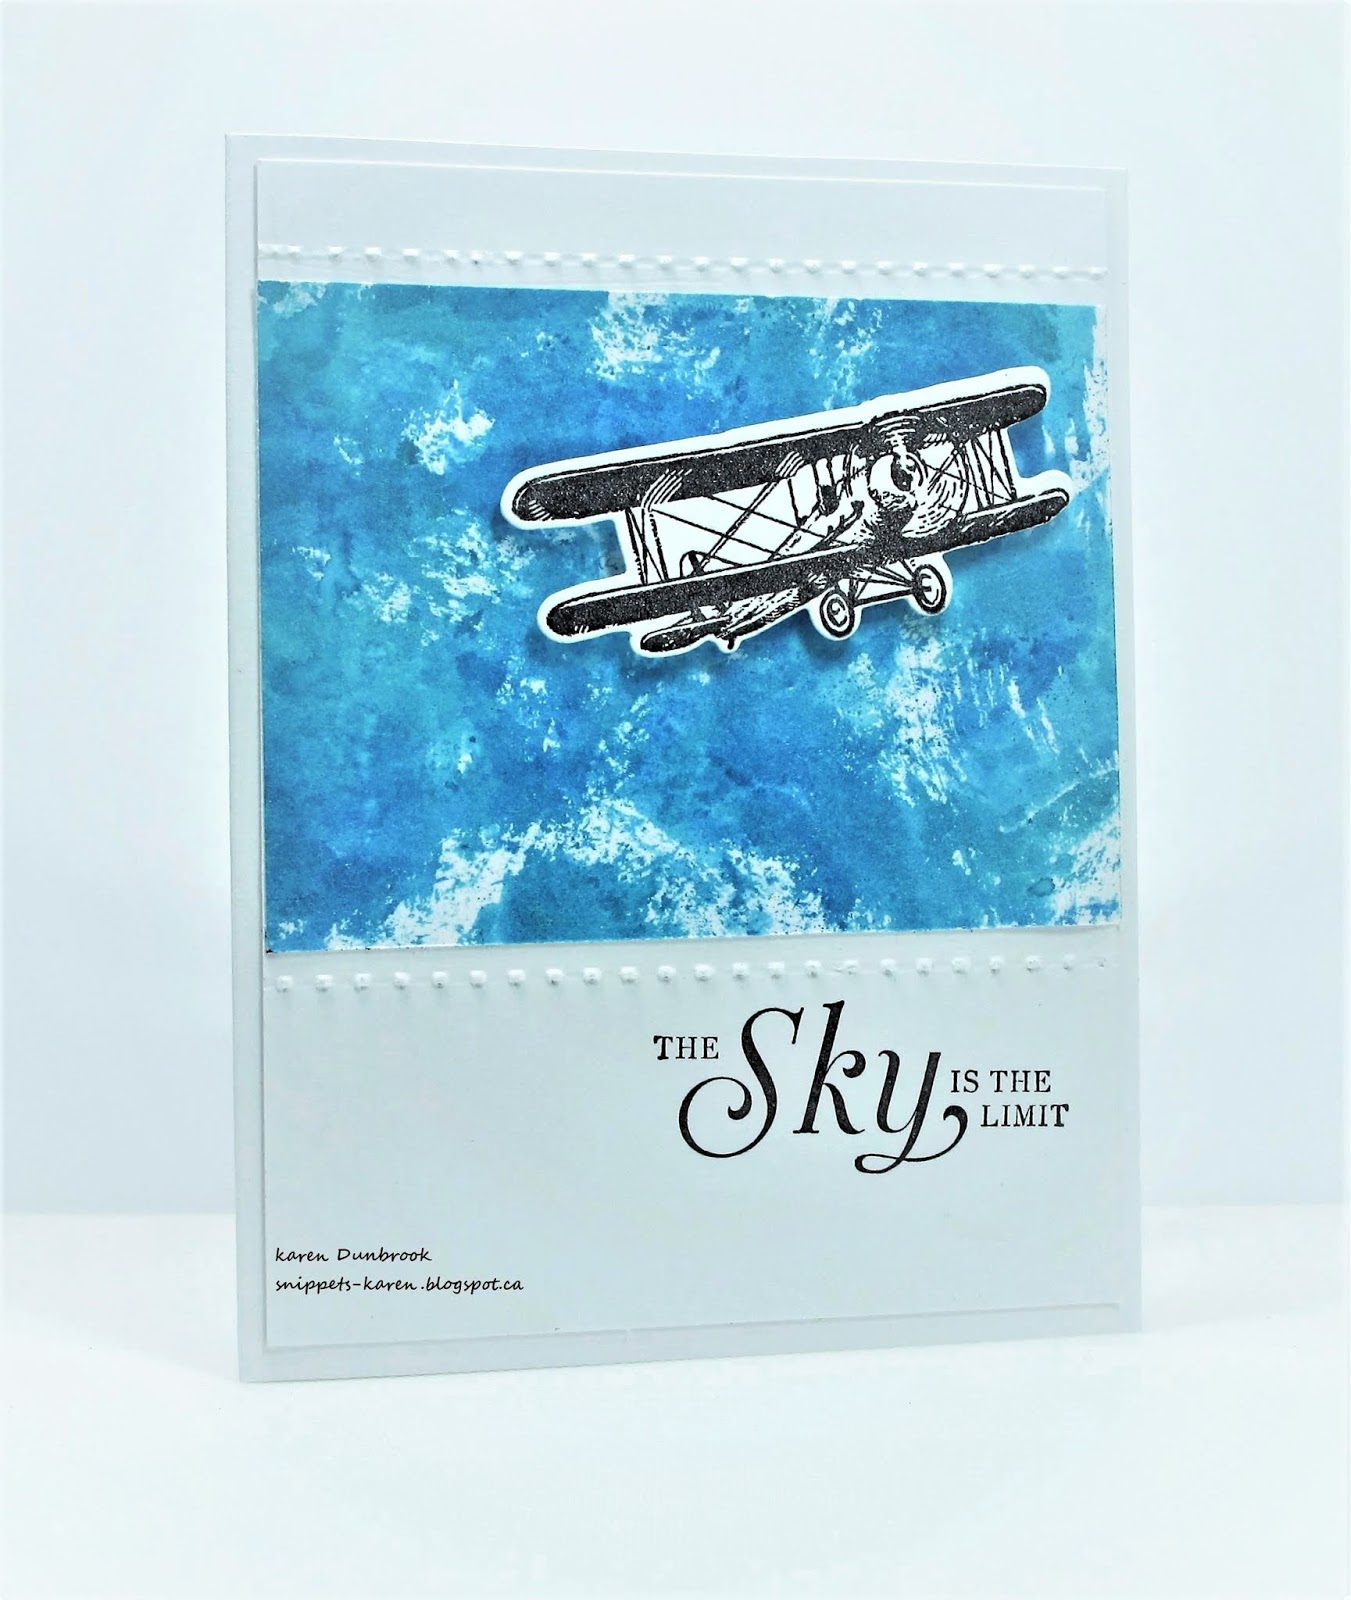
- I got out a piece of white cardstock, placed it into my Misti and stamped the Tie Dye using some Hickory Smoke Distress Oxide ink.
- I removed the stamped panel, placed it onto my Make Art Station and inked up the Portal stencil over the stamped pattern using some more Hickory Smoke DOX ink. I took some more of that ink, diluted it with water and used that to splatter the panel to add more interest.
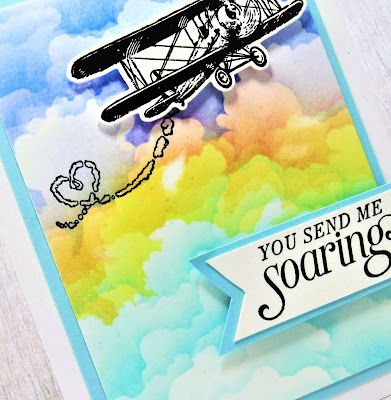
- While that dried, I stamped the radio in black and die cut it out. I used a grey Copic marker to add some details to the radio.
- I placed the dry stenciled panel into my Misti to stamp the sentiment. I clear heat embossed it to help make it pop.
- I glued the stenciled piece onto some grey cardstock, then onto an A2 sized card base and used some foam tape to pop up the radio in the center.

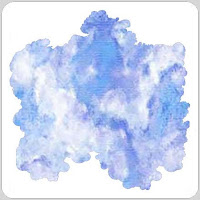
Here is the stencil I used:

Discount Code for A Colorful Life Designs
*Just use the code KarenFan10 to get a discount on your entire order.*
(Affiliate with no extra cost to you)
Thanks so much for coming by and taking a look.
Adding my card to these challenges:
Simon Says Mon.- TRANSPORT IT
Crafting Happiness- ANYTHING GOES
The Corrosive Challenge- ANYTHING GOES
Supplies
Stamps- Music to My Ears (Catherine Pooler), Tie Dye (Stampin Up); Stay Tuned (Lawn Fawn)
Inks- DOX, Versafine Clair
Paper- heavy white (Scribes Nook- Waterloo, Ont.)
Accessories and Tools- stencil (A Colorful Life Designs); Misti (My Sweet Petunia);
Make Art Station (Ranger); TE Blending Brushes