Showing posts with label DOX inks. Show all posts

Tuesday, 4 August 2020

Merry and Bright- The Flower Challenge


Good Morning
Time for some more fun and a new theme at
The Flower Challenge


I decided to make a non-traditional card for the challenge.  Sometimes it is fun to try and create 'out of the box'. As much as I love the colours of Christmas, I went for something totally different.

Sadly, this is my final card as part of the DT's on The Flower Challenge team.  This pandemic has made me realize that I need to simplify my life as I get back to work and I want to be able to carve out time when I need it.  I will try and play along though when I can.


So here's what I did to create my card.
  • I began with a piece of heavy white cardstock panel and applied a layer of Gesso as if I was 'buttering my toast' using a palette knife.  I set that aside to dry.
  • While that dried, I took a piece of heavy cardstock that I had painted with some acrylic paints.  I did that using my brayer, rolling different colours in different directions all over the piece of cardstock.  I try and do a few at a time just to have them on hand.
  • I stamped the poinsettia from Penny Black called Christmas Pride twice onto the acrylic painted surface with some Versafine Clair Noir and clear heat embossed it.
  • I fussy cut out the large flower, then from the second stamped piece, I cut out just the center portion.
  • My Gesso piece was dry by now, so I applies Speckled Egg Distress Oxide inks over the panel.  I did that by rubbing the ink pad directly onto a piece of acetate, sprayed with water and pressed onto my panel.  I like how that colour matched areas of the flower.
  • I placed the panel into my Misti and stamped the sentiment from the Frosty Hello set.  I splattered using my black Posca pen to add interest.
  • Now to assemble my card.  I glued the small flower center to the larger one, leaving areas with no glue so I could bend and shape them and then glued it onto the DOX inked panel.  
  • I glued the panel onto a heavy white card base.
  • To add my sparkle, I glued a shiny black gem into the center of my flower, then small crystal gems all around the flower.


Thanks so much for coming by and taking a look.


Supplies
Stamps- Christmas Pride, Frosty Hello (PB)
Inks- Versafine Clair Noir; acrylic paint (Paper Artsy)
Paper- heavy white (Scribes Nook)
Accessories and Tools- brayer (Speedball); clear eb powder; heat tool; black and crystal gems;
black Posca pen; Gesso; palette knife, Misti (My Sweet Petunia)

Tuesday, 2 June 2020

Celebrate Summer


Good Morning.
Hope you are keeping safe and are well as this lock down drags on.
I'm so glad we can finally celebrate the warmer weather, blues skies and the garden coming to life.
That's what inspired my card.

So here are the details.
I began with a piece of heavy white cardstock.  Using my blending tool, I rubbed DOX inks over the panel until it was completely covered.  I used some Peacock Feather, Broken China and Tumbled Glass Distress Oxides.  I let the panel dry a bit as the colours blended.
Next, using the Leaf Print stamp set from Tim Holtz, I inked up the ferns and leaves with some Faded Jeans DOX ink and stamped, then stamped again without reinking.  That is called 1st and 2nd generation stamping.  I love that it gives a shadow effect and adds a lot of depth to your images.
As that dried, I die-cut the Celebrate sentiment 3 times, glued them together for stability and then glued that over my card panel.  I added it to a white card base.


Thanks so much for coming by and taking a look.
All your most encouraging and kind comments are so truly appreciated.


Supplies
Stamps- Leaf Prints (TH)
Inks- DOX (TH)
Paper- heavy white (Scribes Nook)
Accessories and Tools- Celebrate die (MFT); inking tool (TH); Cuttlebug

Wednesday, 28 August 2019

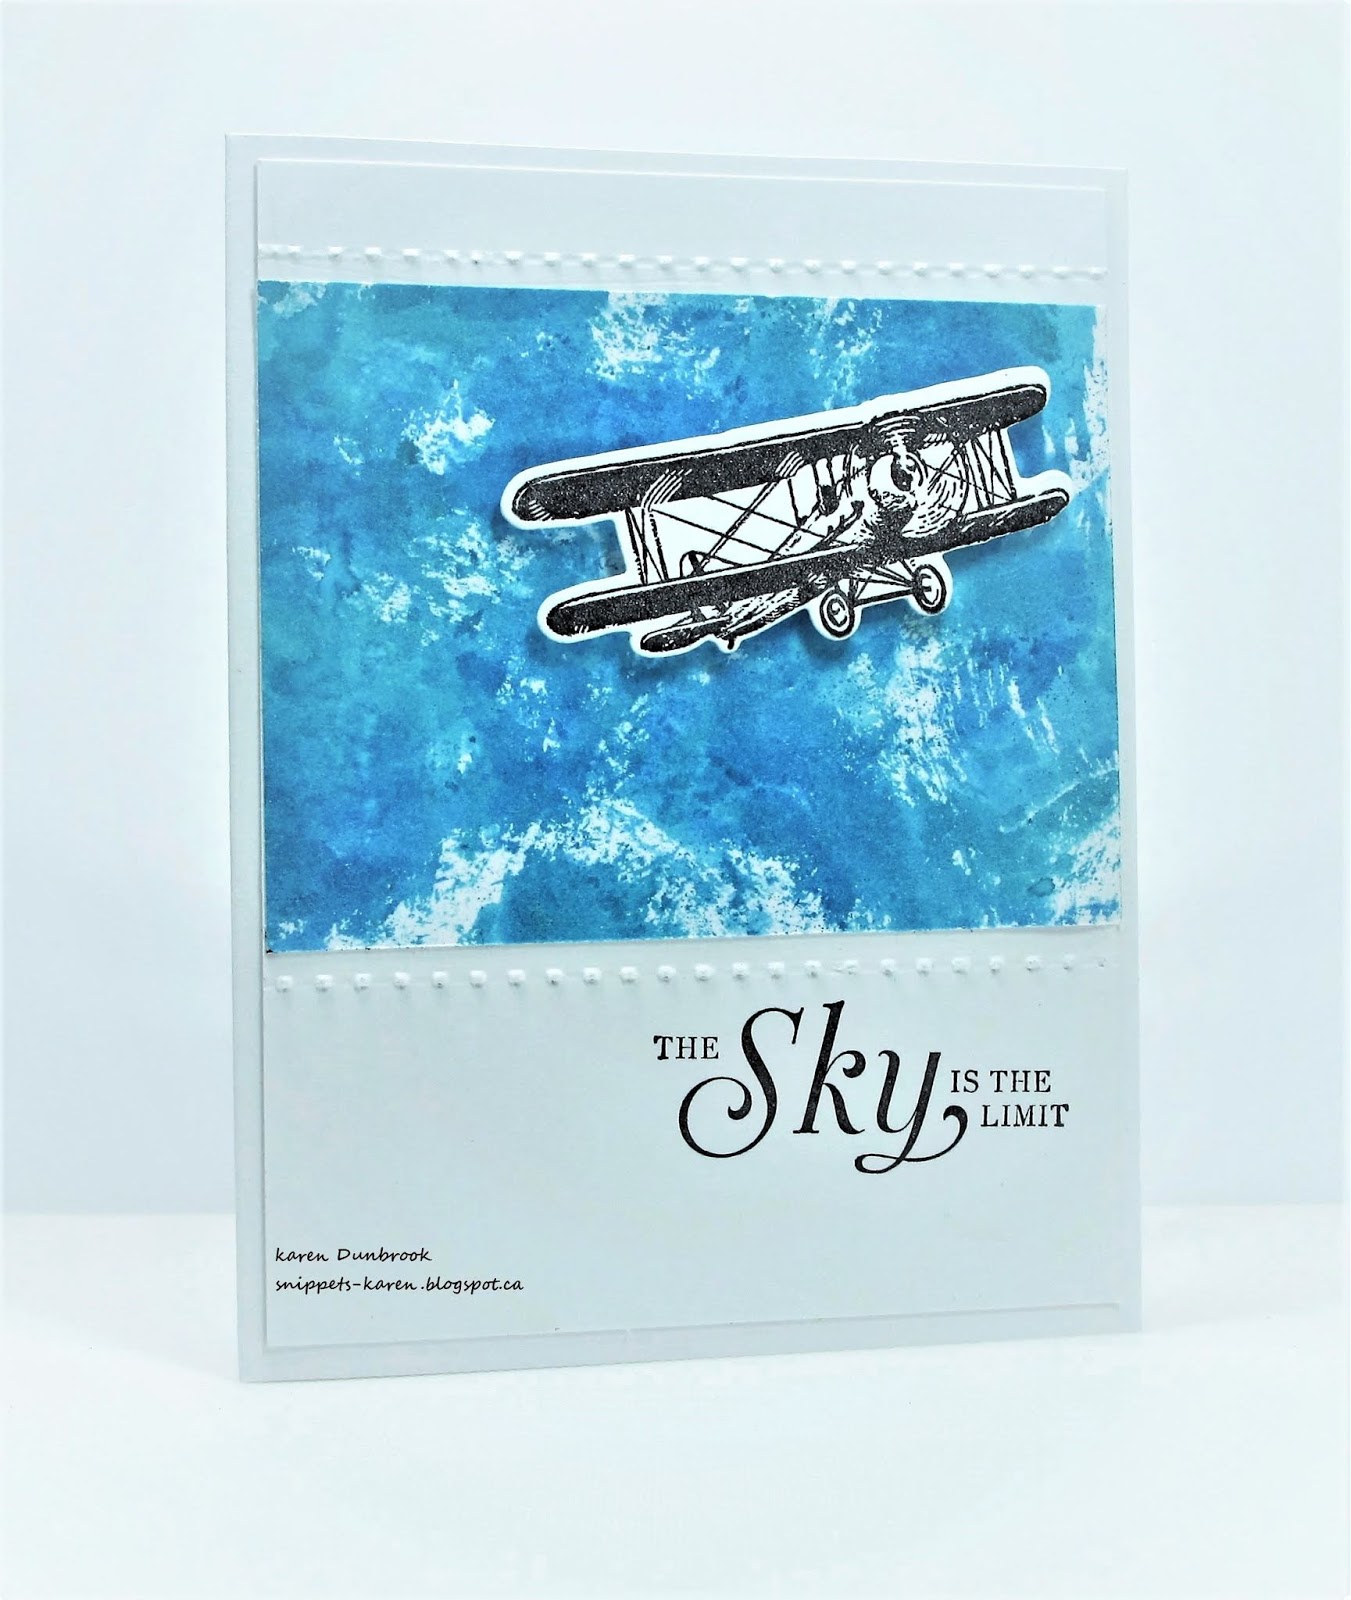
Vintage Plane


Hello and Welcome

It's amazing what you can do with a scrap piece of inky paper.  
This piece of blue cardstock was a piece I used to mop up extra ink left from another project.  I really hate to let the excess ink go to waste so I try and keep these pieces for other projects.
This blue one made for the perfect sky for my plane.

A few months ago, I went to a big garage sale that my local scrapbooking store had.  The owner of Two Scrapbook Friends and her staff set up this huge sale that fills most of her store.  It was just amazing how many stamps, machines and everything else for stamping and scrapbooking was available for sale at such reasonable prices. Sellers are given a very generous store credit so it's a win-win and what a great way for others to pick up some bargains!  That's where I picked up this set and wanted to have a chance to play with it.  (BTW she has a wonderful online store if you want to check it out)
So, I took that inky piece of cs and glued it onto my heavy white cardstock.  Then using my Scorbug, I scored a line above and below the blue.  I placed the piece into my Misti and stamped the sentiment and the plane with black ink, then die cut the plane out using my Cuttlebug.
I pop dotted the plane over the blue and then simply mounted it all onto a white card base.


Thanks so much for coming by and taking a look.

Adding my card to these challenges:
The Male Room- FLIGHT

Supplies
Stamps- The Sky is the Limit (SU)
Inks- Tuxedo Black Memento; DOX (TH)
Paper- heavy white (Scribes Nook)
Accessories and Tools- Misti (My Sweet Petunia); ScorPal; ScorBug; pop dots; Cuttlebug

Sunday, 30 June 2019

Celebrate

Hello and Welcome
Here is today's card.
Nice to have some time to play this long weekend!!

I've been trying out some different techniques with my stencils and that's how this card was created.

I began by placing the Bloom Mandala stencil over my piece of white cardstock.  I pressed my Versamark ink over the stencil, being sure to transfer the ink to all the open areas of the stencil.  I sprinkled on some white embossing powder and then heat set it.
Next, I rubbed some Salty Ocean, Peacock Feathers and some Faded Jeans DOX ink onto my non-stick craft mat and dragged the wet ink over my piece using a credit card. I added some dark details using the edge of the credit card and a bit of black ink to add some interest.
When the piece was totally dry, I die cut the sentiment from the card front and also cut it two more times using some heavy white cardstock.  I glued them all together and placed them back into place on my card front creating what they call an 'eclipse' card.
I mounted the piece onto some navy cardstock then onto a plain white card base.


Thanks so much for coming by and taking a look.

Adding my card to these challenges:
Simon Says Wed.- ANYTHING GOES
As You Like It- FAV SUMMER OR WINTER COLOURS
(I love the blues, so calming and serene, reminds me of being at the beach)


Discount Code for A Colorful Life Designs

Supplies
Stamps- none
Inks- Versamark; Memento black; DOX (TH)
Paper- heavy white (Scribes Nook); navy cs
Accessories and Tools- Mandala stencil (A Colorful Life Designs); Celebrate die (MFT); 
non-stick craft mat (Ranger);white embossing powder; heat tool; credit card;
Cuttlebug  


Saturday, 29 June 2019

Stand Proud


Welcome
So happy to be celebrating Canada Day this long weekend and grateful to be living in such a great country.


Meet today's card
Just a simple, fun card using 4 different stencils and 4 Distress Oxide inks.  Great way to get more mileage from your stencils too!

So, I began by measuring out my card front so I would have equal sections.  I used a light pencil to mark it all out.  I knew I wanted a bit of white space between the panels so I measured for that too.
All stencils from A Colorful Life Designs.
Next, I masked then stencilled the pink; (Picked Raspberry DOX) using the Flowers Gone Wild. I move the mask and using yellow; (Fossilized Amber DOX) and the Retro Star Grid stencil repeated the process.  The bottom left corner is done with some orange (Carved Pumpkin DOX) and the Chain Weave stencil and lastly the bottom corner is done with blue; (Peacock Feathers DOX) and the Lava Blooms stencil.
I removed all the masks and using my ScorBug, I scored between the panels to better help define the areas.
I die-cut the dandelion twice and glued them onto my card base then added two black gems to help the flower pop against the colourful bkg.
I simply mounted it onto a plain white card base.


Thanks so much for coming by and taking a look.

Adding my card to these challenges:
Little Red Wagon- MUCH ADO ABOUT NOTHING
Simon Says Wed.- ANYTHING GOES


Discount Code for A Colorful Life Designs

Supplies
Stamps- none
Inks- DOX
Paper- heavy white (Scribes Nook)
Accessories and Tools- stencils (A Colorful Life Designs); blending brushes; Dandelion (Poppy Stamps);
 ScorBug; Post It Tape for masking; black gems