Showing posts with label scene. Show all posts

Sunday, 13 August 2023

Rainy Day in NY


Good Morning
I made today's card for a challenge over at Splitcoast.
The challenge was to create a monochromatic scene.

So, here's what I did to create my card.
  • I cut a piece of white cardstock, then placed it into my Misti with the stamp.  
  • Next, I inked the stamp up with some Peacock Feathers Distress Oxide ink and stamped it.
  • Leaving the stamp in place, I moved my card panel slightly up and over, then inked up the stamp again with some Uncharted Mariner DOX ink and stamped to get the offset, repeated image.
  • Using a wet paintbrush, I went over the ink to blur out the lines and make it look more like a rainy, wet day. 
  • I decided not to add a sentiment so I could use this card for any occasion.
  • After the panel was dry, I glued it onto a piece of blue cardstock, then onto a white A2 sized card base.

Many thanks for coming by and taking a look.

Adding my card to these challenges:
Sweet Stampin'- BASED ON A BOOK/SONG/FILM (song- NY< NY)
We Love Stamping- MASCULINE
Time Out- MONOCHROMATIC

Supplies
Stamp- Watercolor NY (Technique Junkies)
Inks- DOX
Paper- heavy white (Scribes Nook- Waterloo, Ont.)
Accessories and Tools- Misti (My Sweet Petunia); paintbrush

Monday, 5 December 2022

Snowy Night


 Hello and Welcome
A quick Mini Slimline card using some leftover pieces I had in my stash.
For all measurements go HERE.

So, here's what I did to create my card.
  • I went through my stash of backgrounds and found this one.  It was a piece of cardstock that I had rolled my brayer onto to remove the excess ink when I was Gel Plate printing.  Instant background!
  • I glued the inked panel onto a piece of white cardstock to fit the front of my Mini Slimline.
  • I splattered with my Posca pen and set aside to dry.
  • Next, I die cut the deer scene and glued that over the blue inked piece.
  • I added a pre-printed sentiment using some foam tape.
  • I glued it onto a 6 x 3" card base.

Thanks so much for coming by and taking a look.

Adding my card to these challenges:
Simon Says Wed.- ANYTHING GOES
CAS on Friday- GREETING CARD
Simon Says Mon.- CHRISTMAS CHEER

Supplies
Stamps- none
Inks- Distress Oxides
Paper- heavy white (Scribes Nook- Waterloo, Ont.)
Accessories and Tools- Deer die (Amazon); Christmas sentiments (SSS); Posca pen;
Speedball Brayer

Sunday, 13 November 2022

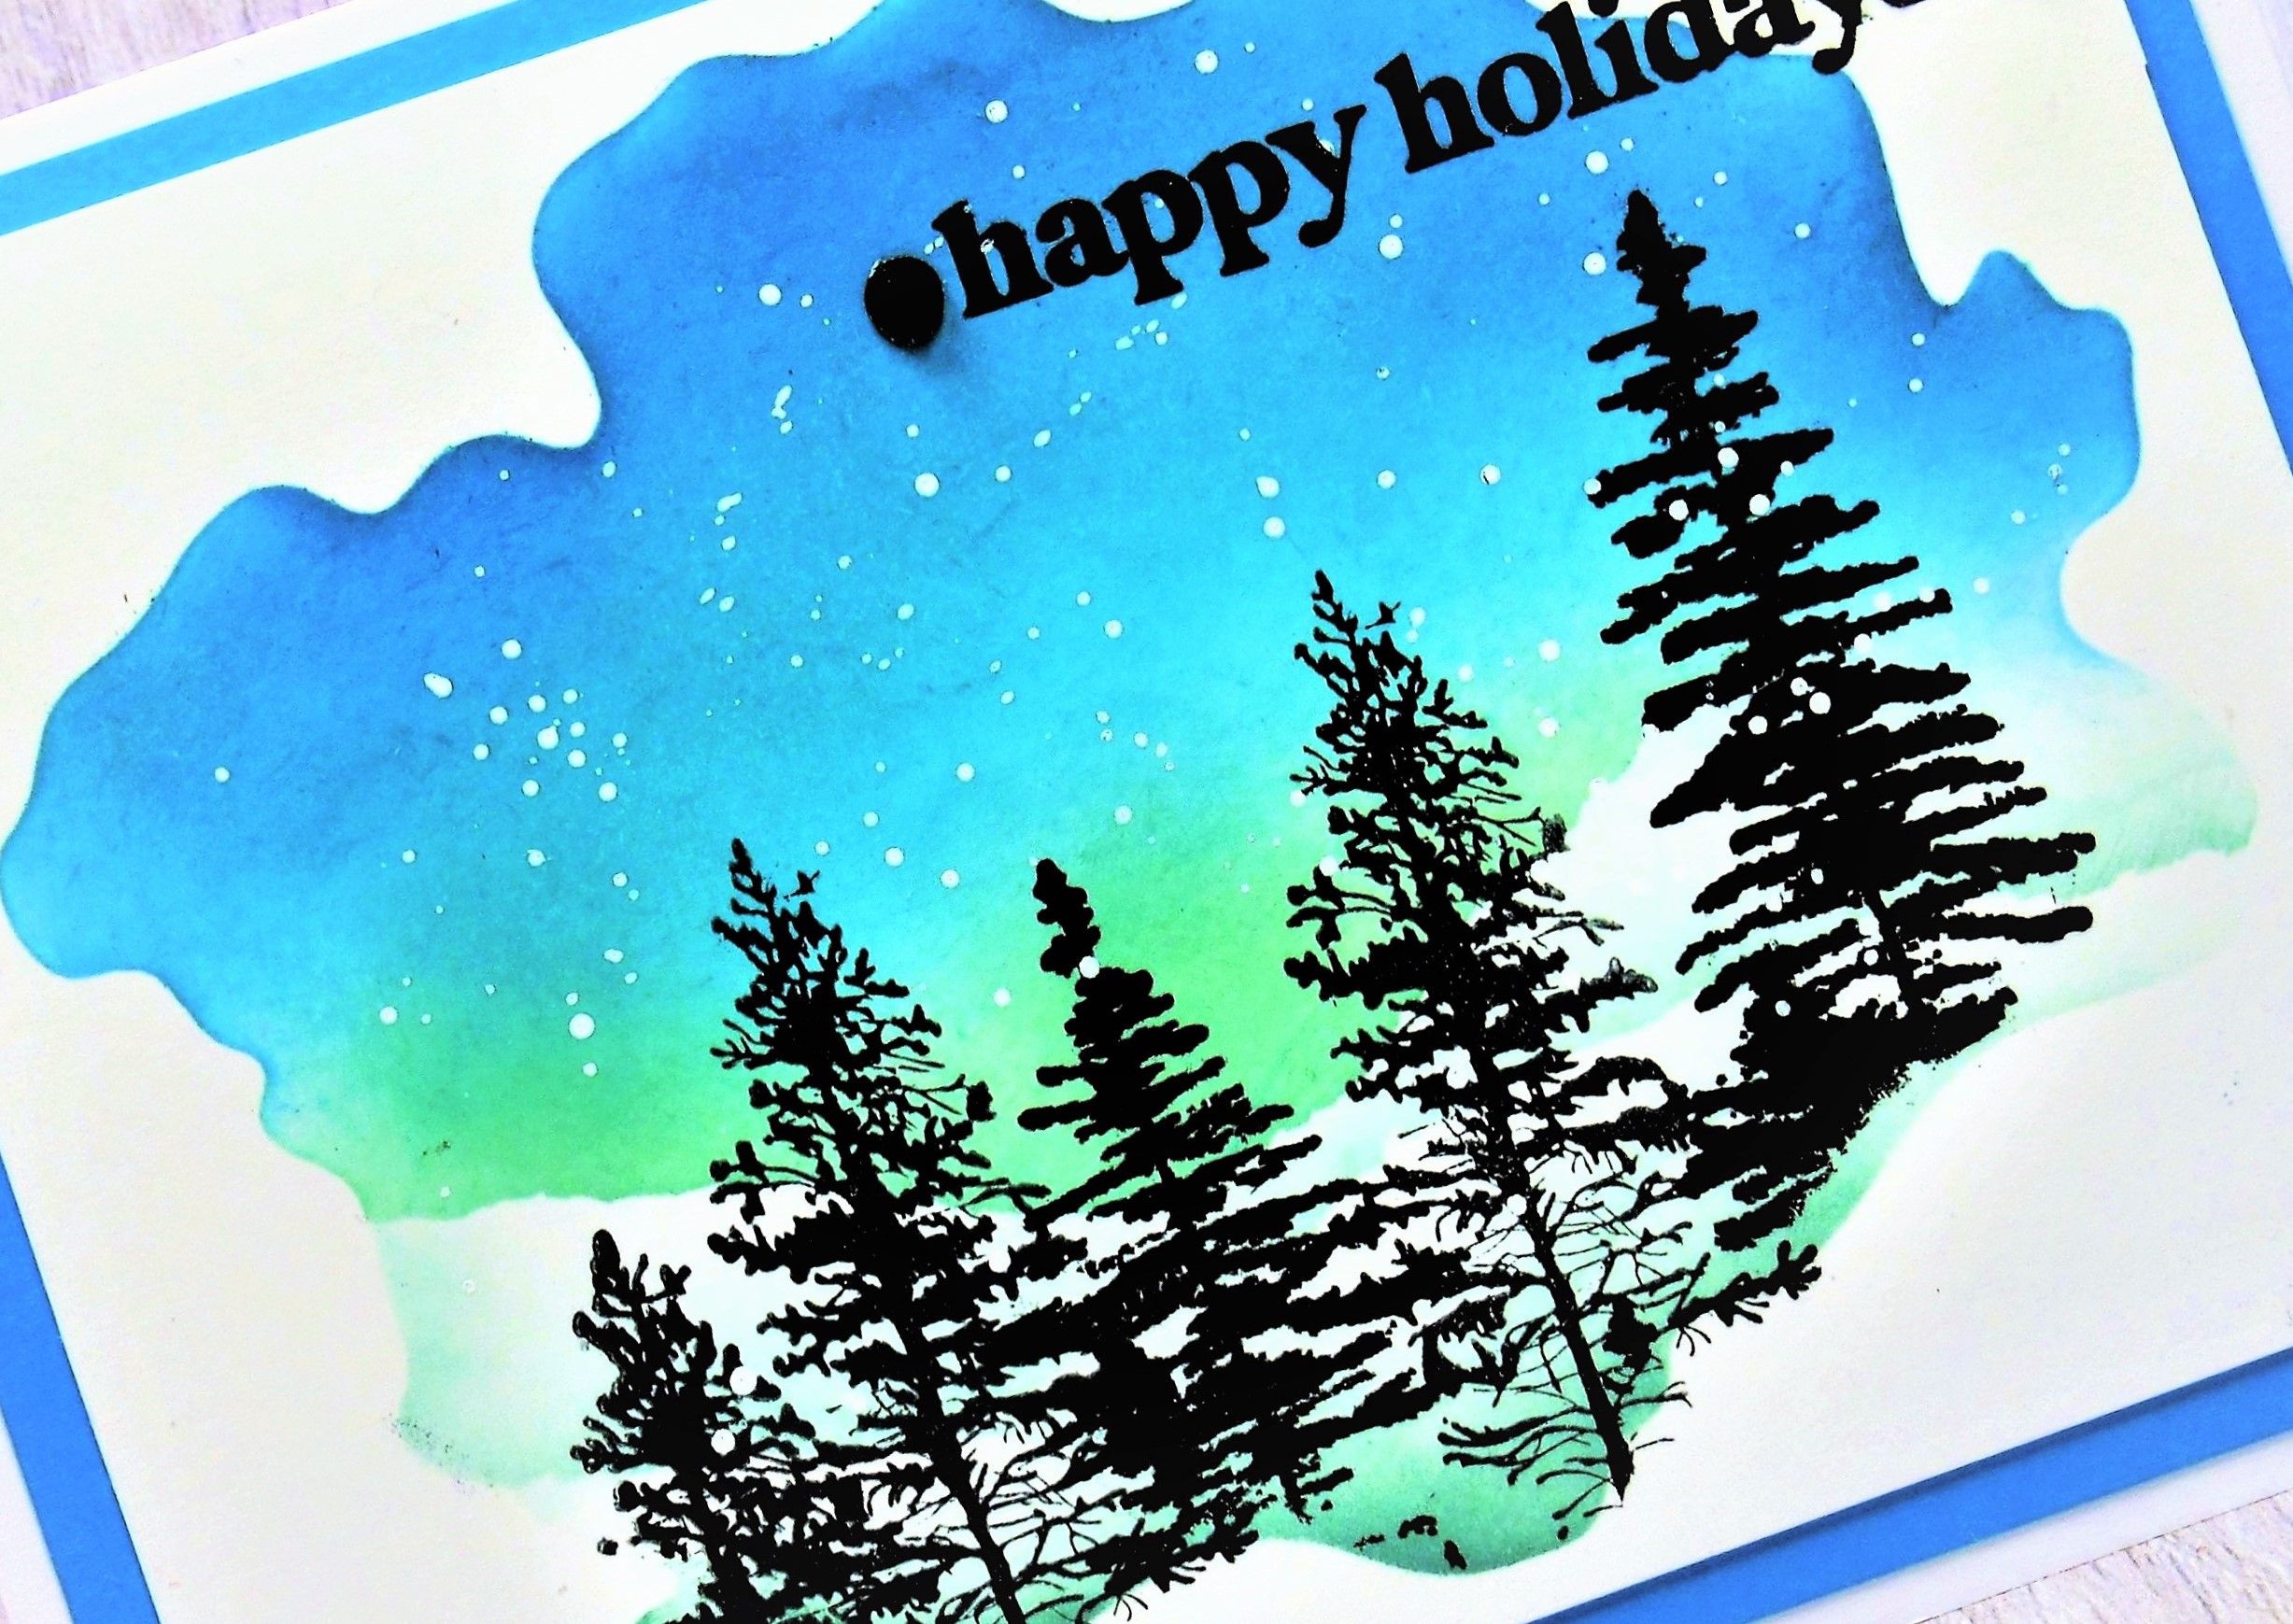
Winter Scene


Welcome
Meet today's card inspired by the snow falling outside.
I'm not a big fan of the snow, but it does look pretty on the trees.

So, here's what I did to create my card.
  • I began with a piece of white cardstock and positioned the Watercolor Wash Free form mask over my paper on my Make Art Station.
  • Next, I tore some paper strips from some scraps that I wanted to use to create the look of snowbanks in the scene.  
  • I began at the top of the masked area and sponged on some Boken China Distress Oxide ink.  I then sponged some Peacock Feathers just under that, leaving the bottom area un-inked.  I darkened the sky a bit at the top with some Uncharted Mariner DOX ink as well.
  • Ok...now for the torn paper strips.  I laid one on and inked above it with some Cracked Pistachio. I removed that and used another one that I had torn to ink again, moving it down and leaving some white space to look like the snowbanks.
  • I removed the torn paper but left the mask in place and stamped the trees using my Misti.
  • I splattered with my white Posca pen and removed the mask.
  • I stamped the sentiment in the top corner.
  • I glued the finished panel onto a piece of white cardstock, then onto an A2 card base.
  • Finally, I added 2 black gems on either side of the sentiment.

Thanks so much for coming by and taking a look.

Adding my card to these challenges:
We Love Stamping- CHRISTMAS
Stamping Sensations- CHRISTMAS CELEBRATIONS

Supplies
Stamps- 3 Pine Trees (Nellie's Choice); Trees (IO); Merry Sentiments (Scrapbook.com)
Inks- Versafine; DOX
Paper- white (Scribes Nook- Waterloo, Ont.)
Accessories and Tools- mask (MFT); Misti (My Sweet Petunia); scrap paper; 
Posca pen; TE Blending Brushes; black gems

Monday, 21 February 2022

Grazing in the Woods


Welcome
Today's card is a simple one.
I got this lovely die from one of my boys for Christmas and wanted to use it.
I pulled out this inked piece of cardstock found sitting in my stash, one that I had rolled ink off my brayer while Gel Plate printing.

So here's what I did to create my card.
  • After I found this inked piece of cardstock, I placed the die into the center of sheet and die cut the deer in the woods and set it aside.  (the ink I brayered onto  the paper was Blueprint Sketch, Cracked Pistachio and some Rustic Wilderness DOX ink)
  • To give the scene a shadow effect, I die cut a piece of white cardstock and glued it to the back of the inked die cut piece, off setting it a bit.
  • Using my white Posca pen, I added splatters to look like snow and give more interest to the scene.
  • I added some foam tape to the back of the piece and added it to a white card base.  (my finished card is 4 1/4 x 5 1/2")


Thanks so much for coming by and taking a look

Adding my card to these challenges:
Critter Crazy- FEATURE AN ANIMAL
Little Red Wagon- MASCULINE


Supplies
Stamps- none
Inks- Distress Oxide 
Paper- white (Scribes Nook- Waterloo, Ont.)
Accessories and Tools- die (Amazon); white Posca pen; foam tape; brayer

Friday, 18 February 2022

Soaking Up the Sun


Good Morning
I just can't wait for some better weather to arrive.  
Big snowstorm here where I live yesterday.  
I do live near a Conservation Area, so this stamp always reminds me of that.

So here's what I did to create my card.
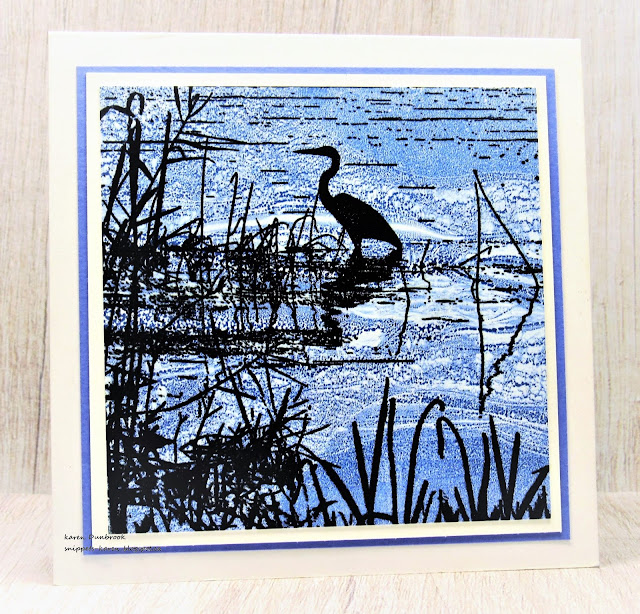
  • I began by creating the background.  I did that using my Gel Plate and a fun technique I first saw Lydia Fiedler do on one of her lives.  
  • So, I pressed Salty Ocean into the center of my plate, then some Blueprint Sketch along the sides and brayered the colours together.
  • Now here's the fun part.......I gently folded my Gel Plate in half, letting the sides touch mostly in the middle.  I opened it back up, laid it flat and then rubbed a piece of white cardstock over the plate to take my print.  It looked so cool...like water.  (To see another bkg I did this way, go HERE)
  • I got out this beautiful Egrets in Reeds and placed it into my Misti.  I inked it up with black ink and stamped over my Gel Plate print.  
  • I cut my card base at 4 1/4 inches square, then glued the panel to a piece of matching cardstock, then onto the card base.


Thanks so much for coming by and taking a look.

Adding my card to these challenges:
Little Red Wagon- MAKE IT MASCULINE
Crafty Animals- ANYTHING WITH AN ANIMAL GOES
Crafter's Cafe- MAKE YOUR OWN BKG


Supplies
Stamp- Egrets in Reeds (Magenta)
Inks- DOX, Versafine Clair
Paper- heavy white (Scribes Nook- Waterloo, Ont.)
Accessories and Tools- Gel Plate; Speedball Brayer; Misti

Saturday, 12 February 2022

Northern Lights


Hello and Welcome
It's the weekend and I have time to play...yeah!
So, meet today's card.
This is so super simple to create using some of that bleeding tissue paper I got from Amazon.  
Here is another card I made using it...such fun results.

So here's what I did to create my card.
  • I began by cutting a piece of white cardstock that would fit my card front.
  • I set my cardstock onto a tray (so I could move it out of the way after wetting it) and tore lots of pieces of the bleeding tissue paper.  I covered the whole piece of cardstock with the tissue, then sprayed with a good amount of water.  It helps to push all the corners and edges down to make sure they are wet and are making good contact with the paper.
  • After the piece was completely dry, I removed all the bits of tissue and checked to see if any areas were left without the colour transferred.  If so, just repeat the process above.
  • I took the dried panel and placed it into my Misti and stamped the Winter Woodland trees creating the scene.  I did clear heat emboss the trees to help make them stand out.
  • I debated about adding a sentiment, but finally decided to just leave it as is so I could use it for a number of occasions.

Thanks so much for coming by and taking a look.

 Simon Says Wed.- EMBOSS IT


Supplies
Stamp- Winter Woodland (Penny Black)
Inks- Versafine Clair
Paper- heavy white (Scribes Nook- Waterloo, Ont.)
Accessories and Tools- Bleeding Tissue Paper (Amazon); Misti (My Sweet Petunia); 
water mister (Ranger); clear eb powder; heat tool

Saturday, 5 February 2022

Snowy Cabin


Good Morning
Meet today's simple card.
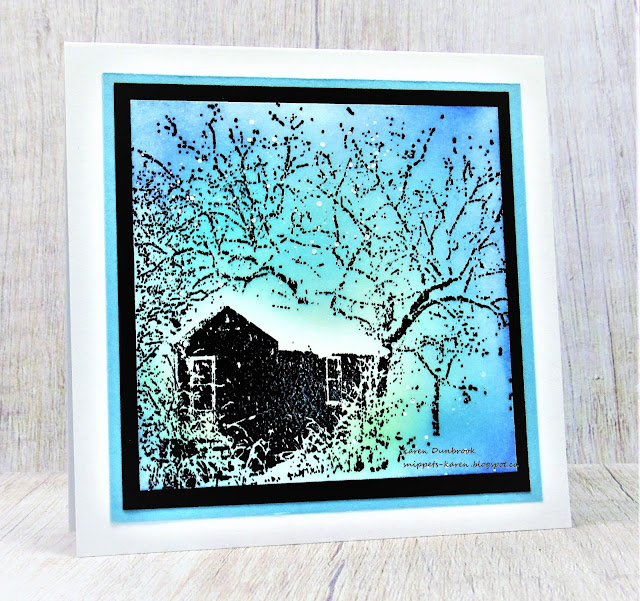
I just got this beautiful stamp called Snowy Studio from Impression Obsession that I wanted to play with.

So here's what I did to create my card.
  • I cut a piece of white cardstock, placed it into my Misti and stamped the image with some black Versafine Clair ink.  I clear heat embossed it as I wanted to ink over it with no smudges.  I also find that the image pops when embossed.
  • I inked the panel up using my TE Blending Brushes and some Cracked Pistachio, Peacock Feathers and Blueprint Sketch Distress Oxide ink. 
  • I splattered the whole inked panel with my white Posca pen.
  • When it was dry, I glued it onto a piece of black cardstock, then onto some blue to match the background, then finally onto a white card base.  My finished card size was 4 1/4 x 4 1/4 so it would fit into a standard size envelope.

Thanks so much for coming by and taking a look.

Adding my card to these challenges:
Krafty Chicks- STAMP ACT
CRAFT- WINTER


Supplies
Stamps- Snowy Studio (Impression Obsession)
Inks- Distress Oxides; Versafine Clair
Paper- heavy white (Scribes Nook- Waterloo, Ont.)
Accessories and Tools- TE Inking Brushes; Lawn Fawn EB powder; white Posca pen; 
Misti (My Sweet Petunia)

Monday, 13 December 2021

Walk in the Woods


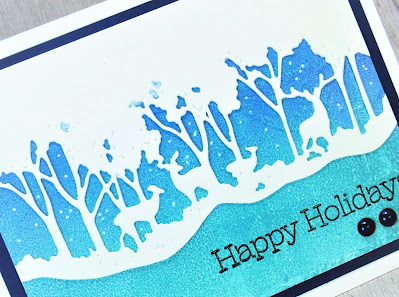
Welcome
Meet today's card.
A simple one that took no time at all to make.

So here's what I did to create my card.
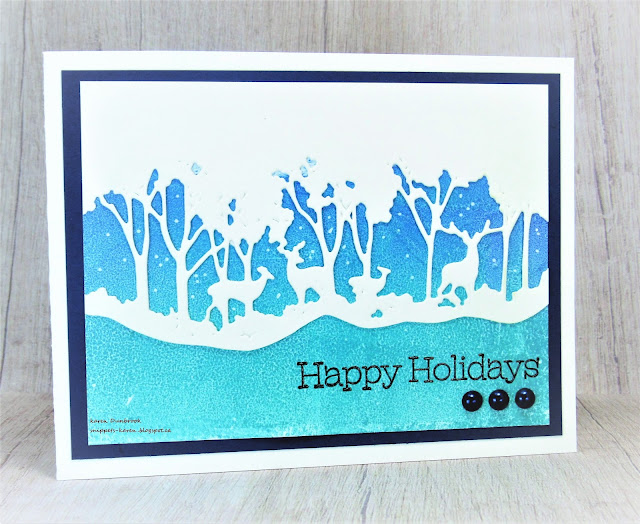
  • I wanted to create a simple blue sky background so I pulled out my Gel Plate and brayer.  I pressed some Peacock Feathers Distress ink along one side of the plate and then some Salty Ocean along the other side and blended them together using my brayer.  
  • I pressed a piece of heavy white cardstock over the plate and rubbed to lift the print.  It is honestly one of the easiest ways to blend a background.
  • I set that aside to dry then die cut the forest scene from white cardstock.  I love this die....a special gift from a special friend.  To add more interest, I cut along the bottom edge of the die cut before gluing it over the blue background.
  • I stamped the sentiment from and old SU set in the bottom corner.
  • I glued the panel onto a piece of dark blue cardstock, then onto a heavy white card base.
  • I added a few white splatters and then 3 navy dots under the sentiment.

Thanks so much for coming by and taking a look.

Adding my card to these challenges:
Simon Says Wed.- COLD AS ICE
Die Cut Divas- WINTER/ CHRISTMAS
Love to Craft- ANYTHING GOES

Supplies
Stamps- SU (??)
Inks- Distress Oxides, Versafine Clair
Paper- heavy white (Scribes Nook- Waterloo, Ont.)
Accessories and Tools- die (gift from a friend); Speedball brayer; Gel Plate; Posca pen;
gem dots (Dollar Store)

Saturday, 30 October 2021

Forest Souls


Hello and welcome!
A simple card for today using this wonderful die my friend Loll Thompson gifted me.
I was thrilled to say the least!!

So here's what I did to create my card.
  • I began by cutting a white cardstock panel for the front of my card and then I centered the die and cut it out with my die cutting machine.  
  • I set that aside and went looking through my stash for an inked piece.  I keep the 'fails' and all my Gel Plate roll off sheets for times just like this.  The piece I found was just a random one that I had put some Brushos onto over a stencil but added too much water and it all bled.  It wasn't good for much except this or I would have cut it up and used it for something else.
  • Before layering the 2 pieces, I placed the white die cut panel into my Misti and stamped the sentiment from Technique Tues. with some Versafine Clair.
  • I glued the 2 panels onto some blue cardstock, then onto a white card base.

Thanks so much for coming by and taking a look.

Supplies
Stamps- Christmas Cheer (TT)
Inks- Brushos; Versafine Clair
Paper- heavy white (Scribes Nook- Waterloo, Ont.)
Accessories and Tools- Forest die (??); Misti (My Sweet Petunia); Spellbinder Platinum die 
cutting machine

Tuesday, 31 August 2021

Day-Tripping


Welcome
Meet today's card.
Simple painted piece pulled from my stash.
I had rolled off the excess green paint from my brayer while using my Gel Plate.  I like to save them all for future use and also I don't like to waste the paint on my brayer.
I love the sentiment with this card too since we have all missed being together and doing things.

So here's what I did to create my card.
  • Like I mentioned above, I pulled out this brayered painted background and placed it into my Misti.
  • Using some Vintage Photo Archival Distress ink, I inked up the Country Life stamp from Penny Black and pressed it onto the paper. * By stamping using the Misti, it gives you the chance to stamp more then once which is sometimes necessary when stamping over a painted bkg.*
  • I removed and cleaned the stamp, then positioned the sentiment from the Destination Sentiments set also from PB and inked and stamped it with the same colour.
  • I glued the finished panel onto a matching piece of brown cardstock, then onto a heavy white card base.

Thanks a lot for coming by and taking a look.

Adding my card to these challenges:
Simon Says Wed.- ANYTHING GOES
Shopping Our Stash- SUMMER LOVIN

Supplies
Stamps- Penny Black
Inks- Vintage Photo Archival Distress ink
Paper- heavy white- (Scribes Nook- Waterloo, Ont.); brown cs (Michaels)
Accessories and Tools- Misti (My Sweet Petunia); brayer; acrylic paint


Thursday, 17 June 2021

In the Moment


Welcome
Just popping in with a card I made using two great stencils from A Colorful Life Designs.

Before I get into the steps of making my card, I want to thank-you so much for your continued support and wonderful, uplifting comments.
I have been struggling to get it all done....visiting your blogs and trying to figure out what I will do about my Followers when Feedburner goes away in July. 
I am so busy with my little ones (5 little daycare kiddos), working long hours and not finding much time to be on the computer.  I will be coming to visit you all as soon as I can.  
If anyone has ANY helpful tips about what to do with Followers on Blogger, please let me know.  I really don't want to have to pay for a service.  I am feeling very overwhelming by it all as I am totally not computer savvy!! 

Well enough said.
Here's what I did to create my card.
  • I began by cutting a white cardstock panel.  I placed the Cloud Edger Stencil from ACLD over my panel and inked it up with some Peacock Feathers, Cracked Pistachio and a hint of Blueprint Sketch Distress Oxide inks.  I used a light touch as I wanted the clouds to look fluffy and not heavy.  I inked the stencil along one edge and kept moving it down until the card panel was all inked up.
  • I removed the Cloud Edger and positioned the Landscape Rays over the panel and inked with more of the same inks that I had used for the clouds.

  • I removed the stencil and placed the panel into my Misti.  I inked up the trees from Frog's Whiskers with some Versafine Clair ink and stamped it over the background.  
  • Next, I stamped the sentiment from Daisy Bucket and added 3 black gems.
  • I glued it onto a heavy white card base.


Here are the stencils I used to create my card:


Discount Code for A Colorful Life Designs
(affiliate)

Thanks so very much for coming by and taking a look.


Supplies
Stamps- Wind in the Pine (Frog's Whiskers); Enjoy the Moment (Daisy Bucket)
Inks- Distress Oxides (see above); Versafine Clair
Paper- heavy white (Scribes Nook- Waterloo, Ont.)
Accessories and Tools- Stencils (ACLD); TE Blending Brushes; Misti (My Sweet Petunia);
black gems

Monday, 10 May 2021

A New Day


Good Morning
Meet today's card.  
I am loving playing with this Sun and Surf stencil from A Colorful Life Designs.
I wanted to make a card of encouragement....I think this speaks to that.

So here's what I did to create my card.
  • I began with a piece of white cardstock and placed the Sun and Surf stencil over it.  I masked off the top part of the stencil and then inked up the water using some Salty Ocean and Peacock Feathers Distress Oxide inks. 
  • I moved the mask and then using some Mustard Seed, Dried Marigold and a hint of Barn Door Distress Oxide inks, I inked the sunshine.
  • I removed the mask and using a circle die, I cut it out. 
  • I placed the circle into my Misti and stamped the Praise Silhouette over the stenciled background with some Versafine Clair ink and then clear heat embossed it to make it pop.
  • I set that aside and cut my card front.  I placed that into my ScorPal and used my ScorBug to add some details to the background.  It added a lot of interest.
  • I glued the scored panel onto a white card base, then pop dotted the circle over that.  I pop dotted the sentiment as well. 


Discount Code for A Colorful Life Designs
Adding my card to these challenges:
Simon Says Wed.- FEMININE


Supplies
Stamps- Big Wish (Technique Tues.); Praise Silhouette (Impression Obsession)
Inks- Versafine, Distress Oxides
Paper- heavy white (Scribes Nook- Waterloo, Ontario)
Accessories and Tools- Sun and Surf stencil (ACLD); Infinity Circle dies (HA); 
TE Blending Brushes; Misti (My Sweet Petunia); ScorPal; ScorBug; pop dots