Showing posts with label Hello. Show all posts

Saturday, 26 September 2026

Hello Fall


Welcome
I wanted to make one more card this month using this new stencil from A Colorful Life Designs called:
So here's what I did to create my card.
  • I began by placing a piece of white cardstock into my Misti. I stamped the Mixed Mesh as my background using some Evergreen Bough Distress Oxide ink.
  • Next, I inked each leaf from the Simple Leaves stencil around the edges of my cardstock over the stamped background. I varied the shades of green to add interest. I used these Distress Oxide ink colours: Speckled Egg, Rustic Wilderness and some Cracked Pistachio.
  • I splattered the whole panel using my black Posca pen and set aside to dry.
  • While that dried, I die cut the Hello sentiment with some black cardstock, the word shadow with some white and glued them together.
  • I used a circle die and cut right from the center of my card front panel. I glued that onto a slightly larger black circle.
  • I glued my card front onto a piece of white cardstock then black and then onto a white A2 sized card base.
  • I used some foam tape to pop the die cut circle back into place matching it up and then glued the sentiment over that.
  • I added 3 black gems under the sentiment to finish off my card.

Here is the stencil I used:
Simple Leaves

My Discount Code for Your Entire Order from A Colorful Life Designs:

Thanks so much for coming by and taking a look.

Adding my card to these challenges:
Simon Says Monday- MAKE YOUR OWN BKG
Crafty Chicks- MASCULINE
Just Us Girls- ANYTHING GOES STENCIL WEEK

Supplies
Stamp- Mixed Mesh (Stampendous)
Ink- DOX
Paper- Solar white/black cardstock
Accessories and Tools- stencil (A Colorful Life Designs); TE Blending Brushes;
Handwritten Hello die (SSS); Misti (My Sweet Petunia); black gems

Tuesday, 14 April 2026

Hello My Friend

Good Morning
Today's simple card was created using one of the new for April stencils from A Colorful Life Designs called:

This is how I created my card.
  • I placed the Arrows stencil just along the bottom edge of my card front and inked it up with some Broken China Distress Oxide ink.
  • I cleaned the stencil off and placed it along the top edge of my card front panel and inked again with some Cracked Pistachio DOX ink.
  • When I looked at the stenciled panel, I felt it needed something more, so I used my white Posca pen to add some dots and lines over the stenciled areas and set that aside to dry.
  • I die cut the 'Hello' with some blue cardstock and then I glued the word shadow with white cardstock 5 times and glued those all together as I wanted a raised sentiment without having to use foam tape.
  • I glued my stenciled card front onto a piece of white cardstock, then blue that matched the sentiment and then onto a white A2 sized card base.
  • I glued the 'Hello' over to the side and then to finish my card off, I added 3 blue gems around the sentiment.

Here is the stencil I used:


Thanks so much for coming by and taking a look.

Adding my card to these challenges:
Crafts Galore Encore- ANYTHING GOES
Love to Craft- ANYTHING GOES
Crafty Calendar- DIES/PUNCHES

Supplies
Stamps- none
Inks- DOX
Paper- Solar White
Accessories and Tools- stencil (A Colorful Life Designs); TE Blending Brushes;
white Posca pen; Handwritten Hello die (SSS); blue gems

Saturday, 24 January 2026

Patchworks

Hello
Today's card reminded me of a cozy patchwork quilt, so good for this cold winter we are having.

I had a bunch of pieces left over from doing the Bargello technique a few weeks ago, so I decided to use them and make another card.

So, here's what I did.
  • I began by looking through my scrap papers that I never use and found 4 that I thought would work together.
  • I cut them into 3/4" strips and glued the strips onto a piece of white cardstock side by side of each other being sure they were all touching. 
  • I let the piece dry, then cut the strips in the opposite direction, again 3/4" wide so each strip had the patterns on them. (hope that makes sense)
  • I glued them, one at a time onto another piece of white cardstock, offsetting the pieces like putting together a quilt pattern. There are many different ways you can create a pattern by just moving the strips into different positions.
  • While the glue dried, I die cut the black frame and then glued that over the patchwork.
  • I glued the finished card front onto a piece of patterned paper and then onto a 4 1/4" white square card base.
  • I die cut the sentiment with some black and added it over the middle to finish my card off.

Thanks so much for coming by and taking a look.

Adding my card to these challenges:
Time Out- FAV CARD MAKING TECHNIQUE
Crafty Catz- ANYTHING GOES
Craft Rocket- SOMETHING NEW (frame die I got for Christmas)

Supplies
Stamps- none
Inks- none
Papers- miscellaneous dp's scraps found in my stash
Accessories and Tools- frame die (Amazon); Hello die (Amazon)

Sunday, 13 July 2025

Cruisin' the High Seas

Welcome
Meet my cute little card for today that I made using the newly released stencil from A Colorful Life Designs called:
I paired it up with one of my all time favourite stencils called

So, here's what I did to create my card.
  • I decided to use the stencil as waves, so I placed a piece of white cardstock onto my Make Art Station, then put the Fish Scales stencil over that and secured it well. 
  • Starting at the top, I inked with some Peacock Feathers Distress Oxide ink. I move down and inked with some Salty Ocean DOX ink in the middle and then finished off with some Prize Ribbon DOX ink along the bottom.
  • When the ink was dry, I cut along the scalloped edge and set aside.
  • I took another piece of white cardstock, placed the Cloud Edger stencil down and inked it up with the same colours mentioned above. The Cloud stencil is so easy to use. You ink it up, move it and ink again until you get the look you want.
  • I used some foam tape to add the scallop piece I had cut under the clouds.
  • I stamped the boat and the sentiment, clear heat embossed them and added those to my scene using some foam tape.
  • I glued the panel onto a piece of white cardstock, then blue, then onto an A2 sized card base.

Here is the stencil I used:


Thanks a lot for coming by and taking a look.

Adding my card to these challenges:
Simon Says Wed.- EMBOSS IT
Time Out- TRAVEL

Supplies
Stamps- Cruisin' To Adventure (CTMH); Word Bubbles (HA)
Inks- DOX; Versafine 
Paper- Solar White
Accessories and Tools- stencils (A Colorful Life Designs); Make Art Station (Ranger);
foam tape; TE Blending Brushes; Clear EB powder

Thursday, 15 August 2024

Groovy Hello

Hello there!
Meet today's card.
A fun one using another one of the newly released stencils from A Colorful Life Designs called:

The technique I used for my card is referred to as 'Joseph's Coat'.
So, here's what I did to create my card.
  • I wanted a bold and bright look for this card so I took a piece of white cardstock and inked it with my Distress Oxide inks in these colours: Picked Raspberry, Peacock Feathers and some Ripe Persimmon.
  • I set that aside to dry and before going on with the next step, I used an anti-static powder all over the card front. (This step is very important or you will not be able to achieve the results.)
  • I placed the Twisty Grid stencil over my inked background and went over it with some Black Soot Distress Oxide ink and then clear heat embossed it.
  • I die cut the "HELLO THERE" 3 times with some black cardstock and glued them together.  I die cut it again with some white and glued them together, offsetting the white a bit to help the sentiment show up better against the dark background.
  • I glued the stenciled panel onto a piece of black cardstock, then onto a piece of blue and then finally, onto an A2 sized card base.
  • The last step was to glue the sentiment to the middle of the card front.

Here is the stencil I used:

Discount Code for A Colorful Life Designs
(Affiliate with no extra cost to you) 

Thanks so much for coming by and taking a look.

Adding my card to these challenges:
Simon Says Wed.- ADD A SENTIMENT
Simon Says Monday- SPARKLE AND SHINE

Supplies
Stamps- none
Inks- DOX
Paper- heavy white (Scribes Nook- Waterloo, Ont.)
Accessories and Tools- stencil (A Colorful Life Designs); TE Blending brushes; 
Hello There die (Amazon); Clear EB powder (Lawn Fawn)

Saturday, 3 August 2024

Hello to You!


Good Moring
Meet the new for August stencil from A Colorful Life Designs called:
When I saw this wonderful stencil, I had so many ideas about how I wanted to use it.

So, here's what I did to create my card.
  • I placed the Calibrated Lines stencil over a piece of white cardstock and inked it up with some Peacock Feathers Distress Oxide ink and set it aside.
  • I took another piece of white cardstock, placed the stencil back over it again and this time, inked with some Uncharted Mariner DOX ink.
  • Next, I took the 2 panels and cut them into strips following along with the distinctive line design.
  • I did some paper weaving with the strips, alternating the colours as I went along and glued that onto a piece of white cardstock to stabilize it. I glued that onto a piece of navy cardstock.
  • I die cut the 'HELLO' letters from white cardstock and glued them onto the word shadow that I cut from another piece of navy cardstock.
  • I glued the panel onto an A2 sized card base and used some foam tape to pop the sentiment up.

Here is the stencil I used:

Discount Code for A Colorful Life Designs
(Affiliate with no extra cost to you) 

Thank so much for taking a look, so appreciated.

Adding my card to these challenges:
Word Power- WORD AS FOCUS
Crafty Calendar- ANYTHING GOES
Simon Says- ANYTHING GOES

Supplies
Stamps- none
Inks- DOX
Paper- heavy white (Scribes Nook, Waterloo, Ont.)
Accessories and Tools- stencil (A Colorful Life Designs); TE Blending Brushes;
Hello Die (Markered Messages-Concord and 9th), foam tape

Thursday, 1 August 2024

Jigsaw Hello

Welcome
I can't believe it's August 1st!!  The summer is just flying by.
So, a new month means a whole new lineup of stencils from A Colorful Life Designs.
Meet one of the new ones called:

So, here's what I did to create my card.
  • I wanted to give the background more of a simple but unique look so I got out some of my Distress Reinkers and squeezed them out onto a piece of acetate.  The colours I used were:  Blueprint Sketch, Festive Berries and Peacock Feathers.
  • Using a baby wipe, I dipped it into one colour at a time and pressed it over the Jigsaw stencil to transfer the colour.  I repeated that process until the whole background was inked.  It gave such an interesting, mottled look to the inking.
  • When the panel was dry, I die cut the sentiment shadow from the middle and then die cut the letters from some navy blue cardstock.  I glued the letters onto the shadow cut from the panel.
  • I glued the stenciled panel onto a piece of dark red cardstock, then onto an A2 sized card base.  
  • I used some foam tape to stick the sentiment back into place over the background.
  • The last step was to add some navy gems around the sentiment.

Here is the stencil I used:

Discount Code for A Colorful Life Designs
(Affiliate with no extra cost to you) 

Thanks so much for coming by and taking a look.

Adding my card to this challenge:
Simon Says Wed.- ANYTHING GOES

Supplies
Stamps- none
Inks- Distress Oxide re-inkers
Paper- heavy white (Scribes Nook- Waterloo, Ont.)
Accessories and Tools- stencil (A Colorful Life Designs); baby wipes;
blue gems; Large Hello die (Whimsy Stamps)

Thursday, 11 April 2024

Big Hello!

HELLO!
Today's card is a fun one that I did by combining 2 newly released stencil from A Colorful Life Designs called

So, here's what I did to create my card.
  • I put the Rocks stencil over the Four Squares stencil on a piece of white cardstock.
  • I inked it up with some Fossilized Amber Distress Oxide right into the middle of the panel.  Next, I inked with some Ripe Persimmon DOX ink on either side and finally, added some Picked Raspberry DOX ink along the outer edges.  What a fun pattern it created!
  • I removed the stencils and die cut the HELLO right from the middle of my stenciled card front.
  • I wanted to do an eclipse technique using the letters, so I die cut them again 3x's with white cardstock and glued them all together, adding the stenciled ones on the top.
  • I glued the stenciled panel onto a piece of orange cardstock, then onto a piece of red and then onto an A2 sized card base.
  • I glued the HELLO letters back into place on the card front.
  • The last step was to add some bling around the sentiment.

Here are the stencils I used:


Discount Code for A Colorful Life Designs
(Affiliate with no extra cost to you) 

Thanks so much for coming by and taking a look.

Adding my card to these challenges:
Addicted to Stamps and More- DIE CUT &/or STENCIL

Supplies
Stamps- none
Inks- DOX
Paper- heavy white (Scribes Nook- Waterloo, Ont.)
Accessories and Tools- stencil and Bling (A Colorful Life Designs); Blending Brushes; 
die (Concord and 9th)

Friday, 22 March 2024

Bright Hello

Good Morning
Today's fun card features a new and older released stencil from A Colorful Life Designs.
Meet the new for March stencil called:
I paired it up with the older one called:
Basically, one is a solid and one adds the details.

So, here's what I did to create my card.
  • I cut a piece of white cardstock, placed it onto my Make Art Station and put the Groovy Flowers Mask stencil over my paper.
  • I inked over the whole stencil with some Fossilized Amber Distress Oxide ink.
  • I moved the stencil over and down a bit, then inked again over the whole panel with some Ripe Persimmon DOX ink.
  • I repeated the above process one more time, inking with some Picked Raspberry DOX ink.  
  • Next, I placed the Groovy Flower Solid Mask over the flowers and inked it all up with some Uncharted Mariner DOX ink.  It made for such an interesting background.
  • I die cut the 'Hello' sentiment from some black cardstock, then die cut the shadow of the die from some vellum and glued those together.
  • I glued the stenciled card front onto a piece of yellow and then orange and then onto an A2 sized card base.
  • I added glue behind just the sentiment letters so it wouldn't show on the vellum and added that over the center of my card front.
  • Finally, to finish off my card, I added some black gems to the flower centers.

Here are the stencils I used:


Discount Code for A Colorful Life Designs
(Affiliate with no extra cost to you) 

Thanks so much for coming by and taking a look.

Adding my card to these challenges:
Simon Says Wed.- SPRING/EASTER
(optional- SPRING/EASTER)

Supplies
Stamps- none
Inks- DOX
Paper- heavy white (Scribes Nook- Waterloo, Ont.)
Accessories and Tools- stencils (A Colorful Life Designs); TE Blending Brushes;
Make Art Station (Ranger); die (Concord and 9th)

Friday, 29 September 2023

A Big Hello


HELLO!
This bright and vibrant card was created using my Salad Spinner technique.
So fun and very easy to do.

To see the short video I did go here:

So, here's what I did to create my card.
  • First I got out my salad spinner....an inexpensive one found at the Dollar Store and then I cut a piece of Yupo paper.
  • I placed the Yupo into my salad spinner and dropped in some blue Alcohol ink and some Rubbing Alcohol, put the lid on and spun away.
  • I opened the salad spinner and repeated that process using some purple Alcohol ink.
  • I splattered with my white Posca pen and set aside to dry.
  • I die cut the 'HELLO' sentiment from white cardstock and used some Peacock Feathers, Uncharted Mariner and some Shaded Lilac Distress Oxide ink to add the same colours as the background.  I die cut a piece of vellum to use as the shadow and glued that together with the sentiment. 
  • I glued the panel onto an A2 sized card base and popped the sentiment across the front on an angle.

Thanks so much for coming by and taking a look.

Adding my card to these challenges:
Simon Says Wed.- ANYTHING GOES
The Crafty Addicts- ANYTHING GOES
Make My Monday- CREATE YOUR OWN BKG

Supplies
Stamps- none
Inks- AI (Ranger); DOX
Paper- Yupo, white paper scraps, vellum
Accessories and Tools- salad spinner; white Posca pen, 
Hello Word die and Shadow (Whimsy Stamps)

Tuesday, 5 September 2023

Hello My Friend


Welcome
Today's card is featuring one of the many new stencils for September from A Colorful Life Designs called Pumpkin Pouf.
I decided to use just the leaves of the stencil to create this simple card.

So, here's what I did to create my card.
  • I decided to use the Pumpkin Pouf stencil in a different way this time.  To see the first card I made using this stencil go HERE.  
  • I got out my Simon Hurley Stamping Foam and heated it up with my heat tool.  I pressed it onto just the leaves of the pumpkin stencil, pressing firmly to make an imprint onto the foam.  
  • I lifted up the Stamping Foam to see the fun leaf design it made and then I inked up one side of the Foam with some Shaded Lilac and the other side with Wilted Violet Distress Oxide ink.
  • I gave it a light spray of water and then pressed it onto my white cardstock to give me the impression.  Some areas of the impression were faint, so I carefully went over them with my white Posca pen and then splattered the panel with that pen as well.
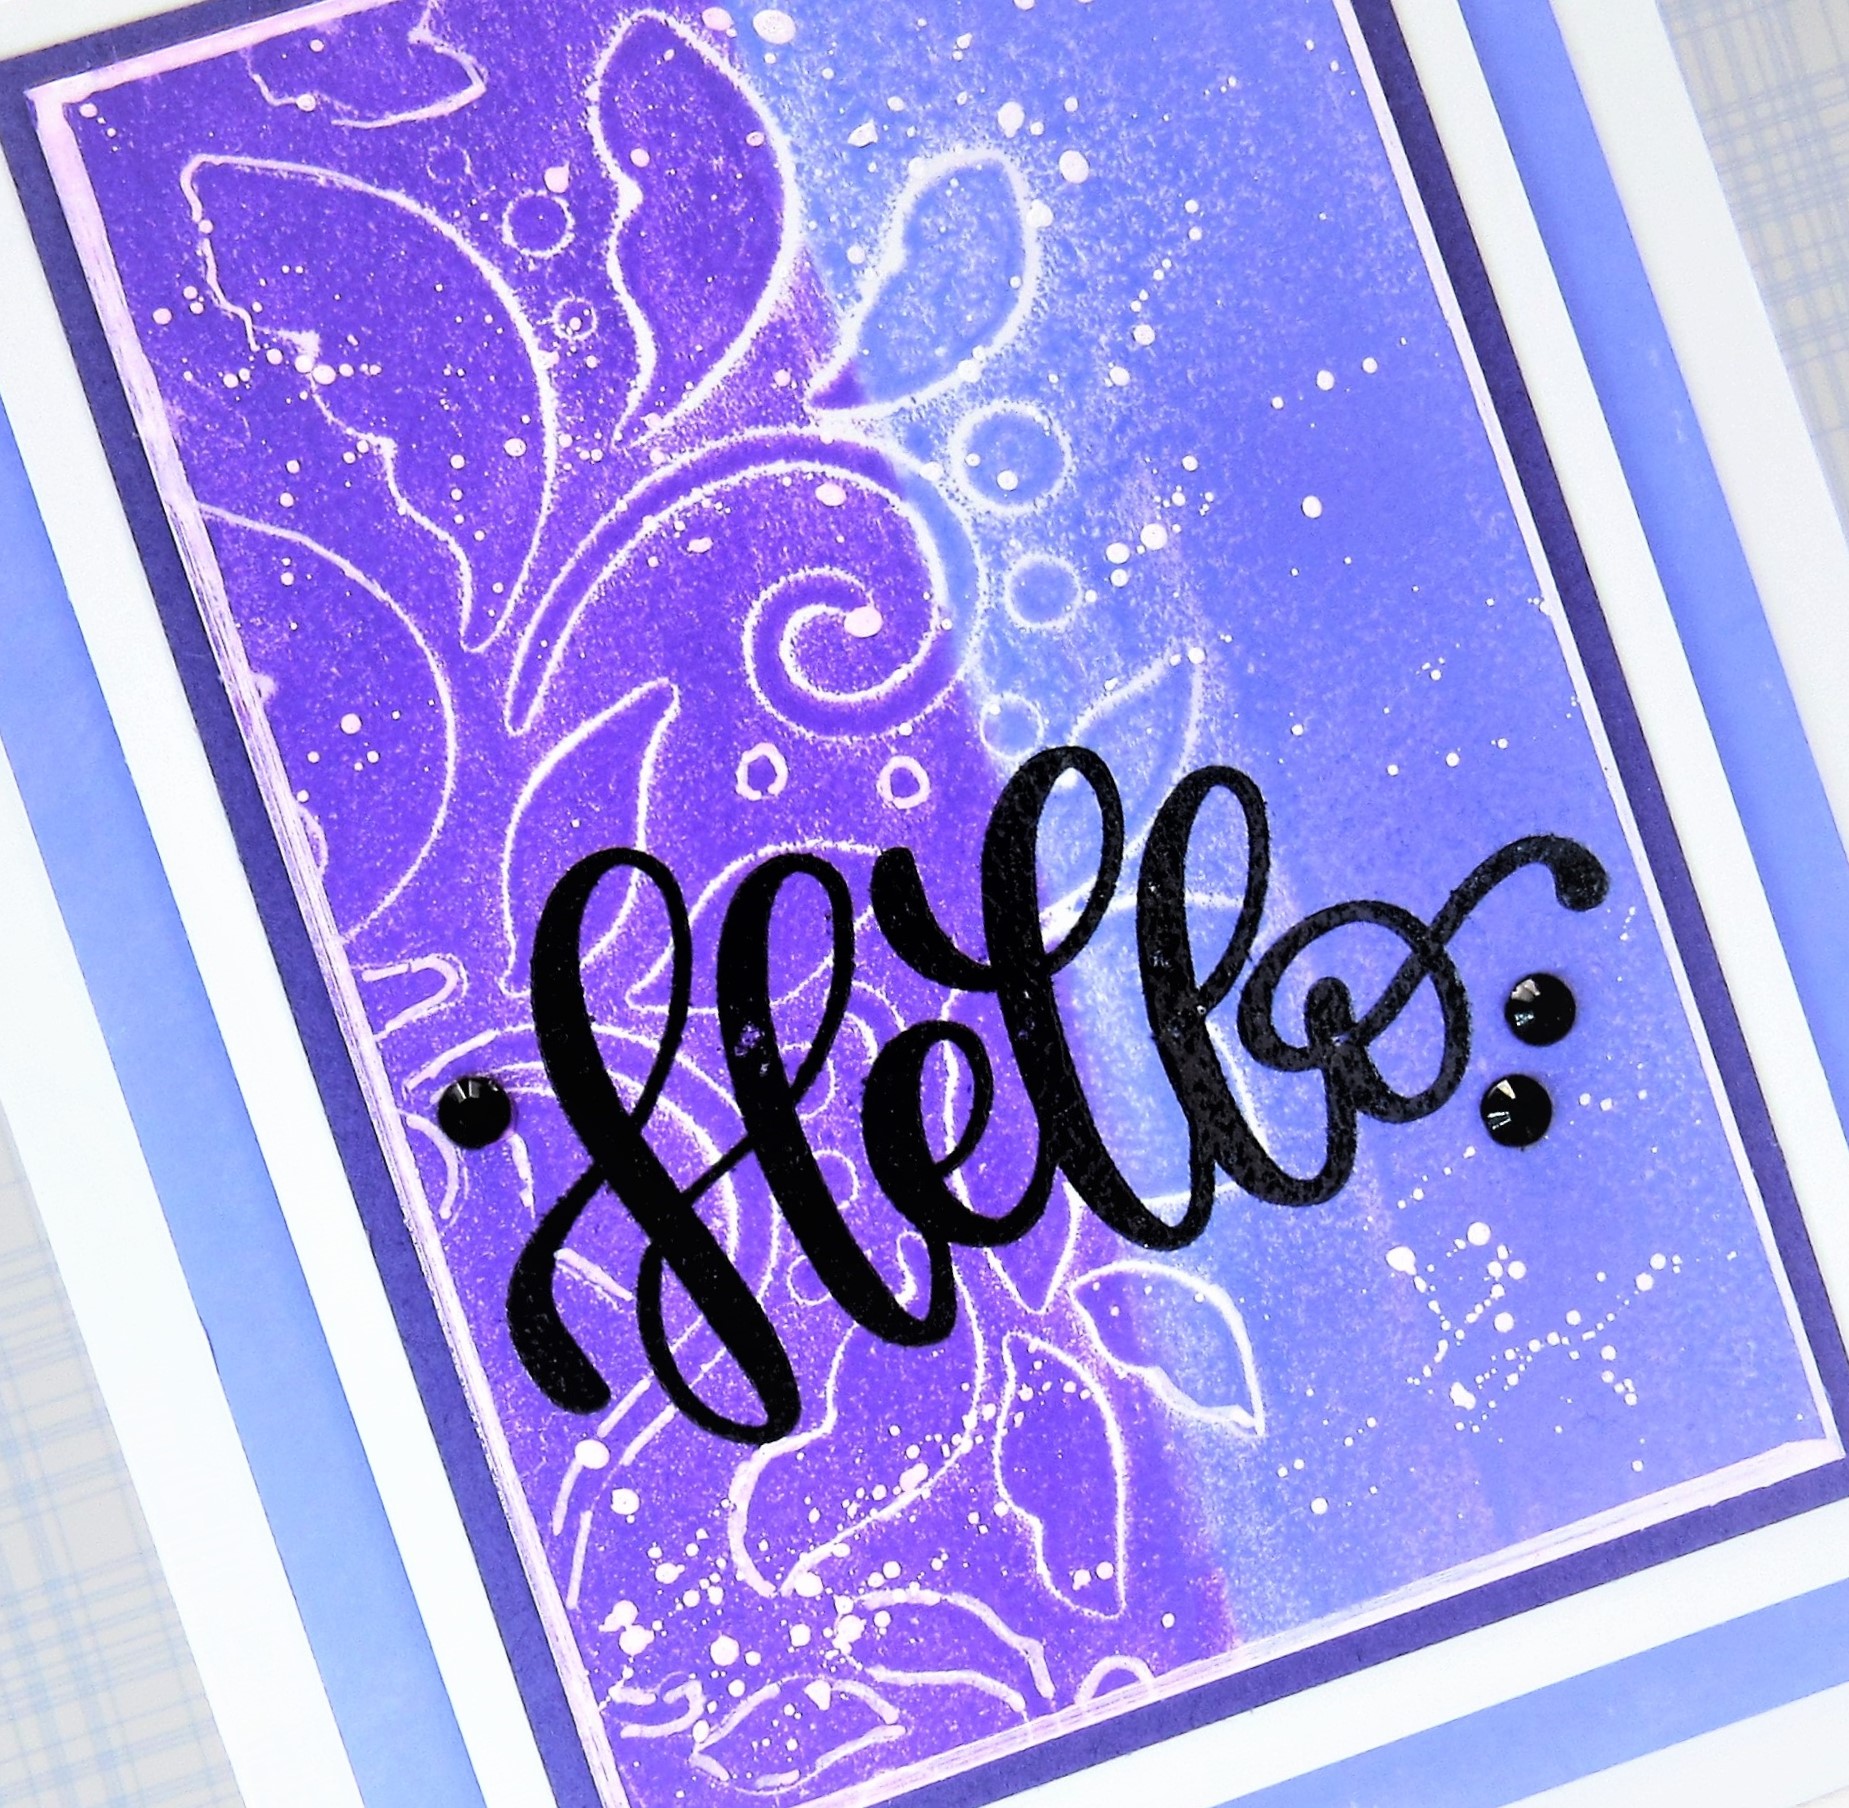
  • When it was all dry, I placed it into my Misti to stamp the sentiment and clear heat embossed it.
  • I glued the finished panel onto a piece of dark purple cardstock, then onto a piece of lighter, then onto an A2 sized card base.
  • I added some black gems around the sentiment.

Here is the stencil I used:

Discount Code for A Colorful Life Designs
(Affiliate with no extra cost to you) 

Thanks so much for coming by and taking a look.

Adding my card to these challenges:
Simon Says Wed.- ANYTHING GOES
Simon Says Mon.- STAMP IT
Crafting Happiness- (ANYTHING GOES)

Supplies
Stamp= XL Greetings (SSS)
Inks- DOX, Versafine Clair
Paper- heavy white (Scribes Nook, Waterloo, Ont.)
Accessories and Tools- stencil (A Colorful Life Designs); Simon Hurley Stamping Foam;
Misti (My Sweet Petunia); heat tool; clear eb powder; black gems; white Posca pen

Sunday, 11 June 2023

Faux Paper Weaving


Welcome
Today's card is all about using leftover strips that I keep in my stash.  
Most were done on my Gel Plate or were roll off sheets while I was printing.

So, here's what I did to create my card.
  • I began by looking through all my scrap paper strips and picked out some that I thought would work well together.
  • I glued the strips onto a piece of white cardstock being sure all were firmly secured and touching each other.
  • After the glue was dry, I cut the panel into strips so that each strip included all the different scraps paper. 
  • Using another piece of white cardstock, I glued the strips down, offsetting them each time to give the panel the look of some 'faux paper weaving'.
  • I glued the finished panel onto a piece of white cardstock, then onto a piece of red and then finally, onto an A2 sized card panel.
  • I die cut the sentiment from some white cardstock and the word shadow from some of the red and glued them together.
  • I glued that over the faux weaving and added 3 red gems.

Thanks so much for coming by and taking a look.

Adding my card to these challenges:
Allsorts- BIRTHDAY or ANYTHING GOES
We Love 2 Create- ANYTHING MIXED MEDIA GOES
Just Us Girls- USE THE WORD HELLO

Supplies
Stamps- none
Inks- DOX and Acrylic paints on my Gel Plate
Paper- heavy white (Scribes Nook- Waterloo, Ont.)
Accessories and Tools- scraps of paper; Hello sentiment (SSS); red gems (Dollar Store)

Friday, 19 May 2023

Wanted to say Hello


Good Morning
Today's card was a fun one using a new stencil for May called Orbits and combined with an older stencil called Dotted Wreath.  
It made for a Clean and Simple card.

So, here's what I did to create my card.
  • I placed a piece of white cardstock onto my Make Art Station and positioned one part of the Orbits stencil over my paper, centering it.  I inked it up with some Uncharted Mariners Distress Oxide ink.
  • I moved the stencil and added one of the smaller rings and inked that up with some Peacock Feathers Distress Oxide ink right into the center part.
  • Next, I removed the Orbits stencil and I placed the Dotted Wreath stencil over the background and inked that up with some more Peacock Feathers DOX ink.
  • I die cut the "Hello' from some blue cardstock and the shadow of the die from white and glued them together, then popped that into the center of the circles.
  • I glued the panel onto a piece of matching blue cardstock, then onto an A2 sized card base.

Here are the stencils I used:


Discount Code for A Colorful Life Designs
(Affiliate with no extra cost to you) 

Thanks so much for coming by and taking a look.

Adding my card to these challenges:
Crafty Addicts- ANYTHING GOES
Addicted to CAS- MONOCHROME
Challenge Up Your Life= CLEAN AND SIMPLE

Supplies
Stamp- none
Ink- DOX
Paper- Scribes Nook- Waterloo, Ont.
Accessories and Tools- stencils (ACLD); Make Art Station (Ranger); 
TE Blending Brushes; Hello die (SSS); foam tape