Showing posts with label Thanks. Show all posts

Sunday, 3 May 2026

Floral Thank You


Good Morning
Today's card's card features a new for May stencil that is unique and so fun.
So meet the newly released:
from A Colorful Life Designs.

Here's what I did to create my card.
  • I placed the Thank You Bows stencil over a piece of white cardstock and inked it up with some Antique Linen Distress Oxide ink.
  • I placed the stenciled piece into my Misti and stamped the flowers over to the side with some black Versafine Clair ink.
  • While that dried, I stamped the sentiment and die cut it out.
  • I glued my card front panel onto a piece of beige cardstock and then onto a white A2 card base.
  • To finish my card off, I used some foam tape to pop the sentiment over to the side.

Here is the stencil I used:


Much thanks for coming by and taking a look.

Adding my card to these challenges:
SSS Wed.- ANYTHING GOES
Crafty Catz- ANYTHING GOES

Supplies
Stamps- Everyday Tags (Avery Elle); Flowers (Magenta)
Inks- DOX; Versafine Clair
Paper- heavy white (Amazon)
Accessories and Tools- stencil (A Colorful Life Designs); TE Blending Brushes;
Infinity Circle die- HA; Misti (My Sweet Petunia)

Wednesday, 10 December 2025

Sunny Flowers

Welcome
I had fun playing with an older released stencil from A Colorful Life Designs called:

So, here's what I did to create my card.
I decided to make a modified mini-slimline card so here are the measurements I used:
Base:  cut @7" x 6 1/4"
Score @ 3 1/2"
  • I placed the Sunny Flowers stencil over a piece of white cardstock and inked it up with some Wilted Violet Distress Oxide ink into the flower centers and then I added some Picked Raspberry to the rest of the flower.
  • Next, I used an eraser on the end of a pencil to add some dots using the same colour of inks just to fill in some of the open areas.
  • To brighten up the whole design, I used my white Posca pen and added dots to the eraser circles and to the flowers.
  • While that dried, I die cut the sentiment from a scrap piece of embossed white cardstock and rubbed over it with my Picked Raspberry DOX ink pad.
  • I die cut the sentiment 4 more times with white cardstock and glued them all together to create a stacked sentiment.
  • I glued my card front panel onto a piece of white, then pink cardstock and then onto the white card base.
  • I glued the sentiment into the corner to finish my card off.

Here is the stencil I used;


Thanks a lot for taking a look.

Adding my card to these challenges:
Little Red Wagon- J IS FOR JUST ONE WORD
Simon Says Wed.- USE DIES
Beautiful Blossoms- ANYTHING GOES/OPTION MOOD BOARD

Supplies
Stamps- none
Inks- DOX
Paper- Solar White
Accessories and Tools- stencil (A Colorful Life Designs); TE Blending Brushes; 
white Posca pen; Thanks die (TE)

Saturday, 13 September 2025

Dotted Leaves

Good Morning
I had fun playing with this new stencil from A Colorful Life Designs called 

So, here's what I did to create my card.
  • I began by die cutting a piece of white cardstock with the Postage Collage die and I masked off each section.
  • I placed the Dotted Leaves Stencil over the die cut and inked it up with some Ripe Persimmon Distress Oxide ink.
  • I wiped the stencil off, repositioned it and inked again with some Lumberjack Plaid DOX ink.  I repeated that process one more time and inked with some Rustic Wilderness DOX ink.
  • I lifted the stencil off and leaving the masks in place, I rubbed some Ripe Persimmon ink around each one of the cut out framed sections
  • Next, I used some red cardstock to die cut the 'THANKS' letters and glued that onto the white word shadow.
  • I glued the stenciled panel onto a piece of red cardstock, then onto an A2 sized card base.
  • I used some foam tape to pop the sentiment over the middle of my card to finish it off.

Here is the stencil I used:

My Discount Code for Your Entire Order from A Colorful Life Designs:

Thanks so much for coming by!

Adding my card to these challenges:
Simon Says Monday- INSPIRED BY MUSIC  
(California Dreamin')
Word Power- ANYTHING GOES
Craft Rocket- DOT and/STRIPES
Cardz 4 Galz- STITCHING REAL or FAUX
(faux...faster and easier)

Supplies
Stamps- none
Inks- Distress Oxides
Paper- Solar White
Accessories and Tools- stencil (A Colorful Life Designs); Postage Collage die (Waffle Flower); 
TE Blending Brushes; foam tape; Markered Messages die (Concord and 9th)

Sunday, 29 June 2025

Layered Stencils- Thanks

Good Morning
It's the end of the month already but I wanted to post one more card I made doing some fun stencil layering using 2 of the newly released stencils for June called:
from A Colorful Life Designs

So, here's what I did to create my card.
  • I placed the Open Coils stencil onto my Make Art Station and then inked it up with some Broken China Distress Oxide ink.
  • I left that stencil in place, then put the Connected Cogs stencil over that and inked again with some Villainous Potion DOX ink.  It created such a fun, layered look.
  • I took the stenciled panel and die cut the middle area using the Zig Zag Stackers, creating a frame.
  • I glued the inside of the frame die cut onto a piece of purple cardstock.  
  • Next, I added foam tape all along the outside edge of the the frame die cut, and placed it over the middle area.  It gave so much interest to the card front.  I glued that onto a white A2 sized card base.
  • I die cut the 'thanks' with some white cardstock, then glued it onto the white word shadow.  I used some foam tape to pop it over the card front.


Here are the stencils I used:


Thanks for coming and taking a look.

Adding my card to these challenges:
Simon Says Wed.- ANYTHING GOES
Krafty Chicks- MASCULINE
Just Us Girls- STENCIL WEEK

Supplies
Stamps- none
Inks- DOX
Paper- Solar White
Accessories and Tools- stencils (A Colorful Life Designs); Thanks die (Amazon);
Zig Zag Stackers Frame (Penny Black); Blending Brushes (TE)

Wednesday, 1 May 2024

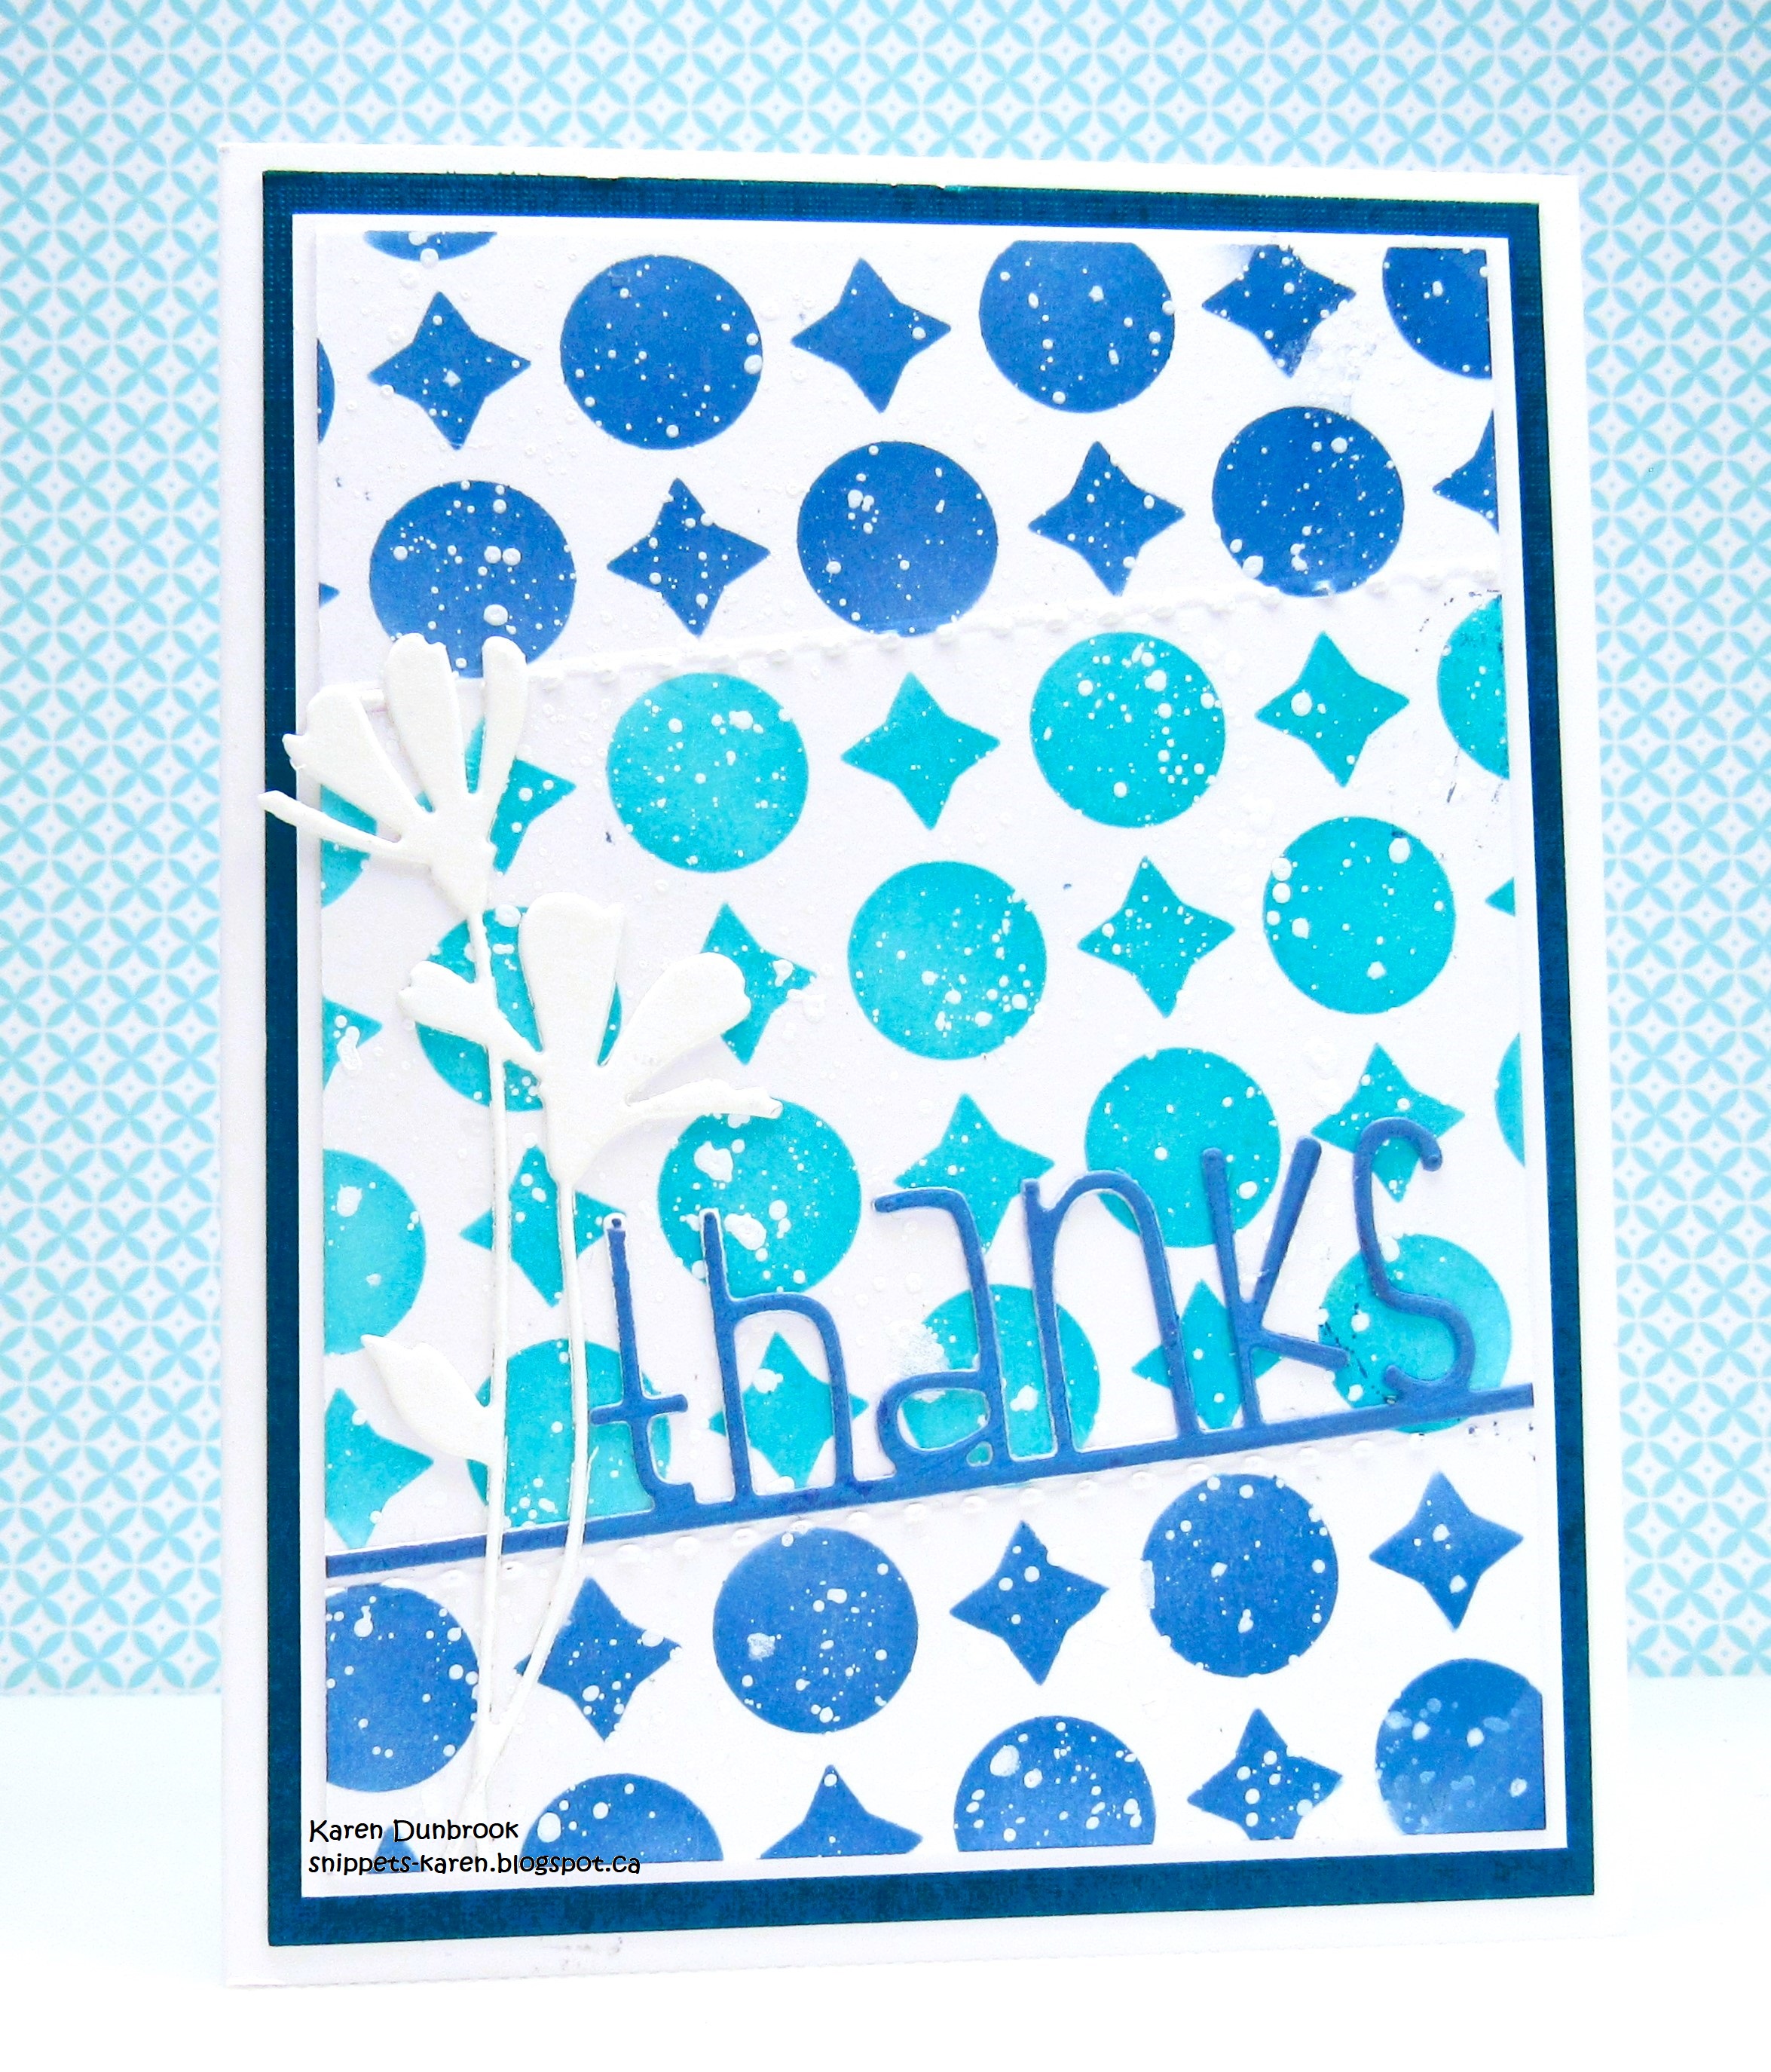
I Appreciate You


Good Morning
I'm excited for a new month which means 21 fun new releases from A Colorful Life Designs.
So here's one of the new stencils called

So, here's what I did to create my card.
  • I placed the Classic Circus stencil over a piece of white cardstock then masked the top part off on an angle with some low tack tape and inked with some Faded Jeans Distress Oxide ink.  I repeated that step along the bottom edge as well.
  • Leaving the stencil in place, I moved my low tack tape to mask off the center area and then inked with some Peacock Feathers DOX ink.
  • Next, I used my ScorPal to add the perforated lines between the different ink colours.
  • I splattered the whole panel and set aside to dry.
  • I die cut the thanks from some paper I inked with more of the Faded Jeans DOX ink and then die cut the flowers from some white cardstock.
  • When the panel was dry, I glued it onto a piece of white cardstock, then onto a piece of navy and then onto and A2 sized card front.
  • I glued the sentiment along the perforated line and then added the flowers beside that.

Here is the stencil I used:

Lots of New Bling Too!

Discount Code for A Colorful Life Designs
(Affiliate with no extra cost to you) 

Thanks so much for coming by and taking a look.

Simon Says Wed.- ANYTHING GOES
OPTION- SPRING/FLOWERS
Allsorts- STENCIL

Supplies
Stamps- none
Inks- DOX
Paper- heavy white (Scribes Nook- Waterloo, Ont.)
Accessories and Tools- stencil (A Colorful Life Designs); TE Blending Brushes;
Thanks die (SSS); Fresh Daisies die (SSS); white Posca pen

Tuesday, 16 April 2024

So Much Thanks

Welcome
Today's card featured the new stencil from A Colorful Life Designs called
This stencil is a fun, unique one to work with and is a larger size for those that work on a bigger scale.

So, here's what I did to create my card.
  • I began by putting the Rotating Rings stencil over a piece of white cardstock and inked it with some Villainous Potion Distress Oxide ink.
  • I removed the stencil, wiped it off, then repositioned it and inked with some Peacock Feathers DOX ink.
  • Next, I cut a circle from the stenciled card panel and glued it onto a purple die cut circle that was just a bit bigger.
  • I die cut the sentiment from some purple paper and splattered the letters with my white Posca pen.
  • I glued the card front onto a piece of purple cardstock, then onto a white A2 sized card base.
  • I used some foam tape to put the circle back into position over the front panel, then glued the sentiment letter over it.

Here is the stencil I used:

Discount Code for A Colorful Life Designs
(Affiliate with no extra cost to you) 

Thanks so much for coming by and taking a look.

Adding my card to these challenges:
Simon Says Monday- MAKE YOUR OWN BKG
Crafts Galore Encore- ANYTHING GOES

Supplies
Stamps- NONE
Inks- DOX
Paper- heavy white (Scribes Nook- Waterloo, Ont.)
Accessories and Tools- stencil (A Colorful Life Designs); white Posca pen;
Infinity Circle die (Hero Arts); sentiment die (Concord and 9th)

Sunday, 28 January 2024

Stenciled Die Cuts


Good Morning
Today's card is a simple one as I wanted to play with a new die that I just got along with the newly released stencil from A Colorful Life Designs called

So, here's what I did to create my card.
  • I cut a piece of white cardstock and placed it onto my Make Art Station.
  • I laid the Not Quite Stripes stencil over that and inked it up with some Cracked Pistachio Distress Oxide ink.
  • I lifted the stencil off, cleaned it and turned it around and put it back over my first stenciling.  I inked again with some Rustic Wilderness DOX ink.
  • I took the stenciled panel and used the Eclectic Tree Outlines die to cut it out.  Be sure and keep all the little pieces when you die cut.  It helps to put some low tack tape across the back of your cardstock before die cutting it out to help hold all the little pieces in place.
  • I glued the panel onto a piece of white cardstock, then glued the little die cut pieces back into place over the panel.
  • I glued the panel onto a piece of green cardstock, then onto an A2 sized card base.
  • I use some foam tape to add the sentiment.

Here is the stencil I used:

Discount Code for A Colorful Life Designs
(Affiliate with no extra cost to you) 

Thanks so much for coming by and taking a look.

Adding my card to these challenges:
Just Us Girls- ANYTHING GOES STENCIL WEEK
Cut it Up- THIS MAKES ME HAPPY

Supplies
Stamps- TE Sentiment Strips
Ink- Versafine Clair; DOX
Paper- heavy white (Scribes Nook- Waterloo, Ont.)
Accessories and Tools- stencil (A Colorful Life Designs); Make Art Station (Ranger);
TE Blending Brushes; Eclectic Tree Outlines die (SSS)

Wednesday, 24 January 2024

Mid Century Rainbows


Welcome
Meet today's card.  
A simple CAS thank-you card.
A fun one using 2 new stencils from A Colorful Life Designs called

So, here's what I did to create my card.
  • I placed a piece of white cardstock onto my Make Art Station and placed the Mid Century Rainbows stencil over it.  
  • I inked up the whole stencil with some Salty Ocean Distress Oxide ink.
  • Leaving that stencil in place, I put the Not Quite Stripes stencil over it and inked it up with some Villainous Potion DOX ink.  It gave the whole overall pattern a lot of interest.
  • Next, I stamped the sentiment in my Misti and die cut it out.
  • I glued the stenciled panel onto a piece of purple cardstock, then onto an A2 sized card base.
  • I used some foam tape to pop the sentiment into the corner.

Here are the stencils I used:

Not Quite Stripes

Discount Code for A Colorful Life Designs
(Affiliate with no extra cost to you) 

Thanks so much for coming by and taking a look.

Adding my card to these challenges:
Colorful Options- BLUE LAGOON
Crazy is Our Fame, Stencils are Our Game- ANYTHING GOES-option: Birds

Supplies
Stamps- Big and Bold Sentiments (SSS)
Inks- DOX
Paper- heavy white (Scribes Nook- Waterloo, Ont.)
Accessories and Tools- stencils (A Colorful Life Designs); Make Art Station (Ranger);
TE Blending Brushes

Monday, 15 January 2024

My Thanks


Welcome
Today's card was a fun one as I combined 2 new stencil releases for January from A Colorful Life Designs called

So, here's what I did to create my card.
  • I placed a piece of white cardstock onto my Make Art Station and then put the Not Quite Stripes stencil over that.  
  • I inked over the stencil with some Ripe Persimmon Distress Oxide ink.
  • I wanted to add extra interest to the stripes, so leaving the stencil in place, I put the Mid Century Rainbows stencil right over it and inked with some Lumberjack Plaid DOX ink.
  • I used a die to cut the circle right from the middle of the panel.
  • I stamped the sentiment in my Misti and then glued it onto an orange die cut circle.
  • I glued the panel onto another piece of orange cardstock, then onto an A2 sized card base.
  • I used some foam tape to pop the circle back into place, matching up the stenciled pattern.
  • Finally, I added some bling around the sentiment.

Here are the stencils I used:


Discount Code for A Colorful Life Designs
(Affiliate with no extra cost to you) 

Thanks so much for coming by and taking a look.

Adding my card to these challenges:
(Hemstitch circle die, stencils)
Crafts Galore Encore- ANYTHING GOES
Love to Craft- ANYTHING GOES

Supplies
Stamps- Sending You (Avery Elle)
Inks- Versafine Clair; DOX
Paper- heavy white (Scribes Nook- Waterloo, Ont.)
Accessories and Tools- stencils and card bling (A Colorful Life Designs); Make Art Station (Ranger);
Infinity Circle die (Hero Arts); Hemstitch Circle Die (Spellbinders)

Saturday, 13 January 2024

Lacy Edge Thanks


Good Morning
Today's card has such a happy, fun look to it!
I used the newly released stencil from A Colorful Life Designs called
It's a large format stencil for those of you that are Scrapbookers.

So, here's what I did to create my card.
  • I cut a piece of white cardstock and placed it onto my Make Art Station.  I positioned the Lacy Edge stencil over the cardstock.  
  • Beginning at the top, I inked it up with some Ripe Persimmon Distress Oxide ink.
  • I continued to ink my way down the stencil using some Picked Raspberry DOX ink next, then some Peacock Feathers DOX ink to finish off the bottom edge.
  • Next, I decided to fussy cut the stencil out along the scalloped edge.
  • I placed the stenciled panel into my Misti to stamp the sentiment along the edge and then clear heat embossed it to help make it pop against the colourful background.
  • I used some foam tape to secure the cut out stenciled panel to a piece of white cardstock and then added that to an A2 sized card base.

Here is the stencil I used:

Discount Code for A Colorful Life Designs
(Affiliate with no extra cost to you) 

Thanks so much for coming by and taking a look.

Adding my card to these challenges:
Classic Designs- ANYTHING GOES
CRAFT- ANYTHING GOES

Supplies
Stamps- Pretty Phrases (retired- Paper Smooches)
Inks- Versafine Clair; DOX
Paper- heavy white (Scribes Nook- Waterloo, Ont.)
Accessories and Tools- stencil (A Colorful Life Designs); Make Art Station (Ranger);
TE Blending Brushes; foam tape; clear EB powder

Friday, 6 October 2023

Happy Thanks


Welcome
Today's card features one of my favourite new releases from A Colorful Life Designs this month called 

Fall is in the air and this weekend we celebrate our Canadian Thanksgiving, so I decided to make a card for that using some warm Fall colours.

So, here's what I did to create my card.
  • I found this 'roll off' sheet in my stash and used that as my starting point.  I cut it down to work as my card front panel.  The roll off sheets are the ones I roll my Brayer off onto when I'm using inks on my Gel Plate.  
  • I placed the panel onto my Make Art Station and put the Scandinavian Flowers over that.  I inked the stencil up with some Fossilized Amber, Ripe Persimmon and some Carved Pumpkin Distress Oxide ink.
  • I removed the stencil and splattered with my white Posca pen and set aside to dry.
  • I found this negative die cut in my stash and used a piece of the roll off panel that was left when I cut it down, to back the sentiment.
  • I glued the dried panel onto some black cardstock, then onto an A2 sized white card base.
  • I used some foam tape to pop the 'THANKS' sentiment over the center of my card.

Here is the stencil I used:

Discount Code for A Colorful Life Designs
(Affiliate with no extra cost to you) 

Thanks so much for coming by and taking a look.

Adding my card to these challenges:
Little Red Wagon- Fall Colours 
Simon Says Wed.- STENCIL FUN

Supplies
Stamps- none
Inks- DOX
Paper- heavy white (Scribes Nook- Waterloo, Ont.)
Accessories and Tools- stencil (A Colorful Life Designs); TE Blending Brushes;
Make Art Station (Ranger); white Posca Pen; die (Concord and 9th)

Friday, 20 January 2023

Big Thanks


Good Morning!
Today's card features the newly released Heart Surround stencil from A Colorful Life Designs.
I used it in a totally different way to create the background of my card.

So, here's what I did to create my card.
  • I took a piece of white cardstock and placed it onto my Make Art station.  I figured out the center point on the cardstock and placed just the bottom part of the Heart Surround stencil over the top edge of my cardstock. 
  • Starting at the inside edge (point of the heart), I inked up just the tip with some Mustard Seed Distress Oxide ink.  Next, I inked with some Carved Pumpkin, Picked Raspberry and finally some Broken China DOX ink, layering them as I moved up to the top.
  • When I was happy with the inking, I removed the stencil, cleaned it off and moved it into the bottom position.  I inked it again in the same order mentioned above.
  • I repeated those steps to ink up the side areas.
  • After the whole front of the panel was inked up, I rubbed over it with my anti-static powder and placed it into my Misti to stamped the sentiment.  I clear heat embossed the sentiment.
  • I glued it onto a piece of purple cardstock, then onto an A2 card base.
  • Finally, I added 3 black gems to finish my card off around the sentiment.

Here is the stencil I used:

Discount Code for A Colorful Life Designs
(Affiliate with no extra cost to you) 

Thanks so much for coming by and taking a look.

Adding my card to these challenges:
The Crafter's Cafe- COLORS OF THE RAINBOW


Supplies
Stamp- XL Greetings (SSS)
Inks- DOX, Versafine Clair
Paper- Scribes Nook- Waterloo, Ont.
Accessories and Tools- stencil (ACLD); Make Art Station (Ranger); TE Blending Brushes;
clear eb powder; anti-static powder; black gems; Misti