Showing posts with label classic. Show all posts

Sunday, 14 September 2025

Old Classic

Welcome
Today's fun card would be perfect of one of the guys in my life.
So meet just one of the new stencils for September from A Colorful Life Designs called:
It worked great for creating a background for the car.

So, here's what I did to create my card.
  • I placed the Quarter Moons stencil over a piece of white cardstock and inked the middle with some Broken China Distress Oxide ink and the edges with some Uncharted Mariner DOX ink.
  • I stamped the car onto a piece of cardstock that I inked with some Salty Ocean DOX ink, clear heat embossed it and then added some white details with my Posca pen.
  • I placed the stenciled card front into my Misti to stamp the sentiment along the bottom.
  • I glued the card front onto a piece of white, then navy and then onto a white A2 sized card base.
  • To finish my card off, I fussy cut out the car and added it over the middle of my card front.

Here is the stencil I used:
Quarter Moons


Thanks a lot for taking a look.

Adding my card to these challenges:
Simon Says Mon.- INSPIRED BY MUSIC (Cars)
The Male Room- CREATE YOUR OWN BKG

Supplies
Stamps- Classic Cars (Amazon)
Inks- Versafine Clair; DOX
Paper- Solar white
Accessories and Tools- stencil (A Colorful Life Designs); TE Blending Brushes;
white Posca pen; clear EB powder; foam tape; Misti (My Sweet Petunia)

Sunday, 6 April 2025

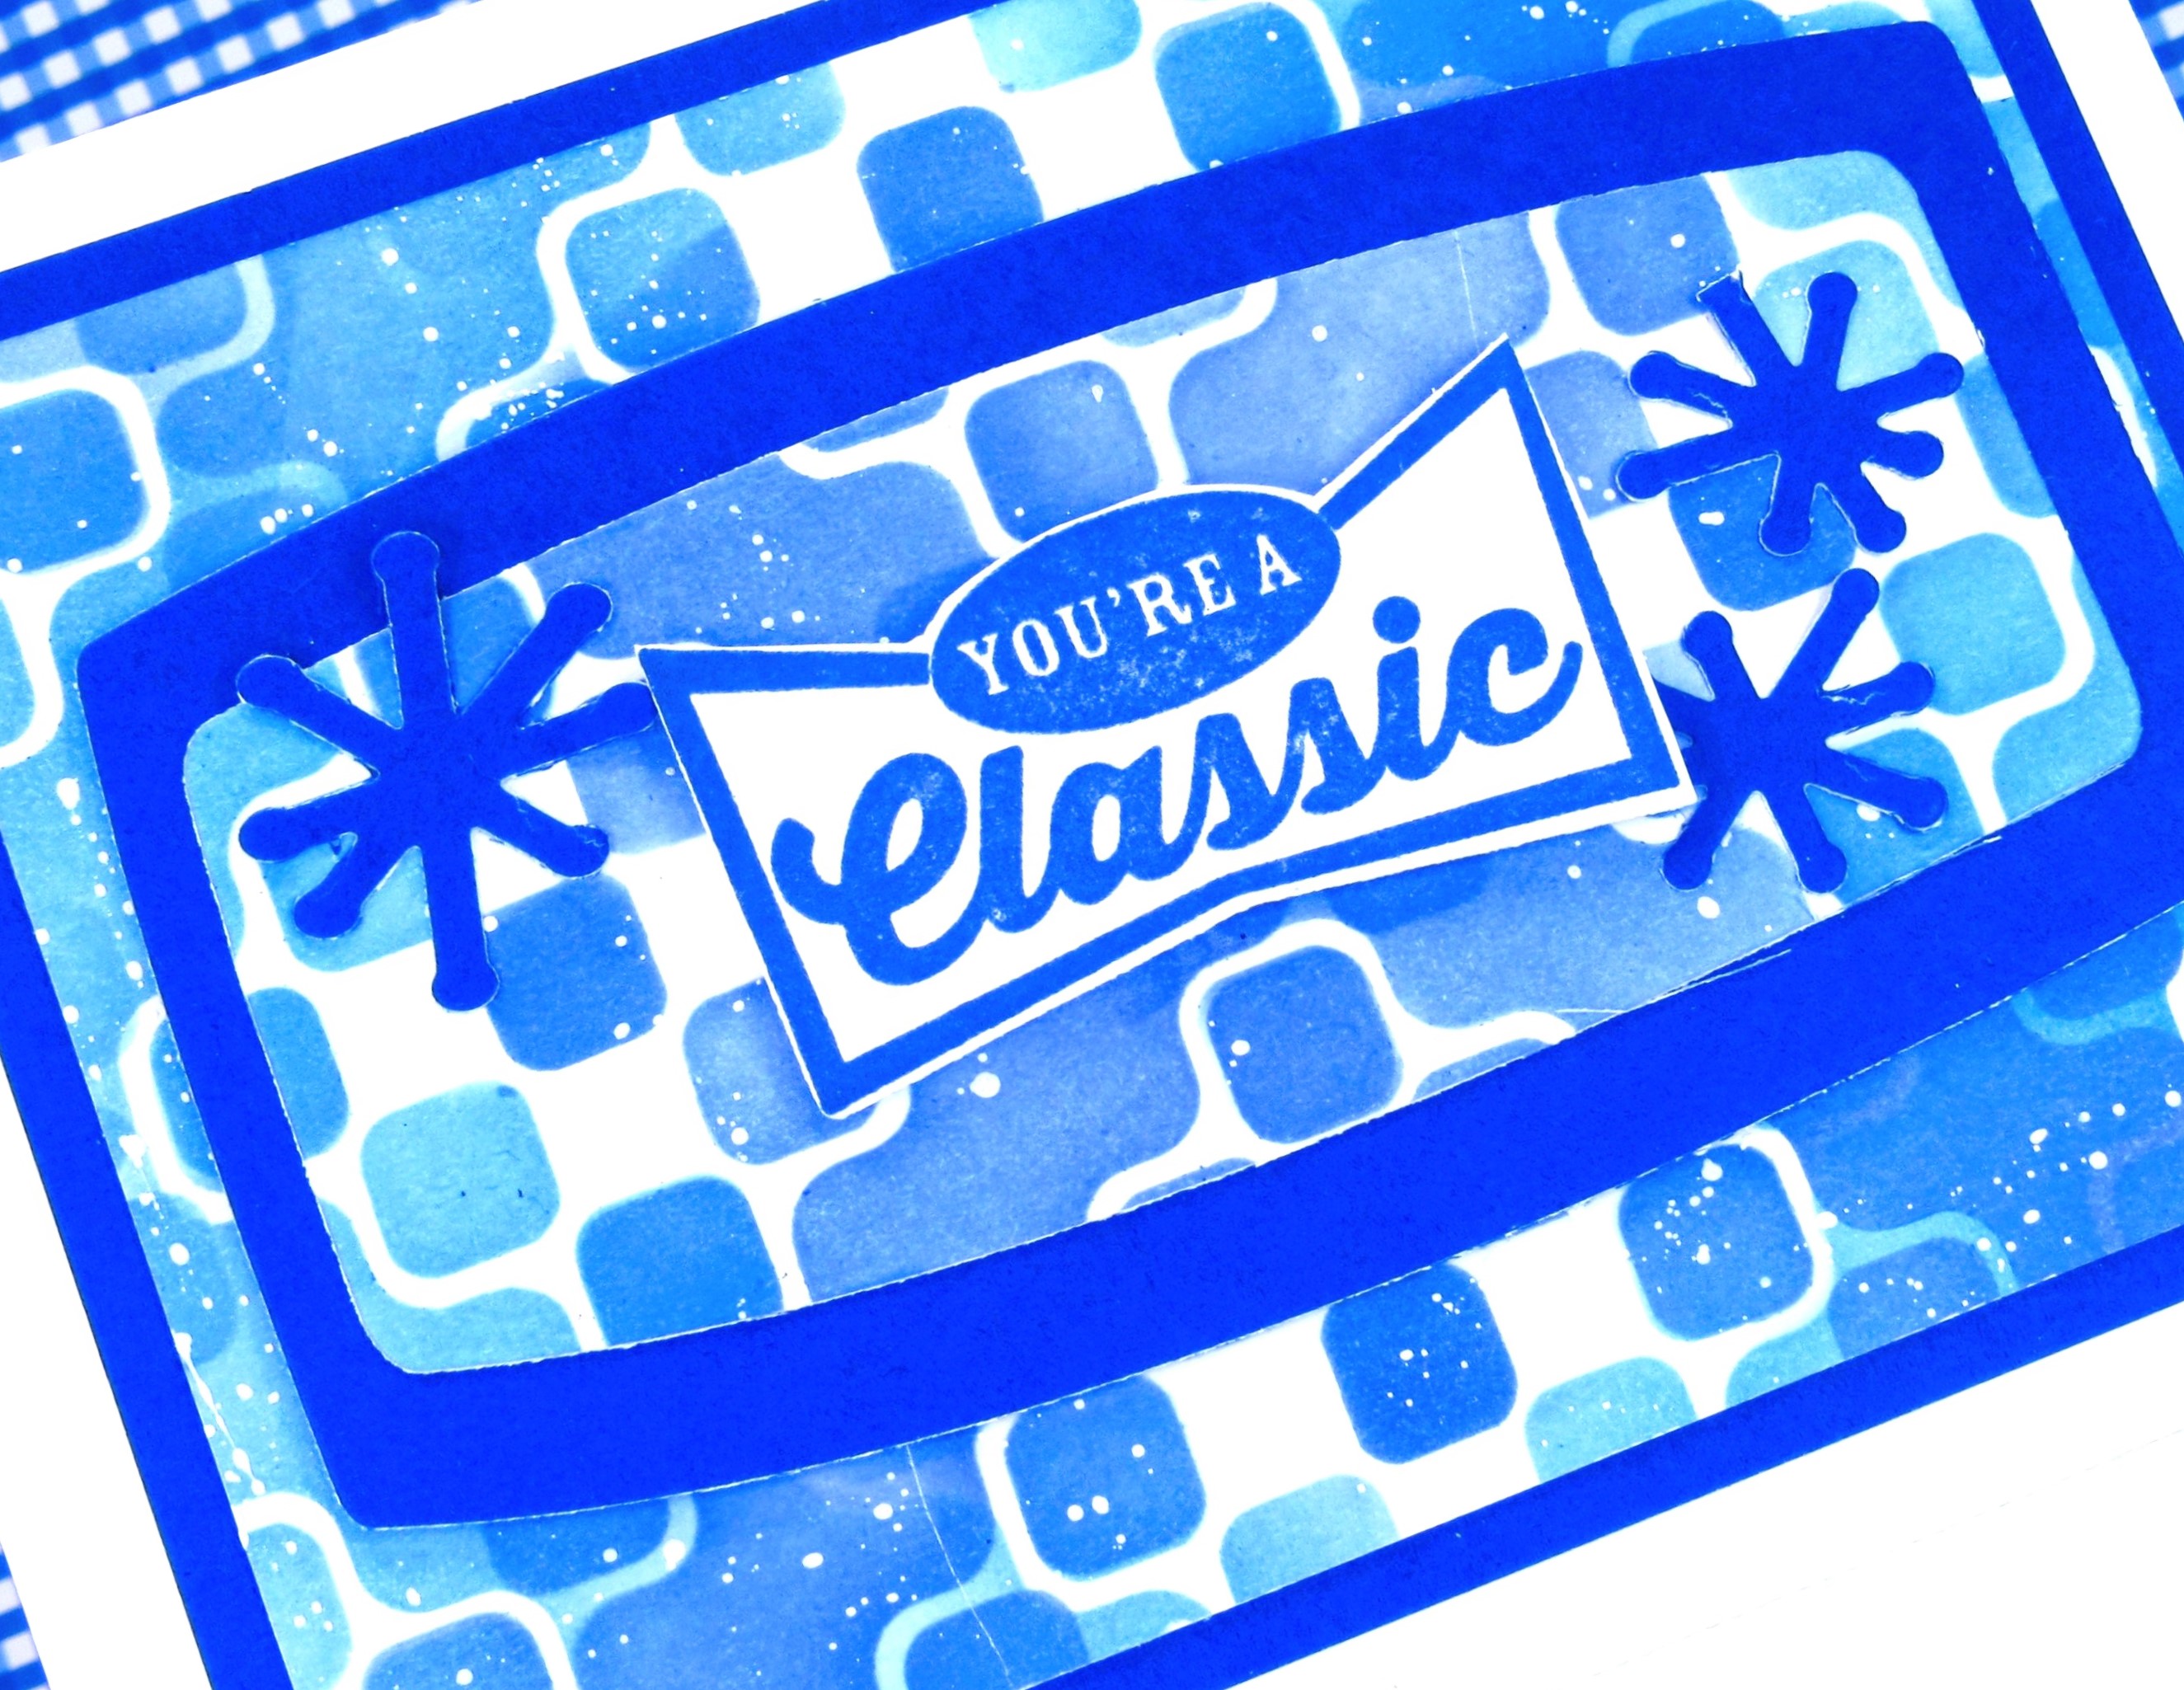
You're Not Old, You're a Classic

Good Morning
A new month means a whole new lineup of stencils from A Colorful Life Designs.
So meet the new for April stencil called:

So, here's what I did to create my card.
  • I placed a piece of white cardstock onto my Make Art Station and positioned the Escalator stencil over that.  I inked with some Salty Ocean Distress Oxide ink.
  • I moved the stencil to the other side and inked again using some Blueprint Sketch DOX ink.
  • I lifted the stencil off and splattered the whole panel with my white Posca pen.
  • While that dried, I stamped the sentiment and die cut it out.
  • I used the Retro Mod die to cut out a piece right from the center of my card front panel and then I used the larger die of that set to cut another from some dark blue paper. I glued those 2 together.
  • I glued the stenciled panel onto another piece of the dark blue paper and then onto a white A2 sized card base.
  • I used some foam tape to added the center piece I had cut away back into place, matching up the pattern.
  • Last, I added the sentiment into the middle and added the little cut out shapes.

Here is the stencil I used:

My Discount Code for Your Entire Order from A Colorful Life Designs:
Thanks so much for taking a look.

Simon Says Wed.- HAPPY BIRTHDAY

Supplies
Stamps- Feelin Fizzy (Catherine Pooler)
Inks- DOX
Paper- heavy white; blue 
Accessories and Tools- stencil (A Colorful Life Designs); Blending Brushes (TE);
Make Art Station (Ranger); white Posca pen; Retro Mod dies (Whimsy Stamps)