Showing posts with label credit card. Show all posts

Thursday, 2 May 2019

For a Child- CAS Watercolour Challenge


Hello and Welcome
This month, I have the pleasure of hosting the 


I thought this would be a fun theme and the perfect chance to create some fun cards to have on hand for the little ones in our lives.  It's sure to be a fun, happy gallery this month.
We welcome our Guest this month Bobby from Bits and Pieces.

So onto my card.
I began with a piece of heavy white cardstock and die-cut a circle shape using a die from Spellbinders.  I placed the piece inside my Misti then stamped the flower girl image into the center of the circle.  Using a wet paintbrush, I painted her in with some Candied Apple and Fired Brick DOX inks and then used some Copics for her legs, face and cheeks.
When she was all dry, I covered the petals of the flower with some Rangers Glossy Accents to add a shine then I pierced all around the edge of the circle to add interest.
Onto my card front.  I rubbed some Spiced Marmalade onto my non-stick craft mat, sprayed with water and picked up the ink with an old credit card.  I dragged the ink down the side of my card front until I was happy with the inking.  I dipped the edge of the credit card into the red Candied Apple DOX to create the lines you see over the orange.  I added some splatters with the leftover red ink.  It reminded me of a fun yellow plaid when done.
Lastly, I stamped the sentiment, pop dotted the image over the sentiment and then mounted it all onto a plain white card base.


Thanks so much for coming by and taking a look.
Hope you come and play along with us.

Adding my card to these challenges:
Simon Says WED.- Happy Birthday
Addicted to Stamps and More- CAS
Time Out Challenges- PLAYFUL


Supplies
Stamps- Flower Girl (Stampotique); Happy Birthday (Studio G)
Inks- Spiced Marmalade, Candied Apple, Fired Brick DOX (TH); Memento Black
Paper- heavy white (Scribes Nook)
Accessories and Tools- Misti (My Sweet Petunia); circle die (Spellbinders); piercing tool (TH);
old credit card; non-stick craft mat (Ranger); paintbrush;
 Copic markers; Glossy Accents (Ranger)

Tuesday, 6 March 2018

Joyful


Good Morning.

Here is a simple card I made while playing with my Distress Oxide inks and a credit card.  
I showed some cards I had created on my blog months ago about how to do this technique but I will give you a short review.

I used a heavy weight cardstock instead of watercolour paper so the ink would sit on top of the paper and not soak in.  I rubbed the Oxide ink directly onto my non-stick craft sheet, sprayed with water and dipped just the edge of my credit card into the ink and then dragged it across and down my paper.
 
When it was dry, I placed the piece inside my Misti to stamp the flower and add the sentiment.


Thanks so much for coming to take a look.

Adding my card to these challenges:
Simon Says Wed.- ANYTHING GOES
Use Your Stuff- ANYTHING GOES
Craft Stamper Magazine- ANYTHING STAMPED GOES
Crafty Cardmakers- FLORAL DELIGHT


Supplies
Stamps- Agapanthus Cluster (Stampendous); Agapanthus Long (Stampendous);
Fill Your Heart (Rubbernecker)
Inks- Tuxedo Black Memento; Twisted Citron, Peacock Feathers, Salty Ocean
Distress Oxides (TH)
Paper- heavy white (local store)
Accessories and Tools- Misti; credit card; Mister (TH); non-stick mat (TH)

Saturday, 15 July 2017

Good Friends- The Flower Challenge

Good Morning.
Time for another card for 

I decided to use heat embossing on my card.

I am having a blast playing with my Distress Oxide inks.  
I did a tutorial you can check out called

Basically, you dip an old credit card into Distress Oxide ink that has been sprayed with water and drag it down your card front.  The Oxides layer so uniquely and I just love that you get a different look every time.

So onto my card.
I began with a piece of heavy weight cardstock.  I get mine from a local store and tend not to buy it online as the shipping is so expensive to Canada.
Using the above technique, I pulled the Oxide inks over my card front, layering the colours as I went along.  I rubbed my card front with an anti-static pad then I stamped the flowers from Magenta using my Misti with Versamark ink then white heat embossed them.  The white embossing just helped the flowers pop against that colourful bkg.
I stamped the Hero Arts sentiment, then using the edge of my credit card, I added the black lines using ink from my Memento ink pad.  Using some drywall tape, I added extra interest by stenciling a bit in the background.


Thanks so much for coming by and taking a look.
Hope you will come and play along with us.

Adding my card to these challenges:

Simon Says Wed.- PLAID
Addicted to Stamps and More- PHOTO INSPIRATION
Pause, Dream, Enjoy- EMBOSSED WET or DRY
Crafting With An Attitude- ANYTHING GOES
Craft Stamper Magazine- ANYTHING STAMPED GOES


Supplies
Stamps- Wildflowers-Umbells (Magenta); Good Friend Message (Hero Arts)
Inks- Tuxedo black Memento; Wilted Violet, Fossilized Amber, Cracked Pistachio and 
Iced Spruce Distress Oxide inks (TH), Versamark
Paper- heavy weight cs (local store)
Accessories and Tools- MISTI; credit card, white eb powder; heat tool, anti-static pad, drywall tape

Monday, 29 May 2017

Swipe Your Credit Card

Good Morning.
Today, I am hosting the Technique Lovers Challenge at 
I am calling this Challenge 'Swipe Your Credit Card'.

After making this card last week using the Distress Oxide inks and a credit card, I though it would make for a fun mini-tutorial and a challenge.  It is pretty simple to do and the nice thing is that you most likely have all the supplies already on hand.

 I have 2 cards I made using this technique.
This first one was done using Distress Oxides inks in four different colours.
Just a hint, I used a heavy weight cardstock instead of watercolour paper so the ink would sit on top of the paper and not soak in. 
I rubbed the ink directly onto my non-stick craft sheet, sprayed with water and dipped just the edge of my credit card into the ink and then dragged it across my paper.
I touched the edges of my credit card onto my black ink pad to create the black lines on my card and some white acrylic paint for the others.
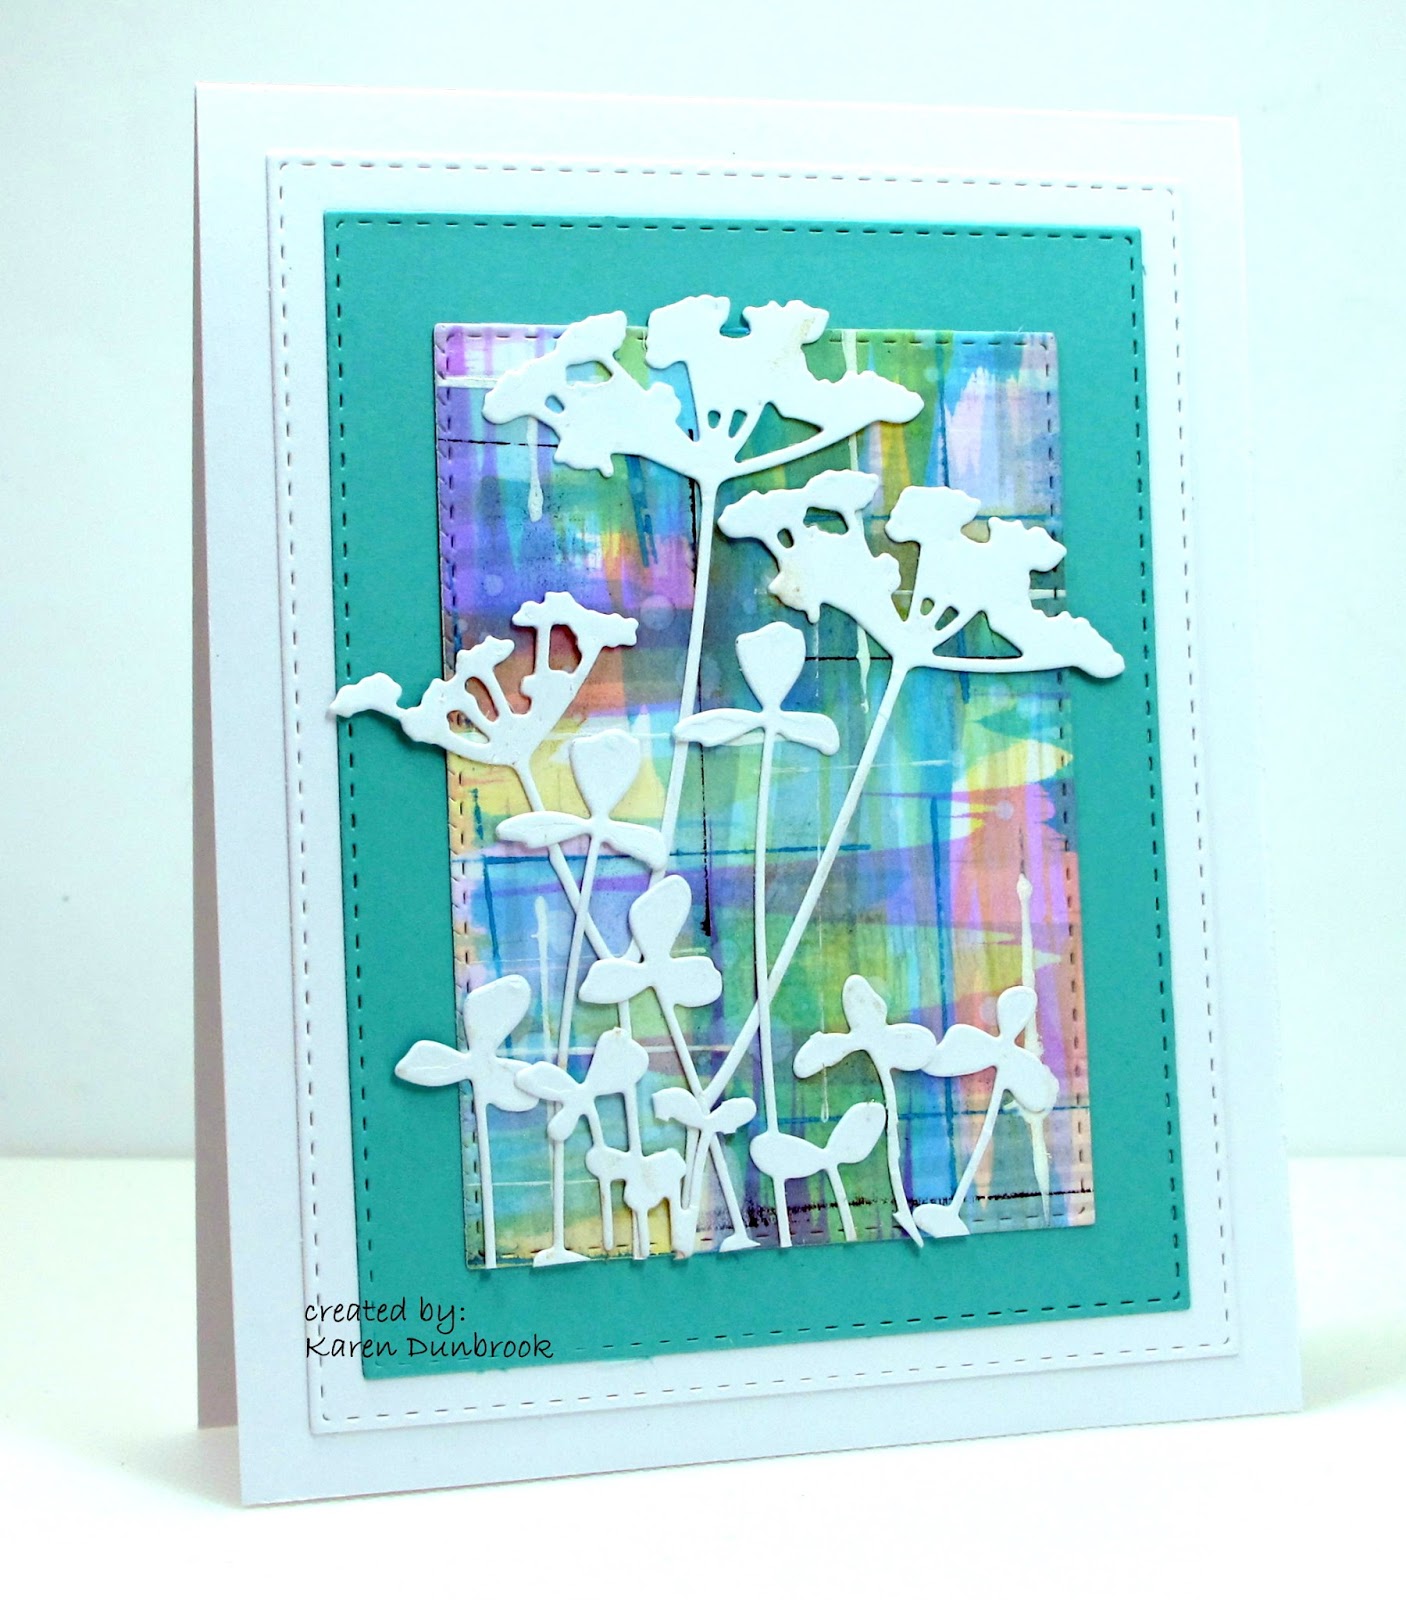
I added the Tim Holtz die cut flowers some flowers from Memory Box across the bottom and used a stitched frame die on the edges.


So now onto my second card.
For those of you that have not ventured into the world of Oxides, I wanted to give this technique a try using my regular Distress inks.  I figured most of you had at least some of these inks on hand or others that were water-based. 
I will say that the Oxides do layer better then the regular Distress inks.

I did exactly the same technique as above but this time, I stamped on my card front instead of using the die-cuts.  By using the Misti, it was easy to get good coverage when I repeat stamped a few times.
I added some white acrylic paint splatters to this one too and stamped a sentiment as well.


Adding my cards to these challenges:

City Crafter- SUNSHINE
(card #2)

Time Out- INSPIRATION QUOTE

Love to Create- MIXED MEDIA


I hope you will check out my mini tutorial and give it a try.
Thanks again for coming by and taking a look.

 Supplies
Card #1
Stamps- none
Ink- Broken China, Wilted Violet, Peeled Paint, Iced Spruce Distress Oxides
Paper- heavy weight (bulk from local store)
Accessories and Tools- Cuttlebug, Dies- Wildflowers (TH), Meadow Clover (Poppystamps), 
Stitched Frame (Memory Box), credit card, wh acrylic paint

Card #2
Stamps- Clover Silhouette (Magenta), Wildflowers (TH), Live..Laugh..Love (Rubbernecker)
Ink- Ripe Persimmon, Carved Pumpkin, Fired Brick, Fossilized Amber Distress (TH);
Tuxedo Black Memento
Paper- heavy weight (bulk from local store)
Accessories and Tools- MISTI, wh acrylic paint, credit card, paintbrush

Saturday, 20 May 2017

Distress Oxides and a Credit Card

Meet today's card.
Just a fun one created with some new-to-me Distress Oxides and an old credit card.
This is the first time I have used them and wanted to find out how they would work for creating a background because as you all know, I love making backgrounds! 
 Love how it turned out and it was so easy...maybe I even created a new technique for using them.

I began by smooshing (a technical term!) the Oxide ink pad directly onto my non-stick craft mat and sprayed with a touch of water.  I dipped the edge of an old credit card into the ink then dragged it onto my paper.  I repeated that process being sure to drag in different directions using the colours I have.  To add more interest and depth to the inked piece, I pressed the edge of the credit card onto my Black Soot Distress ink pad and then instead of dragging, I just touched the surface to create the black lines you see.  I also did that using some white acrylic paint; no dragging just lightly touching to transfer the colour.  Love how the inks layered over each other.
I stamped the 'Smile' using Memento black ink and clear heat embossed it.  I was pleased at how easily it stamped over the Oxides.
I die-cut the Wildflowers and glued them onto my card front.

Like I said, I was so happy with how it turned out...now I need more Oxides!! LOL


Adding my card to these challenges:


Creative Artiste Mixed Media- ANYTHING MIXED MEDIA

Cardz 4 Galz- ADD SOME TEXTURE

Crafty Creations- ANYTHING GOES

Crafty Gals- FLOWERS

Craft Stamper Magazine- ANYTHING GOES STAMPED

  It's a long weekend for us here in Canada.
Enjoy yours and thanks so much for coming by and taking a look!
Supplies
 Stamps- SMILE (Daisy Bucket)
Inks- Wilted Violet, Iced Spruce, Broken China, Peeled Paint Oxide Distress ink (TH)
Black Soot DI (TH), Memento black
 Paper- Strathmore Bristol
Accessories and Tools- old credit card, clear eb powder, heat tool, non-stick craft mat, Mister (TH)
white acrylic paint, Wildflower dies-(TH)