
Good Morning
Today's card is a 'Z' fold design.
It is fun to change it up now and again and this fold is not complicated at all to do.
So here's what I did to create my card.
- I began by getting my card base ready, a standard A2 size card base that was 5 1/2 x 4 1/4" when folded. I scored and folded the front side panel in half. It creates a 'Z' fold card. Next, I went in search of the papers I wanted to use and cut them to size to create the back and front pieces.
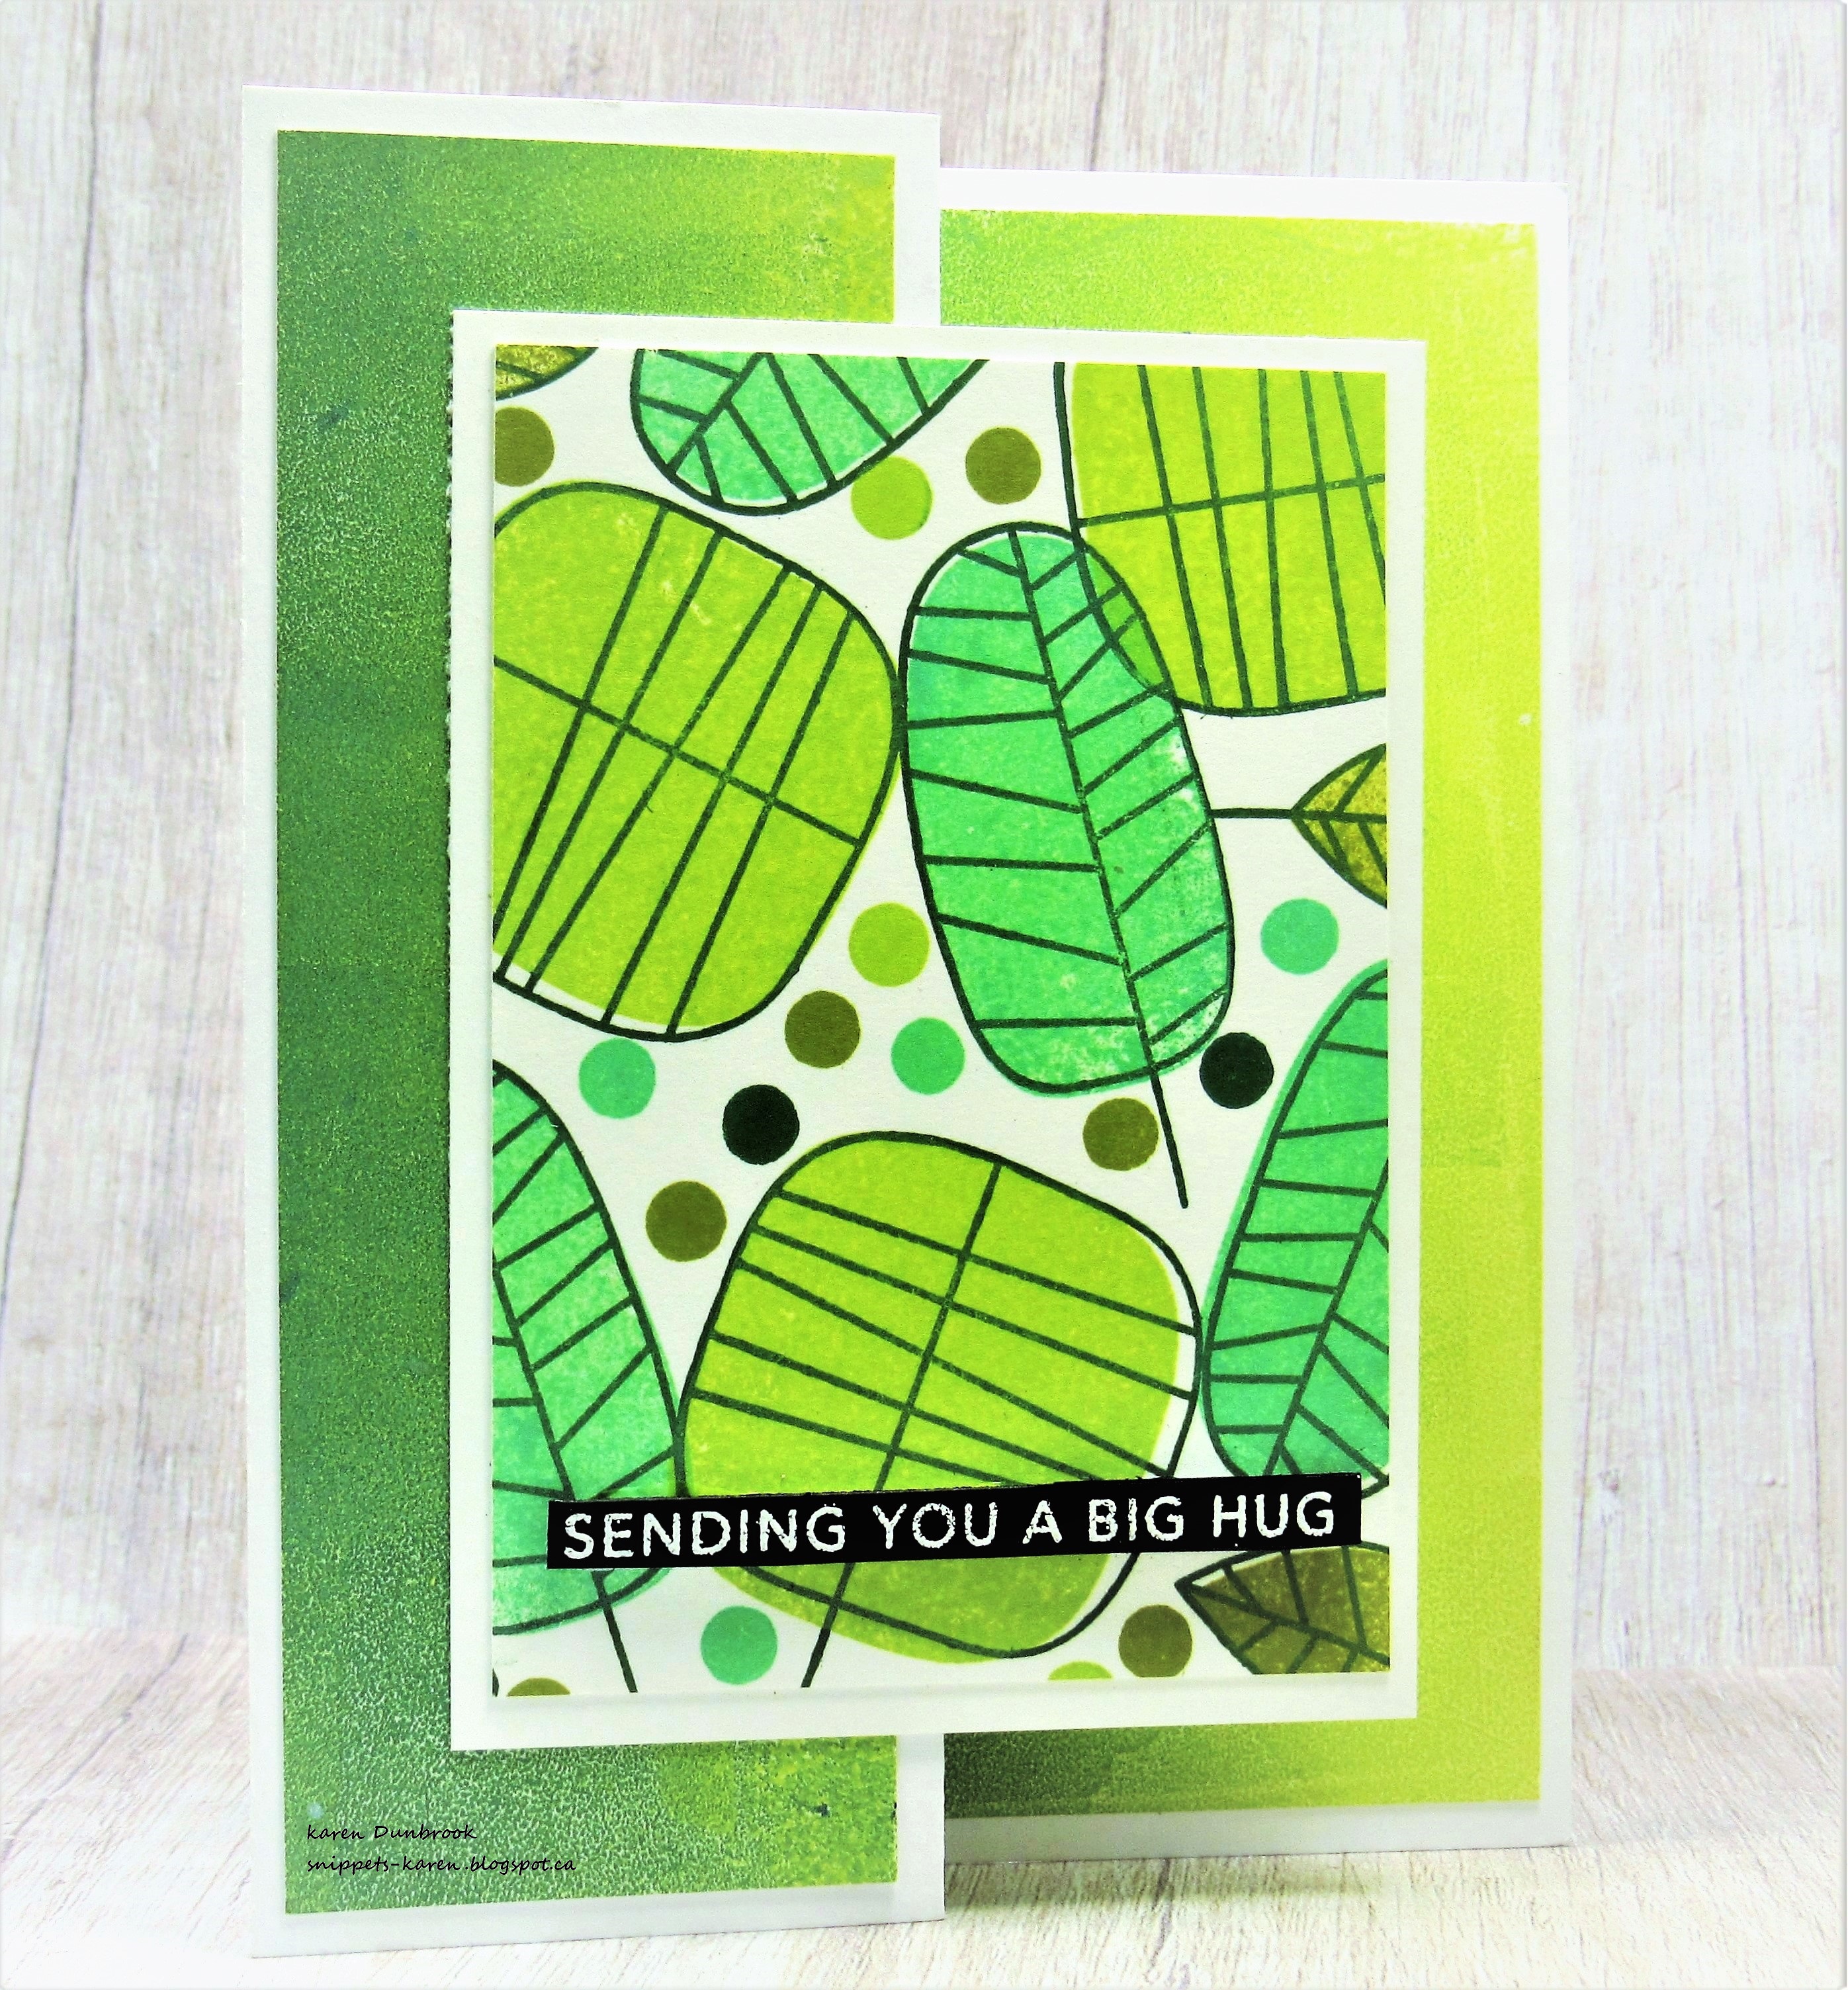
- I found this green print that I had done with Distress Oxide inks on my Gel Plate...I don't know what colours I used so I'm going to guess...Twisted Citron, Peeled Paint. I just rub the ink pad directly onto the plate, use a brayer to smooth it out and then press my paper over to lift the print.
- I took another piece of white cardstock, placed it into my Misti and randomly stamped the leaves from the Many Thanks set. This set is a 2 part so I used the same colours as above to fill them in.
- There was still a lot of white space so I used the end of a pencil eraser to add the dots. The finished size of this panel was 4 x 3 1/4".
- I glued the leaves panel onto a piece of white cardstock, then onto the front fold of my card. **Be sure to just add glue to the left hand side of the panel you are adding so the right side is not glued and your card will open. **
- I stamped the sentiment onto some black cardstock using some Versamark ink and white heat embossed it. I popped that over the leaves.


Here is what the card looks like open.
(my brayering wasn't the best!)
Thanks so much for coming by and taking a look.
Supplies
Stamps- Everyday Sentiment strips (TE); Many Thanks (SSS)
Inks- Versamark, DOX
Paper- heavy white (Scribes Nook- Waterloo, Ont.)
Accessories and Tools- white embossing powder (Lawn Fawn); foam tape; ScorPal;
Misti (My Sweet Petunia); Gel Plate; Speedball Brayer; heat tool


