Saturday, 23 October 2021

Blue Mandala


Welcome to the Weekend.
Really good to have a bit of crafting time.
Meet today's simple card using this beautiful Split Mandala stencil from ACLD.

So here's what I did to create my card.
  • I cut a piece of heavy white cardstock and centered the Split Mandala stencil over my paper.  
  • Using some Versamark ink and a small sponge dabber, I rubbed over the stencil, being sure to get into all the little nooks and crannies.
  • After it was all inked, I removed the stencil and sprinkled on some Tim Holtz Distress Peacock Feathers Glaze and heat set it.  The glaze is just like using Embossing Powder but I found it gave a bit more of a shiny appearance to the finished card.
  • This stencil has a space in the middle and seemed the perfect place to add a sentiment.  I stamped the Happy Birthday from the Everyday Sentiments set in black Versafine on a paper strip and pop dotted that into place.  
  • It needed something more in that space, so I added 3 black gems in 2 different sizes on either side.
  • I mounted it onto a white card base.


Here is the stencil I used:

Discount Code for A Colorful Life Designs
(affiliate with not extra cost to you)


Thanks so much for taking the time to come by and take a look.
Hope you have a wonderful weekend.

Supplies
Stamps- Everyday Sentiments (YNS)
Ink- Versamark; Versafine Clair
Paper- heavy white (Scribes Nook- Waterloo, Ont.)
Accessories and Tools- Split Mandala stencil (ACLD); TH Distress Glaze; foam dabber;
heat tool; black gems; foam tape

Monday, 18 October 2021

Lots of Leaves- Stencil Layering


Welcome
Have you ever stenciled over a stencil??
It's fun and what a unique look it can give.  
That's what I did to create the background for my card today.

So here's what I did to create my card.
  • I began with a piece of heavy white cardstock.  I placed the Lots of Leaves stencil from ACLD over my cardstock and using a blending brush, I applied some Cracked Pistachio Distress Oxide ink.  
  • When I was happy with the inking, I left the stencil in place and put the Simple Grid stencil right over top of it. Be sure to secure well.  
  • Using some Peacock Feathers Distress Oxide ink, I inked right over the leaves, giving them some wonderful pattern.
  • I removed the stencil, splattered with some water to lift the ink in places, then set aside.
  • When dry, I placed the panel into my Misti to stamp the sentiment from Pinkfresh Studios.
  • I cut a strip of black cardstock and stamped the strip with Versamark ink, then white heat embossed it.
  • I glued the panel onto a piece of green cardstock, then onto a heavy white card base.  
  • I pop dotted the black sentiment strip under the large sentiment.


Here are the stencils I used:


Discount Code for A Colorful Life Designs
(affiliate with not extra cost to you)


Thanks so much for coming by and taking a look.
Hope you have a great week.

Adding my card to these challenges:


Supplies
Stamps- Scripted Bold Sentiments (Pinkfresh Studios);
Inks- Distress Oxides; Versafine Clair; Versamark
Paper- heavy white (Scribes Nook- Waterloo, Ont.)
Accessories and Tools- stencils- (A Colorful Life Designs); Misti (My Sweet Petunia); 
TE Blending Brushes, pop dots; Lawn Fawn white EB powder


Saturday, 16 October 2021

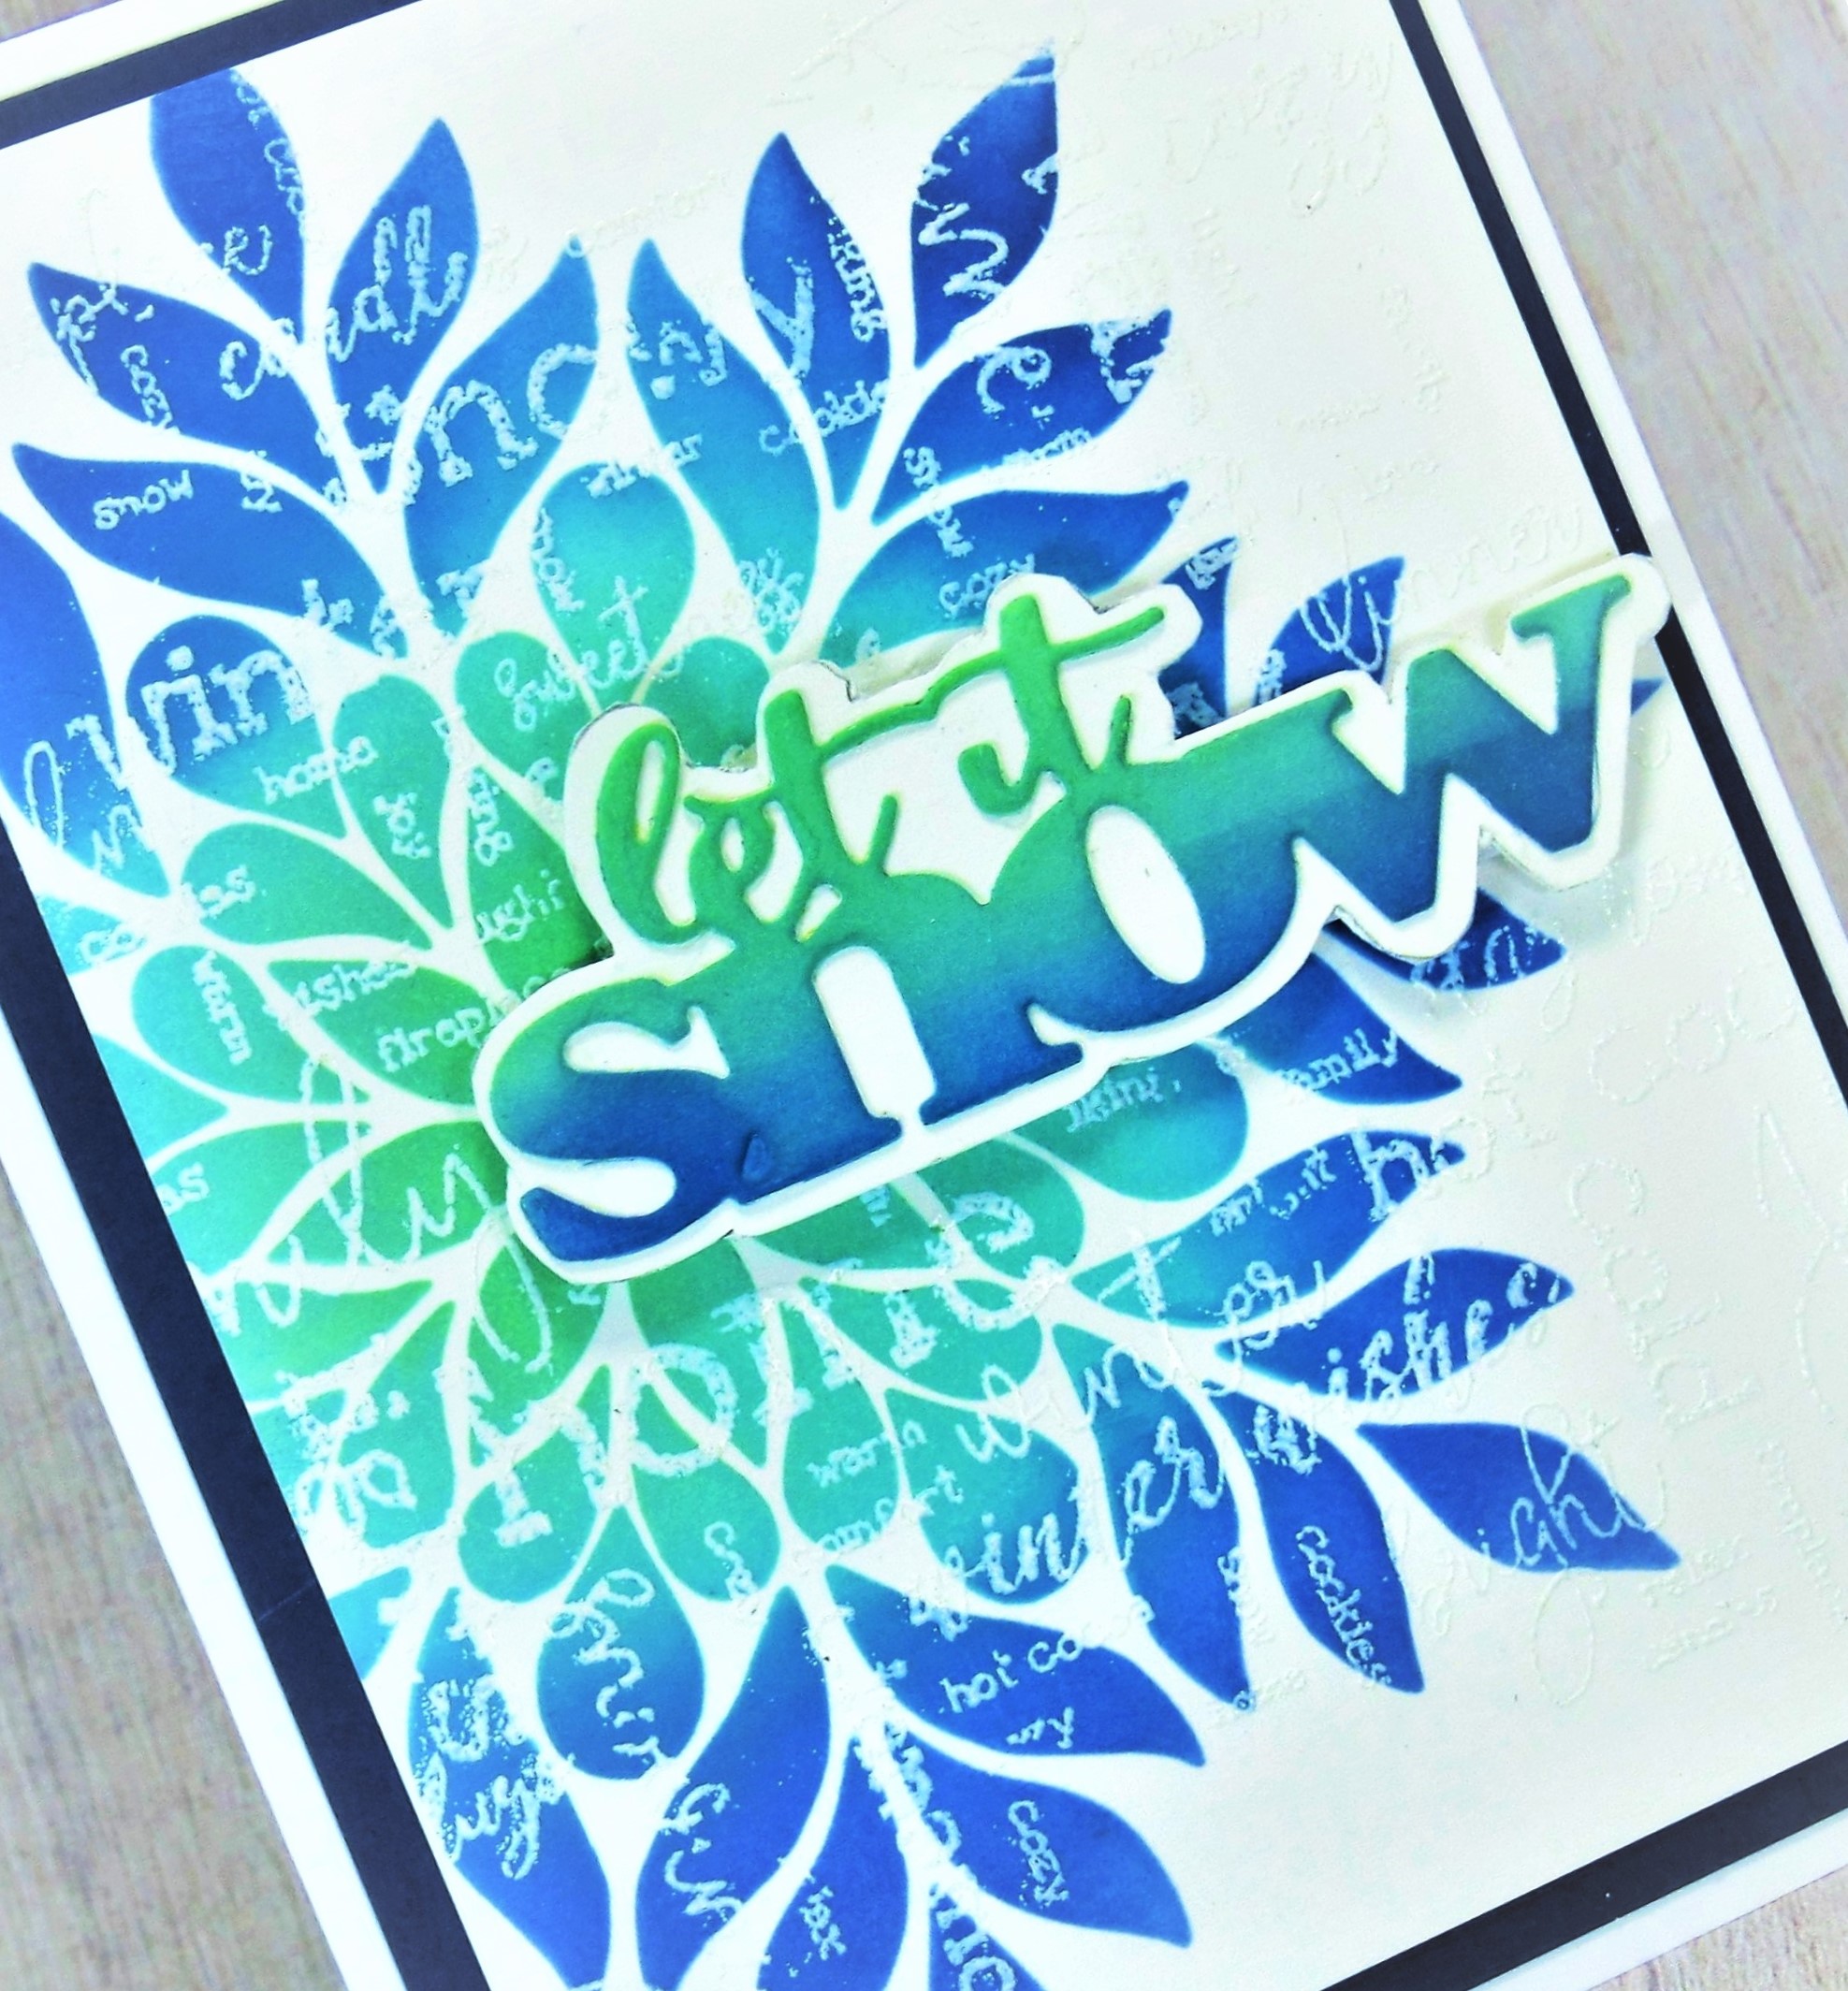
Ornate Snowflake


Hello and Welcome
I so appreciate that you dropped in for a visit.

Meet today's card.
Very simple to do with lovely results.  
I love to stencil and I find that using this technique just puts the look to the next level by adding a lot of interest...plus you can make use of more of your supplies.

So here's what I did to create my card.
  • I cut my card front panel from a piece of white cardstock.  I placed it into my Misti and stamped  the Snowy Afternoon background stamp from Studio Light with some Versamark, then white heat embossed it.  It has a wonderful design with different fonts and winter words going in different directions.  
  • I took the Elegant Snowflake stencil and positioned it over the script.  Starting at the center of the stencil, I rubbed on some Cracked Pistachio Distress Oxide ink.  Next I rubbed on some Salvaged Patina and finally Prize Ribbon DOX ink along the outer edges. 
  • When I was happy with the inking, I removed the stencil and gently rubbed with a cloth to remove the ink from the white embossing to reveal the script.  The white embossing resists the ink giving detail to anything put over it.
  • Next, I die cut the sentiment from STAMPlorations with some white cardstock.  I inked it up with the above mentioned colours used on the background.
  • After inking the sentiment, it looked lost on the background but I loved the colour so here's what I did to make it pop.  You can do this trick with any die you have.  I took a scrap of white cardstock and traced around the edges with a pencil.  Using a pair of detail scissors, I cut out around the traced lines.  Voila....a shadow for my die!
As you can see from this picture, I do it with many of my dies.
This is just an example of what I did.

  • I glued the inked sentiment over the white shadow piece I had fussy cut and set it aside.
  • I glued the snowflake panel over a piece of navy cardstock, then onto a white card base.
  • I popped the sentiment over the snowflake with pop dots.


Here is the stencil I used:

Discount Code for A Colorful Life Designs
(affiliate with not extra cost to you)


Thanks so very much for coming by and taking a look.
Hope you have a great weekend.

Supplies
Stamp- Snowy Afternoon (Studio Light)
Inks- Versamark; Distress Oxides
Paper- heavy white (Scribes Nook- Waterloo, Ont.)
Accessories and Tools- Elegant Snowflake Stencil (ACLD); TE Blending Brushes; heat tool;
Lawn Fawn EB powder; Let it Snow die (STAMPlorations); pop dots; Nuvo glue;
Misti (My Sweet Petunia)