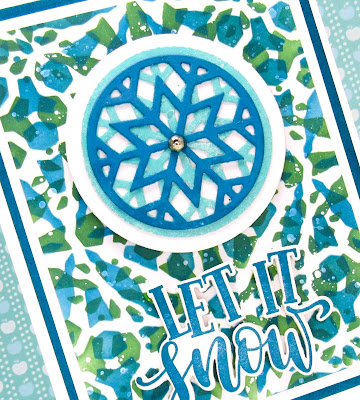
Welcome
It's my turn to host the TLC again over at Splitcoast Stampers.
I'm calling this simple technique
This technique requires a stencil, a pencil with an eraser on the end and some ink pads that will blend with water.
So, here's what I did to create my card.
- I placed a piece of white cardstock onto my Make Art Station and put the Argyle stencil over it.
- Using the eraser on the end of the pencil, I pressed it onto my Wilted Violet Distress Oxide ink pad and then pressed it onto the stencil. I repeated that a number of times all over the stencil.
- I wiped the pencil eraser off and then continued the same process with some Villainous Potion and some Picked Raspberry DOX ink.
- Leaving the stencil in place, I took a wet paint brush and dragged it across the stencil, blending and muting the colours a bit and giving it a more watercoloured look.
This is what it looked like.
- I wiped off the stencil, shifted it over and then inked again using the same technique as above.
- I set it aside to dry before continuing with the next steps.
- I die cut the sentiment shadow from the dry panel and then die cut the sentiment with some dark purple and glued those together.
- I glued the stenciled panel onto a piece of white cardstock, then onto a piece of dark purple and then onto an A2 sized white card base.
- I used some foam tape to add the sentiment back into place in the middle of the card front and finally added 3 purple bling gems around it.
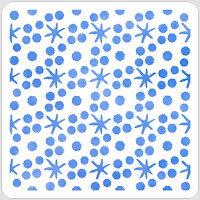
Here is the stencil I used:
(I just used one of the stencils in this set for my card)
My Discount Code for A Colorful Life Designs:
KarenFan10
Thanks so much for coming by and taking a look.
Simon Says Wed.- USE DIES
Crafty Chicks- ANY OCCASION
Inkspirational- USE STENCILS
Supplies
Stamps- none
Inks- DOX
Paper- heavy white (Scribes Nook- Waterloo, Ont.)
Accessories and Tools- stencil and bling (A Colorful Life Designs); pencil with eraser;
Bold Birthday die (TE); Make Art Station (Ranger)


.jpg)


