Welcome
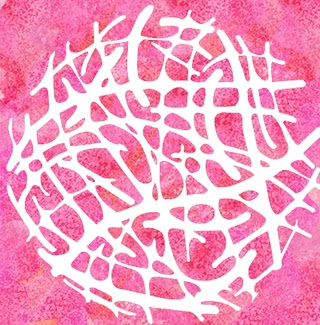
Meet today's card.
I always enjoy the look of circles on a card so this one really fit the bill.
So here's what I did to create my card.
- I cut a piece of white cardstock that was 3 3/4" x 5". I laid that onto my Waffle Flower Stencil Mat and positioned the Mid Century Geometric stencil over my cardstock.
- I wanted to make areas of specific colour instead of blending them together so I masked off the circles as I went along using some low tack tape. It was a simple process. These are the Distress Oxide colours I used: Mustard Seed, Picked Raspberry and Carved Pumpkin.
- When I was happy with the inking, I splattered with my white Posca pen and set aside to dry.
- When the panel was dry, I die cut a circle from the center.
- I stamped and clear heat embossed the sentiment onto the circle.
- I glued the main stenciled panel onto a piece of pink cardstock, then onto a heavy white card base.
- I added some foam tape to the back of the circle, and popped it back into place.
- I added 3 black gems under the sentiment.
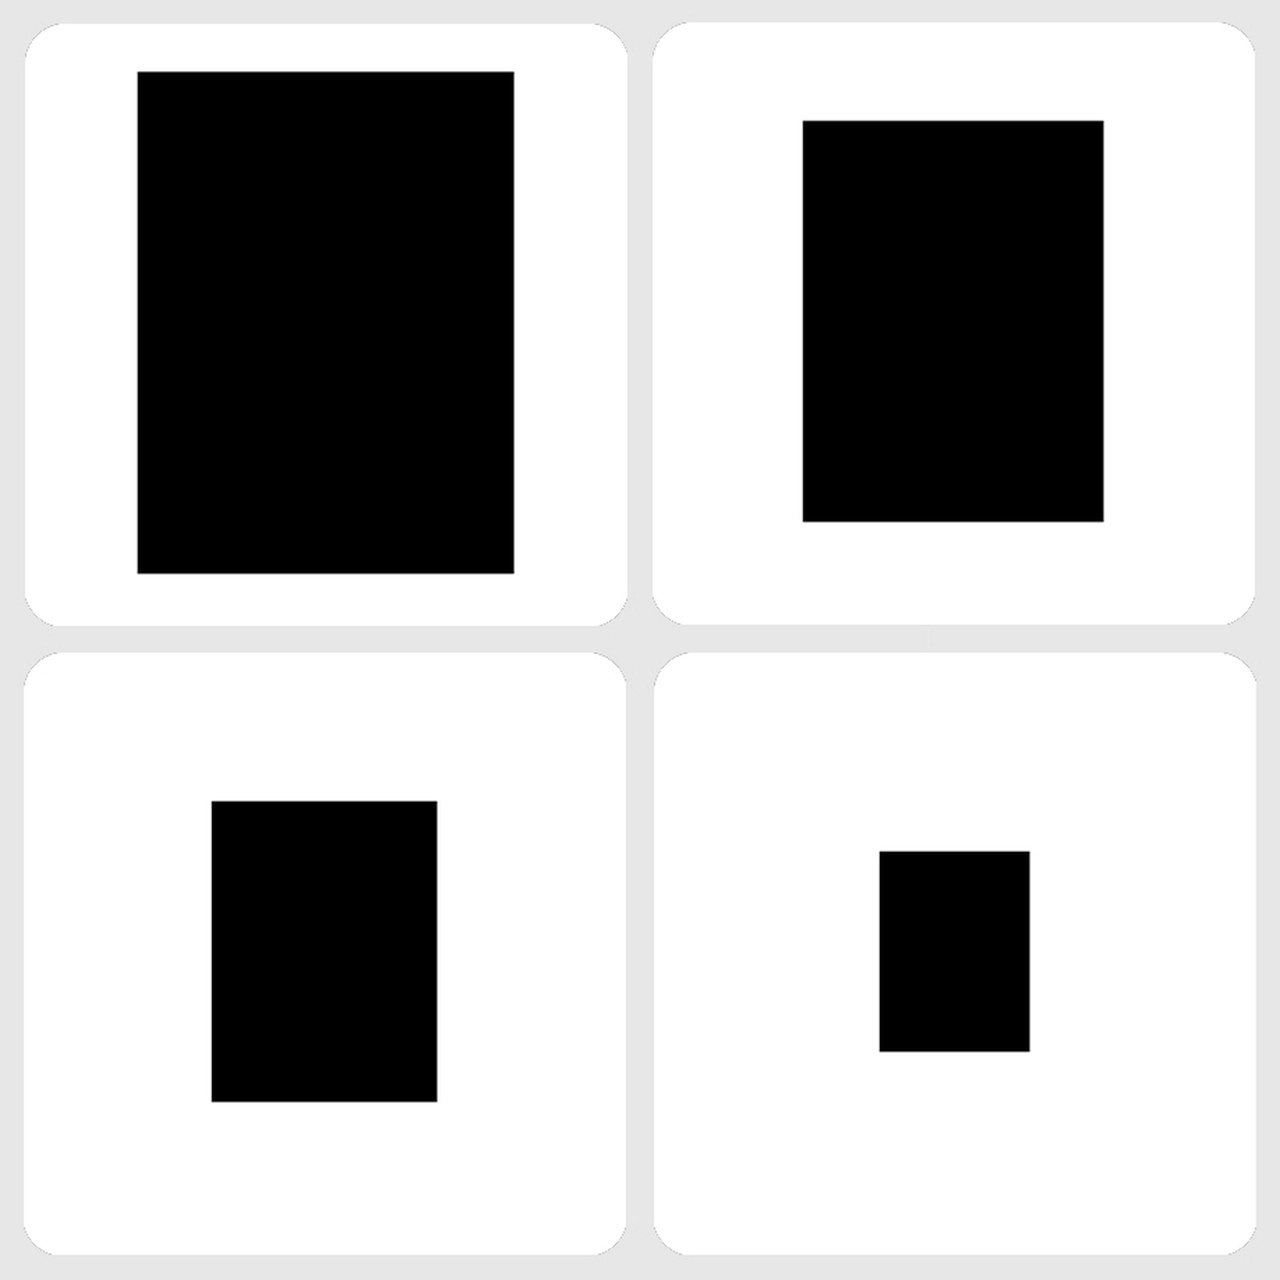
Here is the stencil I used:
Discount Code for A Colorful Life Designs
(affiliate with not extra cost to you)
Thanks so much for coming by and taking a look.
Adding my card to these challenges:
Supplies
Stamp- Art Washes Away (Hampton Arts)
Inks- Versafine Clair, DOX
Paper- heavy white (Scribes Nook- Waterloo, Ont.)
Accessories and Tools- Mid Century Geometric stencil (ACLD); Posca pen,
Stencil Mat (Waffle Flower); TE Blending Brushes; low tack tape;
Infinity Circle dies (Hero Arts); black gems (Dollar Store)