Showing posts with label IO. Show all posts

Tuesday, 21 June 2022

Celebrate Good Times!


Hello and Welcome
For this card, I pulled out a fun set from Simon Says called Amazing. 
 It is filled with lots of fun elements.
  
So here's what I did to create my card.
  • I cut a piece of white cardstock and got out some Picked Raspberry and some Festive Berries Distress ink.  
  • I placed various images into my Misti and just started to stamp away, varying the colours a bit until the card base was covered.
  • When I was happy with the coverage of stamping, I stamped the sentiment along the bottom in black to make it pop.
  • Looking at the stamped panel, I felt it need something so I used this sunburst die (no longer available) to add some interest.  
  • I glued the stamped panel onto a piece of black cardstock, then onto a heavy white card base.
  • I added a black gem to the center of the sunburst.


Thanks so much for coming by and taking a look.

Adding my card to these challenges:
Simon Says Wed.- ADD A SENTIMENT
Crafting Happiness- ANYTHING GOES

Supplies
Stamps- Amazing (SSS); Celebrate (Impression Obsession)
Inks- DOX, Versafine Clair
Paper- heavy white (Scribes Nook- Waterloo, Ont.)
Accessories and Tools- Misti (My Sweet Petunia); Sunburst die (IO- discontinued);
black gem

Sunday, 15 May 2022

Courage


Welcome
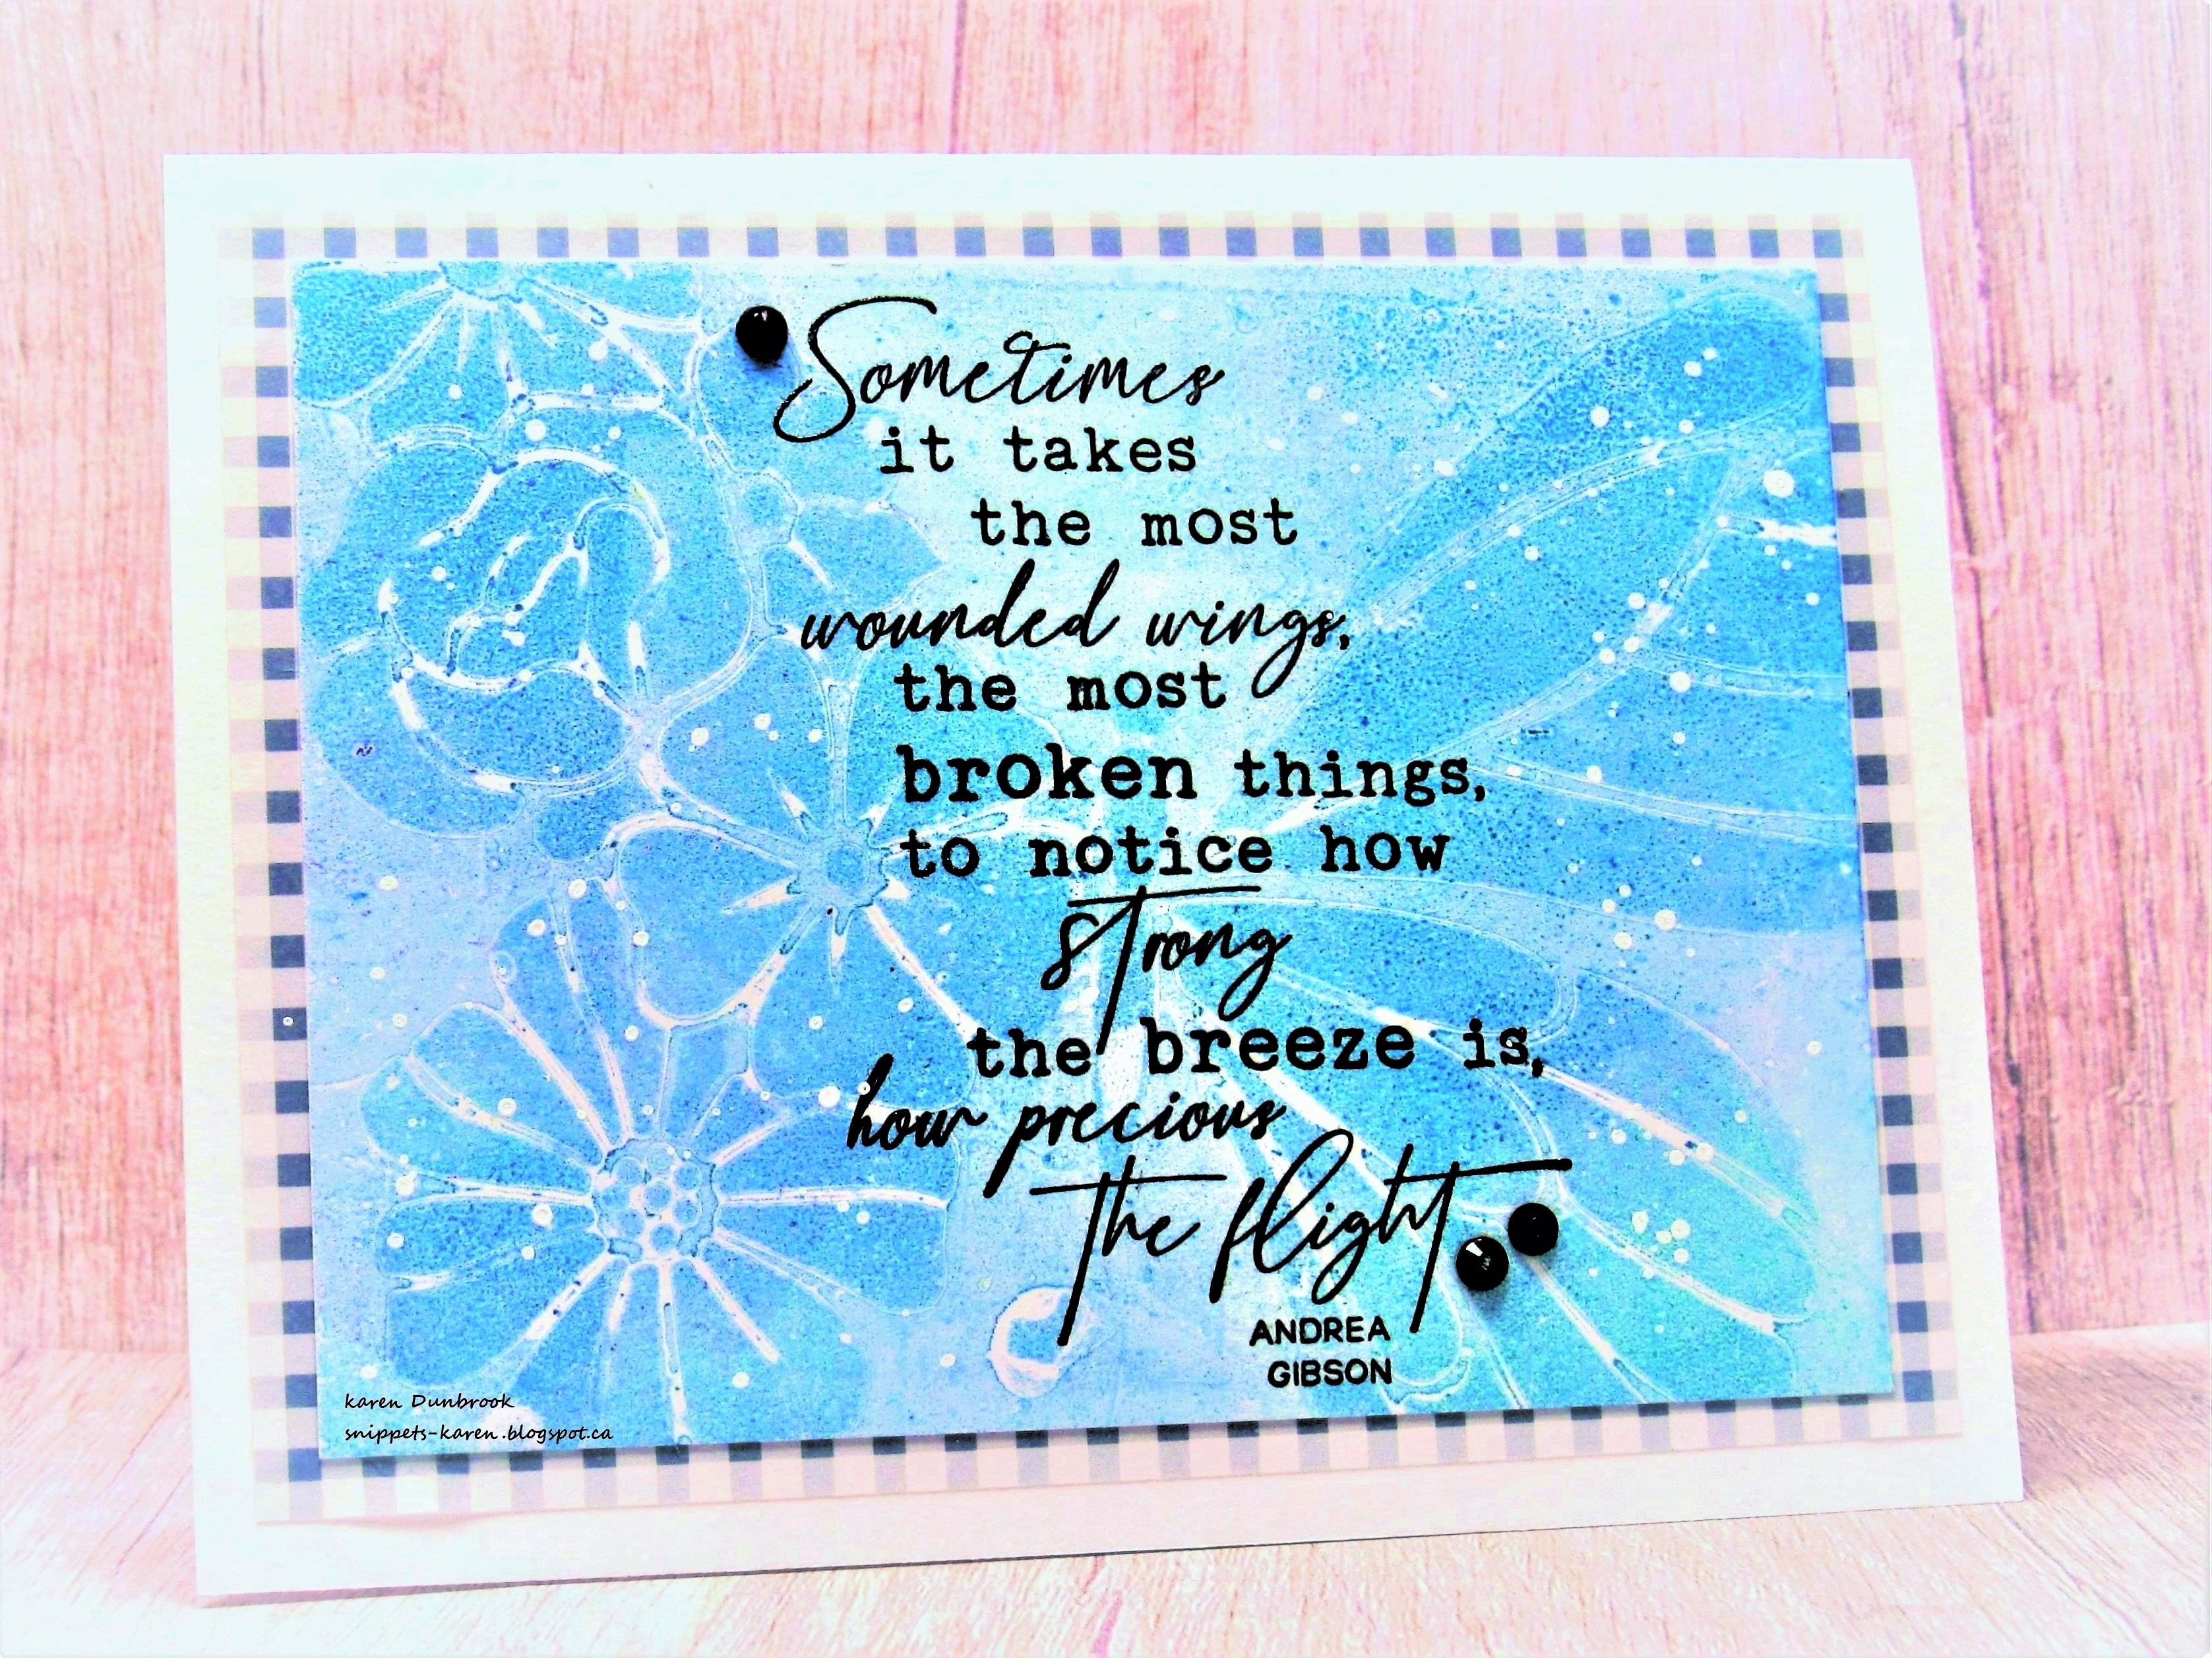
I'm back today with a card using this beautiful Layered Mixed Butterfly stencil from A Colorful Life Designs.
A very simple card made using my Gel Plate.

So here's what I did to create my card.
  • I began by cutting a piece of white cardstock and then got out my Gel Plate.
  • I pressed some Peacock Feathers and some Broken China Distress Oxide ink onto my plate and then used a brayer to smooth it all out.
  • I placed the Layered Mixed Butterfly onto the plate and gently pressed it into the plate using the rounded end of a paintbrush, being sure the stencil made good contact with the plate.
  • Then, I carefully removed the stencil, lifting off some of the ink and rubbed my piece of cardstock onto the plate to lift the print.
  • I splattered with my white Posca pen and set aside to dry.
  • When the print was dry, I placed it into my Misti to stamp the sentiment.
  • I glued the print onto a piece of checked cardstock, then onto a heavy white card base.

Here is the stencil I used:

Discount Code for A Colorful Life Designs
(affiliate with not extra cost to you)

Thanks so much for coming by to visit.

Adding my card to these challenges:
Beyond the Blue- GEL PRESS TIME
Shopping Our Stash- POWER OF PASTELS
We Love Stamping- LADY/or GIRL

Supplies
Stamps- Wounded Wings (Impression Obsession)
Inks- Distress Oxides, Versafine Clair
Paper- heavy white (Scribes Nook- Waterloo, Ont.)
Accessories and Tools- stencil (ACLD); Gel Plate; Speedball Brayer;
Misti (My Sweet Petunia); black gems

Wednesday, 20 April 2022

Big Birthday Wishes


Good Morning and Welcome
Meet my 10 minute card....so simple and fun to create.  
I was inspired by the Technique Lovers Challenge over at Splitcoast Stampers called Faux Tearing. I haven't done this one in a long time.
This technique uses torn paper strips that give the look of layers without adding extra bulk to your card.  Simple to do and so many possibilities.

So here's what I did to create my card.
  • I began by tearing a few strips of scrap paper and placed one of them onto my white card stock base.  By tearing a few different strips, you can vary the look of the background.
  • I began at the bottom and inked with some Peacock Feathers Distress ink.  I placed another strip up higher and inked with some Salty Ocean DOX ink.  I repeated that process, moving up the card with some Cracked Pistachio ink.  I stayed with just the 3 colours to help keep the look simple.
  • When I was done inking over the torn paper strips, I placed the inked panel into my Misti and stamped the trees along the bottom and clear heat embossed them.
  • I stamped the sentiment and clear heat embossed that too.
  • I glued the finished panel onto a piece of black cardstock, then onto a heavy white card base.


Thanks so much for coming by and taking a look.

Adding my card to these challenges:
Get Creative- SPRINGTIME
Use Your Stuff- SPRING/EASTER
Allsorts- MASCULINE

Supplies
Stamps- A Big Birthday (Stamping Bella); Pine Trees (Impression Obsession)
Inks- DOX, Versafine Clair
Paper- heavy white (Scribes Nook- Waterloo, Ont.)
Accessories and Tools- Misti (My Sweet Petunia); torn paper strips, Hero Arts clear eb powder;
TE Blending Brushes

Saturday, 7 August 2021

From My Garden


Welcome
So happy to have the weekend to play.
I hope you aren't getting sick of seeing all the Gel Plate leaf prints I have been making.
I made a bunch of them while playing so now it's time to make them into cards.
This was a super simple one using my Distress Oxide inks.

So here's what I did to create my card.
  • I cut my white cardstock for the panel, then pulled out my Gel Plate, brayer and some Distress Oxide inks: Rustic Wilderness, Evergreen Bough.
  • Next, I took the fern and laid it flat onto my work surface.  I inked up my brayer with some Rustic Wilderness DOX ink, being sure to cover all the surfaces and then laid that onto my plate pressing over it with a piece of scrap paper to make good contact.  I carefully lifted the leaf off and pressed my cardstock onto the plate to pick up the impression.
  • Since this was going to be a simple print, I wanted to add some interest to the background, so I inked up the Leaf Ledger background stamp from Impression Obsession with the inks mentioned above and stamped directly onto my plate, then rubbed the leaf print back onto the plate.  >>watch that your stamp doesn't slide or you won't get a good image impression<<  
  • I placed the panel into my Misti and stamped the sentiment, then splattered the whole panel with my black Posca pen.
  • I mounted it onto a white card base.....easy right?


Thanks so much for coming by and taking a look.

Supplies
Stamps- Scripted Bold Sentiments (Pinkfresh Studios); Leaf Ledger (IO)
Inks- Distress Oxides (mentioned above); Versafine Clair Nocture
Paper- heavy white (Scribes Nook- Waterloo, Ont.)
Accessories and Tools- Gel Plate; Misti (My Sweet Petunia); leaf from garden; black Posca pen

Saturday, 6 March 2021

Blooming


Good Morning and welcome to the weekend....time to get crafting.
This is a simple card to make using an embossing folder for the background.  
It's great when we can extend the uses for the tools we already have in our stash and I know that so many of us have embossing folders.

So here's what I did to create my card.
  • I began with a white panel.  I rubbed some Peacock Feather and some Salty Ocean Distress inks over my opened embossing folder, sprayed with water, then pressed onto my panel.  **you will get different looks depending on what side of your embossing folder you ink onto**
  • When the panel was totally dry, I placed it into my Misti and stamped the flowers from Unity over to the side with some black Versafine Clair ink.  This set has some of the best flowers in it.  I bought it years ago but it is still one of my go to sets for flowers.
  • I stamped the sentiment from Impression Obsession down the other side with the same black ink but clear embossed it so the words would pop against the blue background.
  • I splattered some black over the flowers with my Posca pen, then mounted the piece onto some blue cardstock, then onto a heavy white card base.


 Thanks so much for coming by for a visit and have a great weekend!

Adding my card to these challenges:
Simon Says Wed.- BEAUTIFUL BLOSSOMS


Supplies
Stamps- Insightful Meadow (Unity); Words and Idea (Impression Obsession)
Inks- Versafine Clair; Distress inks
Paper- heavy white (Scribes Nook, Waterloo, Canada)
Accessories and Tools- Misti (My Sweet Petunia); Honeycomb eb folder (Sizzix); 
clear embossing powder

Wednesday, 21 August 2019

Happy Day


Welcome
Going for some colour today with a card I posted last week over at Splitcoast Stampers.
This technique was very fun to try as I had never done it before and it involved stencils, so I was in!!

I began with a piece of heavy white cardstock.  I tend to use that all the time but you could use watercolour paper as well.  
I recently picked up Vicki Boutin's Acrylic Paints that come in a 4 pack set from my local Scrapbook Store and wanted to try them out.  Such great colours and they worked so well for this technique.


So, I squeezed some paint out onto my non-stick craft mat and using a brayer, I covered the paper with colour.  It was all random with no plan in mind.
Next, I took one of the stencils from the Layered Mandala and placed it over the inked bkg.  Then using a baby wipe, I removed the paint through the holes of the stencil to reveal this beautiful pattern.
When it was dry, I placed the piece into my Misti and stamped the sentiment and heat embossed it with some black eb powder.
I mounted the piece onto some pink cardstock then onto a plain white card base.


I hope you will give this a try.  
Thanks again so much for coming by and taking a look.

I used the bottom one for my card.
Discount Code for A Colorful Life Designs

Supplies
Stamps- Smile Often (IO)
Inks- Versamark
Paper- heavy white (Scribes Nook)
Accessories and Tool- Layered Mandala (A Colorful Life Designs); Misti (My Sweet Petunia);
Vicki Boutin paint; Brayer (Speedball); baby wipes; black eb powder; heat tool