Showing posts with label Inkadinkadoo. Show all posts

Friday, 21 October 2022

The Beauty of Fall


Welcome
Fall is such a wonderful time of year.
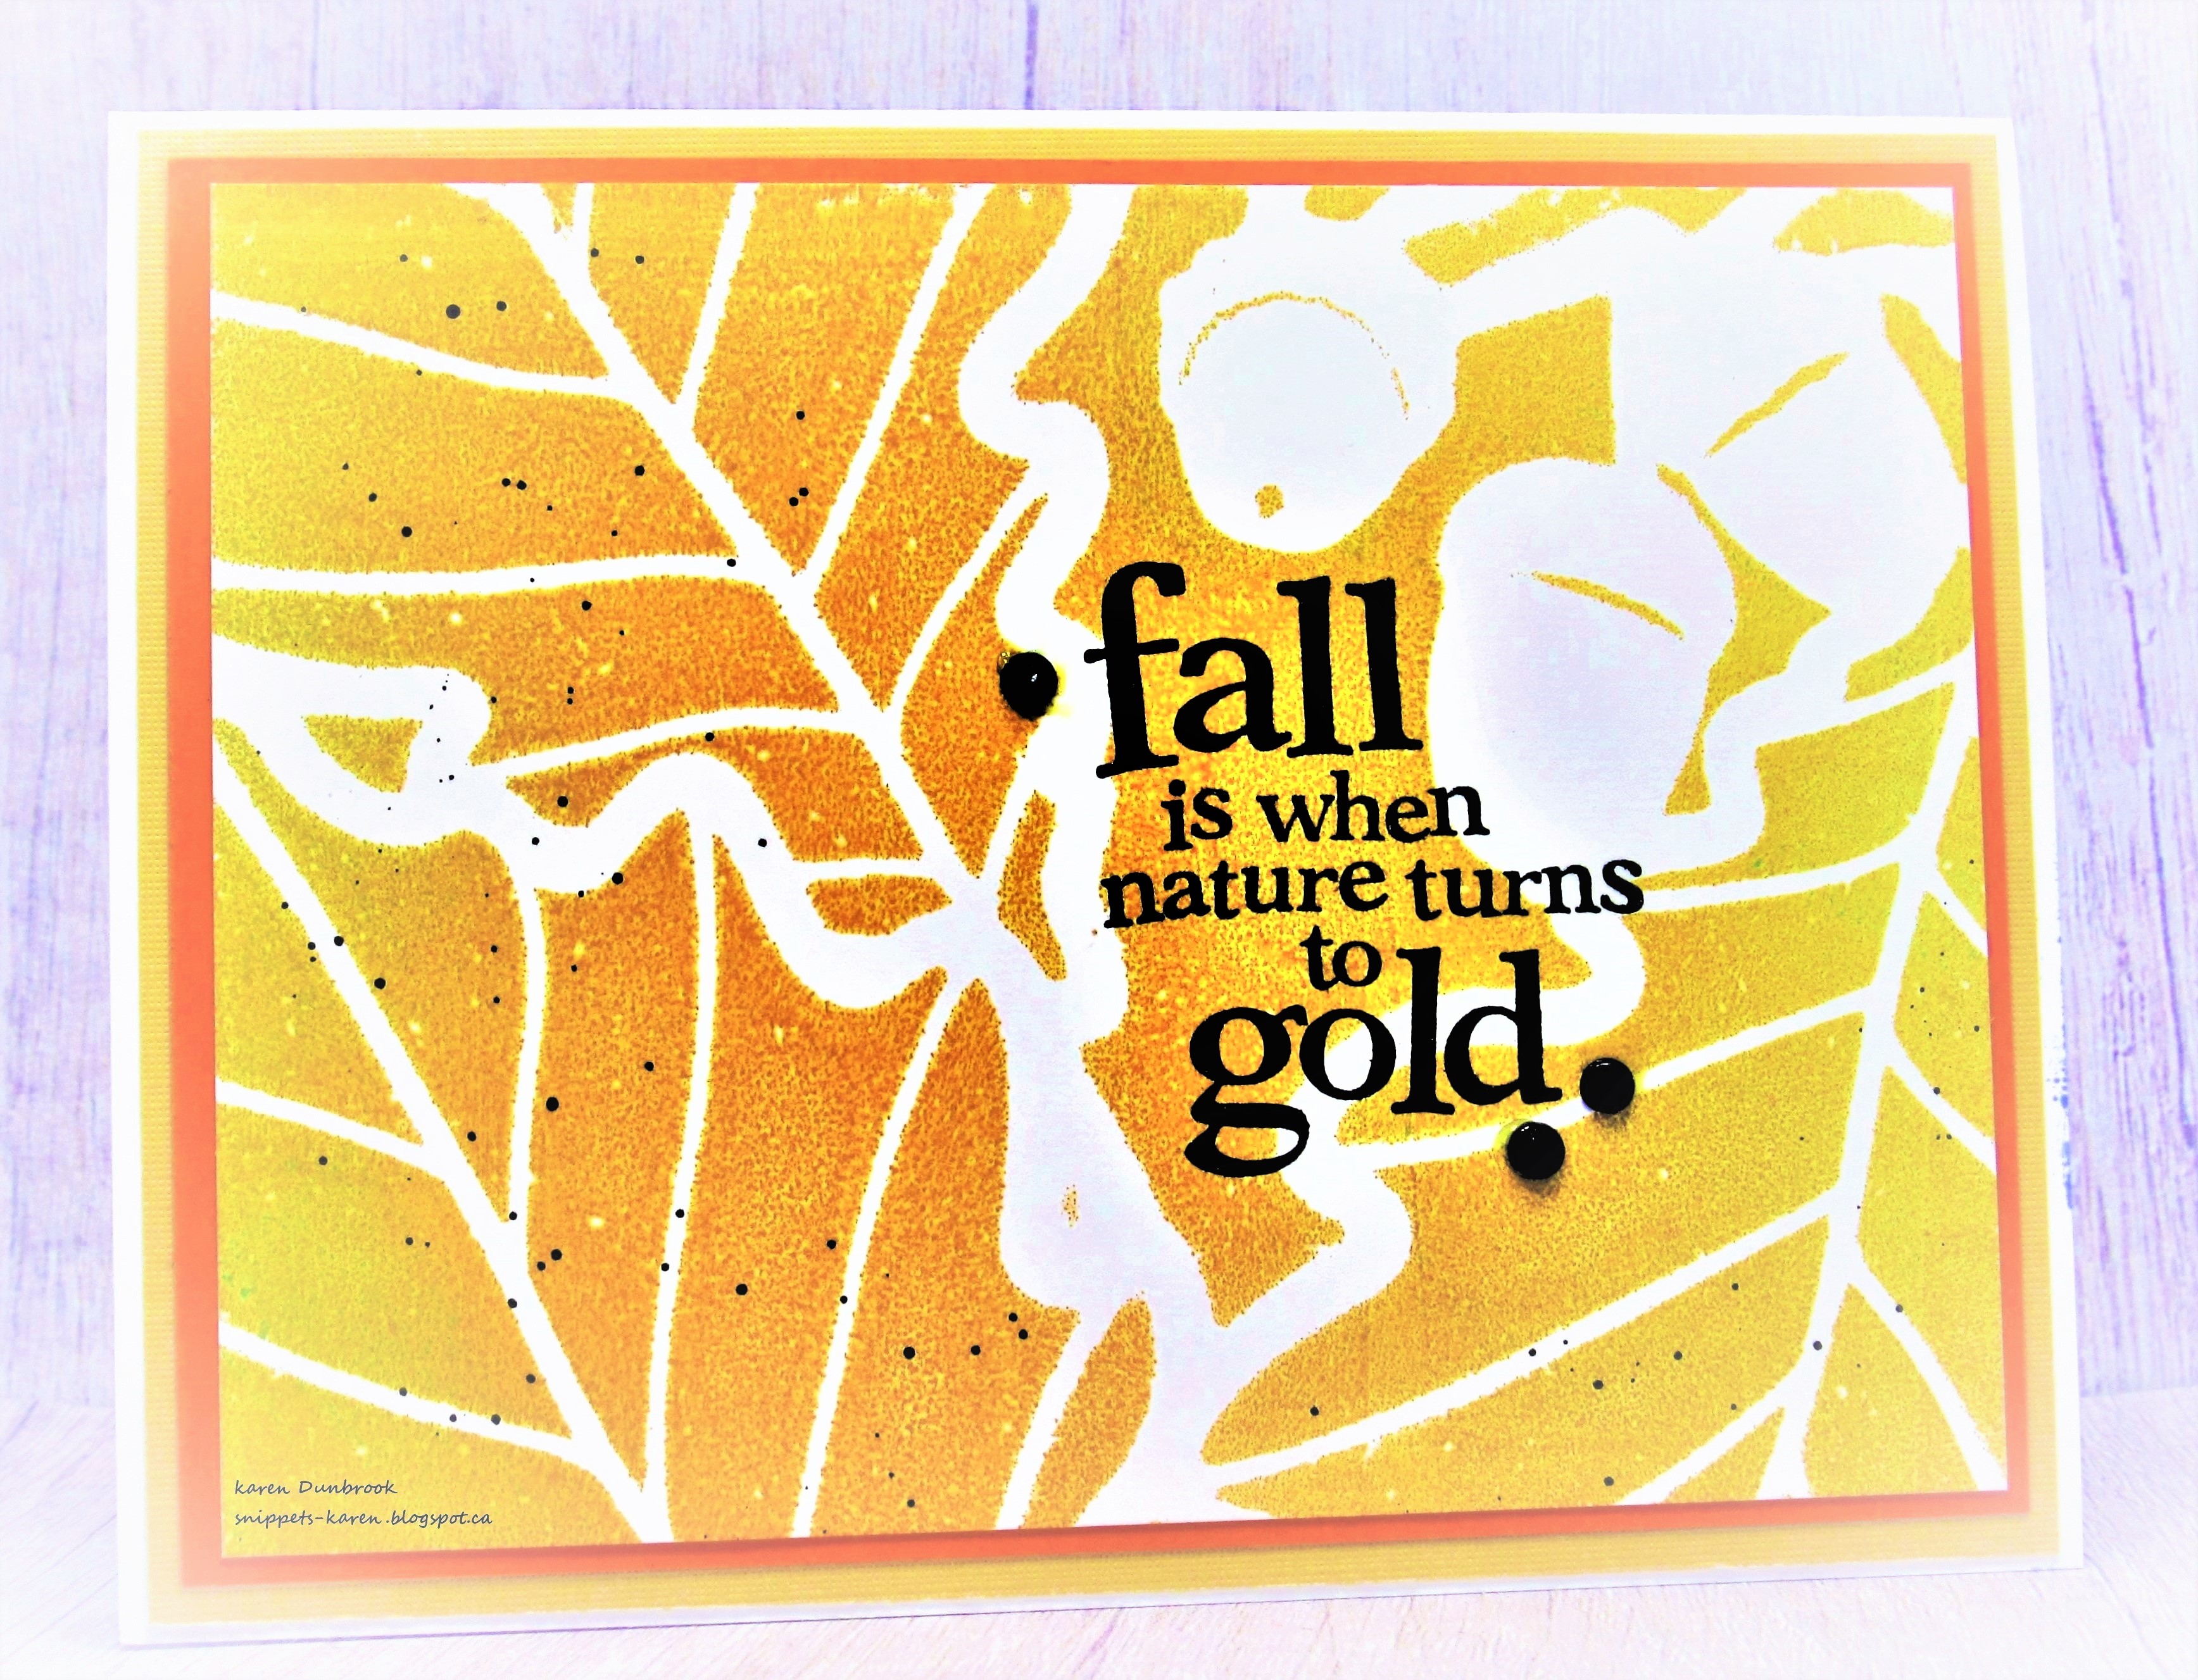
This newly released stencil called Big Oak from A Colorful Life Designs was a fun one to use.

So, here's what I did to create my card.
  • I began with a piece of white cardstock and got out my Gel Plate, brayer and inks.
  • I rubbed some Peeled Paint, Rusty Hinge and some Carved Pumpkin Distress Oxide ink directly onto my Gel Plate, then brayered the colours together.
  • I laid the Big Oak stencil onto the plate and rubbed over it with my white cardstock to get the print.
  • Next, I splattered with my black Posca pen to add interest.
  • I placed the dried panel into my Misti to stamp the fall sentiment.
  • I glued it onto a piece of orange cardstock, then onto a piece of yellow and finally onto an A2 size card base.
  • I added 3 black gems to finish off my card.

Here is the stencil I used:

Discount Code for A Colorful Life Designs
(Affiliate with no extra cost to you)

Adding my card to these challenges:
Cardz for Guyz- AUTUMNAL COLORS


Thanks so much for coming by and taking a look.

Supplies
Stamp- Autumn Foliage (Inkadinkadoo)
Inks- DOX, Versafine Clair
Paper- heavy white (Scribes Nook, Waterloo, Ont.)
Accessories and Tools- stencil (ACLD); Misti (My Sweet Petunia); 
Gel Plate, Speedball Brayer; Posca pen

Thursday, 6 August 2020

Snowy Day


Hello and Welcome
A very big thanks to all of you for coming to visit and for your most kind and encouraging comments.  It really means a lot to me.

Here's another Christmas card done as I try and get some ready ahead of time.
So here is what I did to create my card.
  • I began by masking off a smaller sized piece of cardstock with one of the Marvelous Rectangle masks from A Colorful Life Designs. (there are a few different sizes included with each shape) *I tried to choose a mask that was a bit smaller then the image so the trees would be outside the inked area.
  • I sponged on some Memento Gray inside the mask, leaving some areas darker and the center with less ink
  • I removed the mask then stamped the trees over the masked area with some Versafine Clair Noir ink and clear heat embossed it.  Using my white Posca pen, I splattered with lots of white to look like snow.
  • I glued that onto a slightly smaller piece of white card, then set it aside.
  • Next, I took some heavy white cardstock and dry embossed it with Snowfall Speckles in my Cuttlebug.
  • I stamped the sentiment and clear heat embossed that too.
  • I pop dot mounted the tree panel just above the sentiment and then added it to a piece of gray and then onto a heavy white card base. 


Thanks so much for coming by and taking a look.

Discount Code for A Colorful Life Designs

Supplies
Stamps- Trees (Inkadinkadoo), Seasons Greetings (The Old Island Stamp Comp.)
Inks- Versafine Clair Noir; Memento London Fog
Paper- heavy white (Scribes Nook); grey (Michaels)
Accessories and Tools- Snowfall Speckles (TH); inking tool; pop dots, Posca pen;
Cuttlebug

Thursday, 8 August 2019

Good Words

Good Morning
Meet today's card.
I had such fun playing with this stencil, some re-inkers and shaving cream.  Shaving cream your ask?
Yup...it can be a bit messy but has really wonderful effects.

So here is what I did.
I grabbed a paper plate, but you can use a regular plate.  I just like to have an easy clean up.
I squirted some shaving cream onto the plate, then dropped some re-inker colours over it.  Using a credit card, I swirled the colours into the shaving cream.  You don't need to totally mix it, just swirl it around.
Next, I positioned the Lacy Doily over my white cardstock, then picked up some of the inky shaving cream with my credit card and carefully spread it over my stencil being sure to get all the little nooks and crannies.  I removed the stencil and set it aside to dry.  Your stencil will clean up easily with some warm water.  
When the piece was dry, I used my clean credit card and skimmed it over the whole dried card front to remove any shaving cream residue and reveal the wonderful design.
I placed the piece into my Misti then stamped the flower and the sentiment.
I stamped the flower head again onto a piece of scrap paper, fussy cut it out and glued it over the stamped image.
Using a fine line marker, I doodled the border in all around the edge.


Thanks so much for coming by and taking a look.


Discount Code for A Colorful Life Designs

Supplies
Stamps- Live Well (Inkadinkadoo); Creative Chaos (Visible Image)
Inks- Peacock Feather and Salty Ocean Distress Re-inkers; Tuxedo Black Memento
Paper- heavy white (Scribes Nook)
Accessories and Tools- Lacy Doily (A Colorful Life Designs); Misti (My Sweet Petunia); 
shaving cream; old credit card; paper plate, scissors, Sakura fine line marker