Good Morning
One more Grinch card for to share with you this month as we celebrate the new releases.
This fun one from A Colorful Life Designs is called:
So, here's what I did to create my card.
- I began by inking up the sentiment from the 3 Sizes Too Small first using some Rustic Wilderness Distress Oxide ink on a piece of white cardstock and then used the Zig Zag die to cut it out. I did some light inking along the edges to help the details show up better.
- Next, I inked up the Grinch's hands with more DOX ink and fussy cut them out. I also splattered with my black Posca pen.
- I glued a piece of green polka dots paper onto a piece of red cardstock, the onto a white A2 sized card base.
- I traced the hearts from the stencil onto a piece of green and red cardstock, fussy cut them out and glued them together. I added them between the hands.
- I used some foam tape to pop hands along the top part of the card base.
- I used some more foam tape to add the sentiment under the hands.
- Lastly, I added some bright red gems to the middle of the heart and around the sentiment.
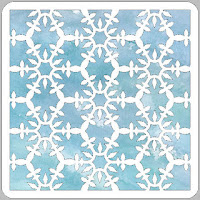
Here is the stencil I used:
Discount Code for A Colorful Life Designs
*Just use the code KarenFan10 to get a discount on your entire order.*
(Affiliate with no extra cost to you)
Thanks so much for coming by and taking a look.
Adding my card to these challenges:
Simon Says Wed.- CHRISTMAS
Just Us Girls- STENCILING
Just Add Ink- STENCILING
Supplies
Stamps- none
Inks- DOX
Paper- Scribes Nook- Waterloo, Ont.
Accessories and Tools- stencil (A Colorful Life Designs); TE Blending Brushes;
Zig Zag Stackers die (Penny Black); red gems; black Posca pen;
foam tape


.JPG)


.jpg)


