Thursday, 15 December 2022

All Wrapped Up


Welcome
Today's card features a new stencil from A Colorful Life Designs called Christmas Cover.

So, here's what I did to create my card.
  • I masked the top part of my card panel, laid just the snowflake part of the stencil over the top part of my card front and inked it up with some Broken China Distress Oxide ink.  I shaded a bit with some Prize Ribbon DOX next.
  • When I was finished inking the top, I moved the masks and then moved the stencil down to the bottom area and inked again, this time including the bow.
  • I removed the stencil and stenciled just the bow again onto another piece of cardstock.  I did that because I wanted to fussy cut it out so I could pop it over the flat panel.
  • I did some inking in the background with some Peacock Feathers Distress Oxide ink to help fill in the white space, then splattered with my white Posca pen.
  • Next, using my Scor-bug, I scored some lines along the edges of the inking and into the white area.
  • I die cut the sentiment, then inked it up as well with the same colours as mentioned above and splattered.
  • I glued the panel onto and A2 sized card base and popped the sentiment up near the top of the panel.
  • I fussy cut out the bow I had inked up on a separate piece of cardstock and popped that over the stenciled background.  It worked so great and added a lot more interest then just leaving it flat.


Here is the stencil I used:


Discount Code for A Colorful Life Designs
(Affiliate with no extra cost to you) 

Thanks so much for coming by and taking a look.

Adding my card to these challenges:
Simon Says Wed.- ICE COLD
Crafty Gals Corner- TIS THE SEASON


Supplies
Stamps- none
Inks- DOX
Paper- Scribes Nook- Waterloo, Ont.
Accessories and Tools- stencil (ACLD); TE Blending Brushes; white Posca pen;
Scor-Bug; Be Jolly die (STAMPlorations)

Tuesday, 13 December 2022

Scandinavian Quilt


Welcome
Today's card is featuring one of my favourite new stencils called Scandinavian Quilt from A Colorful Life Designs.

So, here's what I did to create my card.
  • I cut a piece of white cardstock, put it onto my Make Art Station and placed the Scandinavian Quilt stencil over that.
  • I used some tape to mask off the middle area as I wanted a 2 tone colour card.  
  • I inked up the middle with some Broken China Distress Oxide ink, added some shading with some Uncharted Mariner.
  • I removed the tape I had used to mask and positioned it along the area I had just inked.  I inked up the top and bottom area with some Uncharted Mariner Distress Oxide.
  • Next, to add a bit of interest, I scored some lines top and bottom using my ScorPal and then splattered with my white Posca pen.
  • I glued the finished panel onto an A2 card base and used some foam tape to add the pre-printed sentiment. 

Here is the stencil I used:
Scandinavian Quilt


Discount Code for A Colorful Life Designs
(Affiliate with no extra cost to you) 

Thanks so much for coming by and taking a look.

Adding my card to these challenges:
Use Your Stuff- ANYTHING GOES
A Place to Start- HAPPY HOLIDAYS

Supplies
Stamps- none
Inks- DOX
Paper- Scribes Nook- Waterloo, Ont.
Accessories and Tools- Stencil (ACLD); TE Blending Brushes; white Posca pen;
ScorPal; Pre-printed Christmas sentiment strips (SSS)

Sunday, 11 December 2022

Christmas Quilt


Welcome
Just making a few extra cards to have on hand just in case I need one.
This one is made totally from some scraps in my stash that I kept when Gel Plate printing.

So, here's what I did to create my card.
  • I began by looking through my stash to find 2 complementary inky pieces.  The two I found had similar colours so I got them out.
  • I used the large one for the base.  It was a roll off sheet.  By that I mean it was the a piece of cardstock that I rolled my brayer off onto to remove some of the excess paint from my Gel Plate.
  • Next, I die cut the quilted pattern with some white and backed it with another scrap. I glued those together and then onto a piece of black cardstock.
  • I glued the large piece onto an A2 card base, then popped the die cut piece over that.
  • I added a pre-printed sentiment and 2 purple gems to finish it off.

Thanks so much for coming by and taking a look.

Adding my card to these challenges:
Allsorts- LET IS SNOW
Winter Wonderland- ANYTHING CHRISTMAS GOES
As You Like It- ANYTHING CHRISTMAS GOES


Supplies
Stamps- none
Inks- Basics Acrylic paint
Paper- Scribes Nook- Waterloo, Ont.
Accessories and Tools- Snowflake Quilt die (Amazon); Speedball Brayer; 
Pre-printed Sentiments (SSS); purple gems

Thursday, 8 December 2022

Remembering Dad


Welcome
Today's card is in honour of my Dad.
I miss my parents so much and especially at this time of year as my Dad was Santa to many.

Personal Story
So, my Dad was Santa...in every way.  He talked to everyone, was such a jolly man and had the belly to match!  He was Santa at our local Mall, for many private parties, family homes and schools.
My earliest memories of him as Santa was when he came to our school which he did every year.  I, of course, had no idea that it was my Dad until I was in Grade 4, I think.  My Dad had very distinctive, large hands.  He always wore white gloves as Santa, but for some reason that day, he took his glove off and I saw his hand.  Well it got me thinking.  
That afternoon when I went home from school, my Mom said I asked her,
"Was that Santa at my school my Dad?"
She looked at me with a bit of a sad look in her eyes and said, "yes".  I have to say that after that, I so appreciated all the happy, excited smiles my Dad gave to so many!  Kids and adults alike.
When I got older. I would go with him and help him get ready in his professional Santa suit.  I would add the rosy cheeks that would show under the white beard and mustache he would wear.
I still have his Santa suit....it was just something I couldn't part with.

Well is you are still with me after reading that, thank-you.

So, here's what I did to create my card.
  • I cut a piece of red cardstock and embossed it using a Houndstooth Embossing folder.  I thought it gave such great texture.
  • Next, I tore a strip of white cardstock on each side to add texture and glued that onto the embossed red.
  • I cut a strip of black cardstock, die cut the belt buckle with some gold and threaded the belt through the buckle.  I glued that over the red.
  • I die cut the buttons next and glued them into place.
  • I glued the finished panel onto an A2 card base.

Thanks so much for coming by and taking a look.

Supplies
Stamps- none
Inks- none
Paper- Scribes Nook- Waterloo, Ont.
Accessories and Tools- Houndstooth eb folder (Cuttlebug); Santa's Suit die (TE)

Wednesday, 7 December 2022

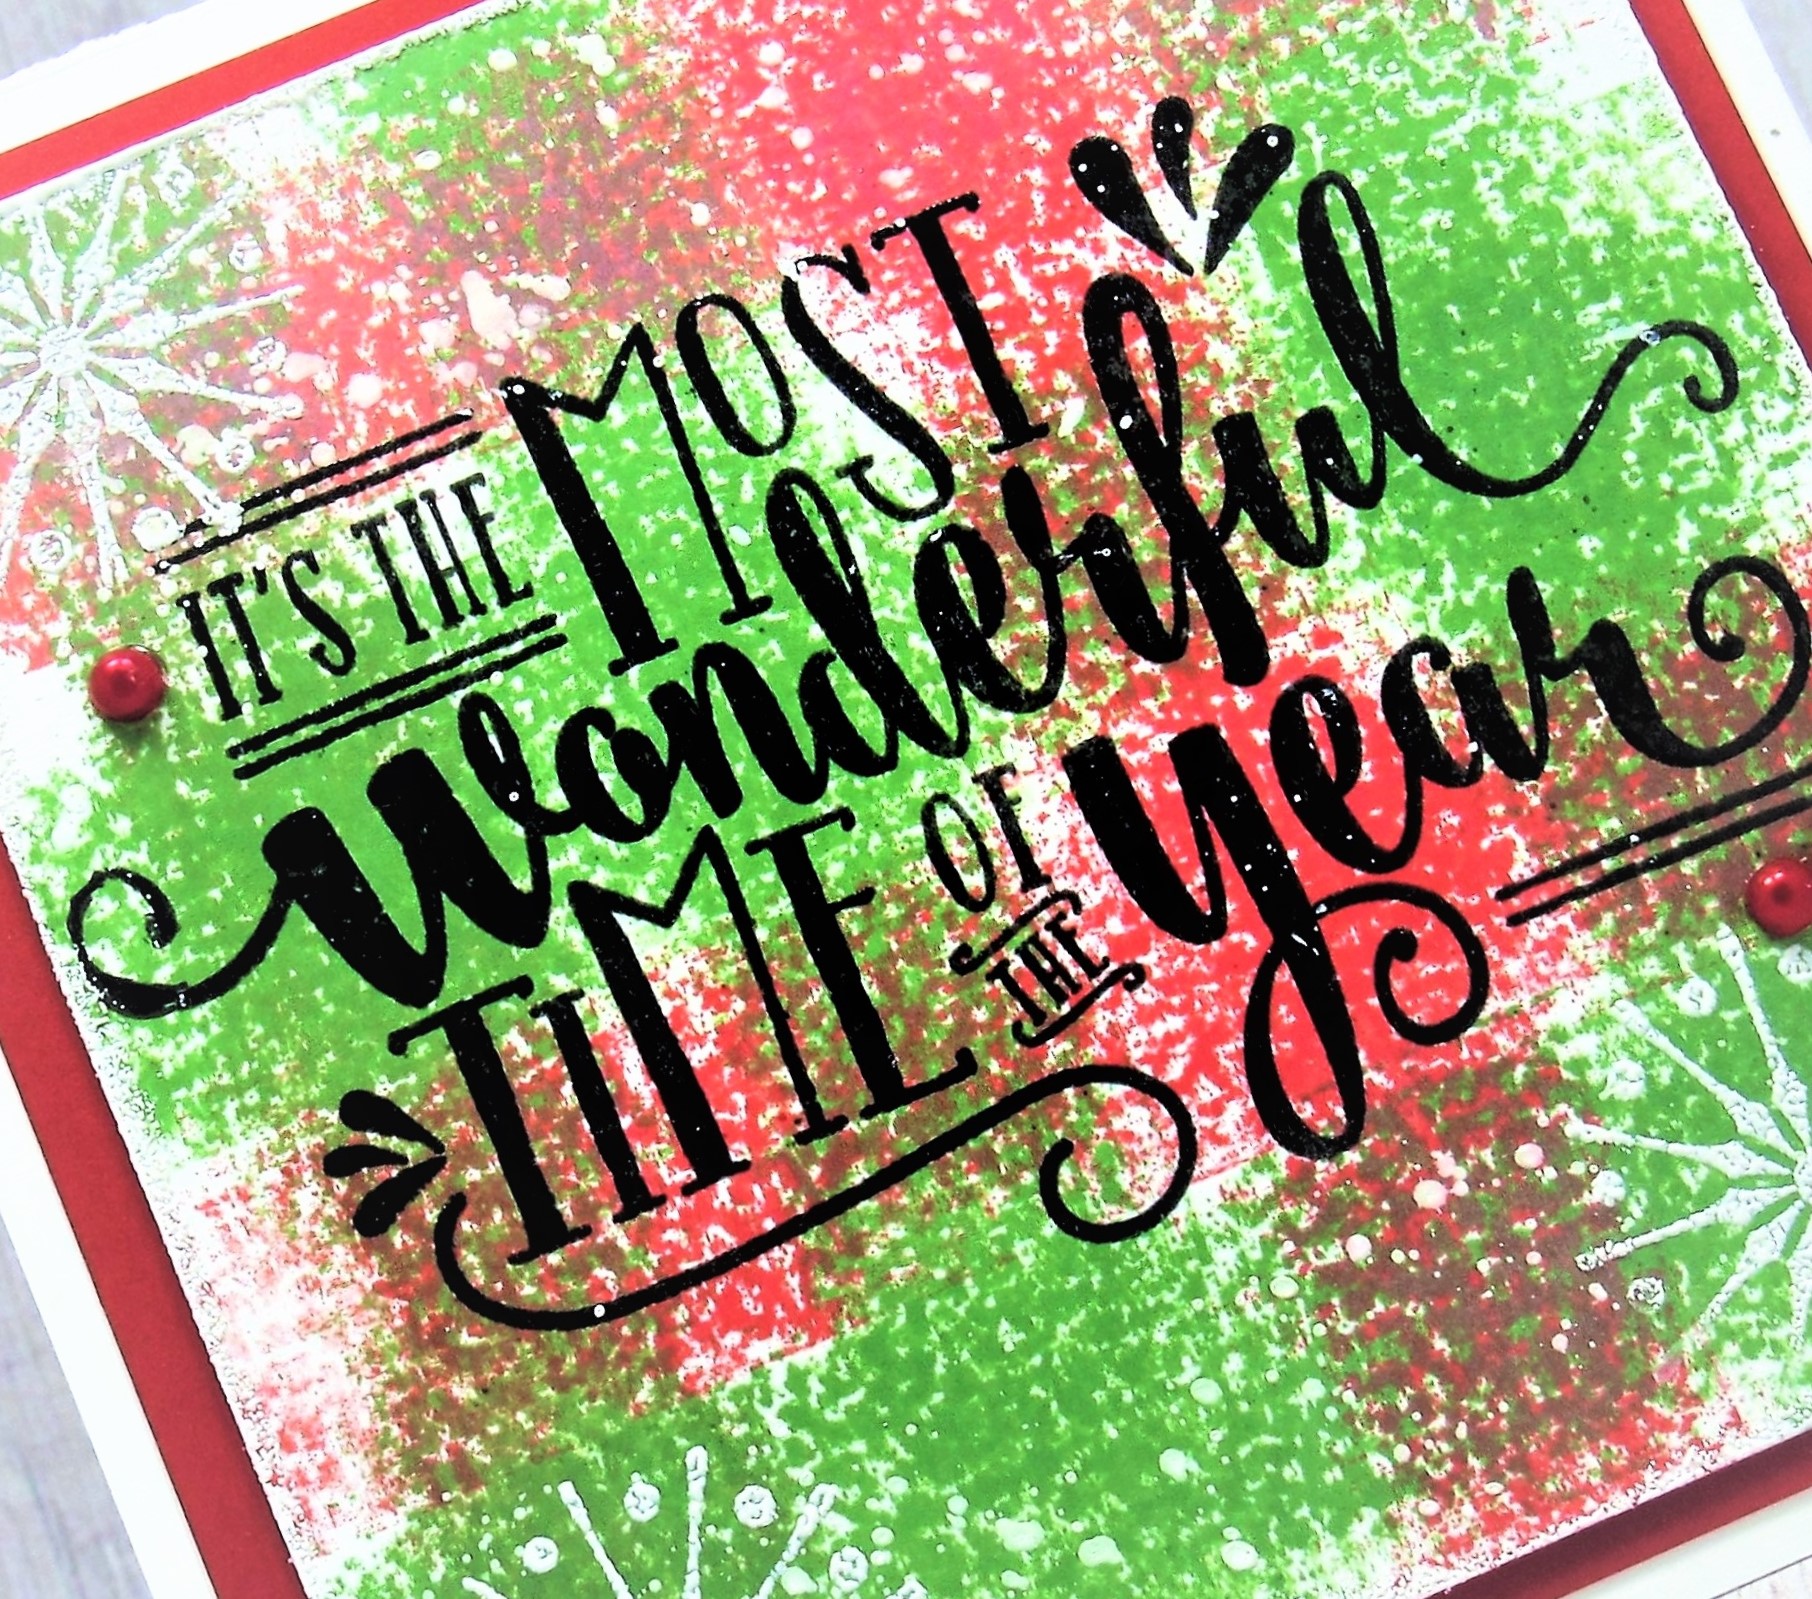
Wonderful Time of Year


Hello and Welcome
Have you ever used some low tack tape to create a card front panel?
It is super easy and fun to try with different colours.  
Today, I am using some traditional colours for Christmas.

So, here's what I did to create my card.
  • I cut a piece of white cardstock and got out my low tack tape.  I pressed the tape onto my Lucky Clover Distress Oxide pad, inking up the length of the strip of tape, then lifted it off and pressed it onto my piece of cardstock.  If you don't get a good transfer of ink, just press the tape onto the pad again, match up the lines and repeat.
  • Next, I repeated that process using some Candied Apple DOX ink.
  • When I was happy with the inking, I splattered with my white Posca pen.
  • When it was dry, I placed it into my Misti and stamped the sentiment into the center.
  • I rubbed my Versamark ink pad along the edges of the panel and white heat embossed them to add to the snowy look.
  • I stamped the snowflake along the outer edges and white heat embossed them as well.
  • I popped the panel onto a piece of red cardstock, then onto a white 4 1/4" square note card.
  • Finally, I added 3 red gems for another little pop of colour.

Thanks so much for coming by and taking a look.

Adding my card to these challenges:
Crafty Friends- TRADITIONAL CHRISTMAS COLOURS 

Supplies
Stamps- Wonderful Year (SU); Snowflakes (?)
Inks- Versamark, DOX, Versafine Clair
Paper- white (Scribes Nook- Waterloo, Ont.)
Accessories and Tools- low tack tape, Misti, Lawn Fawn white EB powder; red gems

Monday, 5 December 2022

Snowy Night


 Hello and Welcome
A quick Mini Slimline card using some leftover pieces I had in my stash.
For all measurements go HERE.

So, here's what I did to create my card.
  • I went through my stash of backgrounds and found this one.  It was a piece of cardstock that I had rolled my brayer onto to remove the excess ink when I was Gel Plate printing.  Instant background!
  • I glued the inked panel onto a piece of white cardstock to fit the front of my Mini Slimline.
  • I splattered with my Posca pen and set aside to dry.
  • Next, I die cut the deer scene and glued that over the blue inked piece.
  • I added a pre-printed sentiment using some foam tape.
  • I glued it onto a 6 x 3" card base.

Thanks so much for coming by and taking a look.

Adding my card to these challenges:
Simon Says Wed.- ANYTHING GOES
CAS on Friday- GREETING CARD
Simon Says Mon.- CHRISTMAS CHEER

Supplies
Stamps- none
Inks- Distress Oxides
Paper- heavy white (Scribes Nook- Waterloo, Ont.)
Accessories and Tools- Deer die (Amazon); Christmas sentiments (SSS); Posca pen;
Speedball Brayer

Saturday, 3 December 2022

Snowy Greetings


Welcome
I picked up this fun Snowflake Cluster stencil from Simon Says and wanted to get a chance to play with it.

So, here's what I did to create my card.
  • I began by placing a piece of white cardstock onto my Make Art Station and then positioned the Snowflake stencil over that.
  • Next, I sprayed my panel with some water, then sprinkled on some Brushos.  (Brushos are highly concentrated crystals of colour that are activated by water.) 
  • I used a baby wipe to dab over the stencil to help spread the colour of the Brushos, covering the panel, then removed the stencil and let the piece dry.
  • I die cut the sentiment next.  The script with some white and the outline with a dark purple to match the card front and glued them together.
  • When the snowflakes were dry, I splattered with my white Posca pen to add a more snowy effect.
  • I glued it onto a piece of pale purple cardstock, then onto an A2 card base.
  • I popped the sentiment over the background and added 3 silver gems.

Thanks so much for coming by and taking a look.

Adding my card to these challenges:
Simon Says Wed.- ANYTHING GOES
Beyond the Blue- WINTER HOLIDAY
Allsorts- IT'S BEGINNING TO LOOK A LOT LIKE CHRISTMAS

Supplies
Stamps- none
Inks- Brushos
Paper- heavy white (Scribes Nook)
Accessories and Tools- Snowflake Clusters (SSS); Snowy Greetings die (SSS); 
Brushos; baby wipes; silver gems; white Posca pen; Make Art Station (Ranger)