Hello and Welcome
Today's card features a new for June stencil from A Colorful Life Designs called
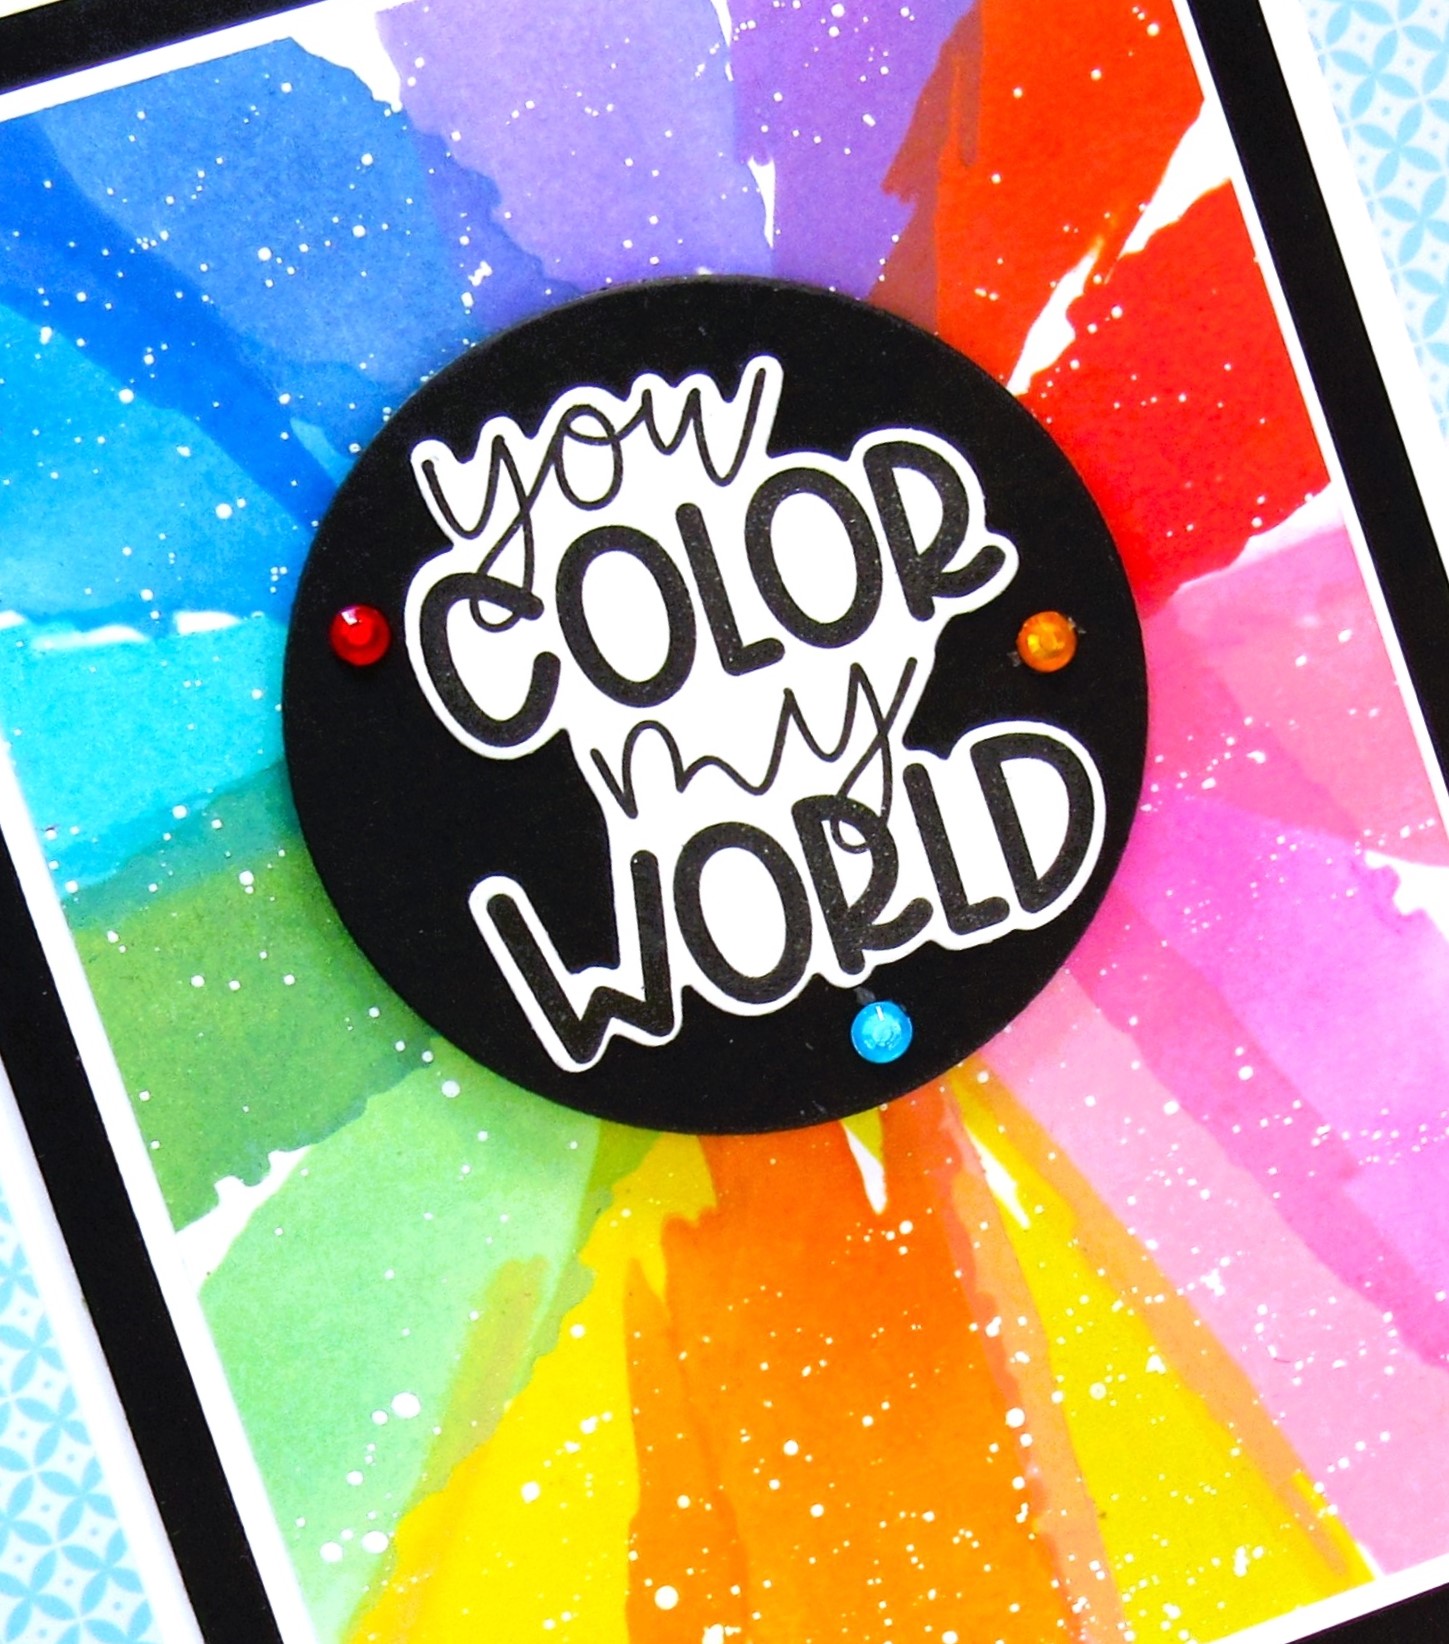
So, here's what I did to create my simple card.
- I placed a piece of white cardstock onto my Make Art Station. I placed the Wild Rings stencil over the cardstock and inked it up with some Peacock Feathers Distress Oxide ink.
- Leaving the stencil in place, I used a small inking brush to ink just the insides of the circles with some Salty Ocean DOX ink to add more interest.
- Next, I stamped the Hooray with some more Salty Ocean DOX and die cut it out.
- I found some cardstock that was the same colour as the Salty Ocean and used that to die cut the image. I glued that along the bottom of the stenciled panel.
- I glued the stenciled panel onto a piece of blue cardstock, then onto an A2 sized card base.
- I used some foam tape to add the sentiment across the top.

Here is the stencil I used:

Discount Code for A Colorful Life Designs
*Just use the code KarenFan10 to get a discount on your entire order.*
(Affiliate with no extra cost to you)
Thanks so much for coming by and taking a look.
Adding my card to these challenges:
Simon Says Wed.- ANYTHING GOES
Just Us Girls- STENCIL ANYTHING GOES
Inkspirational- STENCIL
Little Red Wagon- LAYER IT UP
Stamps- HOORAY (TE)
Inks- DOX
Paper- heavy white (Scribes Nook- Waterloo, Ont.)
Accessories and Tools- stencil (A Colorful Life Designs); Blending Brushes (TE);
Make Art Station (Ranger); Grads die (AMAZON)