Showing posts with label brayer. Show all posts

Monday, 10 March 2025

Black and White Note

Welcome
I do like the look of a black and white card.  It's simple but effective, so when I found this roll off sheet in my stash that I had done while Gel Plate printing, I wanted to use it.

So I decided to use this newly released stencil from A Colorful Life Designs called 

So, here's what I did to create my card.
  • Like I mentioned above, I looked through my cast offs and found this one done as a roll off sheet when using some black acrylic paint on my Gel Plate.
  • I placed down the Petit Four Dainty stencil and put the roll off sheet on top of the stencil.
  • Using a black crayon, I rubbed over the panel to reveal the pattern.  It looks a lot like batik when done.
  • I splattered the panel with my white Posca pen and set aside to dry.
  • Next, I die cut the sentiment with some black cardstock 4 times and glued them together, then assembled my card. By stacking the sentiment die together, it gives them more of a presence and stability.
  • I glued the panel onto a piece of black cardstock and then onto an A2 sized white card base.  
  • Finally, I glued the sentiment to the side to finish off my card.

Here is the stencil I used:

My Discount Code for Your Entire Order from A Colorful Life Designs:

Thanks a lot for taking a look.

Adding my card to these challenges:
Word Power- ANYTHING GOES WITH WORDS AS FOCUS
Crazy is Our Fame- Stencils are Our Game- ANYTHING GOES STENCIL/OPTION: SPLATTERS
The Male Room- ANYTHING MIXED MEDIA GOES

Supplies
Stamps- none
Inks- acrylic paint
Paper- heavy white
Accessories and Tools- stencil (A Colorful Life Designs); black Crayola crayon; 
white Posca pen; Gel Plate; Speedball brayer; Just Saying Dies (Concord and 9th)

Saturday, 11 March 2023

Hugs for You


Welcome
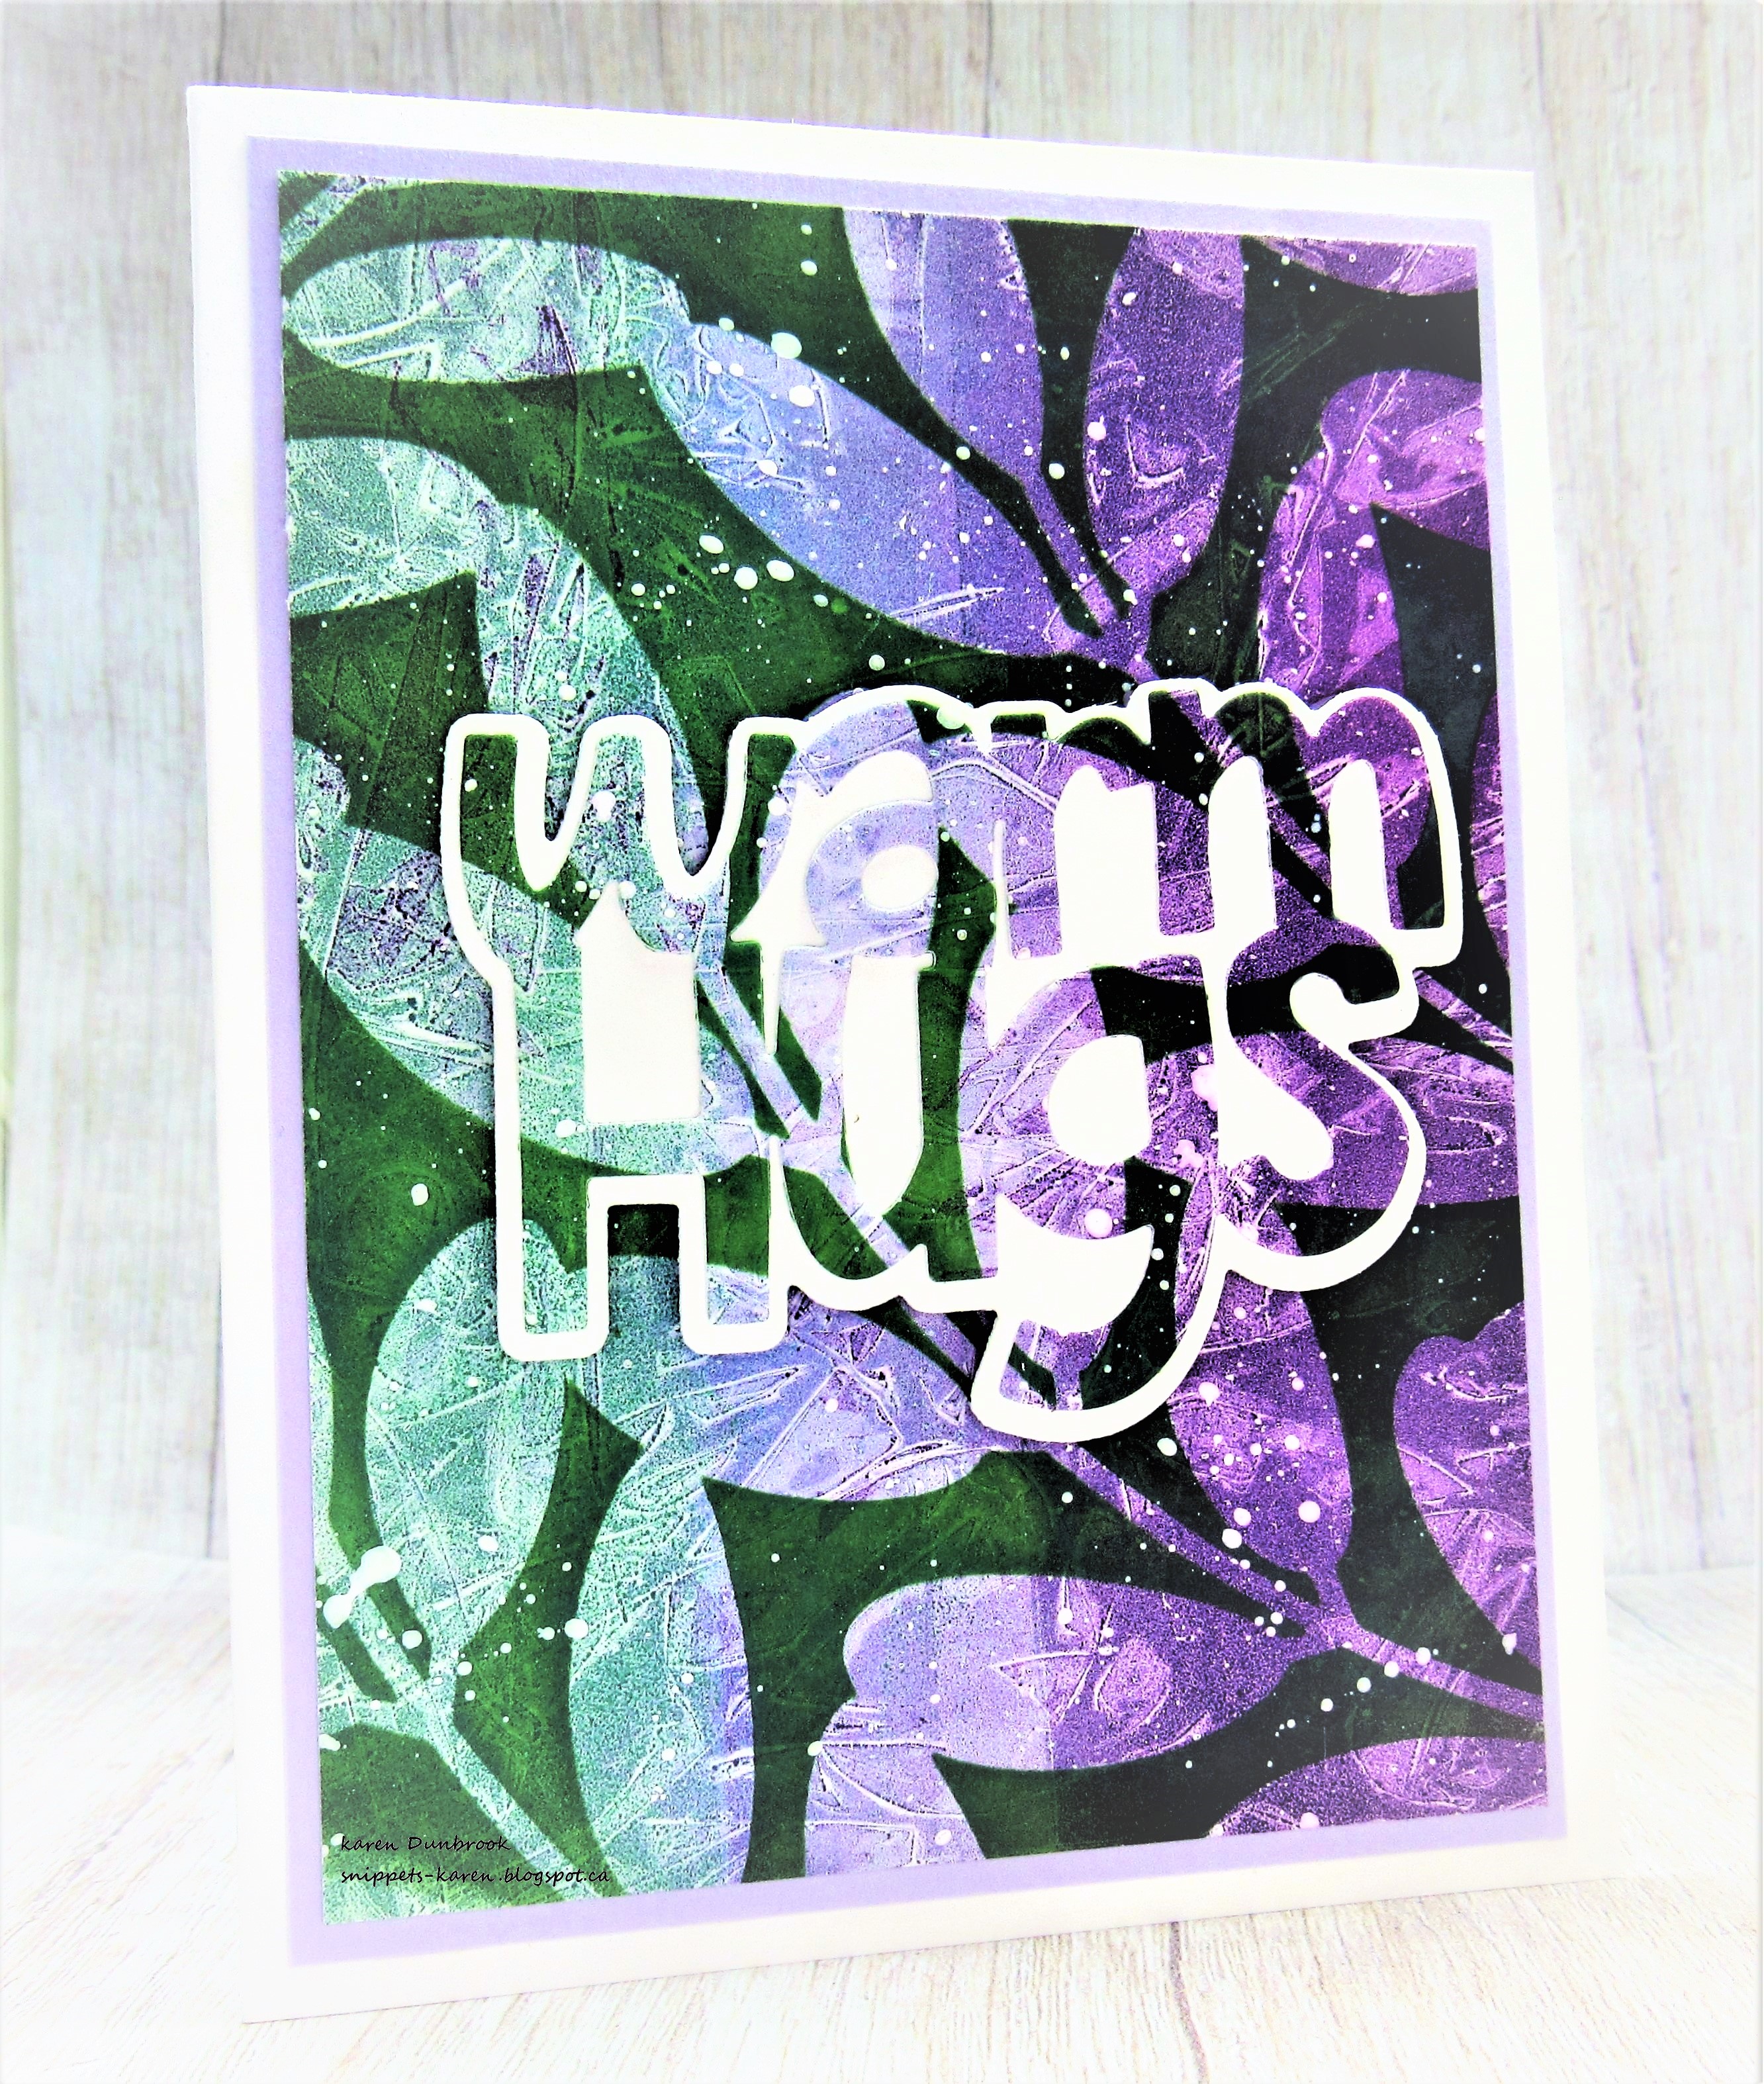
Today's card features another newly released stencil from A Colorful Life Designs called Trailing Vines.
I decided to do a technique using some plastic wrap on my Gel Plate.

So, here's what I did to create my card.
  • I got out my Gel Plate and some plastic wrap.  I pressed some Villainous Potion Distress Oxide ink onto one side of my plate and some Cracked Pistachio on the other side.  I brayered the colours together and then placed a piece of wrinkled plastic wrap over the plate and pressed it down, transferring the wrinkles onto the ink on the plate.
  • Next, I removed the plastic wrap and rubbed a piece of white cardstock onto the plate to get my background.
  • I placed the Trailing Vines stencil over my inked background and blended some Rustic Wilderness over the whole panel.  It really added such interest to the leaves.
  • I splattered using my white Posca pen and set aside to dry.
  • When it was dry, I die cut the sentiment words from the center of the panel and then cut the shadow of the sentiment with some white cardstock and glued the two together.
  • I glued the stenciled panel onto a piece of light purple cardstock, then onto an A2 sized card base.
  • I pop dotted the sentiment over the main panel.

Here is the stencil I used:

Discount Code for A Colorful Life Designs
(Affiliate with no extra cost to you) 

Thanks so much for taking a look.

Adding my card to these challenges:
Cut it Up Challenge- THIS MAKES ME HAPPY
TicTacToe- DIE CUT/ GREEN/ LAYERS

Supplies
Stamps- none
Inks- Distress Oxides
Paper- white (Scribes Nook- Waterloo, Ont.)
Accessories and Tools- stencil (ACLD); TE Blending Brushes; die (Heffy Doodle); 
white Posca pen; plastic wrap; Gel Plate; brayer

Tuesday, 20 December 2022

Pocket of Wishes


Good Morning
Today's card was such a fun one to create and I was very pleased with the result that were easy to achieve.
I made this card for my son Adam, using an old pair of my husband's jeans....YES, you read that right....not designer paper but made using jeans.
He loved the card!

So, here's what I did to create my card.
  • I began by getting out my Gel Plate, brayer, the old pair of jeans and some cardstock.
  • I pressed my Uncharted Mariner Distress Oxide ink pad directly onto my Gel Plate and used my brayer to smooth and spread it out.
  • Next, I took the pocket portion of the jeans and pressed that onto my Gel Plate.  
  • I removed the jeans, set aside and pressed my cardstock, rubbing over the plate to transfer the print.  I was very pleased with the results, the texture it picked up was amazing!
  • I cut it down to a 4 3/4" square and set aside.
  • I had a piece leftover that I had after I cut the panel down and used that to stamp the sentiment onto.  
  • I cut a small slit in the pocket, then slid the sentiment strip into the pocket.  I popped the banner strip up at the edge using some foam tape.
  • Finally, I glued it onto a 5" square card base.

Thanks so much for coming by and taking a look.

Adding my card to these challenges:
Simon Says Mon.- PARTY TIME
A Place to Start- ANYTHING GOES
We Love to Create- ANYTHING GOES

Supplies
Stamp- Happy Birthday Sentiments (Pinkfresh Studio)
Inks- DOX, Versafine Clair
Paper- Scribes Nook (Waterloo, Ont.)
Accessories and Tools- old jeans, Gel Plate, brayer, foam tape

Sunday, 11 December 2022

Christmas Quilt


Welcome
Just making a few extra cards to have on hand just in case I need one.
This one is made totally from some scraps in my stash that I kept when Gel Plate printing.

So, here's what I did to create my card.
  • I began by looking through my stash to find 2 complementary inky pieces.  The two I found had similar colours so I got them out.
  • I used the large one for the base.  It was a roll off sheet.  By that I mean it was the a piece of cardstock that I rolled my brayer off onto to remove some of the excess paint from my Gel Plate.
  • Next, I die cut the quilted pattern with some white and backed it with another scrap. I glued those together and then onto a piece of black cardstock.
  • I glued the large piece onto an A2 card base, then popped the die cut piece over that.
  • I added a pre-printed sentiment and 2 purple gems to finish it off.

Thanks so much for coming by and taking a look.

Adding my card to these challenges:
Allsorts- LET IS SNOW
Winter Wonderland- ANYTHING CHRISTMAS GOES
As You Like It- ANYTHING CHRISTMAS GOES


Supplies
Stamps- none
Inks- Basics Acrylic paint
Paper- Scribes Nook- Waterloo, Ont.
Accessories and Tools- Snowflake Quilt die (Amazon); Speedball Brayer; 
Pre-printed Sentiments (SSS); purple gems

Sunday, 30 October 2022

CAS Christmas


Welcome
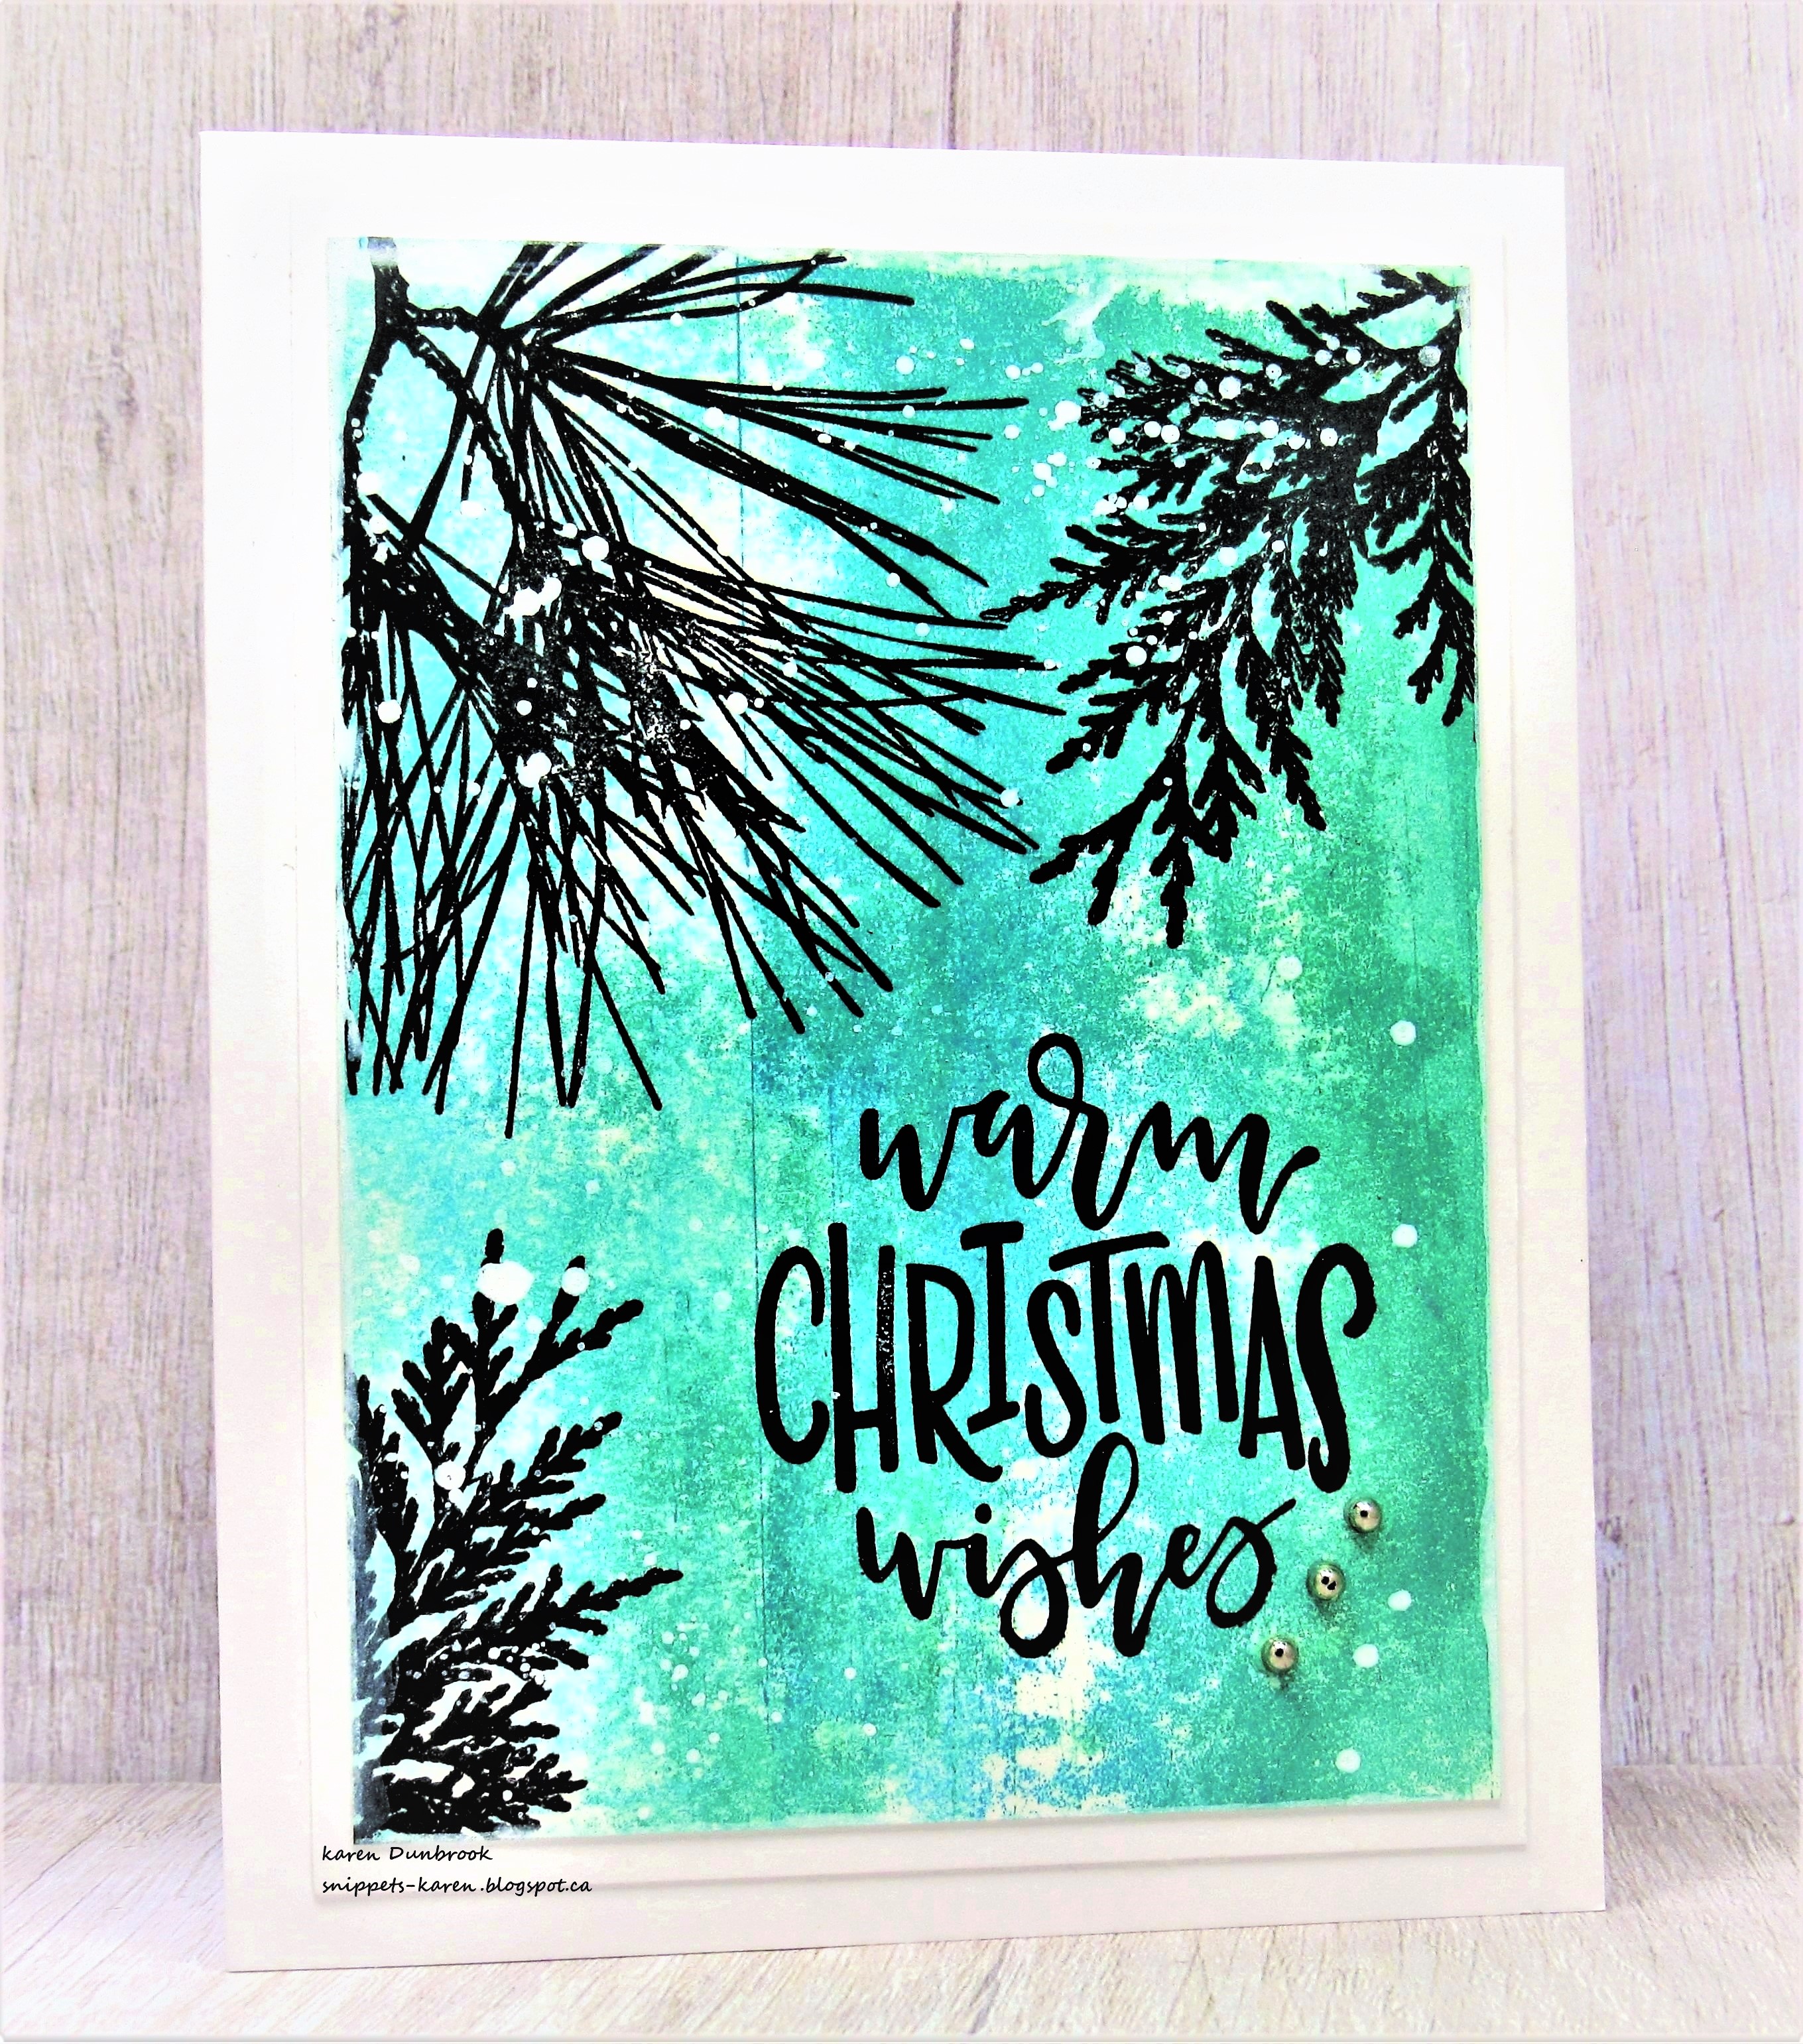
Today's card is a quick, clean and simple one.
The background was a piece I found in my stash.

So, here's what I did to create my card.
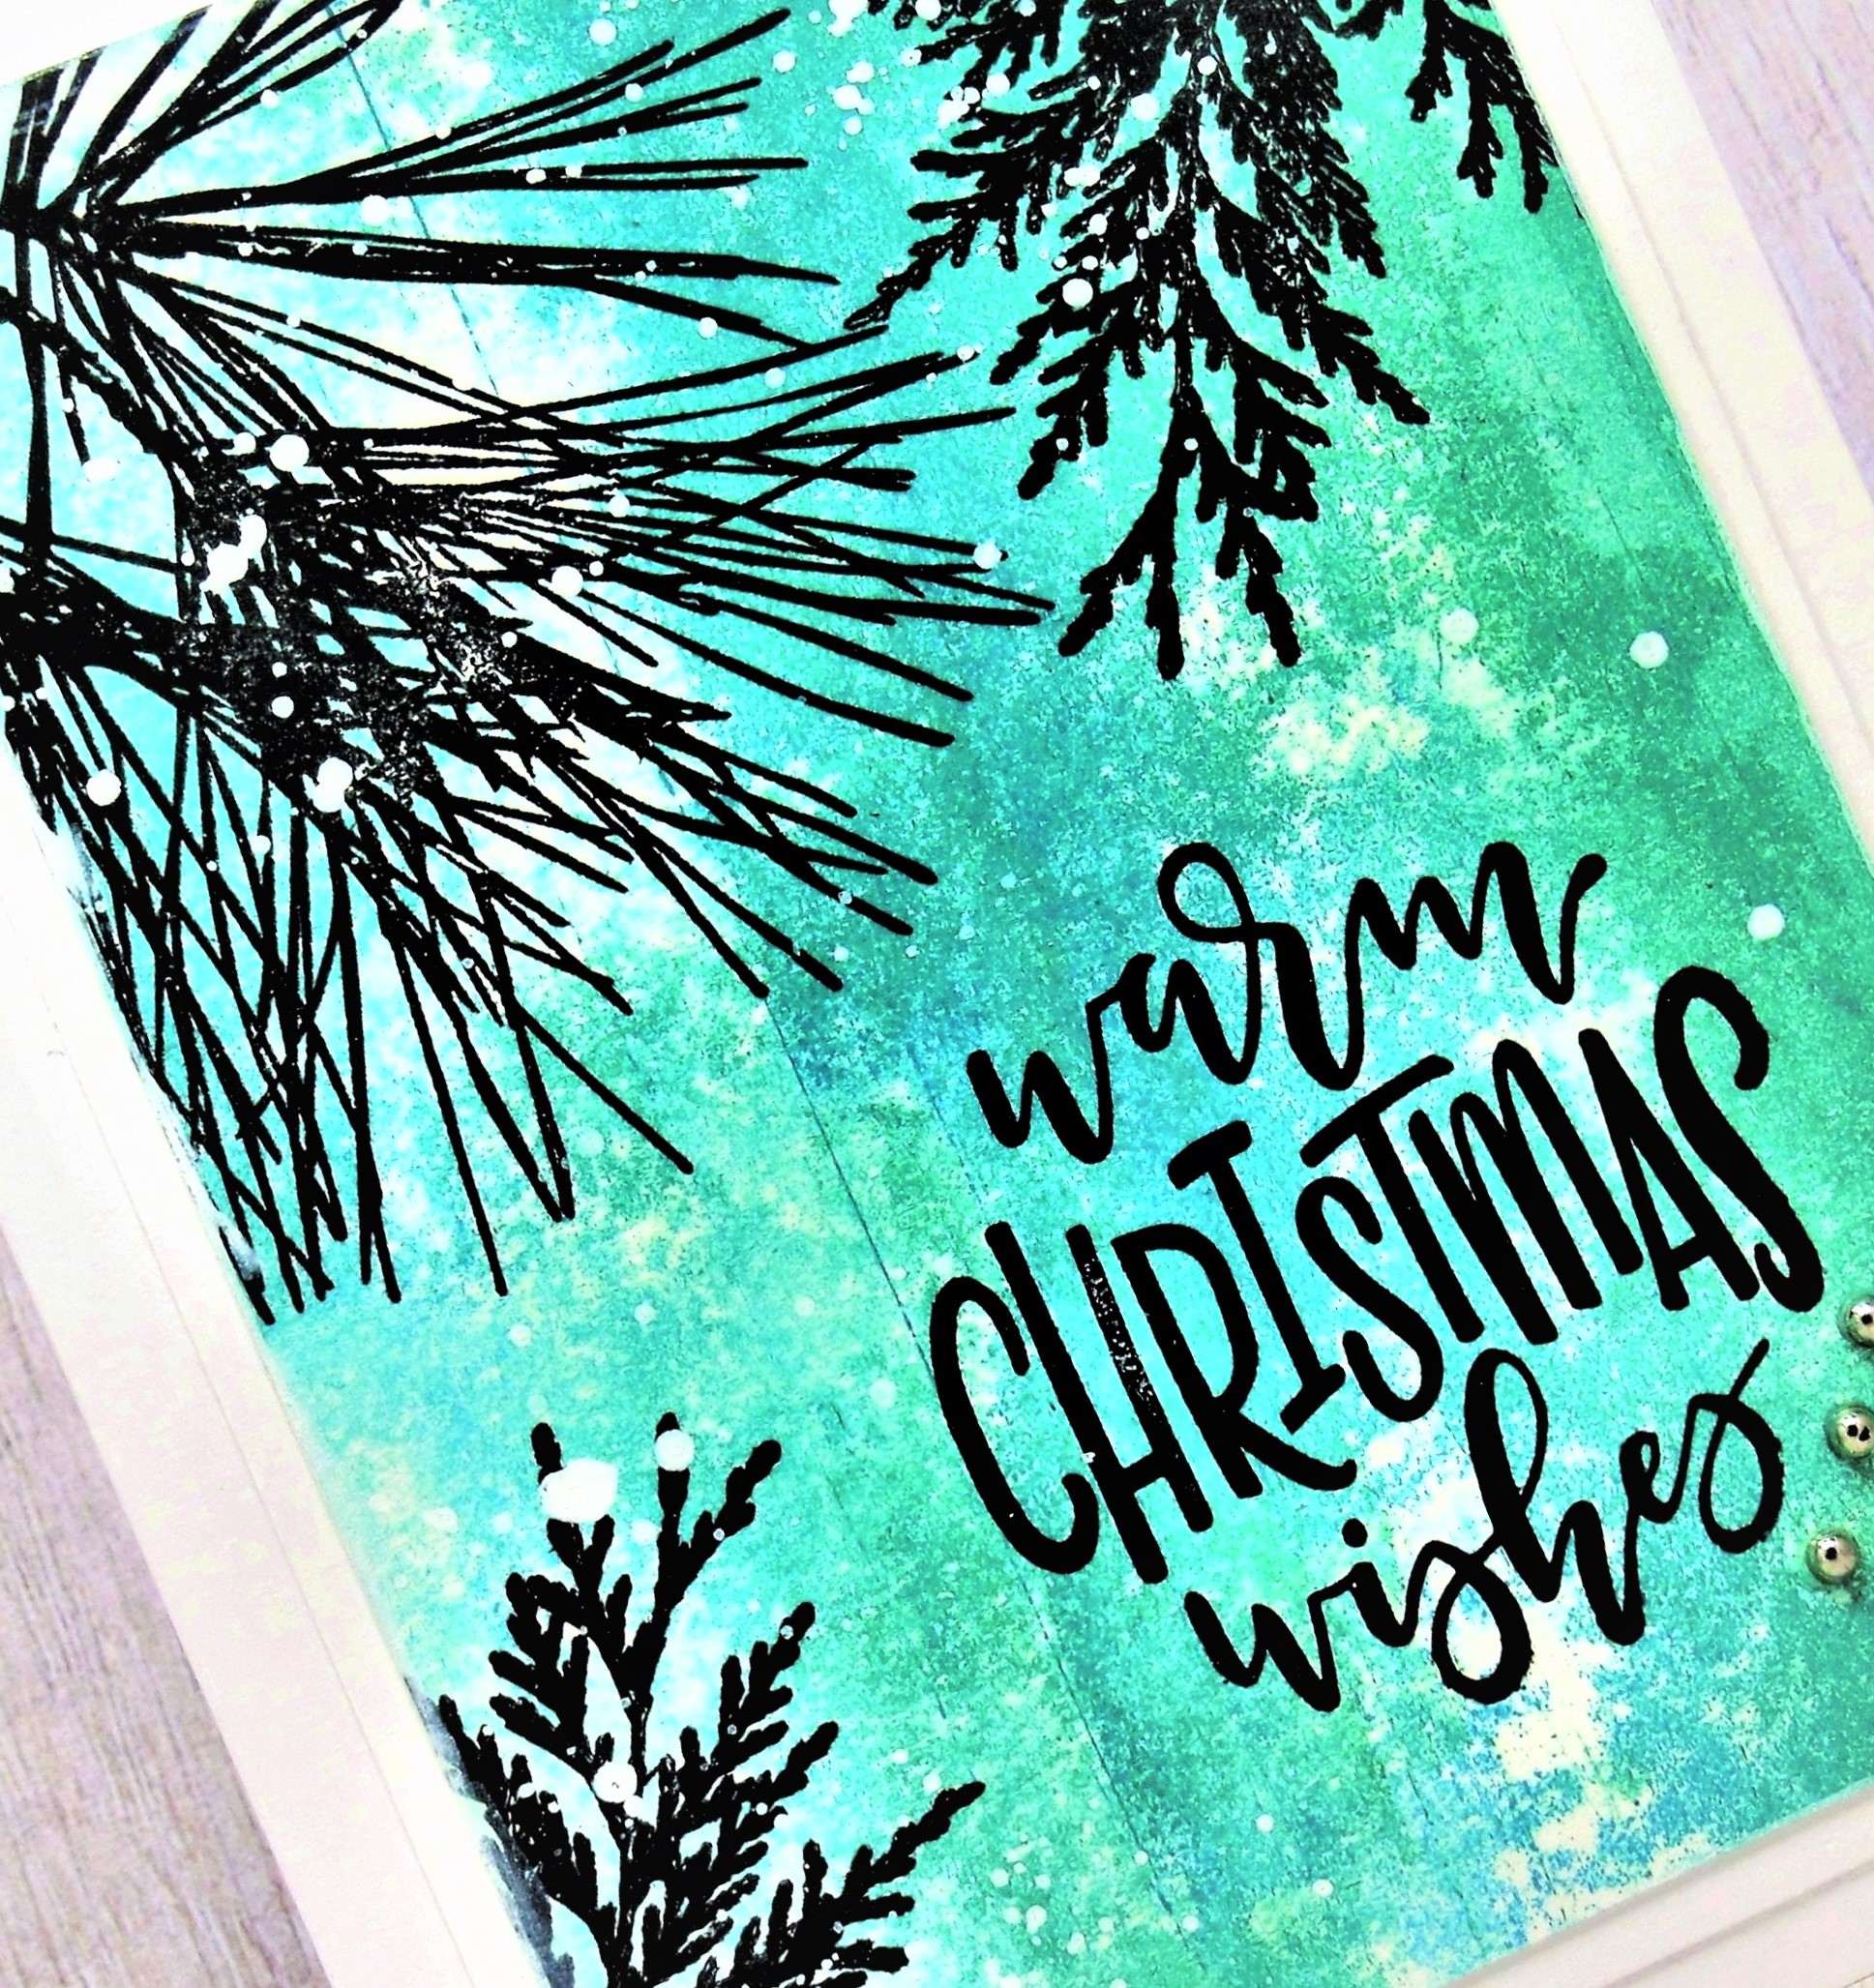
  • Like I mentioned above, I found this background in my stash.  It was a sheet I used to roll Distress Oxide inks off of my brayer while Gel Plate printing.  I always save those sheets as they are easy to stamp onto and the blended inks left behind are beautiful. I will have to guess at the colour combo though....Peacock Feathers, Cracked Pistachio and some Peeled Paint.
  • I placed the previously inked panel into my Misti and stamped the tree boughs and the sentiment.
  • I splattered with a generous amount of ink, then added 3 silver gems.
  • I glued it all onto an A2 sized card base.

Thanks so much for coming by and taking a look.

Adding my card to these challenges:
Simon Says Wed.- ANYTHING GOES
 CHNC Challenge- ANYTHING CHRISTMAS- MAKE YOUR OWN BKG
Winter Wonderland- LET IT SNOW


Supplies
Stamps- Evergreen (Darkroom Door); Encircled in Warmth (SU); 
Ornamental Pine (SU)
Inks- Distress Oxides; Versafine Clair
Paper- heavy white (Scribes Nook- Waterloo, Ont.)
Accessories and Tools- Speedball Brayer; Posca pen; Misti (My Sweet Petunia)

Saturday, 20 August 2022

Going Around in Circles


Welcome
Today's card features a print I did using my Gel Plate.
This Dot Circle stencil from A Colorful Life Designs has become a favourite.

So here's what I did to create my card.
  • I began by getting out my Gel Plate, brayer, Dot Circle stencil and some blue acrylic paint.
  • I added paint to the plate, brayered it nice and smooth, then placed the stencil over the wet paint.
  • Using the end of a paint brush handle, I gently pushed the stencil onto the plate, making sure it had really good contact.  
  • Next, I rubbed a piece of paper over stencil that was still on the plate which helped lift some off some of the paint.
  • I took the stencil off carefully, then rubbed a piece of white cardstock to get this print.  I set it aside to dry completely.
  • I got out this birthday die and cut the letters from some white cardstock. 
  • I cut the shadow die for the sentiment right from the center area of the print and then glued the Happy Birthday onto that.
  • I glued the Gel Plate print to a piece of white cardstock, then onto an A2 card base.
  • I pop dotted the sentiment by fitting it back into place in the center.
  • I added 3 silver gems to finish off my card.

Here is the stencil I used:
Dot Circle

Discount Code for A Colorful Life Designs
(affiliate with no extra cost to you)

Thanks so much for coming by and taking a look.

Supplies
Stamps- none
Inks- Basics Acrylic paint
Paper- heavy white (Scribes Nook- Waterloo, Ont.)
Accessories and Tools- stencil (ACLD); Gel Plate; Speedball brayer; silver gems (Dollar Tree);
Happy Birthday die (Amazon); paint brush