Showing posts with label Darkroom Door. Show all posts

Sunday, 30 October 2022

CAS Christmas


Welcome
Today's card is a quick, clean and simple one.
The background was a piece I found in my stash.

So, here's what I did to create my card.
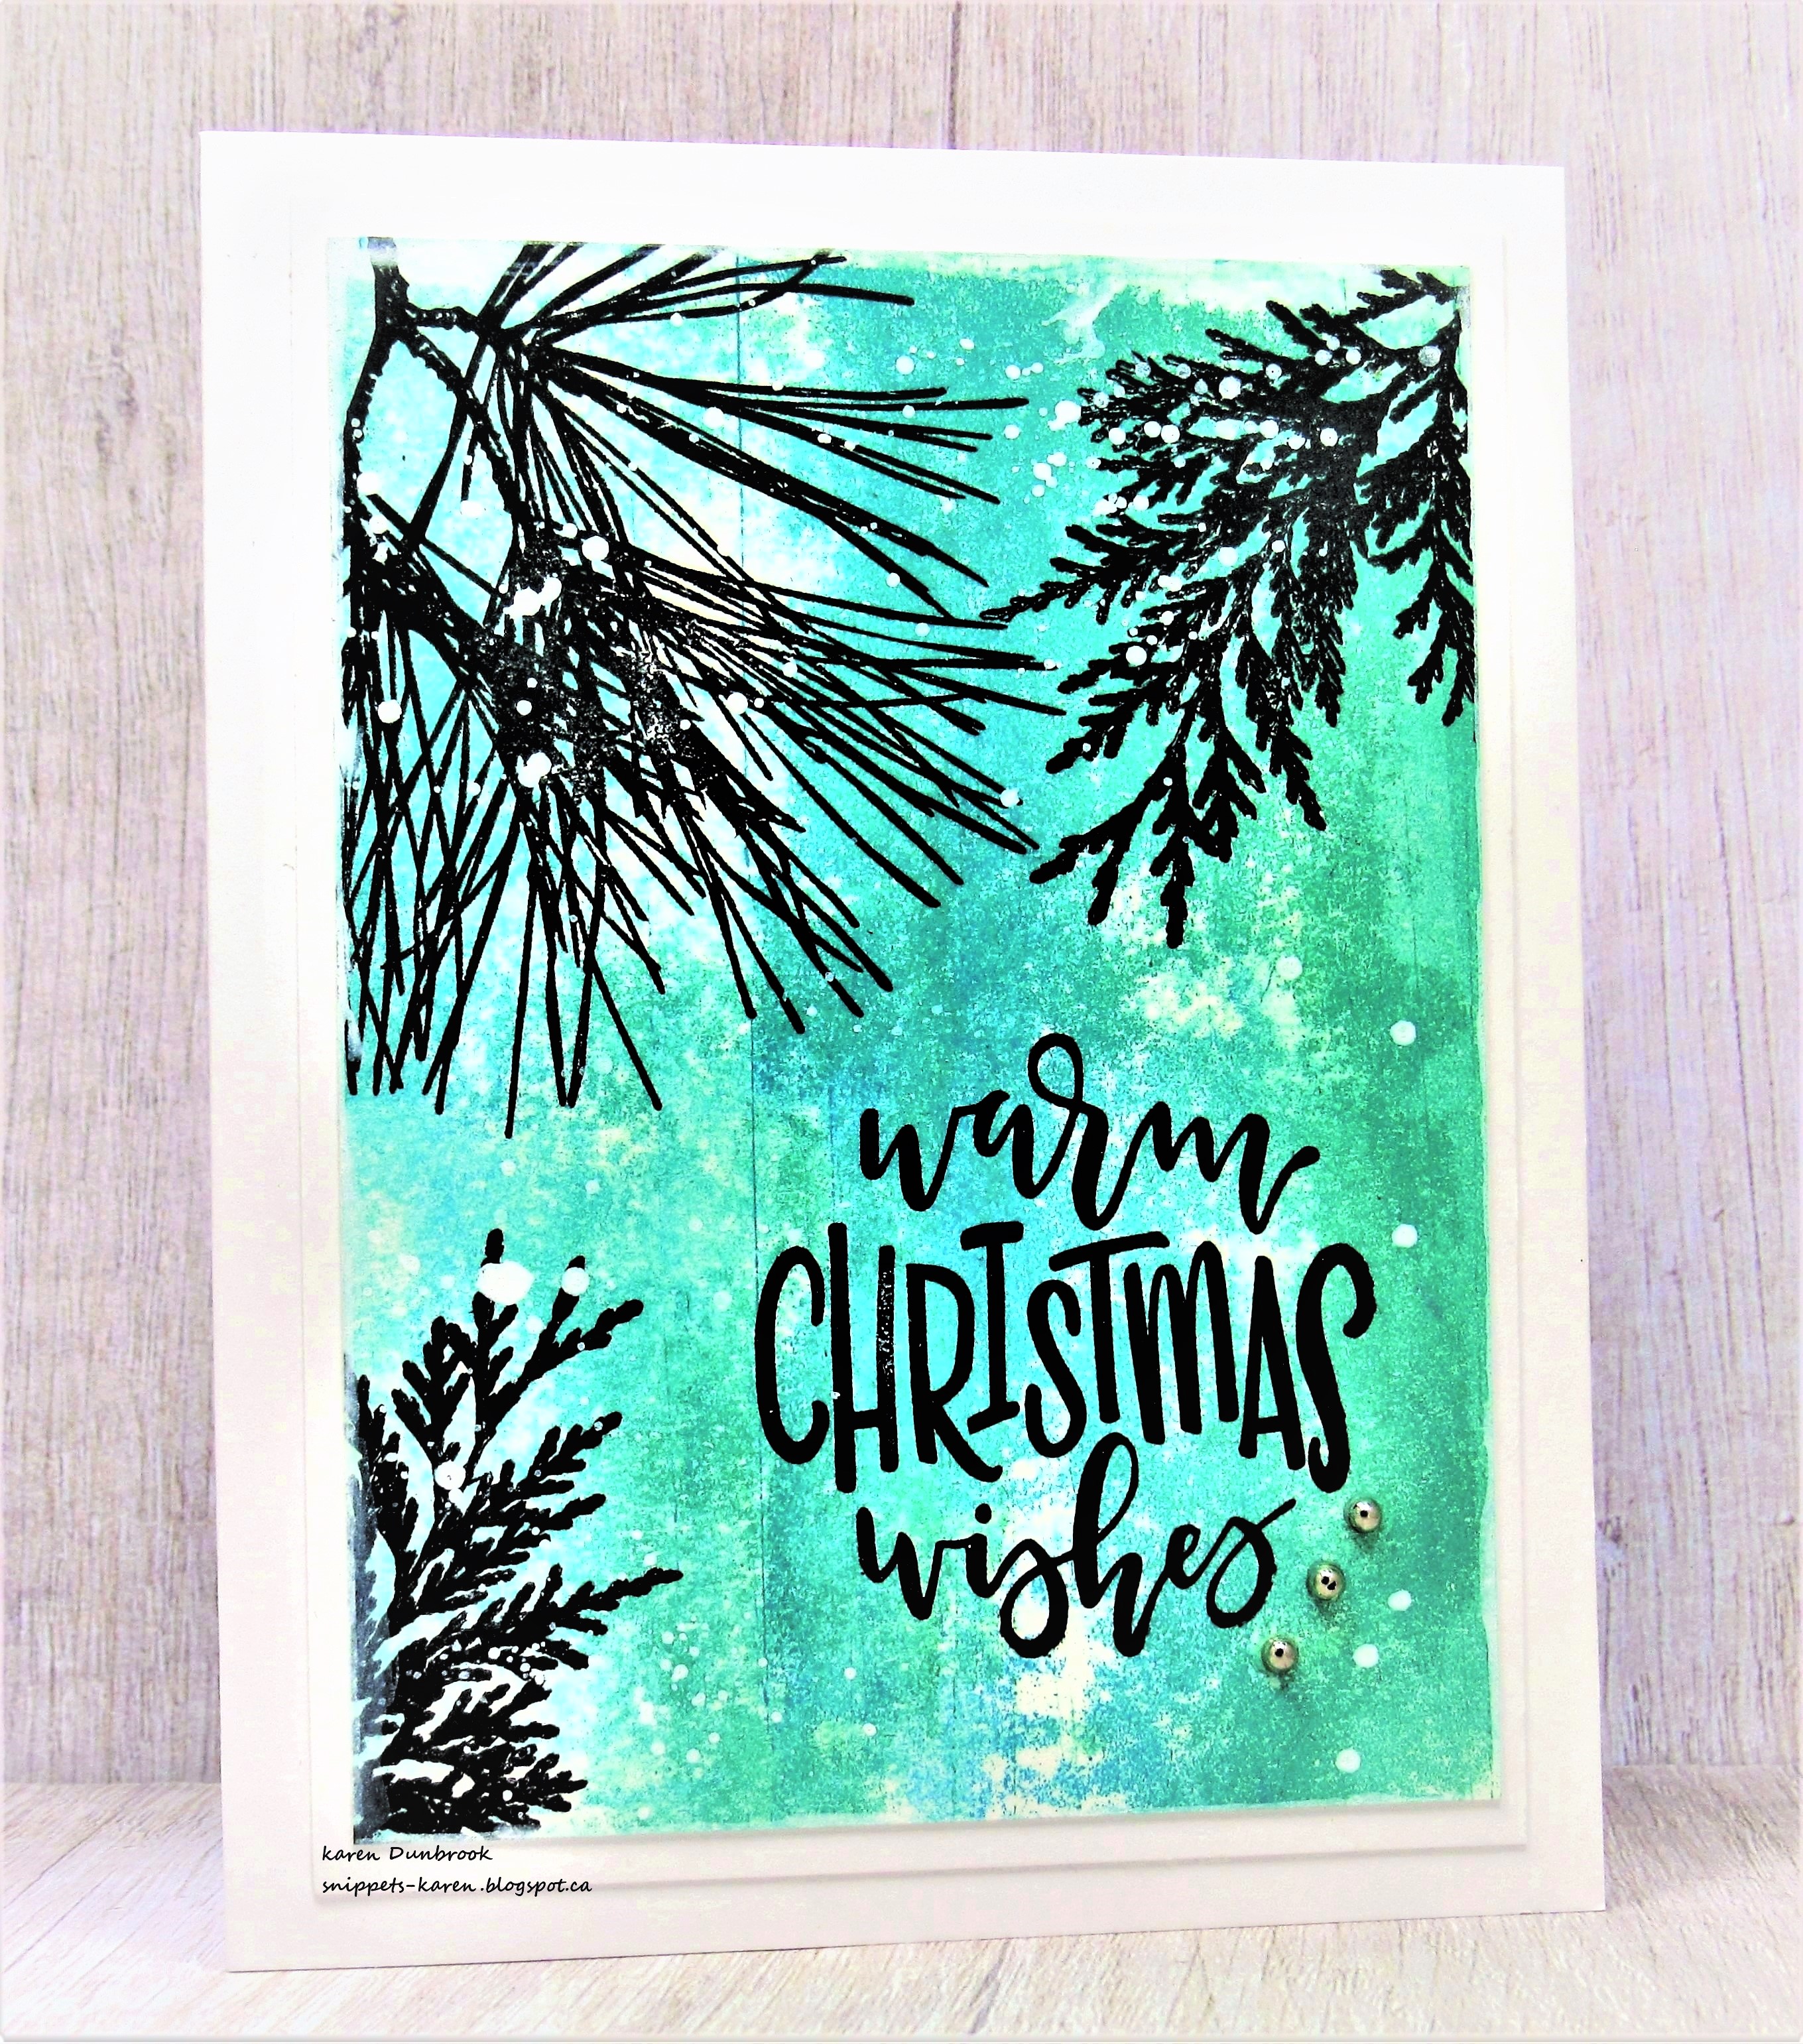
  • Like I mentioned above, I found this background in my stash.  It was a sheet I used to roll Distress Oxide inks off of my brayer while Gel Plate printing.  I always save those sheets as they are easy to stamp onto and the blended inks left behind are beautiful. I will have to guess at the colour combo though....Peacock Feathers, Cracked Pistachio and some Peeled Paint.
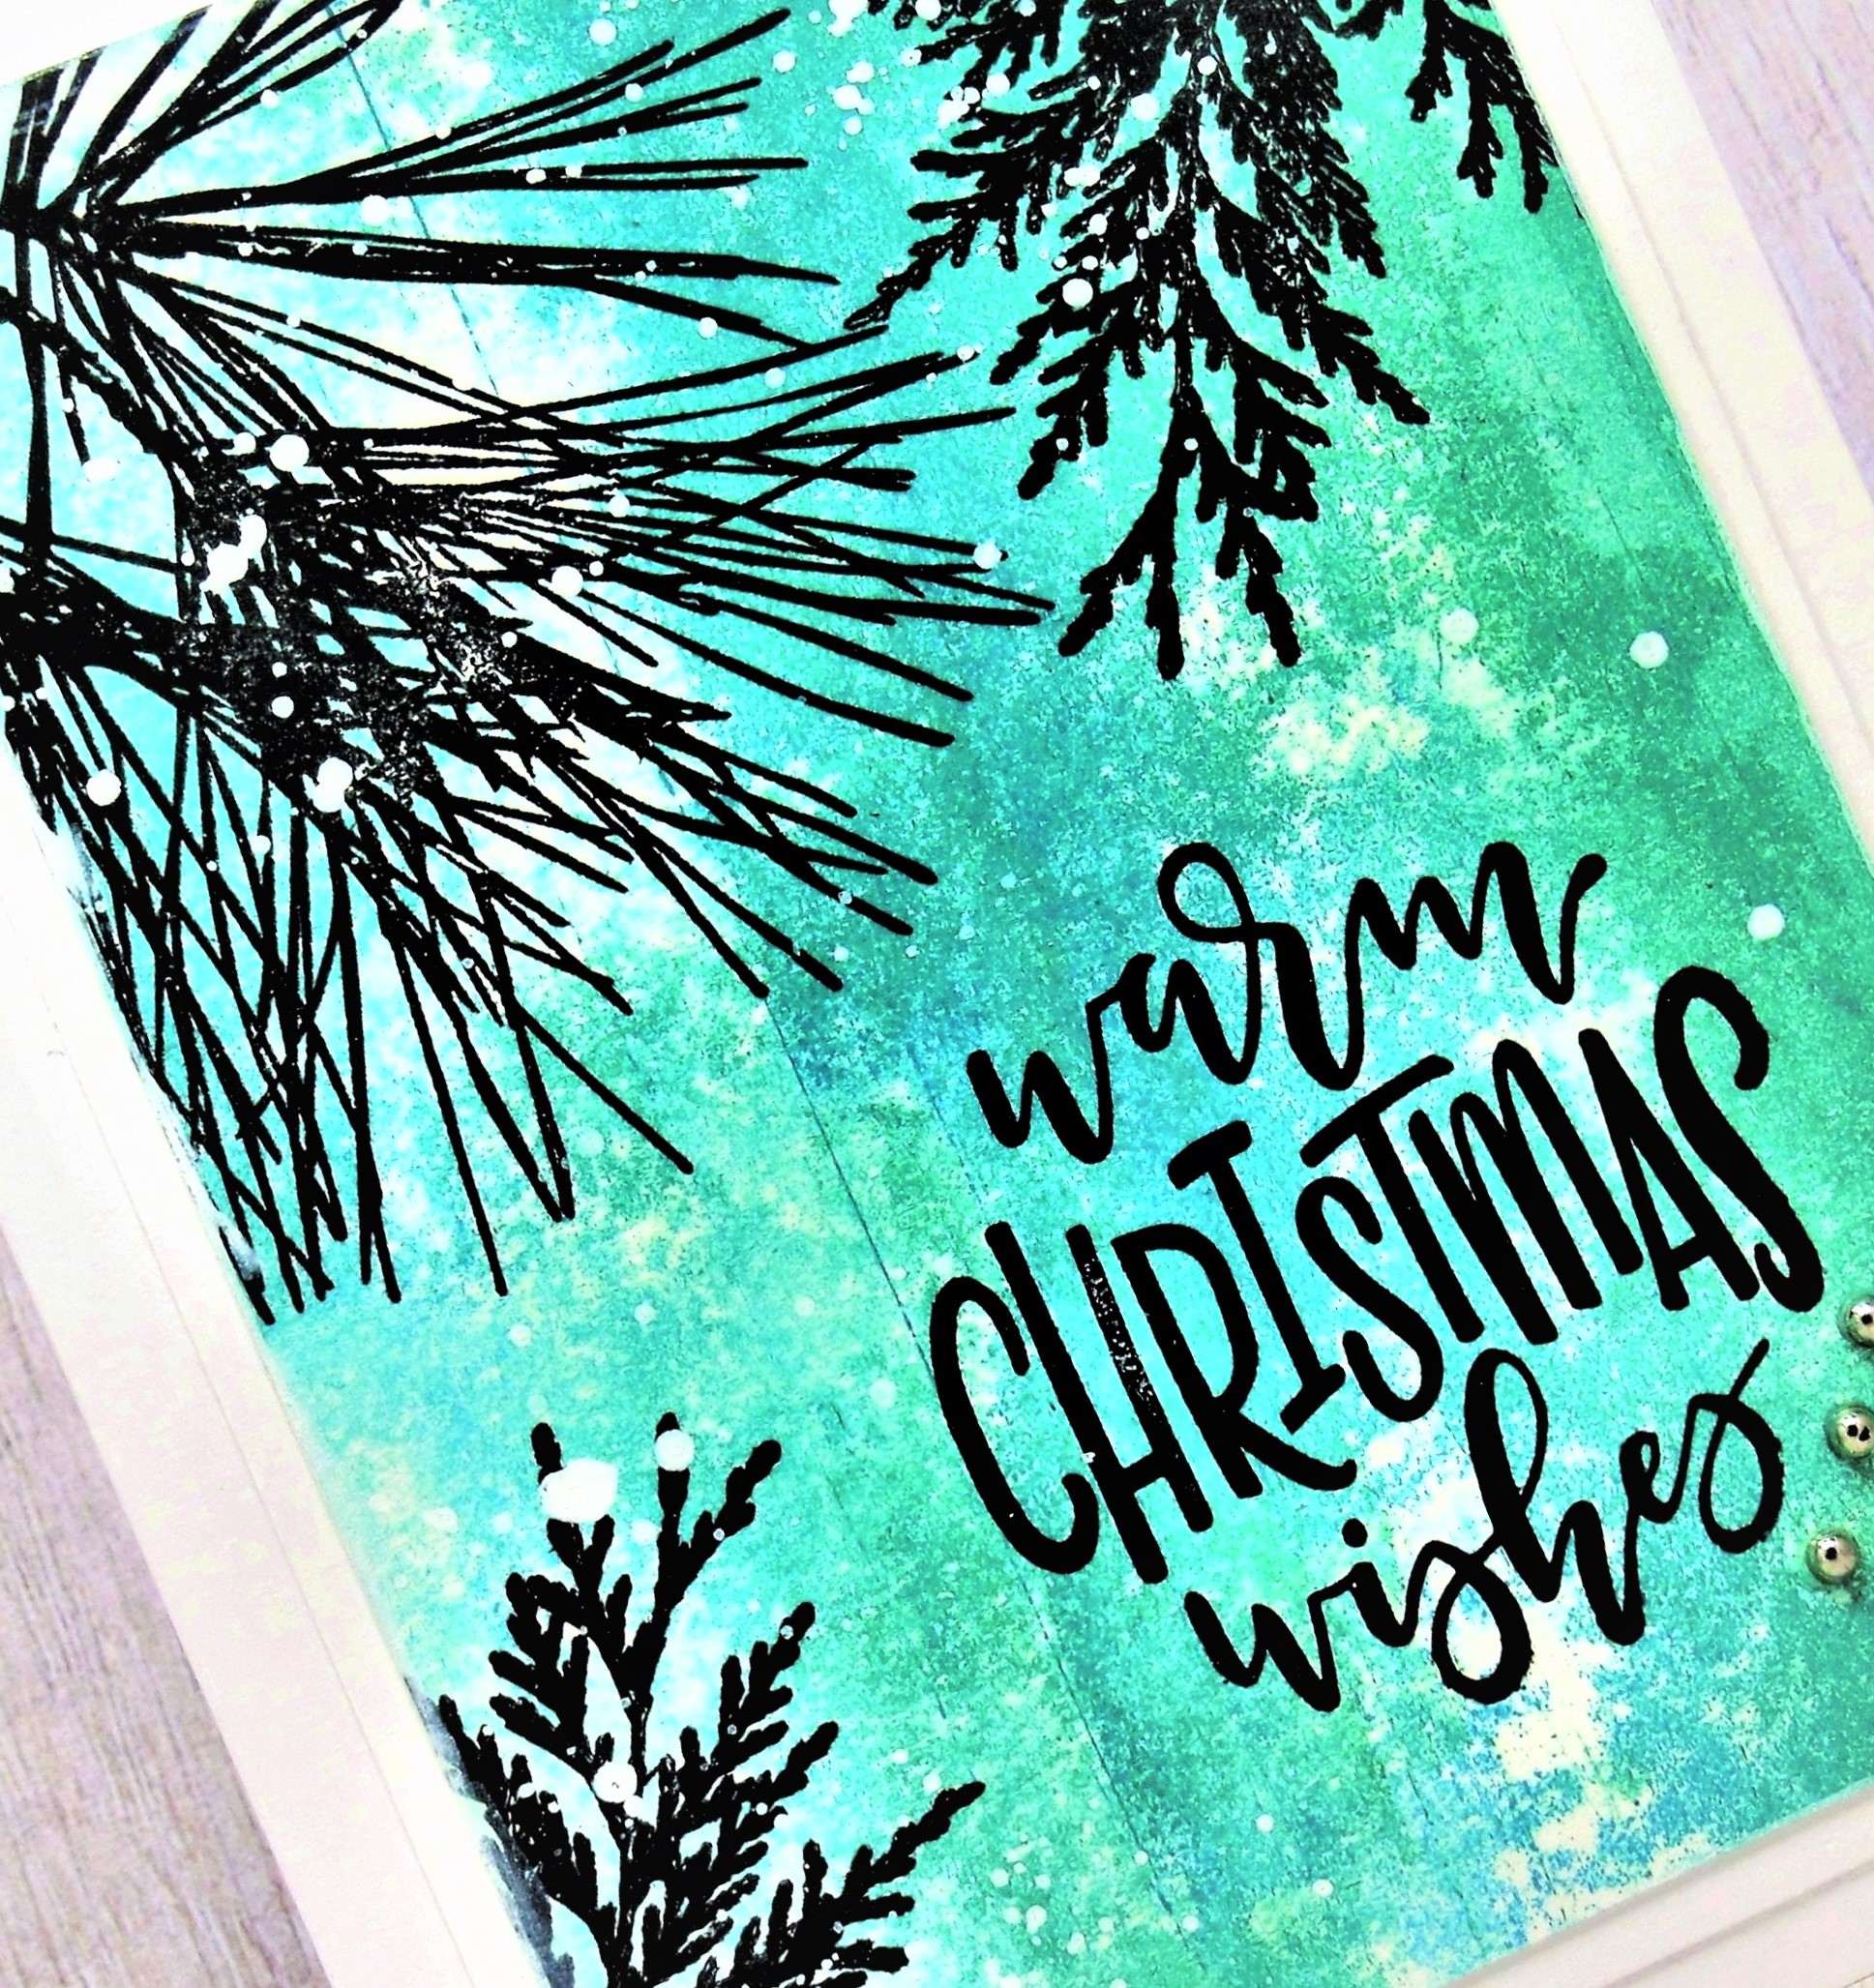
  • I placed the previously inked panel into my Misti and stamped the tree boughs and the sentiment.
  • I splattered with a generous amount of ink, then added 3 silver gems.
  • I glued it all onto an A2 sized card base.

Thanks so much for coming by and taking a look.

Adding my card to these challenges:
Simon Says Wed.- ANYTHING GOES
 CHNC Challenge- ANYTHING CHRISTMAS- MAKE YOUR OWN BKG
Winter Wonderland- LET IT SNOW


Supplies
Stamps- Evergreen (Darkroom Door); Encircled in Warmth (SU); 
Ornamental Pine (SU)
Inks- Distress Oxides; Versafine Clair
Paper- heavy white (Scribes Nook- Waterloo, Ont.)
Accessories and Tools- Speedball Brayer; Posca pen; Misti (My Sweet Petunia)

Tuesday, 29 December 2020

Oh Christmas Tree


Welcome
I hope you had a wonderful Christmas despite this nasty virus.
I'm in Ontario, Canada and we are in a lock down again although our numbers are not nearly what they are in the U.S.  I'm so thankful that our Government here has taken mandatory steps to help fight this.
I'm off work for awhile, so card making is on the agenda.
I did make this card a few weeks ago but never had time to post it.

So here's what I did to create this card.
  • I began with a piece of paint roll off from my brayer when I was using my Gel Plate. (*to clarify:  when you are using a Gel Plate, you must brayer off paint from the plate to make it smooth before taking a print.  I always roll onto scrap paper and keep them for card fronts*) I keep all the roll offs to use as backgrounds or even to use for die-cutting.  This one just had a faint bit of greens on it so that was my starting point.
  • I placed the piece into my Misti, then positioned the Evergreen from Darkroom Door, over the painted bkg.  Using my Tombow markers, I coloured directly onto my stamp, sprayed with water and pressed onto the paper.  I repeated that process a number of time using different shades of green inks.  It really does give the appearance of watercolouring.
  • When the branches were dry, I used the end of my paintbrush to dot some red paint over the branches to look like berries.  (for some reason they would not photograph red!)
  • I stamped the sentiment from SU with some Versafine Clair in the bottom corner and clear heat embossed it.
  • To add more interest, I added the green lines using an old credit card rubbed onto my Peeled Paint Distress Oxide pad.  
  • I mounted the piece onto some green cardstock, then onto a heavy white card base.
  • Lastly, I added 3 little black gems under the sentiment.


Thanks so much for coming by and taking a look.

Supplies
Stamps- Evergreen (Darkroom Door); Happy Holidays (SU)
Inks- Tombow markers; Versafine Clair; Distress Ox
Paper- heavy white (Scribes Nook)
Accessories and Tools- Misti (My Sweet Petunia); black gems; Mister (TH); old credit card;
clear eb powder; heat tool; brayer to paint the bkg.

Saturday, 16 November 2019

Evergreen- CAS Watercolour Challenge


Welcome
This month, I have the pleasure of hosting the 

...and you still have time to play!
It is our last challenge for this year as we will be taking some time off before Christmas.


This month we welcome our guest  


Here are my card details.
I began by creating the plaid background.  I picked out a few Copic markers in the same green colour family and simple drew on some lines to create my plaid.  It is really super easy and fun to do.  Even if the lines are not perfectly straight, the plaid still looks great.  You could always use a ruler though if you wanted perfectly straight lines.  
Next, I took a piece of white cardstock and placed it into my Misti.  I positioned the Evergreen stamp up near the top of my paper, coloured with my Tombow markers, sprayed with water and stamped.  I really love the look you can achieve by using this technique.
I stamped the sentiment, splattered the bkg. for interest and added some Nuvo drops to the branches.
I mounted the piece over the plaid card front then onto a plain white card base.


Thanks so much for coming by and taking a look.


Supplies
Stamps- Handlettered Holiday (MFT); Evergreen (Darkroom Door)
Inks- Versafine Clair Noir; Tombow markers; Copic markers
Paper- heavy white (Scribes Nook)
Accessories and Tools- Misti (My Sweet Petunia); Mister (TH); Nuvo Drops


Monday, 5 November 2018

Holiday Greetings

Hello
Meet today's card.
A very simple CAS holiday card using a new greeting set I just picked up.

I began by masking my card front with some Post-It Tape.  I like the look of a clean, white border.
Next, I placed the masked piece into my Misti, inked up the tree branch with some Evergreen Bough DOX ink, sprayed with water and stamped.  I repeated that process with some Lucky Clover DOX ink right over the first stamping.
Next, I stamped the sentiment and clear heat embossed it to help make it pop..
To add interest to the background, I then stamped using the PB Script stamp.
I sponged the edges with some Peacock Feathers DOX but it just needed something more.  So, I grabbed the Grunge Dots stencil from A Colorful Life and randomly stenciled in some of the circles.  It added the perfect finishing touch.
Using some red Nuvo Drops, I gave the evergreen branch some red berries and splattered the whole piece with some white acrylic paint.  
I removed the tape and mounted it simply to a white card base.


Thanks so much for coming by and taking a look.

Adding my card to these challenges:
Simon Says Wed.- ANYTHING GOES
613 Avenue Create- ANYTHING GOES/ OPTION CHRISTMAS

Supplies
Stamps- Pine Leaf (Darkroom Door)= Hand Lettered Holiday Greetings (MFT)= Script (PB)
Inks- DOX= Tuxedo Black Memento
Paper- heavy white (Scribes Nook)
Accessories and Tools- Misti (My Sweet Petunia)= clear eb powder= heat tool= 
Grunge Dots stencil (A Colorful Life)= Red Nuvo Drops= Sponging tool (TH)= Post-It Tape


Sunday, 29 July 2018

Good Times- Collage Stamped Backgrounds

Welcome.
Today, I have the pleasure of hosting the TLC (Technique Lovers) Challenge at Splitcoast Stampers.  I am calling my challenge Collage Stamped Backgrounds.
I love that I can use multiple stamps to create such interesting backgrounds for my cards.  I like to challenge myself to see how many different stamps I can actually accumulate on one card!!

I began by taking a piece of white cardstock and masked the edges using some Post-It tape.
I really like the look of a nice, clean white border.
I stamped images, grunge elements from many different sets all listed below using some Fossilized Amber and Dried Mustard Seed Wild Honey Distress Oxide inks and my Dried Marmalade Distress inks.  Really fun to see what kind of combinations I could come up with.  When I was happy with the background stamping, I sponged the edges with some Dried Mustard to help define the main area.
I placed the stamped background into my Misti, then stamped the sentiment and the flowers to finish my card off.  I scored a border around the sponged area using my ScorPal and then simply mounted it all onto a white card.

I ended up using 12 stamps on my card today!!

I made the picture extra large so you could see the details I stamped.

I challenge you to create a 'collage stamped background'.  Pull out your stamps and play.
Thanks so much for coming by and taking a look.

Adding my card to these challenges:
Simon Says- ANYTHING GOES
Just Us Girls- PHOTO INSPIRED
Crazy 4 Challenges- HOPE/SYMPATHY


Supplies
Stamps- Weathered Clock (Hampton Arts)= Faith Hope (Paper Inspirations)= Collage des Rond (Carebelle)= 
Dots (Impression Obsession)= Grunge Elements (TH)= Graffiti (Kaisercraft)= Mixed Media (STAMPlorations)= 
So 80s (WPlus 9)= ABC (Carabelle)= Tape Meausre (Darkroom Door)= Meadow (Inkadinkadoo)= 
Treasure Moments sentiment (IO)
Inks- DOX- Wild Honey, Fossilized Amber DI- Mustard Seed, Dried Marmalade (TH); Tuxedo black (Memento)
Paper- heavy white (local store)
Accessories and Tools- Misti (My Sweet Petunia)= Post-It Tape= ScorPal

Saturday, 25 November 2017

Holiday Time

Good Morning and thanks for coming to visit.
Having some fun with my markers and stamps today.

I began by masking the edges of my white card front so I would be left with a crisp white border.  Next, I placed the tree branch inside my Misti, coloured it with my Tombow markers, sprayed with water and stamped.  I repeated that process until I was happy with the colour.
When that was dry, I watercoloured in the background using Distress ink then added some extra detail by stenciling with some drywall tape. 
I stamped the sentiment then splattered with white acrylic paint.
The finishing touch was to add the berries with some red Nuvo drops, love how they just gave the branches a great pop of colour.


Thanks so much for coming by and taking a look.


Adding my card to these challenges:
 Just Add Ink- #387 COLOUR
Winter Wonderland- GREEN AND RED TRADITIONAL COLOURS
Daring Cardmakers- TRIM THE TREE
CCEE Stampers- HOLIDAY CARD STASH
Craft Rocket- CHRISTMAS IS COMING
Rudolph Days- CHRISTMAS

Supplies
Stamps- Pine Leaf (Darkroom Door); Handlettered Holiday (MFT)
Ink- Tuxedo Black Memento; Peacock Feathers, Faded Jeans Distress (TH)
Paper- heavy white (local store)
Accessories and Tools- Misti; drywall tape, Painter's Tape; Autumn Red Nuvo Drops; 
paintbrush; Mister (TH); Tombow markers; white acrylic paint

Wednesday, 23 December 2015

Joyful Greetings


Well, the big day is almost here.
I have been super busy as I'm sure most of you are as well.  

Meet today's card.  I picked up a few new stamps and wanted to play with them.
I began by masking my white cardstock and grabbed my MISTI.  I inked the red berries first by coloring on them using Memento markers, sprayed with water and stamped.  I then inked the evergreens the same way and stamped them randomly around the edges to blend in with the berries. I also added some white details to the berries using a white gel pen.
When that was dry, I stamped the sentiment from MFT and sponged the edges with Peeled Paint Distress ink.  Lastly, to add more depth and interest, I inked the script stamp from Penny Black with Grey Memento ink, stamped off onto a piece of scrap paper and then onto my card front. 
 I then removed the masks and mounted onto a piece of red cardstock.

I am adding my card to these challenges:

Color Throwdown- ANY CHRISTMAS CREATION, ANY COLOR

Crafting By Designs- HERE COME THE HOLIDAYS

Crafty Creations- ANYTHING GOES

Inspiration Destination- ANYTHING GOES 

Card Mania- CHRISTMAS


Thanks for taking time out of you busy schedule to come by and take a look.
Hope you are almost ready for the big day!

Supplies:  stamps- MFT, Darkroom Door, Memory Box, Penny Black/ Distress ink/ Memento ink/ MISTI/ Memento markers/ TH white gel pen/ inking tool


Monday, 7 December 2015

Holiday Harmony

Meet today's card.

I am playing along with the challenge at Splitcoast this morning; Christmas Greens.
Can you smell the pine and cedar?

I began my card by cutting an oval using my Spellbinder die from scrap paper and used that to mask the center of my card.  Then, using my MISTI, I stamped around the mask using the cedar stamp from the Darkroom Door.  I love the detail that stamp gives.  I inked it using Peeled Paint and Mowed Lawn Distress inks, spraying with water in between stamping to help blend the colours.  I then sponged some blue ink over that and using the end of a paint brush, added the berries to the tree branches.
 I then removed the mask and stamped the sentiment.  It looked too stark for me like that, so I used the negative from the oval of the die-cut to mask the cedars and stamped the script from Penny Black and sponged with a bit of Grey ink. 
Lastly, I splattered the whole piece with white acrylic paint to resemble the look of snow.


Adding my card to these challenges:

Less is More- GREEN AND BLUE

Little Red Wagon- TRADITIONAL CHRISTMAS COLOURS

Simon Says- LET IT SNOW

Crazy4 Challenges- O CHRISTMAS TREE

Sisters of Craft- ANYTHING GOES


Thanks so much for coming by and taking a look.

Supplies:  stamps- Darkroom Door, Penny Black, Hero Arts/ Distress inks/ Memento inks/ MISTI/ paint brush/ sponge applicator/ acrylic paint/ oval die

Tuesday, 17 November 2015

Christmas Wishes

Morning.

Today, I am playing along with the Colour Challenge at Splitcoast.  Here are the colours we were to use on our card...great for Christmas cards!


I began by masking off an area on my card front with scrap paper.  I inked up the background stamp from Darkroom Door with Memento Grey ink and stamped.  
Next, I got out my MISTI and stamped the tree branches using Distress ink.  
For some hints of red, I dipped the end of my paint brush into some red acrylic paint and dotted the branches to mimic the look of berries.  The sentiment from Penny Black was stamped in black Memento ink.  After removing the mask, I scored a border around the stamped area with my ScorPal for interest.

Adding my card to these challenges:

Craft Your Passion- ANYTHING GOES

Not Just Cards- ANYTHING GOES


Thanks so very much for coming by and taking a look.

Supplies:  stamps- Darkroom Door, Penny Black/ Memento bl and grey ink/ Distress ink/ MISTI/ paint brush/ red acrylic paint/ ScorPal

Monday, 16 November 2015

Trim the Tree

Morning.
Another Christmas card done.  The big day is coming too quick for my liking!

I began making my card front by masking the edges so when I was finished, I would have a nice crisp, white border.  I used my Misti to position the tree boughs then coloured them with Memento markers, sprayed with water and stamped.  I repeated that process with a darker green marker added just in places to add depth.  It gives a great look of watercoloring to my card.  I sponged the background with Distress ink and stamped the sentiment.  
The boughs needed some berries, so I used the end of my paint brush and dabbed on some red spots for the berries then splattered with white paint.

Adding my card to these challenges:

Come and Get It- WINTER HOLIDAY

The Paper Players- CAS CHRISTMAS CARD


Pile it On- HOLIDAY or CELEBRATION

Just Us Girls- WATERCOLOUR


Thanks so much for coming by and taking a look.

Supplies:  stamps- Darkroom Door, Penny Black/ Distress ink/ Memento ink and markers/ MISTI/ paint brush/ wh acrylic paint

Sunday, 18 October 2015

Life Collage

Morning.
 Just me playing with some new stamps and I make a collage card.
I like the look of monochromatic cards and used some Memento grey ink to create that look.

I began by stamping the tape measure background from the Darkroom Door.  I think I will have fun with that stamp especially for creating the look of collage cards.  Then, I stamped the flowers from Magenta to the side using my MISTI.  Lastly, I stamped the sentiment in black but the card needed something more, so I scored a border around the outside edge to finish it off.  Much better.

Adding my card to these challenges:

Less is More- MASCULINE

Addicted to Stamps- ANYTHING GOES

Crafty Catz- ANYTHING GOES

Crafting With Friends- ANYTHING GOES


Thanks so much for coming by and taking a look.

Supplies:  stamps- Magenta, Darkroom Door, Stampendous/ Memento bl and grey ink/ ScorPal/ MISTI