Showing posts with label cloud. Show all posts

Saturday, 24 June 2023

Beach Days


Hello and Welcome
Today's card is featuring the new for June stencil called Wave Cloud which I inked up over the 3 Rectangle Shadow stencil from A Colorful Life Designs.
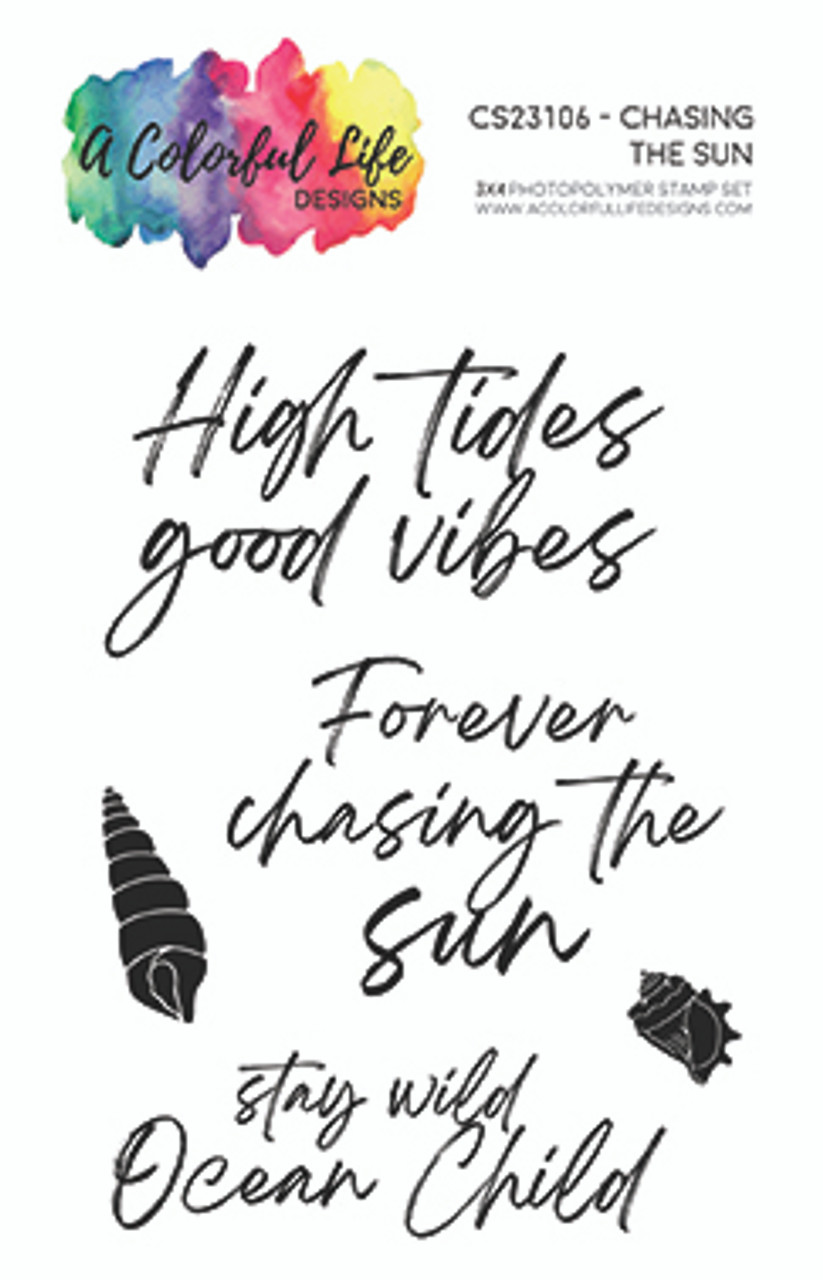
There is also a new stamp set called Chasing the Sun that is perfect for summer.

So, here's what I did to create my card.
  • I cut a piece of white cardstock and placed it onto my Make Art Station.  I placed the 3 Rectangle Shadow stencil over the cardstock and then the Wave Cloud on top of that and inked it up with some Salty Ocean Distress Oxide ink.
  • I removed the Wave Cloud stencil, but left the 3 Rectangles in place and inked around the edges with some Blueprint Sketch DOX ink.
  • I took the stenciled panel and placed it into my Misti to stamp the beach chairs and the sentiment.
  • I glued the panel onto a piece of blue cardstock, then onto an A2 sized card base.

Here are the stencils and stamp set I used:


Discount Code for A Colorful Life Designs
(Affiliate with no extra cost to you) 

Thanks so much for coming by and taking a look.

Adding my card to these challenges:
Simon Says Wed.- VACATION
Crafty Calendar- SUMMERTIME
Corrosive Challenge- ANYTHING GOES

Supplies
Stamps- Chasing the Sun (ACLD); Beach (Local King Rubber)
Inks- DOX, Versafine Clair
Paper- heavy white (Scribes Nook- Waterloo, Ont.)
Accessories and Tools- Stencils (ACLD); TE Blending Brushes; Make Art Station (Ranger);
Misti (My Sweet Petunia)

Saturday, 3 June 2023

Lush Flowers- Stencil Layering


Good Morning
Today's card features 2 new fun stencils for June called Lush Flowers and Wave Cloud from A Colorful Life Designs.
I did some stencil layering to come up with this fun card.

So, here's what I did to create my card.
  • I began with a piece of white cardstock and placed it onto my Make Art Station.  
  • I positioned the Lush Flowers stencil over that and inked it up with some Broken China and some Salty Ocean Distress Oxide ink.
  • Leaving that stencil in place, I positioned the Wave Cloud stencil over the flowers and inked again, this time with some Blueprint Sketch DOX ink.  It added such a fun design to the background.
  • Next, I stamped the sentiment in some Salty Ocean DOX ink and die cut it out.
  • I glued the stenciled card front to a piece of light blue cardstock, then onto an A2 sized card base.
  • I used some foam tape to pop the sentiment over the background.
 

Here are the stencils I used:


Discount Code for A Colorful Life Designs
(Affiliate with no extra cost to you) 

Thanks so much for coming by and taking a look.

Adding my card to these challenges:
Simon Says Wed.- ANYTHING GOES
Crafting Happiness- ANYTHING GOES
Use Your Stuff- ANYTHING GOES

Supplies
Stamp- Big and Bold Sentiments (SSS)
Inks- DOX
Paper- Scribes Nook- Waterloo, Ont.
Accessories and Tools- Stencils (ACLD); Make Art Station (Ranger); 
TE Blending Brushes

Thursday, 17 June 2021

In the Moment


Welcome
Just popping in with a card I made using two great stencils from A Colorful Life Designs.

Before I get into the steps of making my card, I want to thank-you so much for your continued support and wonderful, uplifting comments.
I have been struggling to get it all done....visiting your blogs and trying to figure out what I will do about my Followers when Feedburner goes away in July. 
I am so busy with my little ones (5 little daycare kiddos), working long hours and not finding much time to be on the computer.  I will be coming to visit you all as soon as I can.  
If anyone has ANY helpful tips about what to do with Followers on Blogger, please let me know.  I really don't want to have to pay for a service.  I am feeling very overwhelming by it all as I am totally not computer savvy!! 

Well enough said.
Here's what I did to create my card.
  • I began by cutting a white cardstock panel.  I placed the Cloud Edger Stencil from ACLD over my panel and inked it up with some Peacock Feathers, Cracked Pistachio and a hint of Blueprint Sketch Distress Oxide inks.  I used a light touch as I wanted the clouds to look fluffy and not heavy.  I inked the stencil along one edge and kept moving it down until the card panel was all inked up.
  • I removed the Cloud Edger and positioned the Landscape Rays over the panel and inked with more of the same inks that I had used for the clouds.

  • I removed the stencil and placed the panel into my Misti.  I inked up the trees from Frog's Whiskers with some Versafine Clair ink and stamped it over the background.  
  • Next, I stamped the sentiment from Daisy Bucket and added 3 black gems.
  • I glued it onto a heavy white card base.


Here are the stencils I used to create my card:


Discount Code for A Colorful Life Designs
(affiliate)

Thanks so very much for coming by and taking a look.


Supplies
Stamps- Wind in the Pine (Frog's Whiskers); Enjoy the Moment (Daisy Bucket)
Inks- Distress Oxides (see above); Versafine Clair
Paper- heavy white (Scribes Nook- Waterloo, Ont.)
Accessories and Tools- Stencils (ACLD); TE Blending Brushes; Misti (My Sweet Petunia);
black gems