Showing posts with label beach. Show all posts

Friday, 5 June 2026

Feel the Sun on Your Face

Hello and Welcome
I decided to make a card by combining 2 new for JUNE stencils from A Colorful Life Designs called:

So, here's what I did to create my card.
  • I cut a piece of white cardstock and placed the Vibrant Sunset stencil over it.  I masked off between the waves and the sun and I inked up the sun with some Fossilized Amber and some Ripe Persimmon Distress Oxide ink.
  • Next, I moved the masks to cover over the sunshine. I inked up the waves with some Tumbled Glass DOX ink, shifted the stencil and inked again with some Broken China DOX ink.
  • Leaving the stencil ink place, I put the Lapping Waves stencil over it and inked with some Salty Ocean DOX ink. By adding the additional inking, the waves had so much more movement and interest.
  • I placed my card front panel into my Misti to stamp the sentiment, centering it under the sun.
  • I glued my card front onto a piece of white cardstock and then onto some blue and then onto a white A2 sized card base.
  • I added 2 black gems on either side of the sentiment to finish my card off.

Here are the stencils I used:
VIBRANT SUNSET


My Discount Code for Your Entire Order from A Colorful Life Designs:

Thanks a lot for coming by and taking a look.

Adding my card to these challenges:
Simon Says Wed.- MASCULINE
The Creative Crafters- ANYTHING GOES
The Four Seasons- ANYTHING GOES SUMMER

Supplies
Stamps- Face to the Sun (TT- Out of business)
Inks- DOX; Versafine Clair
Paper- Solar White; blue
Accessories and Tools- stencils (A Colorful Life Designs); TE Blending Brushes;
Misti (My Sweet Petunia); black gems; low tack tape


Friday, 11 July 2025

Feel the Summer


Good Morning
I love trying to combine stencils to create unique looking backgrounds.  
This card has an ocean/beach look to it as I combined 2 new stencils for July from A Colorful Life Designs called:

So, here's what I did to create my card.
  • I cut a piece of white cardstock and placed the Sea Net stencil over it and I inked it up with some Peacock Feathers Distress Oxide ink.
  • Leaving that stencil in place, I put the Eddies stencil right over it and inked again with some Prize Ribbon DOX ink creating an interesting, layered background.
  • Next, I diluted some Prize Ribbon ink with water and used a paint brush to splatter the whole panel...like the sea spray. 
  • When the panel was all dry, I placed it into my Misti to stamp the sentiment and clear heat embossed it to help it pop over the busy background.
  • I glued it onto a piece of white cardstock, then a shade of blue cardstock and then finally, onto an A2 sized card base.
  • I finished the card off by adding some black gems around the sentiment.

Here are the stencils I used:


Thanks so much for coming by and taking a look.

Adding my card to these challenges;
Simon Says Wed.- EMBOSS IT
The Crafter's Cafe- ANYTHING GOES/OPTION: Masculine

Supplies
Stamp- Bring on the Sun (Technique Tues.)
Inks- DOX; Versafine Clair
Paper- Solar White
Accessories and Tools- Stencils (A Colorful Life Designs); TE Blending Brushes;
paint brush; EB powder

Wednesday, 2 July 2025

Good Times


Good Morning

A new month means a whole new release of stencils at A Colorful Life Designs.  
Lots of summer inspired designs for creating beach/ocean designs as well as many more.
Meet one of the new stencils for July called:

So here are my card details.
  • I placed a piece of white cardstock onto my Make Art Station first.  I started inking the Maelstrom stencil with some Peacock Feathers, then some Salty Ocean and then some Prize Ribbon Distress Oxide inks.
  • The middle area of this stencil reminded me of a beach ball, so after it was all inked up, I used a circle die to cut out just that area.
  • I took the circle and stamped the sentiment onto it in my Misti.  I clear heat embossed it to help make it pop, then splattered with my black Posca pen.
  • I stamped another sentiment onto my card front and clear heat embossed that too.
  • I glue the panel onto a piece of white cardstock, then onto a piece of navy cardstock and then onto an A2 sized card base.
  • I used some foam tape to pop the circle die cut back into place, rotating it.
  • I finished my card off by adding 3 black gems under the bottom sentiment.

Here is the new stencil:


Thanks for coming and taking a look.

Adding my card to these challenges;
Little Red Wagon- TO BOLDLY GO
The Crafters Cafe- MASCULINE/Anything Goes
The Creative Crafters- ANYTHING GOES

Supplies
Stamps- Good Vibes (SSS)
Inks- DOX; Versafine Clair
Paper- Solar White
Accessories and Tools- stencil (A Colorful Life Designs); Make Art Station (Ranger);
Misti (My Sweet Petunia); black Posca pen; Infinity Circle die (HA);
clear EB powder (Lawn Fawn)

Sunday, 14 July 2024

You Brighten My World

Welcome
Today, I'm sending this all out to you.  I so appreciate your visits and kind comments!
I often feel badly that I don't have more time to come and visit all of you but with 5 little daycare kiddos and working 10 hr days, my time is so limited.

Anyways, I want you to meet the new for July stencil from A Colorful Life Designs called;

So, here's what I did to create my card.
  • I placed a piece of white cardstock onto my Make Art Station, put the Off Road stencil over that and inked it up with some Peacock Feather and some Salty Ocean Distress Oxide ink.
  • I splattered the stenciling with my white Posca pen and set aside to dry.
  • I put another piece of white cardstock down and placed an older stencil called Corner Rays over one side of my cardstock and then inked it up with some Fossilized Amber, Ripe Persimmon and some Lumberjack Plaid Distress Oxide ink.
  • I moved the stencil over onto the other side, matching up the pattern and inked again with the same colours.
  • I placed that into my Misti to stamp the sentiment, then I glued that onto a piece of blue cardstock, then onto a white A2 sized card base.
  • The first stenciled piece was now dry, so I cut it along one of the curved edges and used some foam tape to pop it over the sunrise.

Here are the stencils I used:


Discount Code for A Colorful Life Designs
(Affiliate with no extra cost to you) 

Thanks again for coming by and taking a look.

Adding my card to these challenges:
Fab 'n' Funky- SEASIDE
Just Us Girls- SUMMERTIME

Supplies
Stamp- Bright Idea (TT- out of business)
Inks- Versafine Clair; DOX
Paper- heavy white (Scribes Nook- Waterloo, Ont.)
Accessories and Tools- stencils (A Colorful Life Designs); TE Blending Brushes;
Make Art Station (Ranger); white Posca Pen

Saturday, 22 June 2024

Swimming By to Say Hi


Hello
Time for some beachy fun.
Today, I am using the new stencil from A Colorful Life Designs called 

So, here's what I did to create my card.
  • I took a piece of white cardstock and placed the Frothy Waves stencil over that.  I inked it up with some Salty Ocean Distress Oxide ink.  To help add some variation in the colour of the waves, I inked randomly with some Blueprint Sketch DOX ink.
  • Next, I used the Waffle Flower Die-Postage Collage and die cut the stenciled panel out.
  • I placed the panel into my Misti and stamped the sentiment in the bottom right hand corner.
  • I glued it onto a piece of white cardstock, then used some foam tape to add it to an A2 sized card base.
  • I stamped the little sea creatures in my Misti and coloured them with my Copic markers.
  • I cut them out and popped them over the wavy background with some more foam tape.

Here is the stencil I used:

Discount Code for A Colorful Life Designs
(Affiliate with no extra cost to you) 

Thanks so much for coming by and taking a look.

Adding my card to these challenges:
Cut it Up- FEELING BLUE
Daring Cardmakers- AT THE BEACH
Time Out- PHOTO INSPIRATION

Supplies
Stamps- Sea Creatures (Hampton Arts)
Inks- Versafine Clair; DOX; Copic Markers
Paper- heavy white (Scribes Nook- Waterloo, Ont.)
Accessories and Tools- stencil (A Colorful Life Designs); Misti (My Sweet Petunia);
foam tape; Postage Collage die (Waffle Flower)

Tuesday, 27 June 2023

Mr. Bubble


Good Morning.
Just a fun card celebrating summer's arrival.
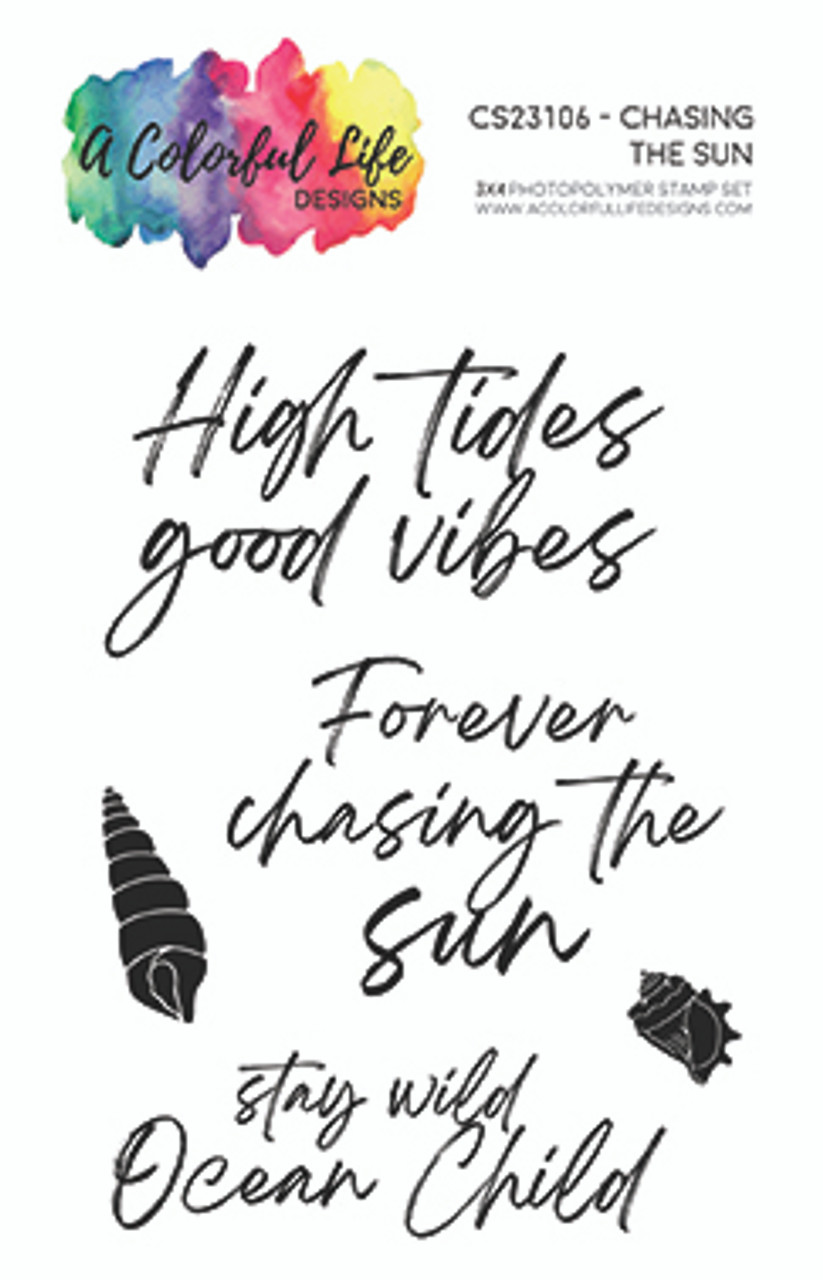
I used a new for June stencil called Mr. Bubble and a new stamp set called Chasing the Sun from A Colorful Life Designs.

So, here's what I did to create my card.
  • I placed a piece of white cardstock onto my Make Art Station and positioned the Mr. Bubble stencil over that. I inked it up with some Salty Ocean Distress Oxide ink.
  • Leaving the stencil in place, I inked the largest bubble with some Uncharted Mariner DOX to bring the highlight to where I wanted to put the little fish.  Without inking my blending brush again, I added some ink in other areas too for some shadowing.
  • Again, leaving the stencil in place, I stamped over it with a splatter stamp using more of the Uncharted Mariner ink. It really added to the look of the bubbles.
  • I splattered with my white Posca pen and set aside to dry.
  • I stamped the fish, die cut it out and coloured it with my Copic markers.  I covered the goggles the fish is wearing with some Nuvo Crystal Glaze to make them look glassy.
  • I placed the stenciled panel into my Misti and stamped the sentiment from the new Chasing the Sun set in the darker area of my card panel.
  • I glued the stenciled panel onto an A2 card panel then used some foam tape to pop up the fish over the sentiment.


Here is the stencil and stamp set I used:


Discount Code for A Colorful Life Designs
(Affiliate with no extra cost to you) 

Thanks for coming by and taking a look.

Adding my card to these challenges:
Make My Monday- ON THE WATER
Simon Says Wed.- VACATION

Supplies
Stamps- Chasing the Sun (ACLD); Mini Snorkel Fun Fishy (Your Next Stamp)
Inks- Versafine Clair; DOX
Paper- heavy white (Scribes Nook- Waterloo, Ont.)
Accessories and Tools- stencil (ACLD); fish die; white Posca pen; 
Misti (My Sweet Petunia); Nuvo Crystal Glaze 

Saturday, 24 June 2023

Beach Days


Hello and Welcome
Today's card is featuring the new for June stencil called Wave Cloud which I inked up over the 3 Rectangle Shadow stencil from A Colorful Life Designs.
There is also a new stamp set called Chasing the Sun that is perfect for summer.

So, here's what I did to create my card.
  • I cut a piece of white cardstock and placed it onto my Make Art Station.  I placed the 3 Rectangle Shadow stencil over the cardstock and then the Wave Cloud on top of that and inked it up with some Salty Ocean Distress Oxide ink.
  • I removed the Wave Cloud stencil, but left the 3 Rectangles in place and inked around the edges with some Blueprint Sketch DOX ink.
  • I took the stenciled panel and placed it into my Misti to stamp the beach chairs and the sentiment.
  • I glued the panel onto a piece of blue cardstock, then onto an A2 sized card base.

Here are the stencils and stamp set I used:


Discount Code for A Colorful Life Designs
(Affiliate with no extra cost to you) 

Thanks so much for coming by and taking a look.

Adding my card to these challenges:
Simon Says Wed.- VACATION
Crafty Calendar- SUMMERTIME
Corrosive Challenge- ANYTHING GOES

Supplies
Stamps- Chasing the Sun (ACLD); Beach (Local King Rubber)
Inks- DOX, Versafine Clair
Paper- heavy white (Scribes Nook- Waterloo, Ont.)
Accessories and Tools- Stencils (ACLD); TE Blending Brushes; Make Art Station (Ranger);
Misti (My Sweet Petunia)

Thursday, 30 June 2022

Close at Heart


Welcome
Meet today's card.
A simple one featuring this beautiful Nautilus stencil from A Colorful Life Designs.
It made such a great background to feature this lovely sentiment.

So here's what I did to create my card.
  • I began by cutting a piece of white cardstock and laid the Nautilus stencil over that.  
  • Starting from the center, I inked it up using some Broken China Distress Oxide ink, then some Peacock Feathers and finally some Blueprint Sketch around the outside edges.
  • I splattered with lots of water to lift some of the ink and add interest, then set aside to dry.
  • After it dried, I placed it into my Misti and stamped the sentiment from Impression Obsession with some black Versafine Clair ink.  It just worked perfectly over the stenciled bkg.
  • Next, I cut my card front panel with a stitched die and cut a window opening to create a frame.
  • I pop dotted the white frame over finished panel and glued that onto a piece of navy cardstock, then onto a heavy white card base.
  • I added 3 navy gems right under the sentiment to add more interest.

Here is the stencil I used:

Discount Code for A Colorful Life Designs
(affiliate with no extra cost to you)

Thanks so much for coming by and taking a look.

Adding my card to these challenges:
Simon Says Wed.- ANYTHING GOES
Double D- Beach Time

Supplies
Stamps- Side by Side (IO)
Inks- Versafine Clair, DOX
Paper- heavy white (Scribes Nook- Waterloo, Ont.)
Accessories and Tools- Nautilus stencil (ACLD); TE Blending Brushes;
navy gems (Dollar Store); Stitched Frame (Memory Box)