Showing posts with label hearts. Show all posts

Friday, 23 May 2025

Sending You Sunshine


Good Morning and Welcome
Today's card was created using 2 of the new stencils from A Colorful Life Designs called:

So, here's what I did to create my card.
  • I got out my Gel Plate and I pressed my Picked Raspberry Distress Oxide ink pad directly on one part of the plate.  I took my Ripe Persimmon DOX pad and pressed that on the bottom part of the plate.  Using my brayer, I blended the colours together.
  • I placed the Glittering Hearts stencil onto the plate and rubbed a piece of scrap paper over to lift, then took the stencil off and rubbed my white cardstock over the plate to create the print.
  • I splattered that with my white Posca pen and set aside to dry.
  • While that dried, I rubbed some more of my Picked Raspberry DOX ink onto my Gel Plate and placed the Outline Daisies stencil over that. I rubbed another piece of white cardstock over that to get the daisy print and then I fussy cut it out.
  • I glued my card front to a piece of white cardstock, then pink and then onto a white A2 sized card base.
  • I stamped the sentiment onto a piece of white cardstock and then used some foam tape to pop it over the base.
  • I added a black gem to the flower center and popped that up with some more of the foam tape.

Here are the stencils I used:


Many thanks for coming to visit today.

Adding my card to these challenges:
Simon Says Wed.- BRIGHT/CHEERFUL
Just Us Girls- ANYTHING GOES/STENCIL
Cut It Up- SEND ME FLOWERS

Supplies
Stamp- Sentiments (YNS- out of business)
Inks- DOX, Versafine Clair
Paper- Solar White
Accessories and Tools- stencil (A Colorful Life Designs); Gel Plate; Speedball Brayer;
foam tape; white Posca pen, black gem

Thursday, 12 January 2023

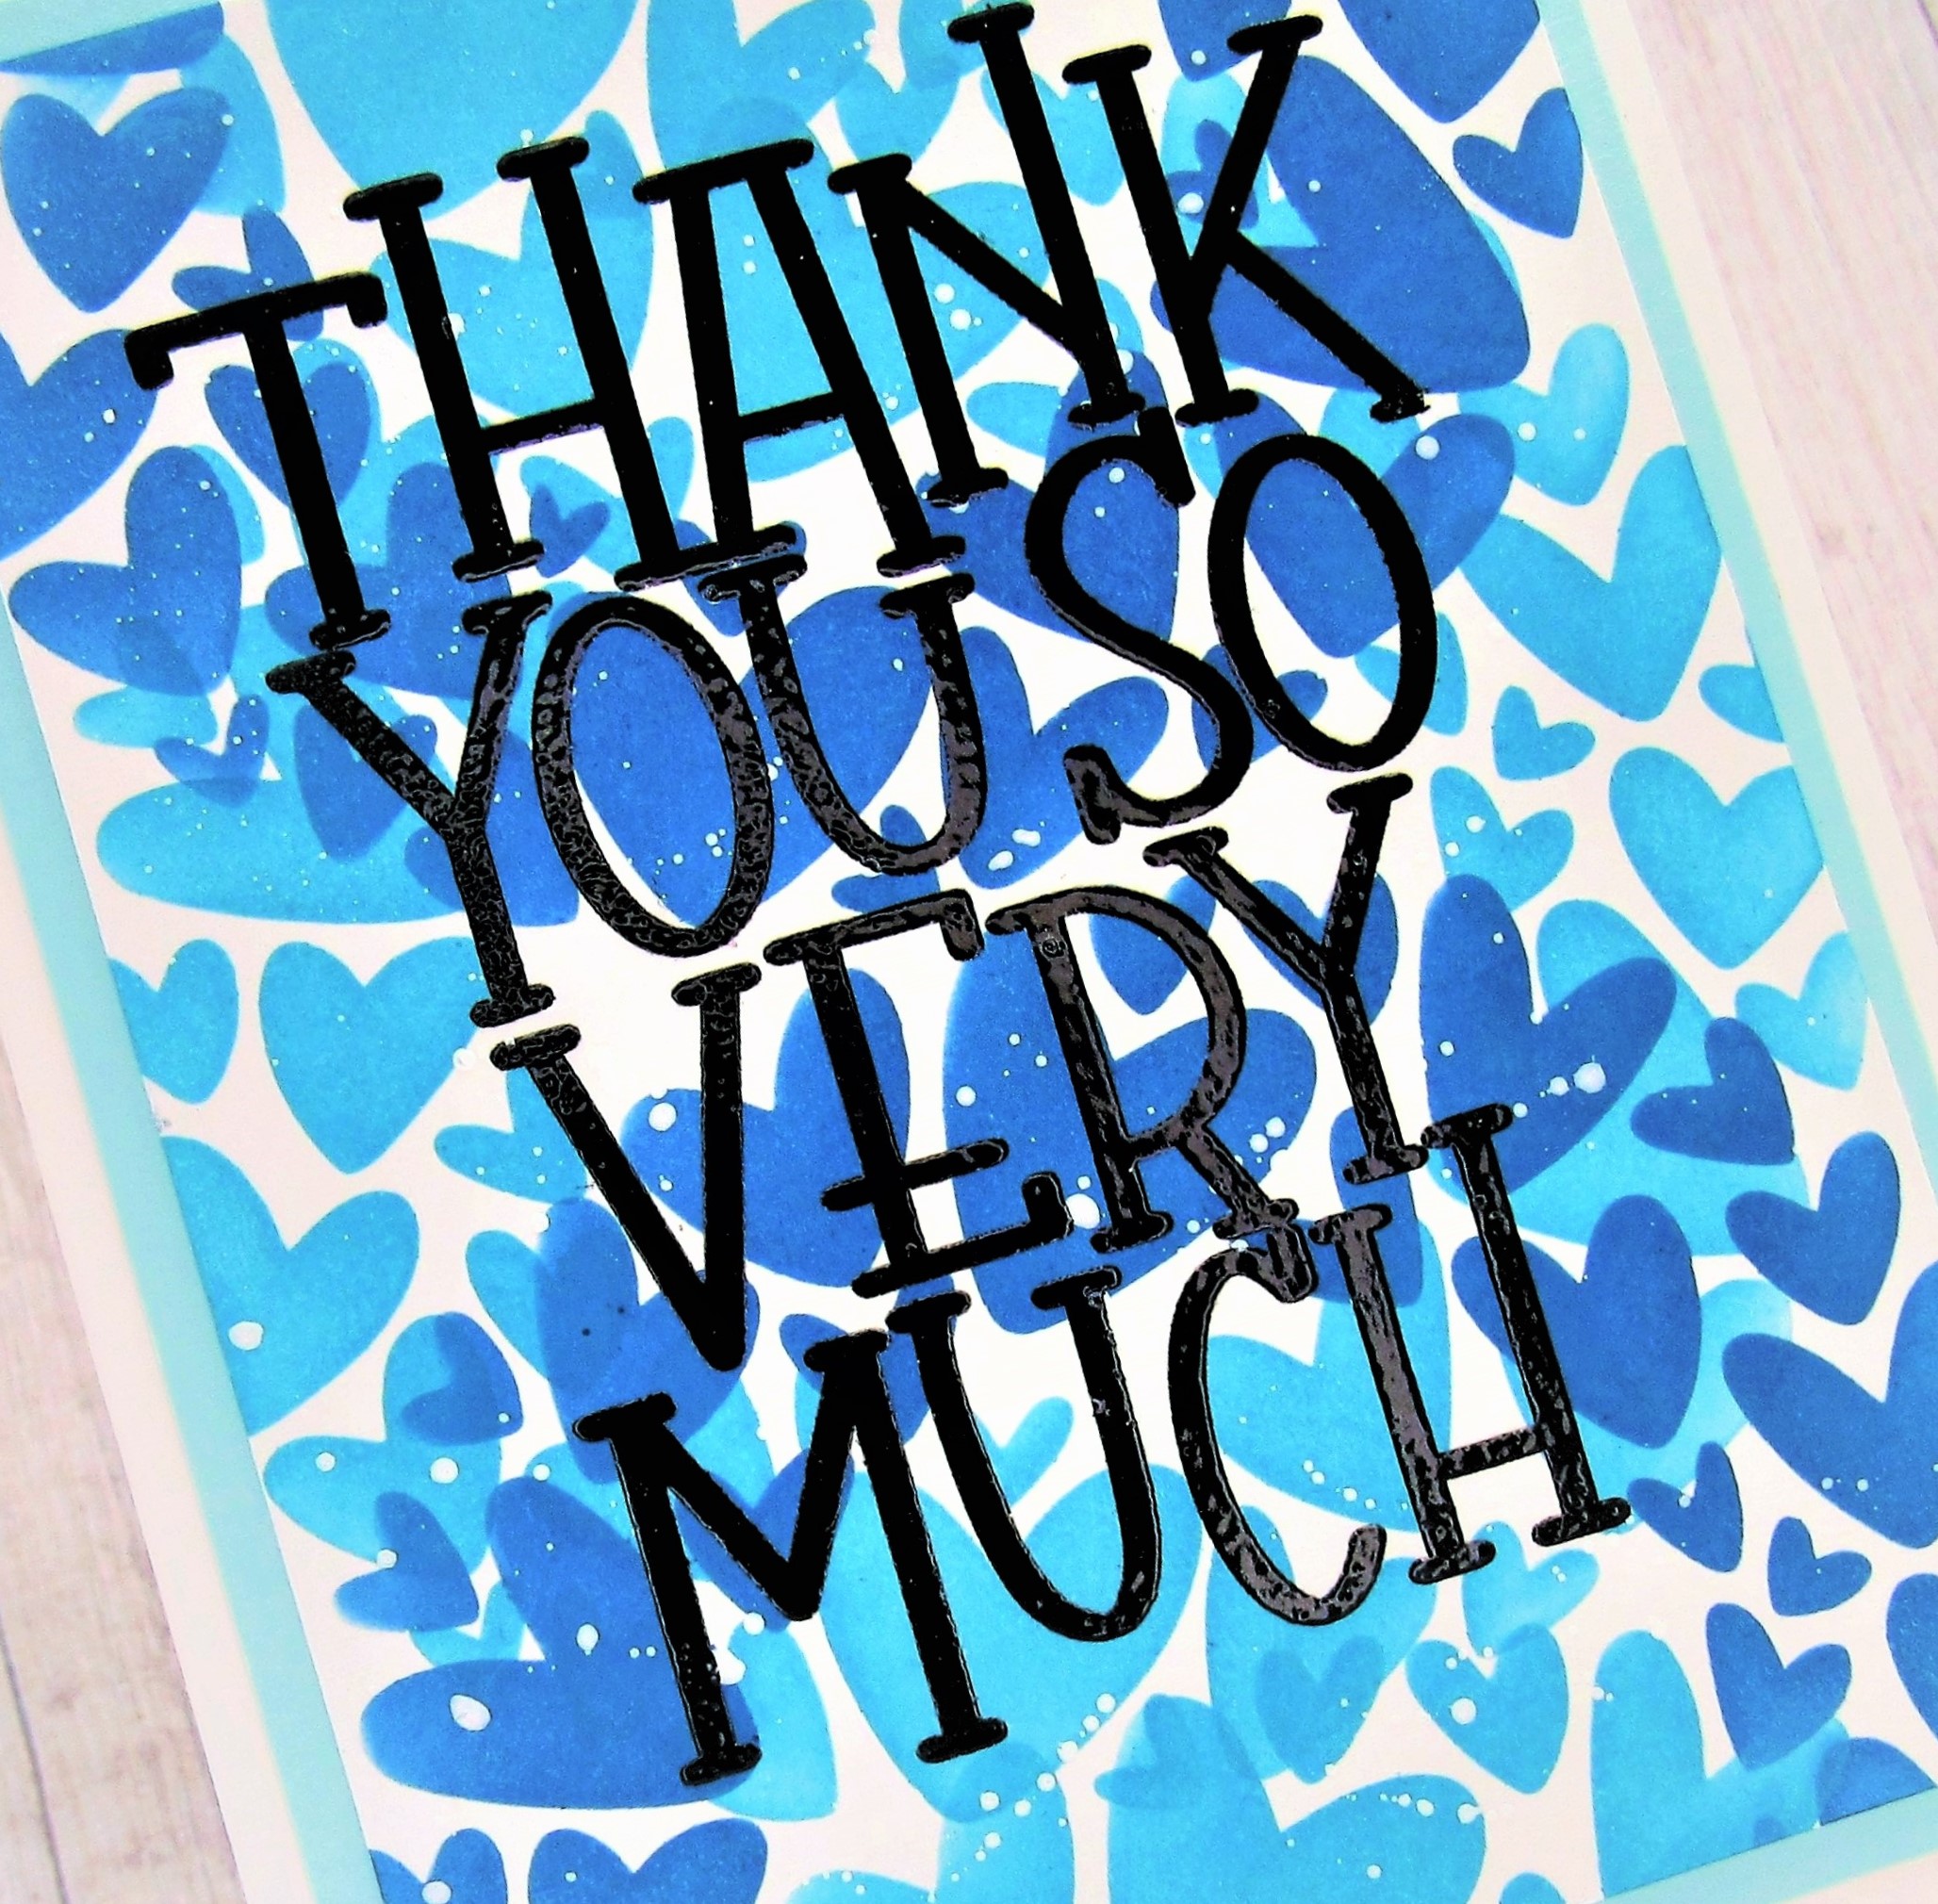
Thanks So Much


Welcome
I send out a a number of thank-you cards in January and this newly released Heart Wreath Stencil from A Colorful Life Designs made for a fun background.
Now if you are scratching your head wondering where the wreath shape is, I decided to use the stencil to create an overall pattern using just 2 different shades of ink, just another way to get more mileage from your stencil collection.

So, here's what I did to create my card.
  • I placed my piece of white cardstock onto my Make Art station with the Heart Wreath stencil right in the center of my cardstock and inked it up with some Broken China Distress Oxide ink.
  • I lifted the stencil off and wiped it clean.
  • I repositioned the stencil at the top edge, just using the bottom edge of what would have been the wreath shape and then inked it up with some Uncharted Mariner DOX ink.
  • I moved the stencil down to the bottom area and inked again with the same ink.  
  • Next, I wanted to fill in some of the open areas, so I masked off some of the hearts of the stencil and used them to fill in.  By using this stencil in a different way, I was able to get such a fun design.
  • Next, I splattered using my white Posca pen and set aside to dry.
  • When the ink was all dry, I rubbed over it with my anti-static powder and placed it into my Misti to stamp the sentiment with some Versafine Clair black ink.  I then clear heat embossed it just so it would pop.
  • I glued the finished panel onto a piece of light blue cardstock, then onto an A2 sized card base.

Here is the stencil I used:

Discount Code for A Colorful Life Designs
(Affiliate with no extra cost to you) 

Thanks so much for coming by and taking a look.

Adding my card to these challenges:
Make My Monday- SOMETHING NEW
Get Creative- SOMETHING NEW
Allsorts- SOMETHING NEW
(new stencil and new sentiment set I got for Christmas)

Supplies
Stamps- XL Greetings (SSS)
Inks- Versafine Clair; DOX
Paper- Scribes Nook- Waterloo, Ont.
Accessories and Tools- stencil (ACLD); TE Blending Brushes; white Posca pen;
Make Art Station (Ranger)

Tuesday, 15 February 2022

Much Loved

Morning
Hope you had a Happy Valentine's Day.

So meet today's simple card.  
I wanted to ink this stamp up with some non-traditional colours and give it a bit of a different look.

So here's what I did to create my card.
  • Like I mentioned above, I wanted to give these little hearts a more unique look, so I rubbed some Distress Oxide inks (Twisted Citron, Dusty Concord, Peacock Feathers, Mowed Lawn) onto my TH Glass mat, sprayed with a bit of water and used that as my stamp pad, dragging the stamp through the wet ink
  • I pressed the stamp onto my piece of white cardstock and left it there for a bit to give the inks time to soak into the cs.  I loved the look of the hearts when I lifted the stamp off.
  • When it was dry, I stamped the sentiment and clear heat embossed it.  I find the embossing makes for a bolder, better look to the sentiment.
  • To give the panel more interest, I die cut it using this scalloped and stitched edge die.
  • I glued it onto a piece of purple cardstock, then onto a white card base.
  • Lastly, I added 3 black gems to match the black sentiment.

Thanks so much for coming by and taking a look.

Adding my card to these challenges:
Little Red Wagon- BE MY LOVE/VALENTINE
Simon Says Wed.- EMBOSS IT
Get Creative- HEARTS
My Time to Craft- ALL YOU NEED IS LOVE


Supplies
Stamps- Hearts All Over (Penny Black); Happy Val Day (Printworks)
Inks- Versafine Clair; Distress Oxide 
Paper- heavy white (Scribes Nook- Waterloo, Ont.)
Accessories and Tools- Glass mat (TH); Scalloped Frame die (YNS); Mister (TH); 
black gems; Lawn Fawn cl eb powder; heat tool

Tuesday, 1 February 2022

Caring Wishes


Welcome
Love is in the air as Valentine's Day approaches.
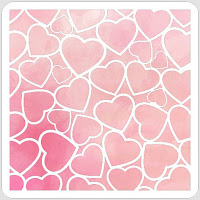
Today, I am playing with the new stencil from A Colorful Life Designs called Love Loops.
So fun to easily create a background using it.

So here's what I did to create my card.
  • I cut a piece of white cardstock for my card front.  I place it onto my Stencil Mat and positioned the Love Loops stencil over it.  Using some Candied Apple Distress Oxide ink, I rubbed over just the center area with a blending brush.  
  • When I was happy with the red blend, I took some Picked Raspberry and blended out the rest of the panel around the edges.
  • I splattered with my white Posca pen.
  • I stenciled an extra little heart with the same stencil and some more of the Candied Apple, then fussy cut it out.
  • I glued the stenciled panel onto a piece of red cardstock, then onto a white card base.
  • I die cut this new to me sentiment 3 times, glued them together then onto my card front.
  • I pop dotted the little heart I had cut out under the sentiment.


 Here is the stencil I used:

Discount Code for A Colorful Life Designs
(affiliate with no extra cost to you)

Thanks so much for coming by and taking a look.

Adding my card to these challenges:
Simon Says Wed.- ANYTHING GOES
Allsorts- A/G with OPTION OF STENCIL
Corrosive Challenge- ANYTHING GOES

Supplies
Stamps- none
Inks- DOX
Paper- Scribes Nook- Waterloo, Ont.
Accessories and Tools- Love Loops Stencil(ACLD); TE Blending Brushes;
Stencil Mat (Waffle Flower); Posca pen; foam tape

Sunday, 16 January 2022

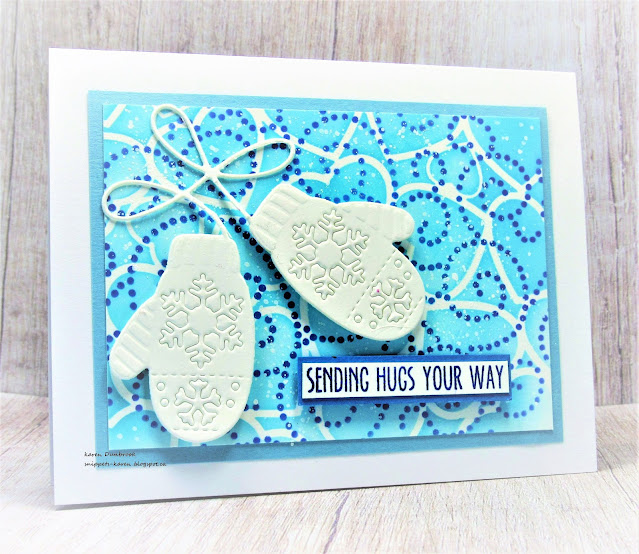
Winter Hugs


Welcome
Meet today's card.
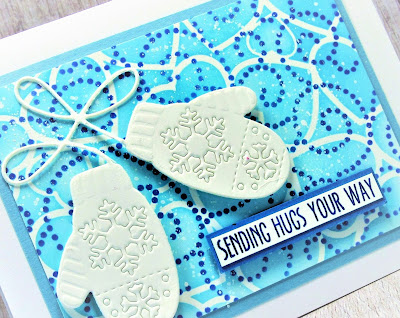
I combined 2 new stencils from A Colorful Life Designs with this sweet mitten die one of my boys gave me for Christmas.

So here's what I did to create my card.
  • I cut a piece of heavy white cardstock and placed it onto my Stencil Mat (I have mentioned this new to me product in previous posts and I am really love it.)
  • I placed the All Over Hearts stencil onto my cardstock and rubbed on some Peacock Feathers Distress Oxide ink.  
  • I removed that stencil and positioned the Delicate Scroll Stencil over the panel and inked with some Blueprint Sketch DOX ink.  I think it gave a look of blowing snow.
  • I splattered with my white Posca pen and set aside to dry.
  • While that dried, I die cut the mittens from some white cardstock.  My son bought them on Amazon so I unfortunately don't know who makes them.
  • I stamped the sentiment with some more Blueprint Sketch ink and clear heat embossed it. I glued that onto a matching cardstock scrap of paper.
  • I glued the stenciled panel onto a piece of light blue cardstock, then onto a white card base.
  • I added foam tape to the back of the mittens and also to the sentiment.

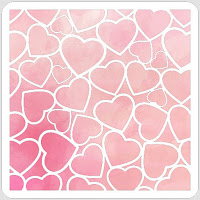
Here are the stencils I used:
All Over Hearts


Discount Code for A Colorful Life Designs
(affiliate with no extra cost to you)


Thanks so much for coming by and taking a look.

Supplies
Stamps- Everyday Sentiments (YNS)
Inks- Distress Oxides (mentioned above)
Paper- heavy white (Scribes Nook; Waterloo, Ont.)
Accessories and Tools- stencils (ACLD); mitten die (Amazon); TE Blending Brushes;
Stencil Mat (Waffle Flower); white Posca pen; foam tape; eb powder; heat tool

Saturday, 15 January 2022

Lots of Love


Good Morning
Today I am playing with a new stencil from ACLD called All Over Hearts.  
A really fun stencil to create a simple card.

So here's what I did to create my card.
  • I pulled out my Waffle Flower Stencil Mat and then cut 2 piece of cardstock; one for the card front panel and one to fussy cut the hearts from.
  • I positioned the stencil over my paper and starting at the left hand side, I blended on some Picked Raspberry Distress Oxide ink.  
  • I continued to ink up my panel next with some Wilted Violet, then Peacock Feathers and finally some Cracked Pistachio on the far right.  I love those colours together.
  • When I was happy with the inking, I moved that panel aside and inked up another one the same way.
  • I place panel #1 into my Misti and stamped the sentiment with some black ink, then clear heat embossed it.  
  • I splattered the whole thing using my white Posca pen.
  • I glued it onto a white card base, then I took panel #2 and fussy cut out the hearts.  I pop dotted them down the panel beside the sentiment.


Here is the stencil I used:

Discount Code for A Colorful Life Designs
(affiliate with no extra cost to you)

Thanks so much for coming by and taking a look.

Adding my card to these challenges:
Simon Says Wed.- FUN WITH STENCILS
Shopping Our Stash- STARTS WITH 'S' (stencil)
Allsorts- ADD A HEART


Supplies
Stamps- Love in Your Heart (Rubbernecker)
Inks- Distress Oxides; Versafine Clair
Paper- Scribes Nook (Waterloo, Ont.)
Accessories and Tools- Stencil Mat (Waffle Mat); Stencil (ACLD); TE Blending Brushes; 
Lawn Fawn clear eb powder; heat tool; Posca pen

Tuesday, 7 September 2021

Who Needs a Hug?


Welcome
Meet today's card.
I like the sunny, warm colour I was able to achieve on my card.
I did that by using Distress Oxide inks on my Gel Plate.

So here's what I did to create my card.
  • I began by getting out my Gel Plate, brayer and Distress Oxide Inks. (Carved Pumpkin, Fossilized Amber)
  • I pressed the Carved Pumpkin DOX ink pad directly onto the plate then pressed the Fossilized Amber along the outside edges.  Using my brayer, I blended the colours together on the plate.
  • Using a stamp from AALL and Create, I stamped onto the plate to remove some of the ink, wiped off the stamp and repeated that process.  It is hard to see but you can faintly see the square stamping in the background. 
  • I splattered the plate with some diluted Carved Pumpkin ink then using a piece of white cardstock, I rubbed it over the plate to lift the print.  It had a nice warm glow.
  • When the print was dry, I rubbed over with an anti-static bag.  
  • I placed the print into my Misti and stamped the hearts, then white heat embossed them.
  • Using my black Posca pen, I coloured in the open areas of the hearts.
  • I splattered with my white Posca pen and set aside to dry.
  • While that dried, I stamped the sentiment in my Misti with some black Versafine ink.
  • I glued the inked panel onto a piece of black cardstock, then onto a white card base.
  • I pop dotted the sentiment over the hearts.

Thanks so much for coming by and taking a look.

Adding my card to these challenges:
Simon Says Wed.- STAMP IT
Use Your Stuff- ANYTHING GOES
Crafting Happiness- ANYTHING GOES

Supplies
Stamps- Everyday Sentiments (YNS); Hearts Entwined (MFT); Squares (AALL and Create)
Inks- Distress Oxide inks; Versamark; Versafine Clair
Paper- heavy white (Scribes Nook- Waterloo, Ont.); black cs
Accessories and Tools- Misti (My Sweet Petunia); white eb powder; Posca pens; foam tape;
Gel Plate; brayer

Sunday, 29 January 2017

Thanks


 Good Morning.
I have a pretty simple card today using a sweet stamp from Penny Black called All You Need.
The little flowers look like hearts so I decided to make a 'heartfelt' thanks card using it.

I began by masking the sides of my card front with Painter's tape then placed the stamp in my MISTI and coloured the stamp with Memento markers, sprayed with water and stamped.  I repeated that process until I was happy with the results.
Next I watercolored in the background and let it dry.  
I stamped the sentiment from the Sentiment Collection set in the corner.
I wanted to add more depth and interest to the background so I pressed some pieces of drywall tape on my ink pad and stamped over the bkg giving the piece added texture.
I also stamped and white heat embossed the Script stamp over the flower areas just because I love it.


 Adding my card to these challenges:

Simon Says- ANYTHING GOES

CAS on Sunday- HEARTS

Addicted to Stamps and More- ANYTHING GOES

Penny Black and More- ANYTHING GOES


Thanks so much for coming by and taking a look.

Supplies:  stamps- PB/ ink- Versamark, Memento/ paint brush/ MISTI/ Memento markers/ drywall tape/ Painter's tape