Showing posts with label sanded. Show all posts

Sunday, 5 December 2021

Joyous Season


Welcome
Meet today's card.
Super simple and came together so quickly using what has become one of my favourite embossing folders this year.

So here's what I did.
  • Once again I went looking through my roll off sheet I did with acrylic paint while taking the Gel Plate printing class this past summer.  I found this one with blue and purple and thought it would work well.
  • I placed the paper into the Perfect Poinsettia embossing folder and ran it through my die cutting machine.  It does help to give the paper a light spritz of water before embossing for a deeper impression.
  • After I embossed it, I used a sanding block to gently sand off the raised areas....so simple but gives great results.  I splattered with my white Posca pen.
  • I die cut the Celebrate 3 times and glued them together.  Using some Blueprint Sketch Distress Oxide ink, I inked up the bottom of the sentiment to add more detail.  I glued that into the bottom corner.
  • I stamped the sentiment strip and pop dotted it over the celebrate.
  • I glue it onto a heavy white card base, then added some shiny gems to the center of the flower.

Thanks so very much for coming by and taking a look.

Adding my card to these challenges:
Simon Says Wed.- HAPPY HOLIDAYS/CHRISTMAS

Supplies
Stamps- Simple Strips Christmas (TE)
Inks- DOX, Versafine Clair, acrylic paint
Paper- heavy white (Scribes Nook- Waterloo, Ont.)
Accessories and Tools- Perfect Poinsettias eb folder (Altenew); Celebrate die (MFT);
inking tool; shiny gems (Dollar Store); foam mounting tape; sanding block, Posca pen

Wednesday, 1 December 2021

Pretty Poinsettias


Welcome
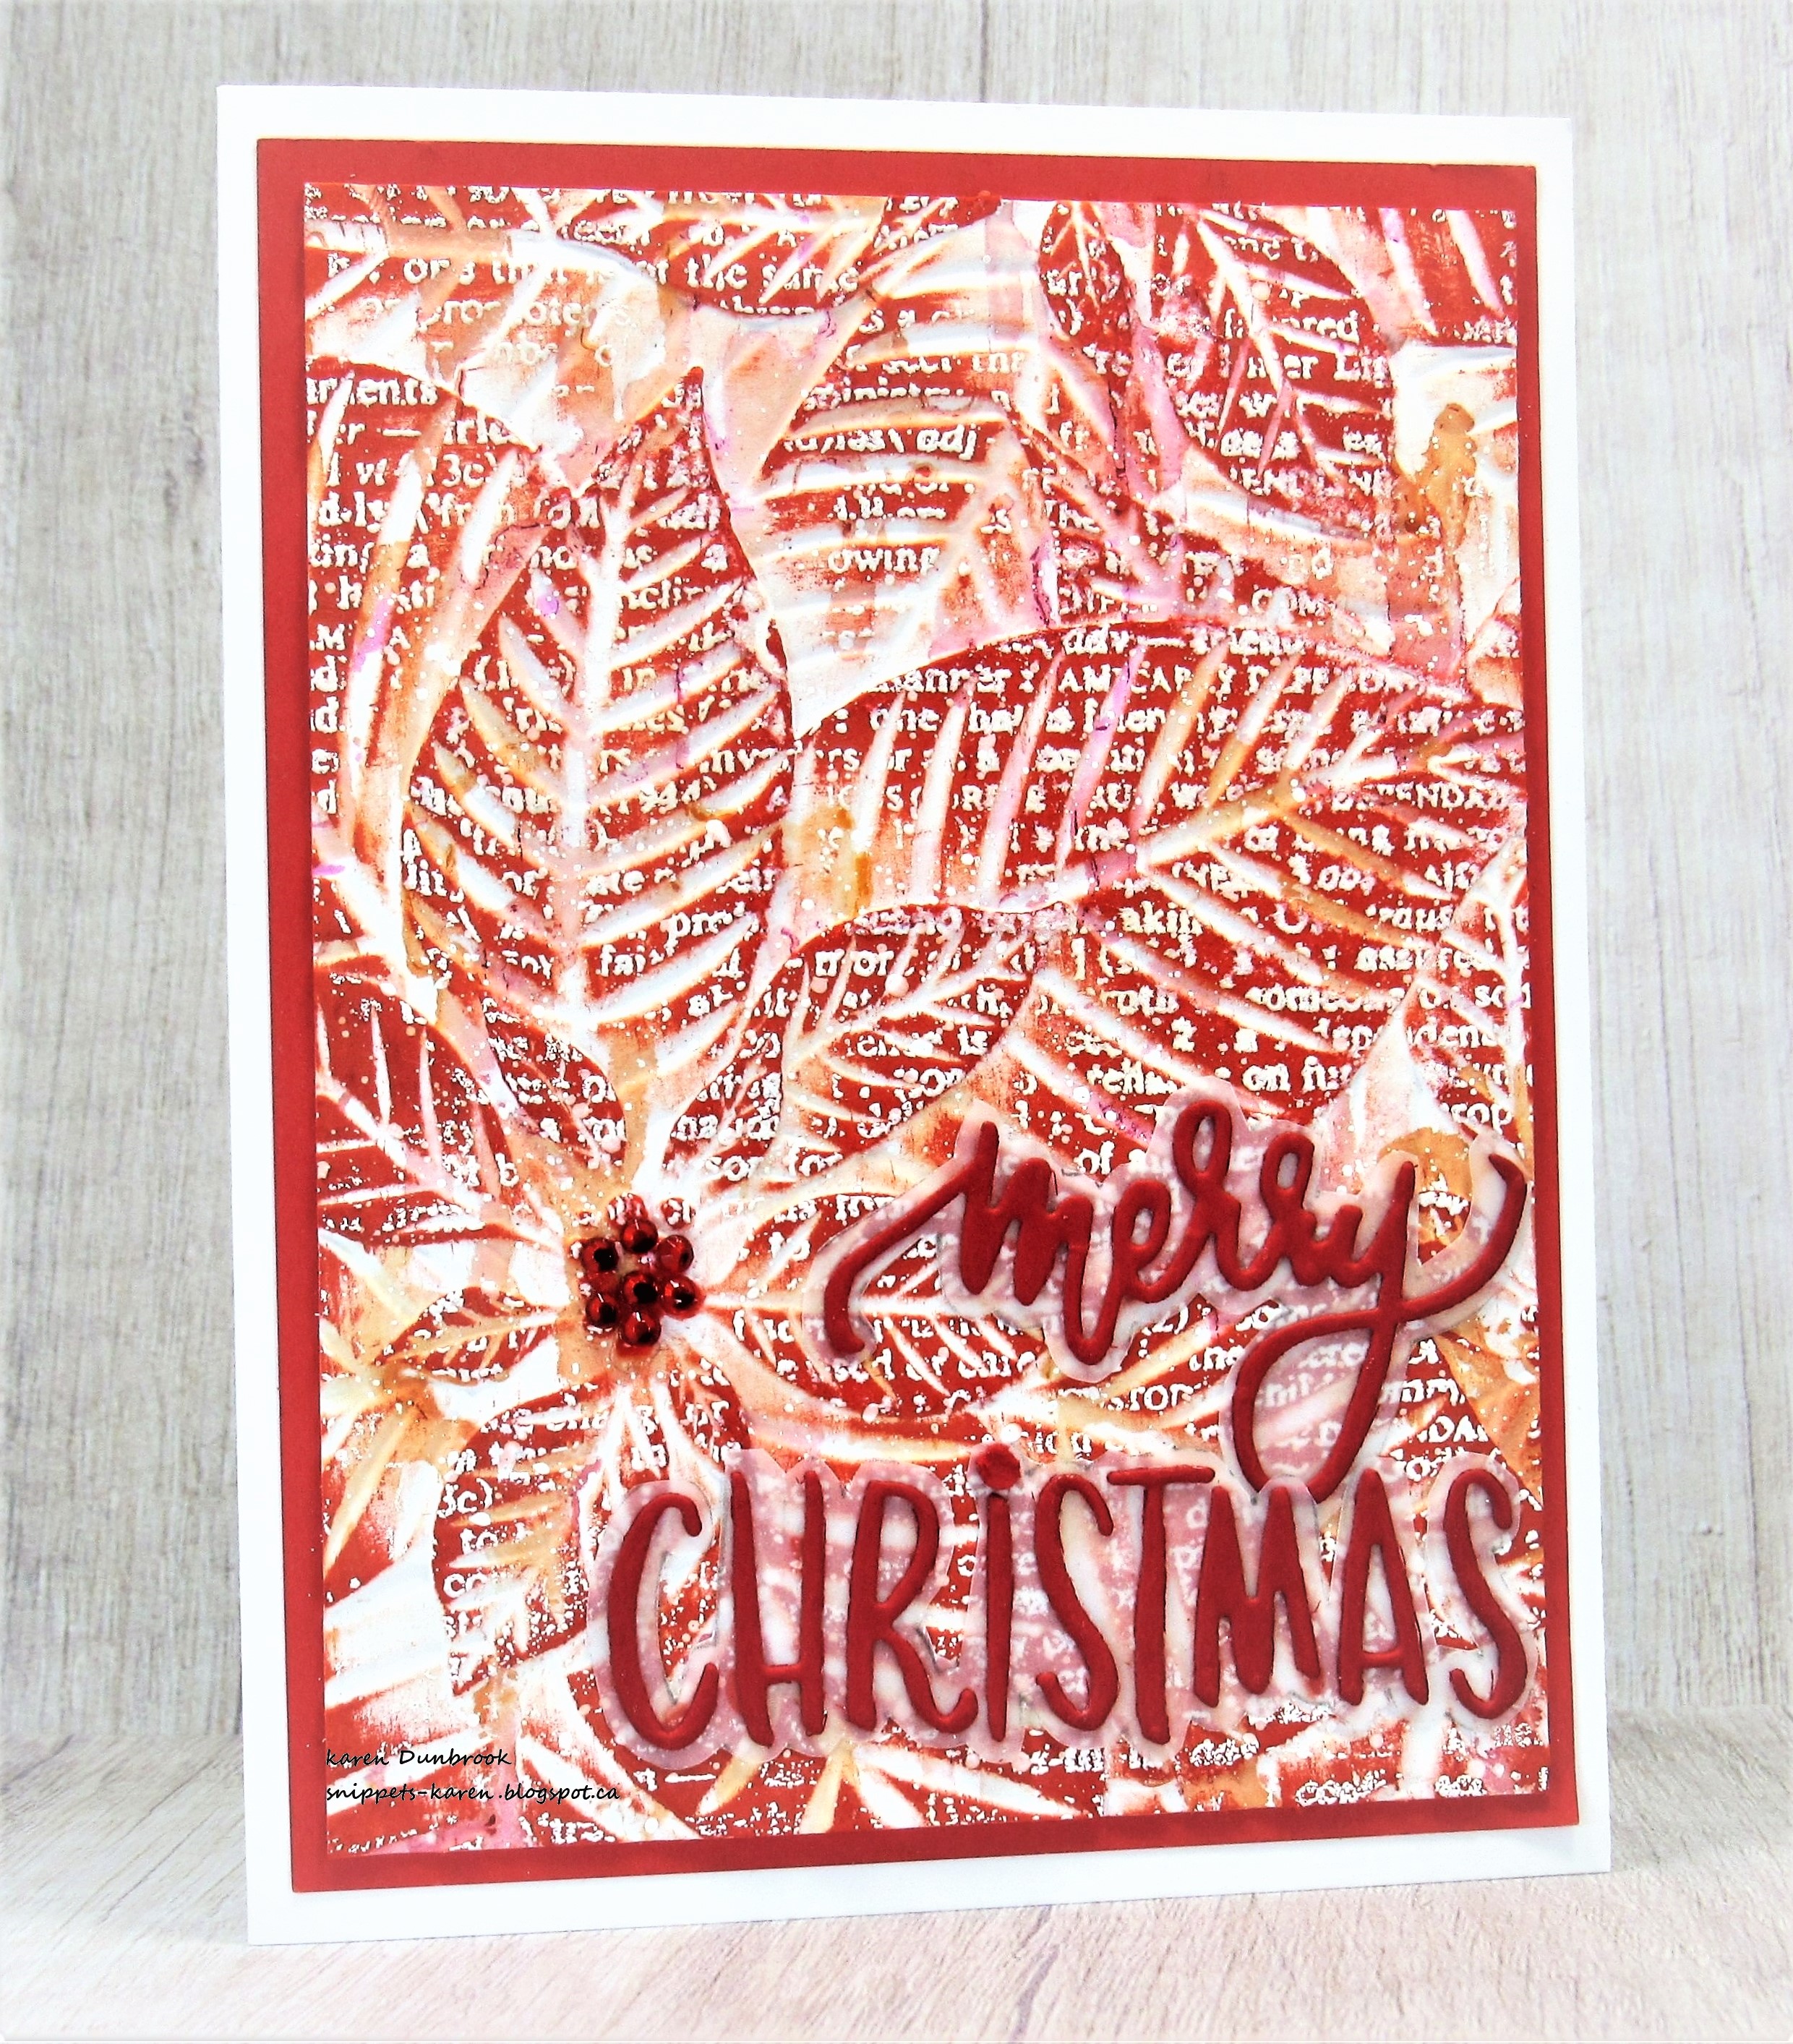
Meet today's card.
I am going to describe how I made it the best way I can and I sure hope it makes sense.
I am having a blast playing with this Perfect Poinsettias embossing folder.  

So here's what I did to create my card.
  • I found another piece of cardstock that I had rolled off some red and orange coloured paint onto when I was Gel Plate printing. I have a lot of these as I took a class this summer. I placed it into this Perfect Poinsettia embossing folder and embossed it.
  • Using a sanding block, I went over the panel, sanding gently over the raised areas as to not tear the paper.
  • To help some areas pop, I took some Barn Door and Crackling Campfire Distress Oxide ink and rubbed the pads over the raised areas.  
  • It needed something else, so I inked up the Friendship background stamp with some Versamark ink and stamped right over the panel then white heat embossed it.  As you can see, the words just show up in random areas which adds interest to the bkg.
  • While that dried, I die cut the sentiment, then traced around the outside of the die onto some vellum to cut out and place behind the words as a shadow.
  • I glued it onto a piece of red cardstock, then onto a heavy white card base.
  • I added a cluster of red gems to the center of the poinsettia.

Thanks so much for coming by and taking a look.

Adding my card to these challenges:
Simon Says Wed.- ANYTHING GOES

Supplies
Stamps- Friendship bkg (Hero Arts)
Inks- Distress Oxide; Acrylic paint
Paper- red cardstock, vellum, heavy white (Scribes Nook- Waterloo, Ont.)
Accessories and Tools- Perfect Poinsettias (Altenew); sanding block; Jolly 
Merry Christmas die (Carta Bella); red gems (Dollar Store); Lawn Fawn wh eb powder