Showing posts with label smiles. Show all posts

Tuesday, 23 August 2022

Geometric Sending Smiles


Welcome
Why is the summer going by so quickly!!!??
I have had some time off and stepped away from social media, but I'm back now and ready to play.  

So meet today's card.
I used this fun Geo Framework stencil from A Colorful Life Designs to create my card.
Lots of geometric shapes.

So here's what I did to create my card.
  • I cut a piece of white cardstock and laid it onto my Make Art Station and positioned the Geo Framework stencil over that.
  • I inked it up in a random way with some Distress Oxide inks...Cracked Pistachio, Peacock Feathers and Blueprint Sketch, moving the stencil around and inking until the whole panel was covered.
  • Next, I die cut the 'Sending Smiles' sentiment from the center of the stenciled panel.
  • I cut the word shadow from some white cardstock next and glued them together.
  • I splattered using my black Posca pen, then glued it onto a piece of white cardstock, then onto an A2 size card base.
  • I popped the sentiment over the card panel.
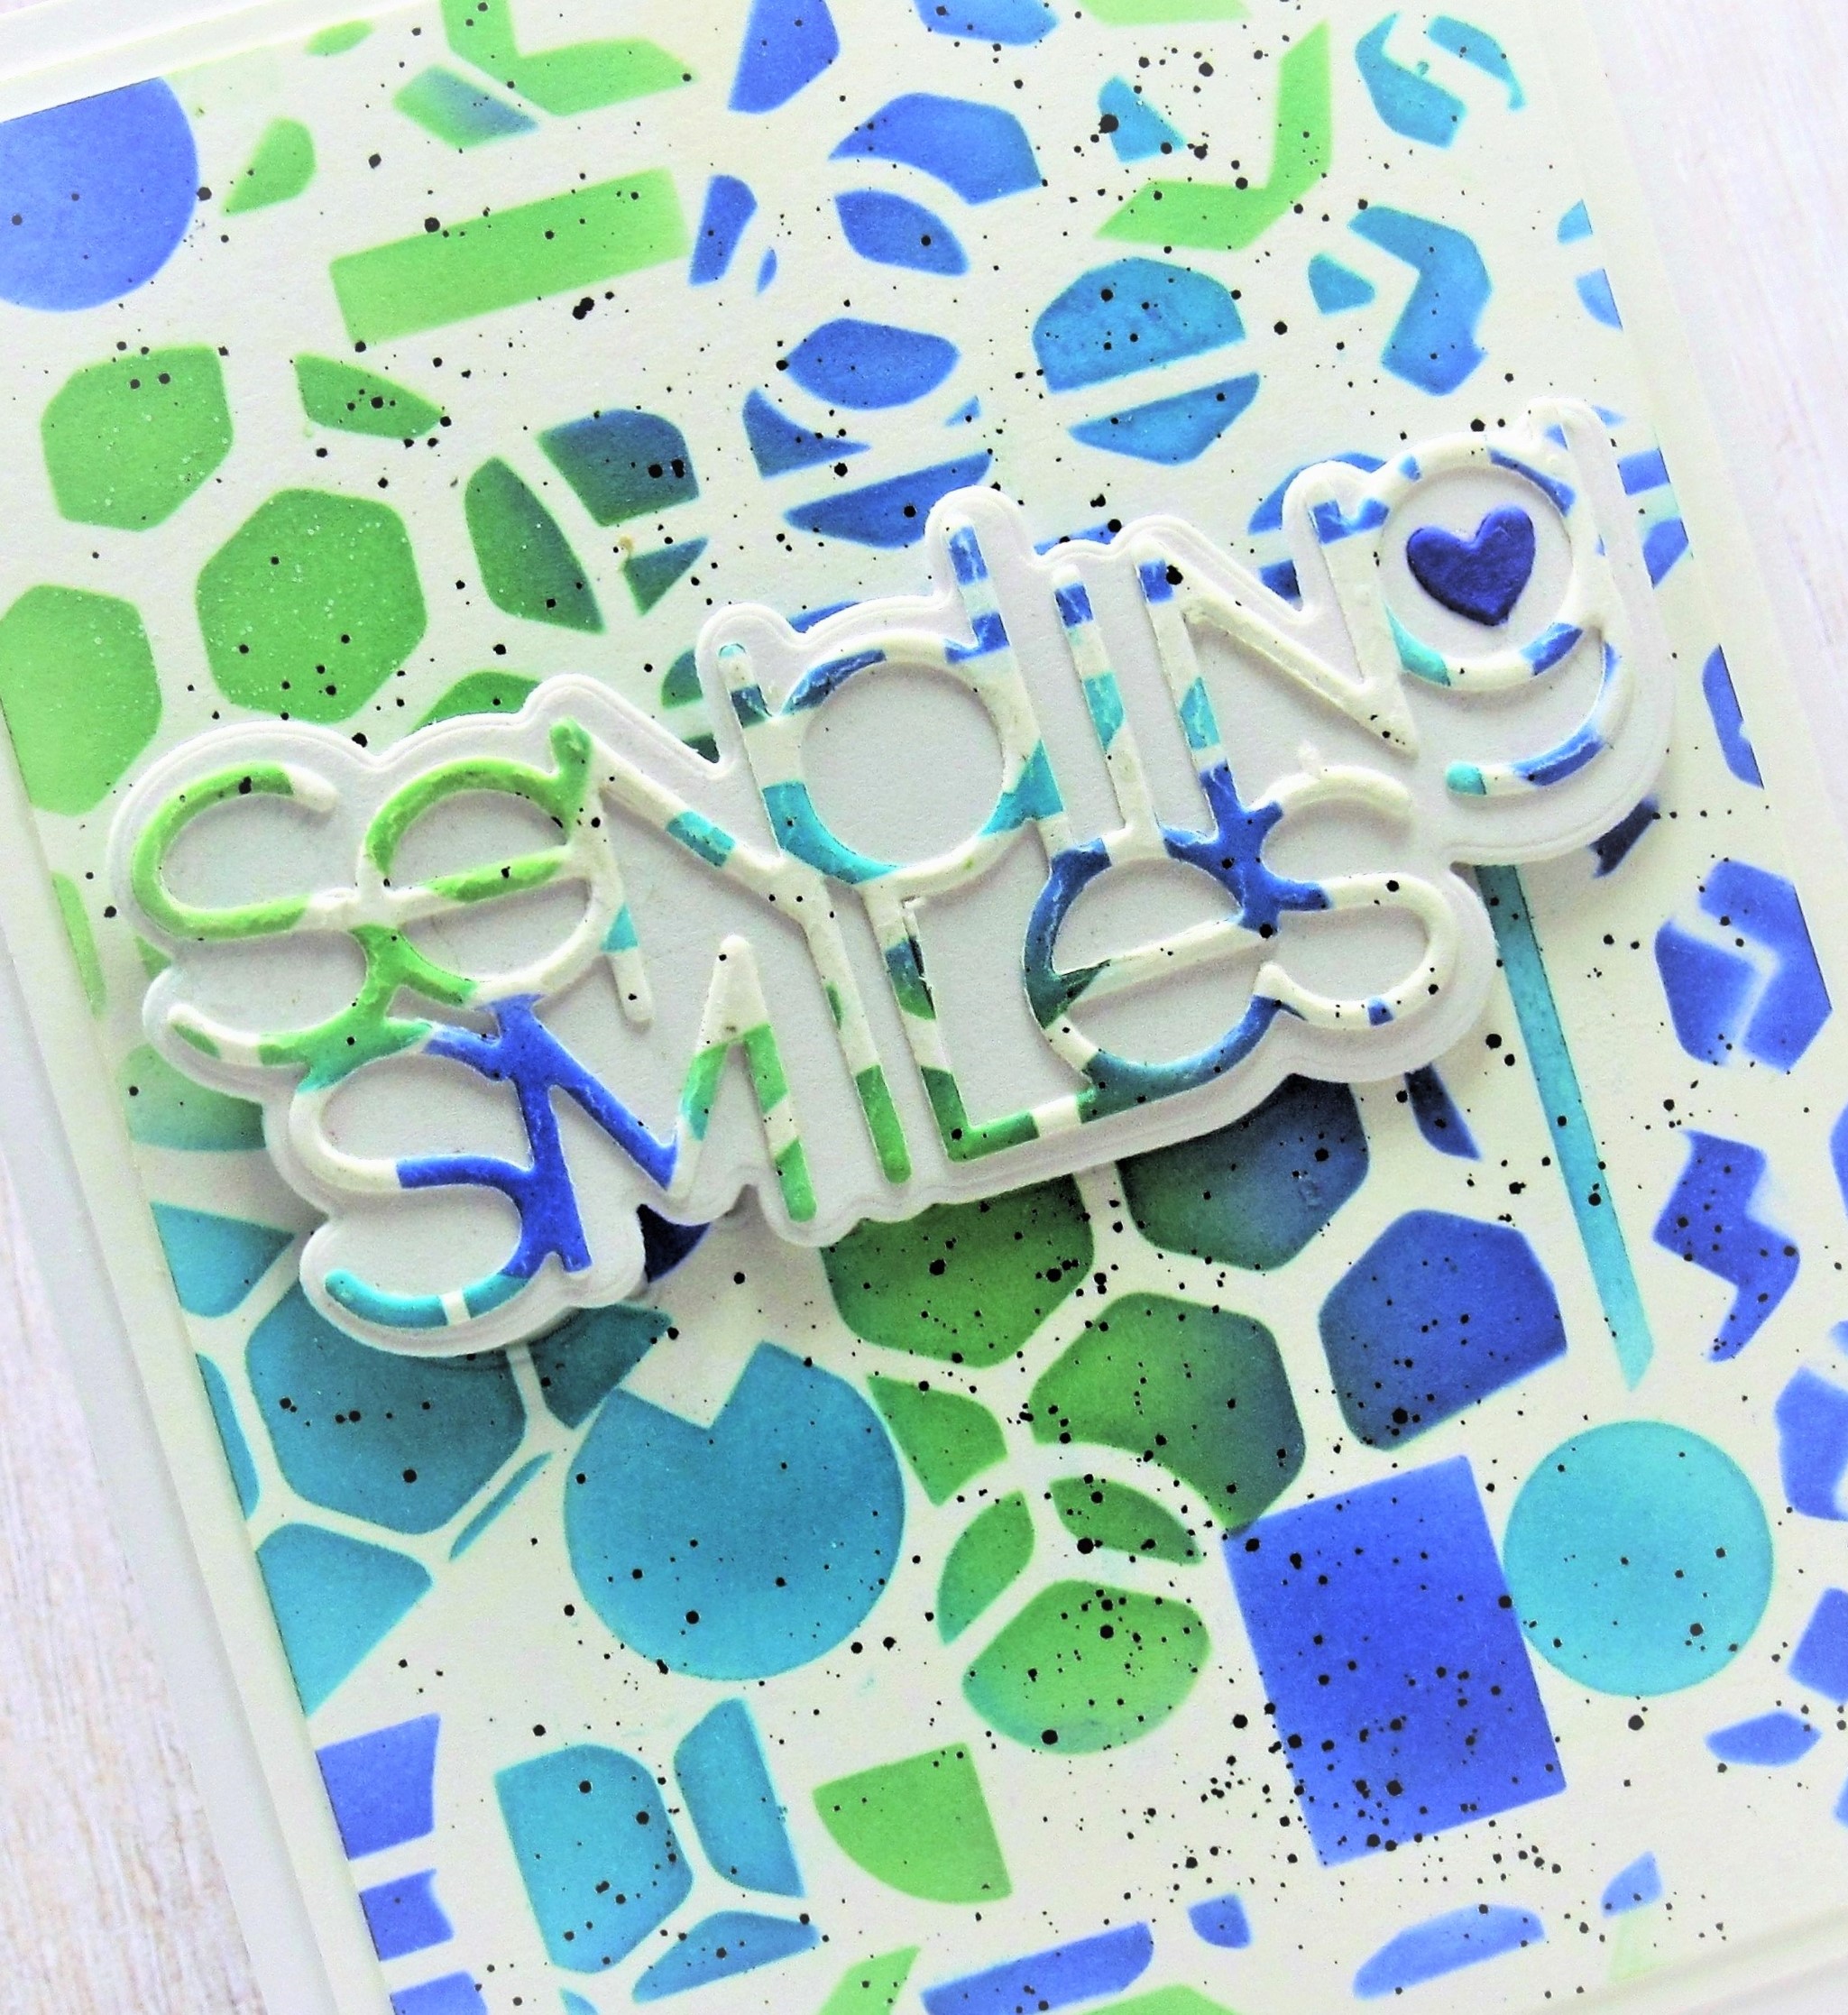

Here is the stencil I used:

Discount Code for A Colorful Life Designs
(affiliate with no extra cost to you)

Thanks so much for coming by and taking a look.

Adding my card to these challenges:
Paper Minutes- DIE CUT
Cardz 4 Guys- STENCIL


Supplies
Stamps- none
Inks- DOX
Paper- heavy white (Scribes Nook-Waterloo, Ont.)
Accessories and Tools- Geo Framework stencil- ACLD; Sending Smiles die (SSS); 
black Posca pen; Make Art Station (Ranger)

Friday, 22 July 2022

Sending Smiles


Welcome
I created today's card by using scraps I had in my stash.
The papers were leftover pieces I had made while Gel Plate printing.  

So here's what I did to create my card.
  • I looked through my stash of scraps and found some pieces leftover when I cut down larger pieces of gel prints.  I found 2 that I thought would look good together.
  • Next, I die cut the Plaid Card Front from some white cardstock.  
  • I measured the size of the openings in the plaid, then cut my scraps into strips the right size.
  • I wove the strips through the die cut, overlapping them until all the openings were filled.
  • I glued that onto a piece of white cardstock and set aside.
  • I found another piece of cardstock that I had inked up with some Distress Oxide inks in my stash and die cut the sentiment using that and then cut out the sentiment shadow from some white.
  • I glued the woven panel onto a piece of purple cs then onto a heavy white A2 size card base.
  • I pop dotted the sentiment over the center of the panel.

Thanks so much for coming by and taking a look.

Adding my card to these challenges:
Love to Craft- ANYTHING GOES


Supplies
Stamps- none
Inks- Basics acrylic paint, DOX ink
Paper- heavy white (Scribes Nook- Waterloo, Ont.)
Accessories and Tools- Plaid Card Front die (Concord and 9th), Speedball Brayer; 
Sending Smiles die (SSS); Gel Plate; foam tape

Tuesday, 25 January 2022

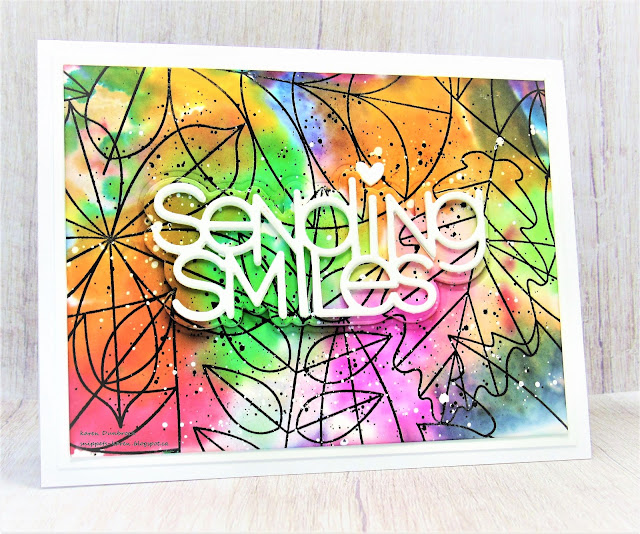
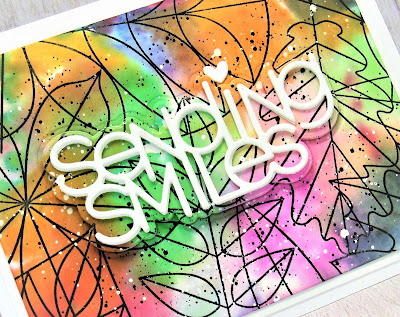
Colourful Smiles


Good Morning
Hope you are having a great day.
I found this colourful background in my stash and wanted to try and use it in some way.  
I got some new stamps before Christmas and this fun Leafy Leaves background was calling to be tried on a card. 

So here's what I did to create my card.
  • I bought some Bleeding Tissue paper on Amazon after seeing a video online using it.  So super simple to use.  The package I bought had a lot of tissue in it so it will last quite awhile.
  • I cut a piece of white cardstock, then tore pieces of the tissue paper and laid them all over my cardstock randomly but being sure to cover all the areas.
  • I liberally sprayed the whole panel with the tissue paper on it with water and pressed the tissue securely against the cardstock. 
  • I set it aside to dry completely which takes awhile since you need a good amount of water for the colour to transfer.
  • When it was dry, I took off the tissue paper and revealed these lovely colours.
  • I placed the piece into my Misti and stamped the Leafy Leaves from Simon Says with some Versafine Clair black ink.
  • I splattered the whole thing using my black and white Posca pen.
  • I die cut the sentiment in white and the outline for the sentiment from the panel.  
  • I glued the white sentiment onto the cut away shadow and let them dry.
  • I glued the inked cardstock onto a heavy white card base and pop dotted the sentiment back into place.
  • I glued the little heart over the sentiment.


Thanks so much for coming by and taking a look.

Adding my card to these challenges:
Get Creative- ANYTHING GOES


Supplies
Stamps- Leafy Leaves (SSS)
Inks- Versafine Clair 
Paper- white (Scribes Nook- Waterloo, Ont.)
Accessories and Tools- Bleeding Tissue paper (Amazon); Misti (My Sweet Petunia);
Sending Smiles die (SSS); white and black Posca pen; water mister (TH)