Showing posts with label Geometric. Show all posts

Saturday, 20 September 2025

Bright and Happy Birthday

Hello
I made this fun and simple birthday card using a new stencil from A Colorful Life Designs called

So, here's what I did to create my card.
  • I placed the Quarter Moons stencil over a square piece of cardstock and inked the whole panel with some Ripe Persimmon Distress Oxide ink.
  • I wiped the stencil off and repositioned it, shifting it to the right. I inked again with some Picked Raspberry DOX ink.
  • Next, I die cut the word shadow right from the middle of my stenciled card front and the sentiment from some white cardstock.  I glued the letters onto the shadow and set aside.
  • I glued my stenciled card front panel to a piece of white cardstock, then orange then onto a 4 1/4" square white card base.
  • I used some foam tape to add the sentiment back into the front of the card.

Here is the stencil I used:


Thanks a lot for taking a look.

Adding my card to these challenges:
Craft Rocket- DOTS/and or STRIPES
Word Power- ANYTHING GOES
Double D- MAKE YOUR OWN BKG

Supplies
Stamps- none
Inks- DOX
Paper- Solar White
Accessories and Tools- stencil (A Colorful Life Designs); TE Blending Brushes;
Happy Birthday die (TE); foam tape

Monday, 1 September 2025

Happy Hooray!

Happy September!!
There is a crispness in the air and the kids are going back to school.  
A new month also means a new lineup of stencils from A Colorful Life Designs, some great Fall inspired designs.
Today's card features one of the new release called 

I thought I'd use some Fall colours so here's what I did to create my card.
  • I placed the Quarter Moons stencil over a piece of white cardstock and inked with some Ripe Persimmon Distress Oxide ink.
  • I wanted to add interest to the design, so I left the stencil in place and put the Bauhaus Circle Mask stencil (last month's release) right over it and inked again with some Lumberjack Plaid DOX ink.
  • I placed the stenciled panel into my Misti to stamp the sentiment and clear heat embossed it.
  • I glued the panel onto a piece of orange cardstock, then onto white, then yellow and finally onto an A2 sized card base.
  • Lastly, I added 3 black gems around the sentiment to finish off my card.

Here are the stencils I used:


Thanks so much for taking a look today.

Adding my card to these challenges:
Simon Says Wed.- ANYTHING GOES
Allsorts- BIRTHDAY or ANYTHING GOES

Supplies
Stamp- Scripted Bold Sentiments (Pinkfresh Studio)
Inks- Versafine, DOX
Paper- Solar White; Coloured cs
Accessories and Tools- stencils (A Colorful Life Designs); TE Blending Brushes;
black gems; Misti (My Sweet Petunia); clear eb powder

Saturday, 16 August 2025

Wrap Around


Good Morning
Meet this new geometric stencil from A Colorful Life Designs called:

So here's what I did to create my card.
  • Today, I thought I would look through my patterned papers where I found this blue check paper.  That was my starting point.
  • I placed the Bauhaus stencil over the patterned paper and inked it up with some Prize Ribbon Distress Oxide ink.
  • Next, I die cut the flowers with some white cardstock.  I die cut a circle with a piece of navy cardstock, then some blue to match the stenciled panel and glued those together.
  • I cut my white cardstock base with a top fold design, then scored and glued my stenciled piece so it wrapped around from the front to the back.  I trimmed the edges with a narrow piece of the blue cardstock to give it a more finished look.
  • Finally, to finish off my card, I used some foam tape to add the flower circle over my card front.

Here is the stencil I used:

I appreciated your visit...thank you.

Adding my card to these challenges:
Crazy is Our Fame; Stencils are Our Game- ANYTHING GOES/Optional TREES or LEAVES
Ellibelle's CornerAnything In or From a Garden
Neglected Stuff- ANYTHING GOES
(neglected- die and this patterned paper)

Supplies
Stamps- none
Inks- DOX
Paper- Solar White/ Coloured cs
Accessories and Tools- stencil (A Colorful Life Designs); Daisy Circle (Paper Rose)
TE Blending Brushes; foam tape

Friday, 26 July 2024

Mid Century Tower

Welcome
Here's a simple card for you today featuring the new for July stencil from A Colorful Life Designs called:

So, here's what I did to create my card.
  • I began by masking the center part of my white cardstock on either side with some scrap paper, then placed the Mid Century Tower stencil over that and inked with some Picked Raspberry Distress Oxide ink.  (I masked off so I could have 3 distinctive bands of colour.)
  • I lifted the paper masks off and moved them to cover the middle and then placed the stencil back down, matching it up into place.  I inked with some Ripe Persimmon DOX ink.
  • I removed the stencil and splattered with my white Posca pen.
  • I found some inky castoffs in my scraps that had the same colours as the background and I used them to die cut the flowers.
  • I stamped the sentiment with more of the Ripe Persimmon DOX ink and then die cut it out.
  • I wanted the flowers too show up against the stenciled background, so I cut a piece of clear vellum and glued that over the left corner of my card front and then glued the flowers over that.
  • I glued the stenciled card front panel onto a piece of pink cardstock, then onto an A2 sized white card base.
  • Finally, I used some foam tape to add the sentiment into the corner.

Here is the stencil I used:

Discount Code for A Colorful Life Designs
(Affiliate with no extra cost to you) 

Thanks so much for coming by and taking a look.

Adding my card to these challenges:
Simon Says Wed.- BEAUTIFUL BLOOMS
Simon Says Monday- ADD A SENTIMENT
Just Us Girls- ANYTHING GOES WITH A STENCIL

Supplies 
Stamps- Big and Bold Stamp and die (SSS)
Inks- DOX
Paper- heavy white (Scribes Nook- Waterloo, Ont.)
Accessories and Tools- stencil (A Colorful Life Designs); TE Blending Brushes;
Holly Hocks die (IO); white Posca pen

Saturday, 27 April 2024

Party Time

Good Morning
I had fun making this birthday card using 2 newly released stencils from A Colorful Life Designs called

So, here's what I did to create my card.
  • I placed a piece of white cardstock onto my Make Art Station and then put the Rocks stencil over that.  
  • I began at the top of my cardstock and inked with some Cracked Pistachio Distress Oxide.  I moved on down my cardstock inking with some Villainous Potion and then some Peacock Feathers along the bottom.
  • Leaving that stencil in place, I put the Four Squares stencil over it and inked again using the same colours to match the areas in the background.  It added lots of interest and details to the design.
  • Using the eraser on the end of a pencil, I added the dots between the stenciled squares.
  • I splattered with my white Posca pen and then set aside to dry.
  • I die cut the sentiment from white paper 3 times and inked one of them with the same colours I had used on the background.  I glued the 2 white ones together and then glued the inked one on the top, offsetting it a bit so it would show up better against the background.
  • I took a piece of purple cardstock and die cut the edge of it, then glued that onto an A2 sized card base.  I added the stenciled panel over that.  
  • Lastly, I glued the sentiment right over the middle of the panel.

Here are the stencils I used:


Discount Code for A Colorful Life Designs
(Affiliate with no extra cost to you) 

Thanks so much for coming by and taking a look.

Adding my card to these challenges:
Simon Says Wed.- ANYTHING GOES
Cut it Up- STARTS WITH A 'B'

Supplies
Stamps- none
Inks- DOX
Paper- heavy white (Scribes Nook- Waterloo, Ont.)
Accessories and Tools- stencils (A Colorful Life Designs); blending brushes;
Make Art Station (Ranger); Big birthday die (Amazon); white Posca pen; 
Diagonal Stitch Rectangle (Taylored Expressions)

Thursday, 11 April 2024

Big Hello!

HELLO!
Today's card is a fun one that I did by combining 2 newly released stencil from A Colorful Life Designs called

So, here's what I did to create my card.
  • I put the Rocks stencil over the Four Squares stencil on a piece of white cardstock.
  • I inked it up with some Fossilized Amber Distress Oxide right into the middle of the panel.  Next, I inked with some Ripe Persimmon DOX ink on either side and finally, added some Picked Raspberry DOX ink along the outer edges.  What a fun pattern it created!
  • I removed the stencils and die cut the HELLO right from the middle of my stenciled card front.
  • I wanted to do an eclipse technique using the letters, so I die cut them again 3x's with white cardstock and glued them all together, adding the stenciled ones on the top.
  • I glued the stenciled panel onto a piece of orange cardstock, then onto a piece of red and then onto an A2 sized card base.
  • I glued the HELLO letters back into place on the card front.
  • The last step was to add some bling around the sentiment.

Here are the stencils I used:


Discount Code for A Colorful Life Designs
(Affiliate with no extra cost to you) 

Thanks so much for coming by and taking a look.

Adding my card to these challenges:
Addicted to Stamps and More- DIE CUT &/or STENCIL

Supplies
Stamps- none
Inks- DOX
Paper- heavy white (Scribes Nook- Waterloo, Ont.)
Accessories and Tools- stencil and Bling (A Colorful Life Designs); Blending Brushes; 
die (Concord and 9th)

Friday, 5 April 2024

Four Squares

Welcome
Here's another new for April stencil from A Colorful Life Designs called
I decided to use it to make a monochromatic card.

So, here's what I did to create my card.
  • I placed a piece of white cardstock onto my Make Art Station and put the Four Squares stencil over that, centering it onto the cardstock.
  • Next, I inked it up using Peacock Feathers, Tumbled Glass, Blueprint Sketch and some Salty Ocean Distress Oxide inks. 
  • I removed the stencil and splattered with my white Posca pen, then set aside to dry.
  • I inked up a scrap piece of white cardstock using the same colours as mentioned above, then die cut the sentiment.  I die cut the sentiment shadow from a piece of vellum and glued the two together.
  • I glued the stenciled card front onto a piece of blue cardstock, then onto an A2 sized card base.  
  • I glued the sentiment into the center and added a dark blue gem for the dot on the 'j'.

Here is the stencil I used:

Discount Code for A Colorful Life Designs
(Affiliate with no extra cost to you) 

Thanks so much for coming by and taking a look.

Adding my card to these challenges:
Word Power- SENTIMENT IS FOCAL POINT
Crafty Gals- ANYTHING GOES

Supplies
Stamps- none
Inks- DOX
Paper- vellum, heavy white (Scribes Nook- Waterloo, Ont.)
Accessories and Tools- stencil (A Colorful Life Designs); Make Art Station (Ranger);
TE blending brushes; white Posca pen; die (Amazon)

Wednesday, 4 October 2023

Floral Beauties


Welcome
Today, I have the pleasure of joining the ladies over at 
I was a DT for that challenge for a few years and today, we are celebrating the 7th Birthday with the founders Aileen Ryan and Viv Hodge as they pass the baton onto the next creators to keep the challenge going.  A big thanks to Karren Johnson for keeping this fun challenge going.
Here is the challenge:


So, here's what I did for today's card.
  • I put a piece of white cardstock onto my Make Art Station and placed the newly released 16 Circle Shadow Stencil over it, tilting it to one side.
  • Starting along the top, I inked it up with Distress Oxide inks in these colours:  Ripe Persimmon, Picked Raspberry, Peacock Feathers and finally some Wilted Violet.  I purposely let each colour touch to create some more colour blends.
  • I removed the stencil and placed the panel into my Misti to stamp the flowers and the sentiment.
  • I glued the finished panel onto a piece of black cardstock, then onto an A2 sized card base.

Here is the stencil I used:

Discount Code for A Colorful Life Designs
(Affiliate with no extra cost to you) 

Thanks so much for coming by and taking a look.

Supplies
Stamps- Beautiful You (STAMPlorations)
Inks- Versafine Clair; DOX
Paper- heavy white (Scribes Nook- Waterloo, Ont.)
Accessories and Tools- stencil (A Colorful Life Designs)

Wednesday, 23 August 2023

Take the Journey


Hello and Welcome
Many of the new releases from A Colorful Life Designs this month are graphic designs.
I find these work so well when trying to create masculine looking cards, something many struggle with.
The stencil I am using today is called 

So, here's what I did to create my card.
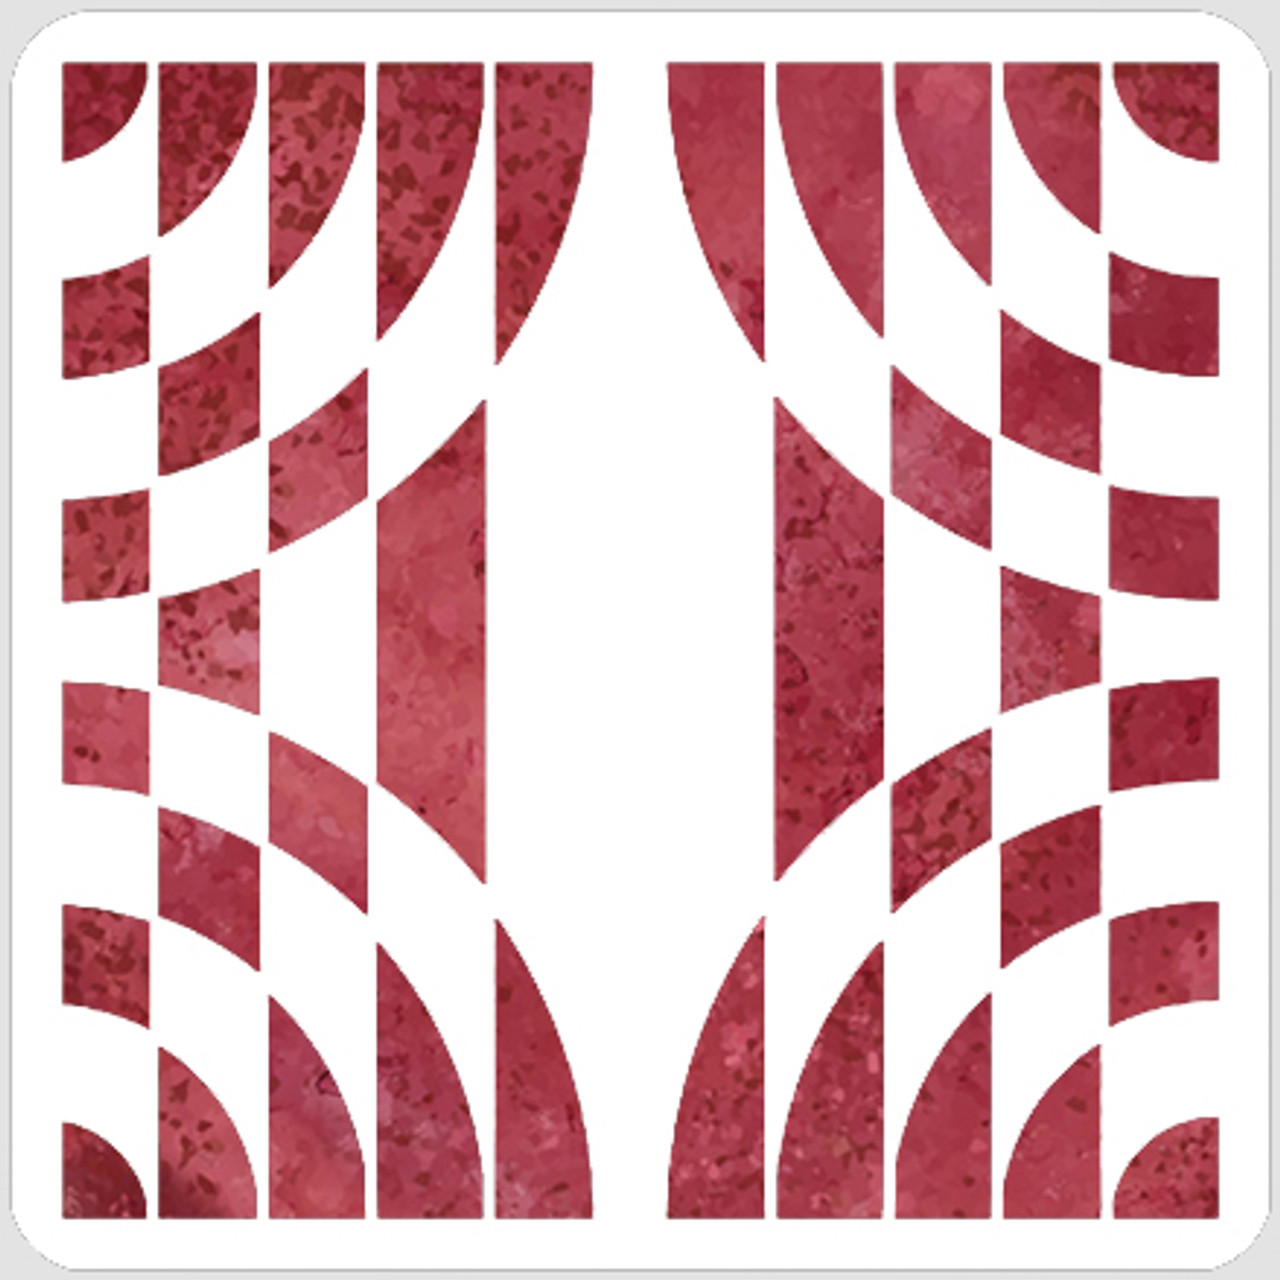
  • As always, I cut a piece of white cardstock and placed it onto my Make Art Station.  I centered the Curtain Call stencil over my cardstock and inked it up with some Cracked Pistachio Distress Oxide ink.
  • I removed the stencil, cleaned it off and then shifted it so it went in the other direction.  I then inked it up with some Broken China DOX ink.
  • While that dried, I stamped the sentiment and arrow and die cut them out.
  • I glued the stenciled panel onto a piece of blue cardstock, then onto an A2 sized card base.
  • I used some foam tape to pop the sentiment and the arrow up in the center of the card.

Here is the stencil I used:

Discount Code for A Colorful Life Designs
(Affiliate with no extra cost to you) 

Thanks so very much for coming by and taking a look.

Adding my card to these challenges:
Crazy is Our Fame- Stencils are Our Game- ANYTHING GOES/option Butterflies
Use Your Stuff- VINTAGE (billboard sign)

Supplies 
Stamps- Roadside Messages (Hero Arts)
Inks- DOX
Paper- heavy white (Scribes Nook)
Accessories and Tools- stencil (A Colorful Life Designs); Make Art Station (Ranger);
TE Blending Brushes

Sunday, 20 August 2023

Let's Create


Hello and Welcome
Today's card features another wonderful geometric shaped stencil from A Colorful Life Designs called 

So, here's what I did to create my card.
  • I began by looking through my stash of inky backgrounds and found this one.  It was one that I had rolled my brayer off onto while I was Gel Plate printing.  It had some orange in the center and pink along the edges.  That was my starting point.
  • I took the panel and placed it onto my Make Art Station and positioned the Mid Century Angles stencil over that.
  • Next, I inked up the middle area with some Ripe Persimmon Distress Oxide ink and then used some Picked Raspberry DOX ink along the edges.
  • I removed the stencil and splattered with my white Posca pen.
  • To add a bit more interest to the design, I stamped a star into some of the open areas of the stenciled background.
  • When the ink was all dry, I placed the panel into my Misti to stamp the sentiment into the middle and clear heat embossed it.
  • I glued it onto a piece of pink cardstock, then onto an A2 sized card base.
  • Lastly, I added 3 black gems around the sentiment.

Here is the stencil I used:

Thanks so much for coming by and taking a look.

Adding my card to these challenges:
Simon Says Mon.- USE YOUR FAV TECHNIQUE (stenciling)
Shopping Our Stash- HOT, HOT, HOT (I used hot colours)

Supplies
Stamps- Just Be Happy (Visible Image); Feelin Fizzy (stars- Catherine Pooler)
Inks- DOX; Versafine Clair
Paper- heavy white (Scribes Nook)
Accessories and Tools- stencil (A Colorful Life Designs); Speedball brayer; white Posca pen,
Make Art Station (Ranger); Misti; TE Blending Brushes; clear eb powder; black gems

Wednesday, 16 August 2023

Monochromatic Celebrate


Welcome
Today's card features the new for August stencil from A Colorful Life Designs called 
Such an innovative look with a great geometric design.

So, here's what I did to create my simple card.
  • I cut a piece of white cardstock and placed it onto my Make Art Station.  I positioned the Mid Century Angles stencil over it, centering it from side to side and top to bottom.
  • I added some Lucky Clover Distress Oxide ink into the middle of the shapes and then some Cracked Pistachio around the edges to give a 2-tone effect.
  • I removed the stencil and placed it into my Misti to stamp the sentiment along the bottom.
  • I glued the stenciled panel onto a piece of green cardstock, then onto an A2 sized card base.
  • I added some black gems for extra interest.

Here is the stencil I used:

Discount Code for A Colorful Life Designs
(Affiliate with no extra cost to you) 

I so appreciated that you came by to take a look.

Adding my card to these challenges:
Simon Says Monday- USE YOUR FAV TECHNIQUE- (stenciling)
Crafting Happiness- ANYTHING GOES
Crazy is Our Fame- Stencils are Our Game- ANYTHING STENCILED/OPT BUTTERFLIES

Supplies
Stamp- Celebrate (IO- retired)
Inks- DOX, Versafine Clair
Paper- heavy white (Scribes Nook- Waterloo, Ont.)
Accessories and Tools- stencil (A Colorful Life Designs); TE Blending Brushes; 
Make Art Station (Ranger); black gems

Tuesday, 23 August 2022

Geometric Sending Smiles


Welcome
Why is the summer going by so quickly!!!??
I have had some time off and stepped away from social media, but I'm back now and ready to play.  

So meet today's card.
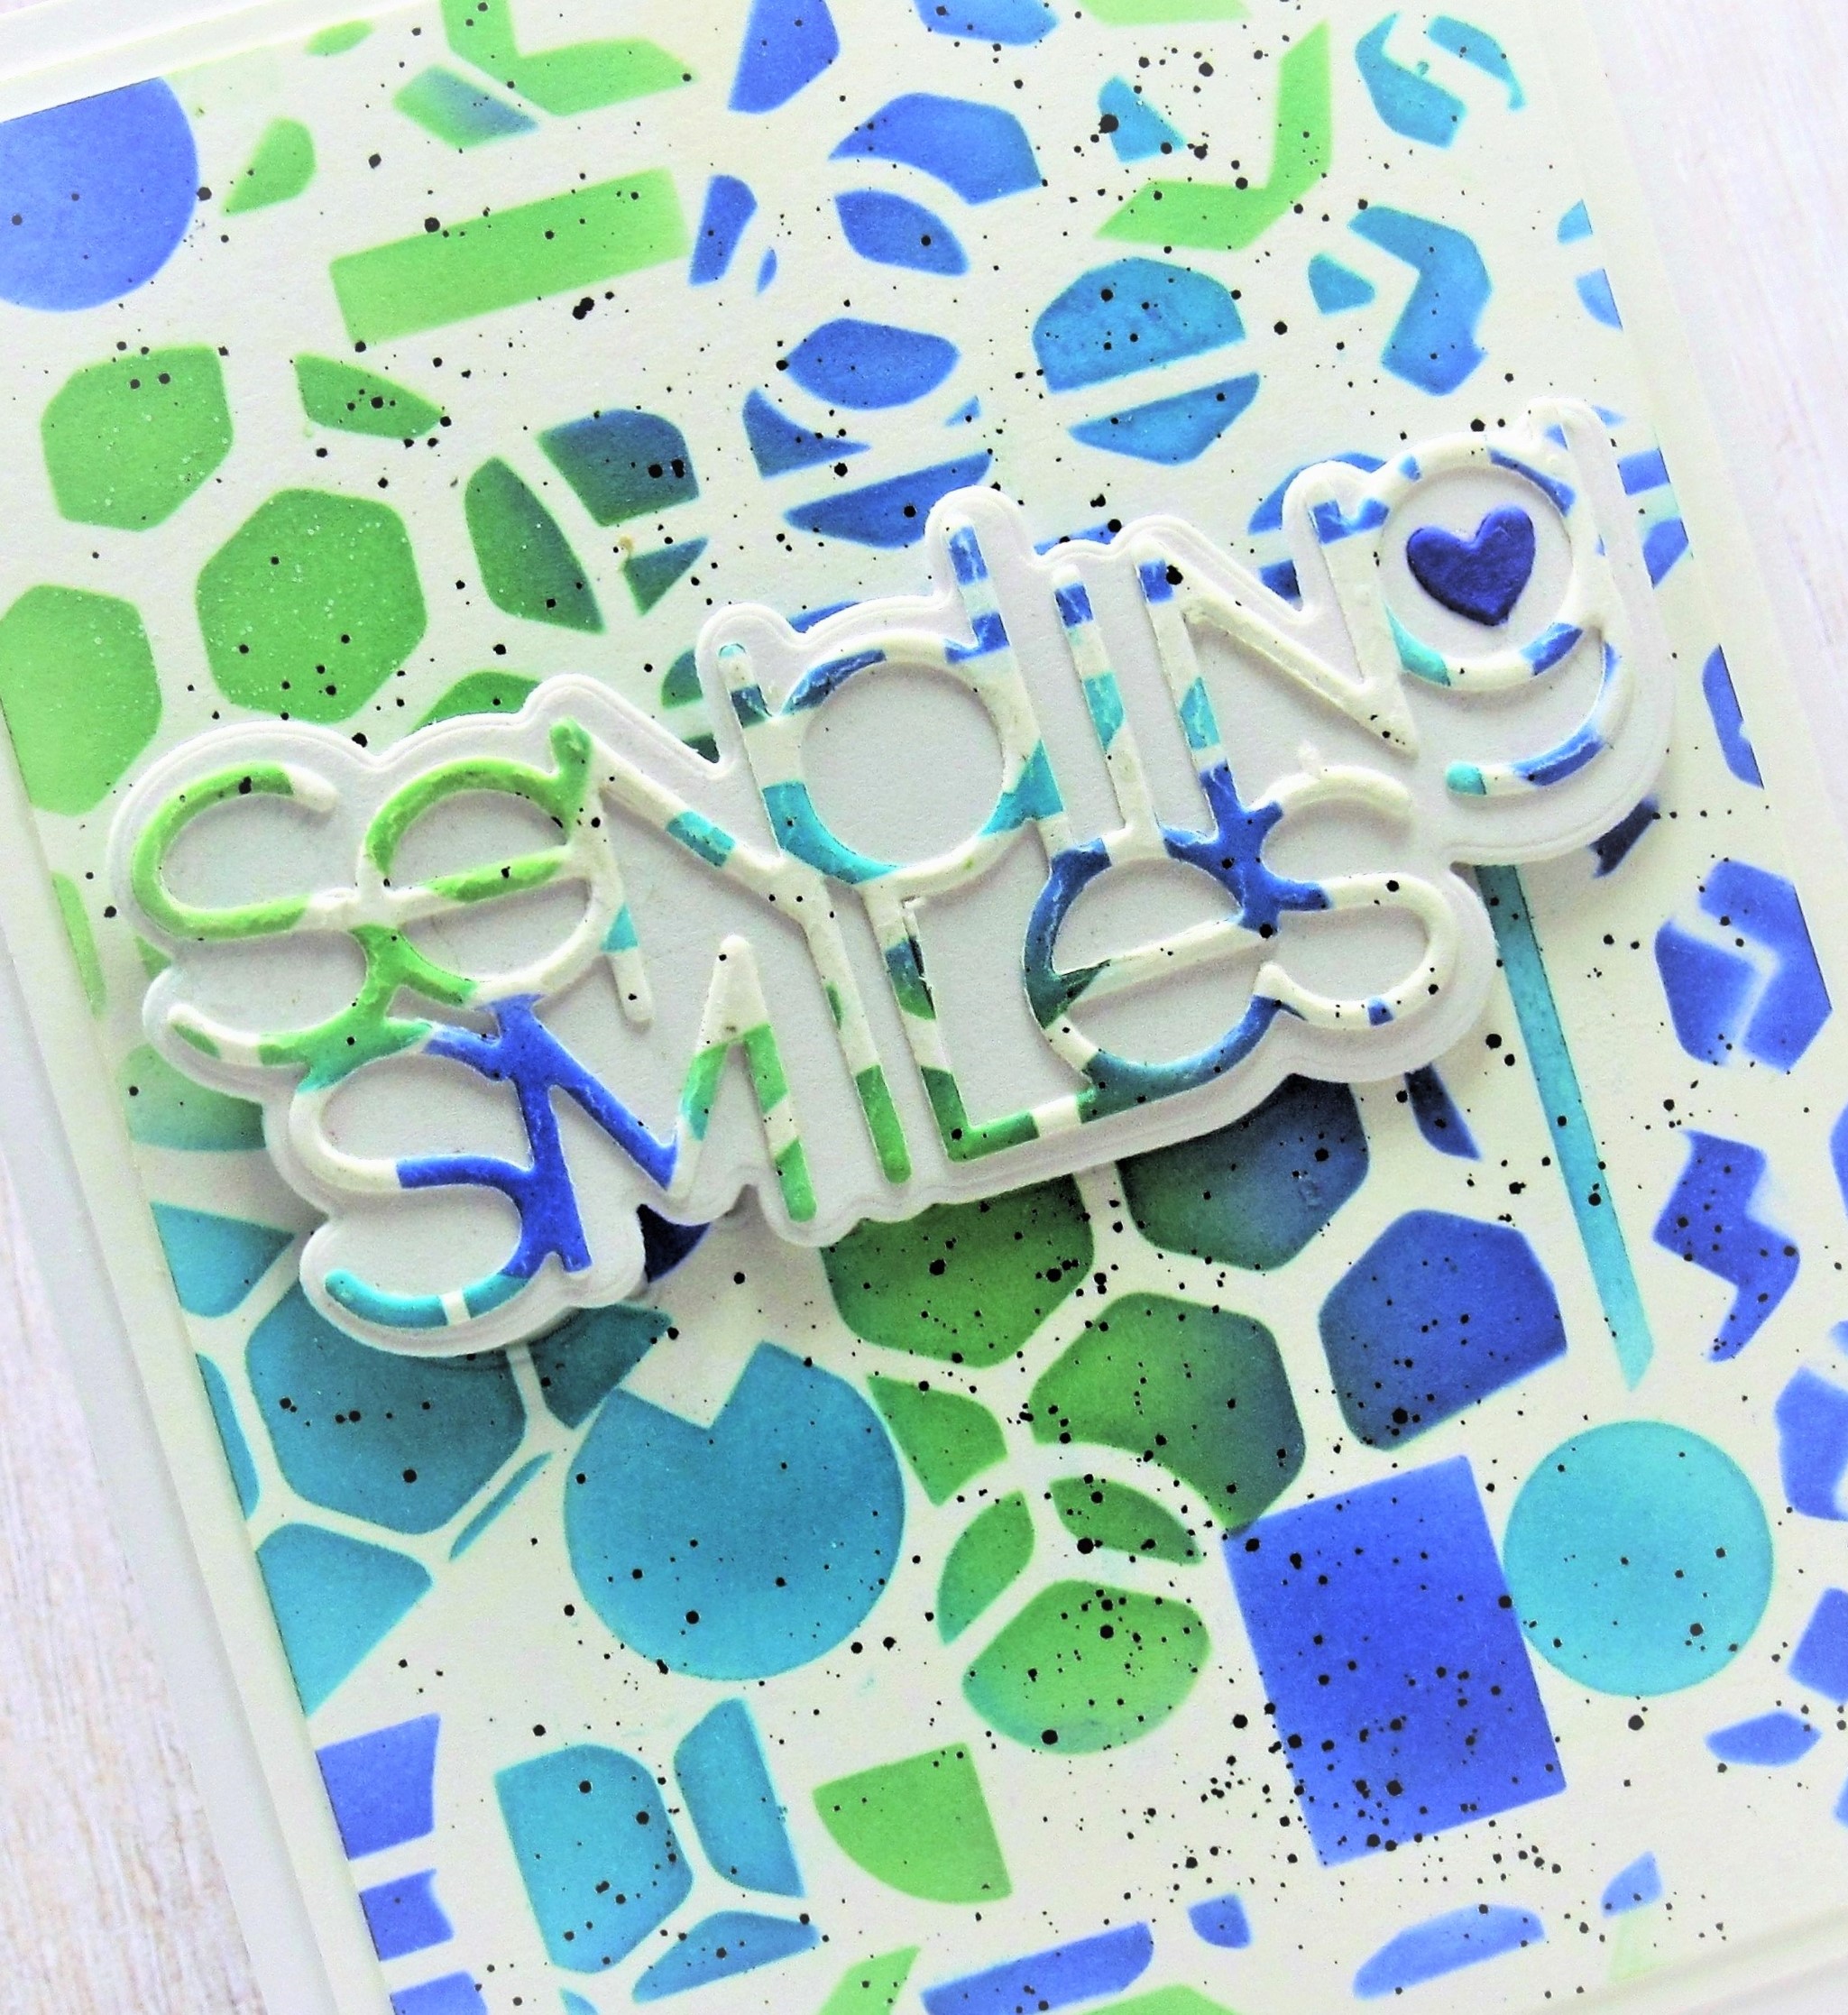
I used this fun Geo Framework stencil from A Colorful Life Designs to create my card.
Lots of geometric shapes.

So here's what I did to create my card.
  • I cut a piece of white cardstock and laid it onto my Make Art Station and positioned the Geo Framework stencil over that.
  • I inked it up in a random way with some Distress Oxide inks...Cracked Pistachio, Peacock Feathers and Blueprint Sketch, moving the stencil around and inking until the whole panel was covered.
  • Next, I die cut the 'Sending Smiles' sentiment from the center of the stenciled panel.
  • I cut the word shadow from some white cardstock next and glued them together.
  • I splattered using my black Posca pen, then glued it onto a piece of white cardstock, then onto an A2 size card base.
  • I popped the sentiment over the card panel.


Here is the stencil I used:

Discount Code for A Colorful Life Designs
(affiliate with no extra cost to you)

Thanks so much for coming by and taking a look.

Adding my card to these challenges:
Paper Minutes- DIE CUT
Cardz 4 Guys- STENCIL


Supplies
Stamps- none
Inks- DOX
Paper- heavy white (Scribes Nook-Waterloo, Ont.)
Accessories and Tools- Geo Framework stencil- ACLD; Sending Smiles die (SSS); 
black Posca pen; Make Art Station (Ranger)