Showing posts with label journey. Show all posts

Wednesday, 23 August 2023

Take the Journey


Hello and Welcome
Many of the new releases from A Colorful Life Designs this month are graphic designs.
I find these work so well when trying to create masculine looking cards, something many struggle with.
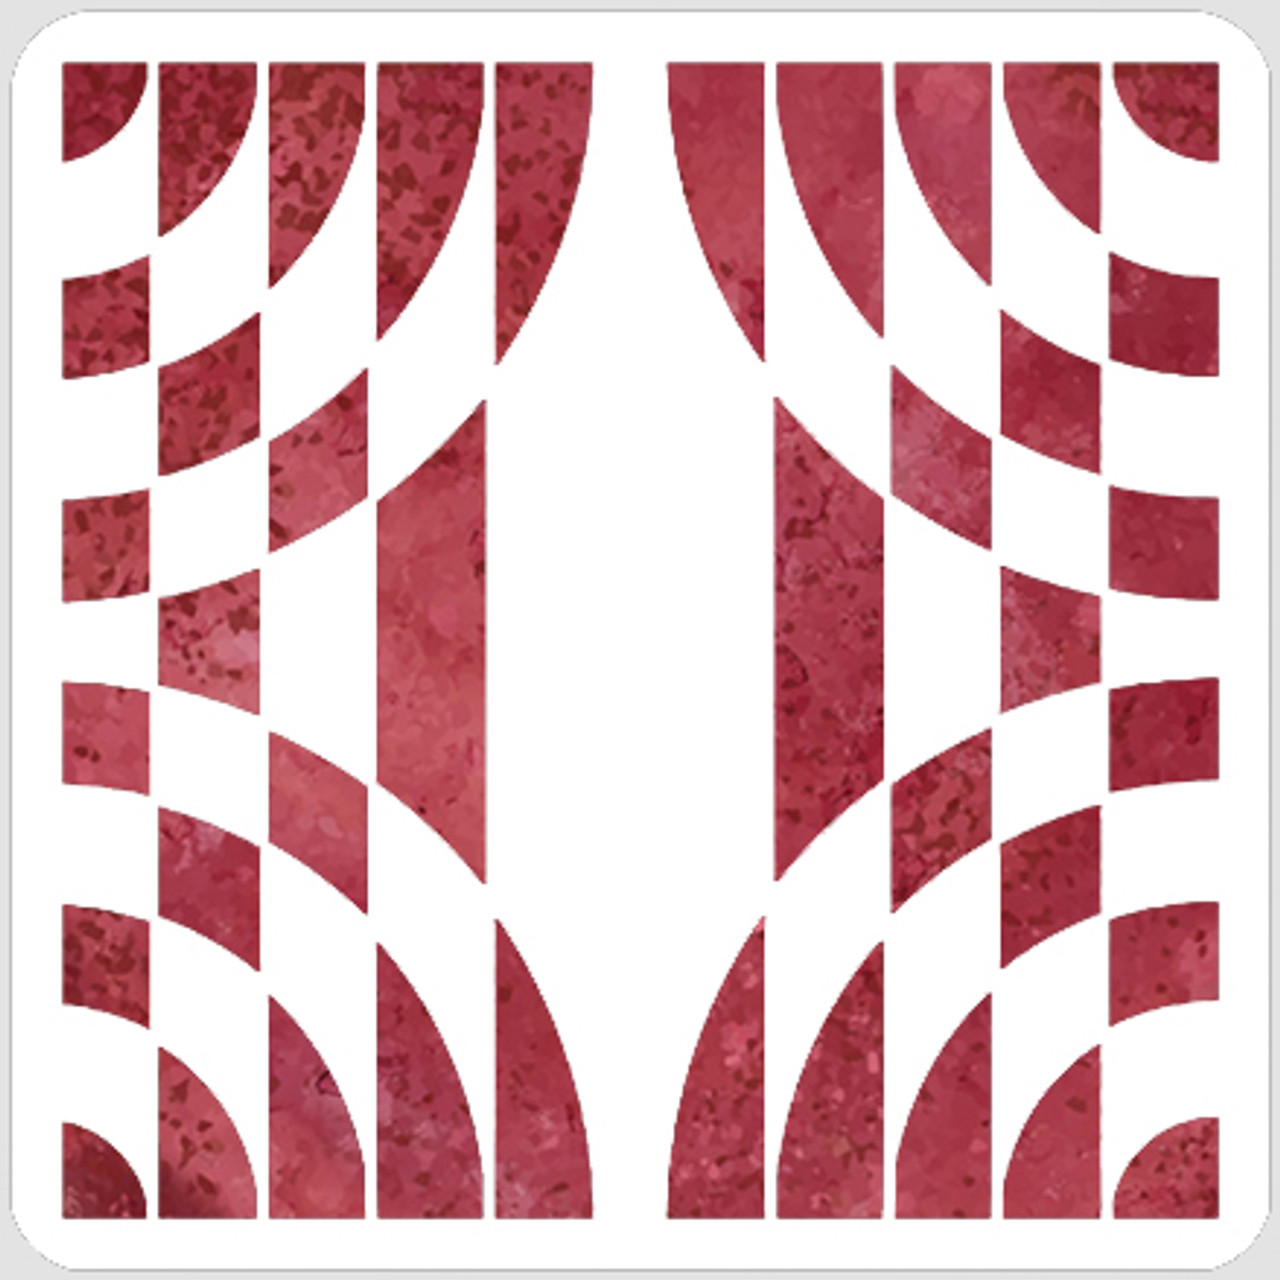
The stencil I am using today is called 

So, here's what I did to create my card.
  • As always, I cut a piece of white cardstock and placed it onto my Make Art Station.  I centered the Curtain Call stencil over my cardstock and inked it up with some Cracked Pistachio Distress Oxide ink.
  • I removed the stencil, cleaned it off and then shifted it so it went in the other direction.  I then inked it up with some Broken China DOX ink.
  • While that dried, I stamped the sentiment and arrow and die cut them out.
  • I glued the stenciled panel onto a piece of blue cardstock, then onto an A2 sized card base.
  • I used some foam tape to pop the sentiment and the arrow up in the center of the card.

Here is the stencil I used:

Discount Code for A Colorful Life Designs
(Affiliate with no extra cost to you) 

Thanks so very much for coming by and taking a look.

Adding my card to these challenges:
Crazy is Our Fame- Stencils are Our Game- ANYTHING GOES/option Butterflies
Use Your Stuff- VINTAGE (billboard sign)

Supplies 
Stamps- Roadside Messages (Hero Arts)
Inks- DOX
Paper- heavy white (Scribes Nook)
Accessories and Tools- stencil (A Colorful Life Designs); Make Art Station (Ranger);
TE Blending Brushes

Friday, 12 March 2021

The Journey


Welcome
Meet today's card.
I made this background while having a play with my Gel Plate and acrylic paints from the Dollar Store.  Why waste the extra when you can use it for a card background.

So here's what I did to create my card.
  • I began with a heavy white cardstock panel.  Using a brayer, I rolled different colours of paint onto my cardstock.  It was the excess from using my Gel Plate.  (For those of you unfamiliar with a Gel Plate, it is a gel like flat piece that is used for printing.  After applying paint to the surface of it, you brayer to smooth it out evenly and there is usually excess paint on the brayer and that's what I used for my card background.)
  • I set the panel aside to dry completely before moving on to do the next step.
  • When the panel was totally dry, I placed it into my Misti and stamped the sentiment called Destination Sentiments from Penny Black with some Versafine Clair Noir ink and clear heat embossed it.  I did that so it would show up better over the painted background that can be sometimes tricky to stamp over.
  • I took the panel and die-cut the Cozy die from Penny Black along the side. 
  • Next, I glued the cut card panel onto a heavy white card base and then pop dotted the die-cut piece back into place.  
  • I added some matching blue gems to the die-cut centers.

Thanks so much for coming by and taking a look.

Adding my card to these challenges:
Addicted to Stamps and More- DIE CUTS AND/or STENCIL
Craft Rocket- USE DIES or SPRING
Creative Artiste Mixed Media- ANYTHING MIXED MEDIA GOES

Supplies
Stamps- Destination Sentiments (PB)
Inks- acrylic paint (Dollar Store); Versafine Clair Noir
Paper= heavy white (Scribes Nook(
Accessories and Tools- Misti (My Sweet Petunia); clear eb powder; Cozy die (PB);
blue gems; Speedball Brayer