Welcome
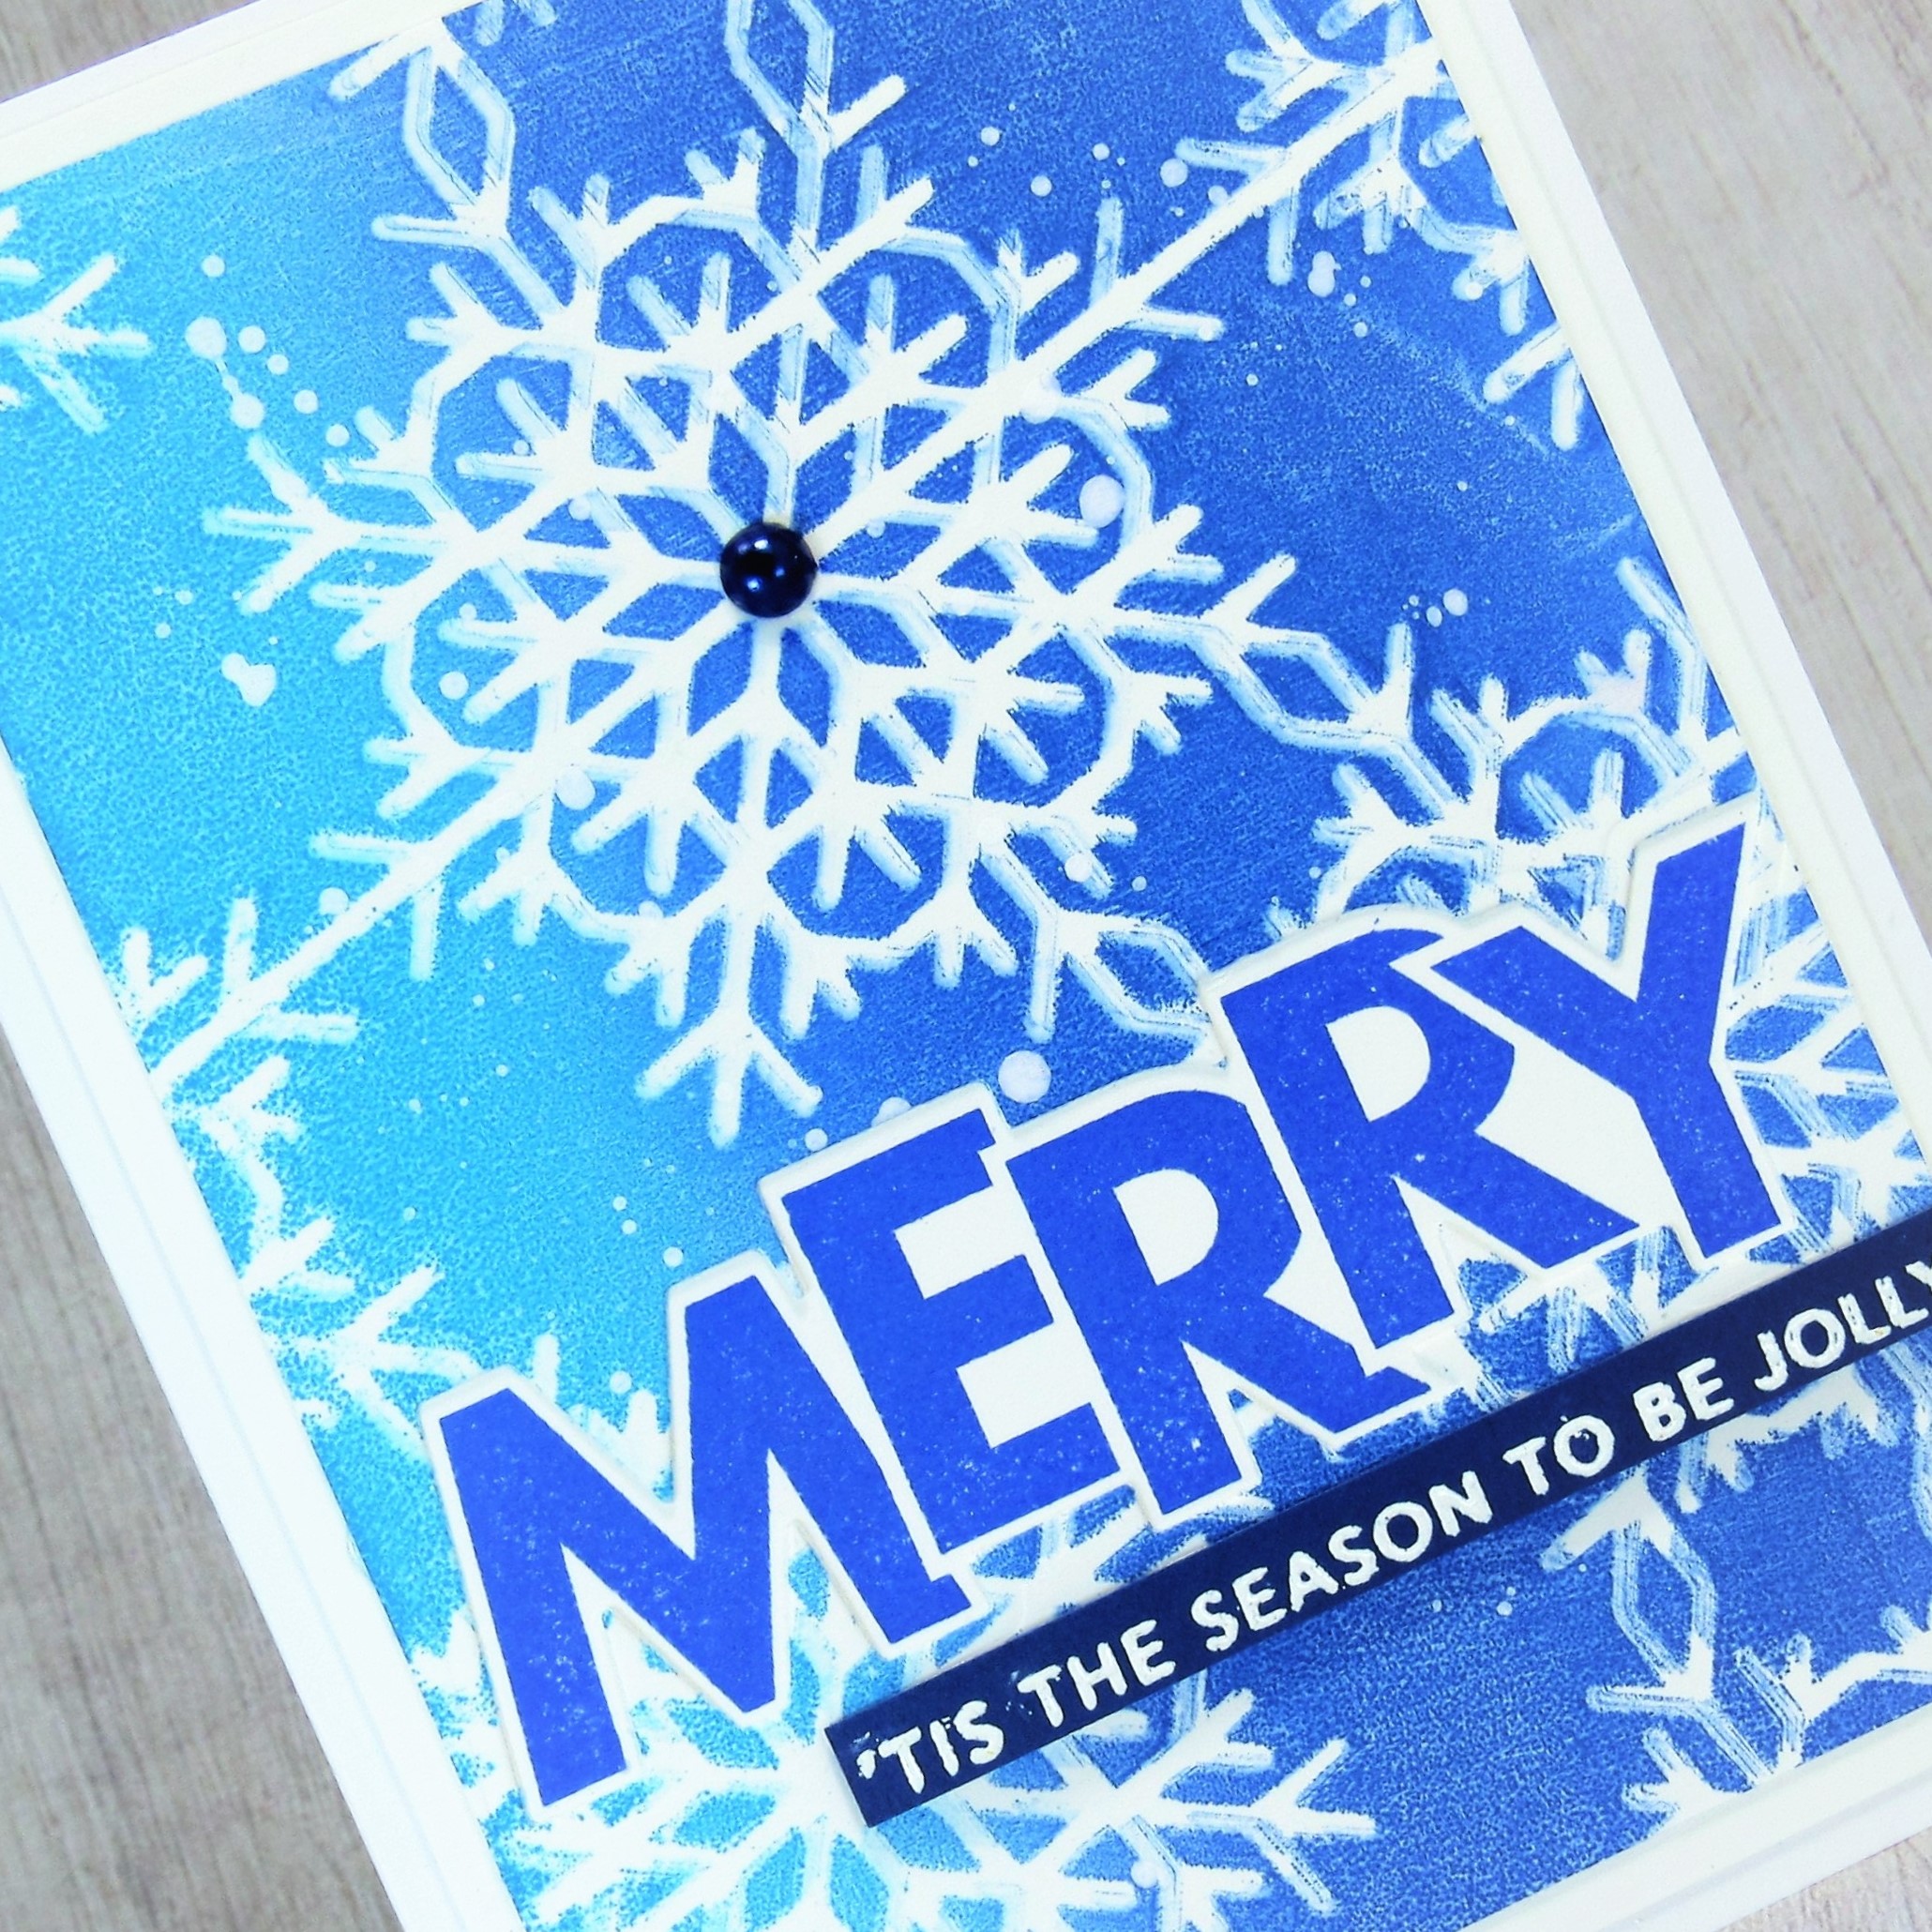
More stencil fun on my Gel Plate today.
These split stencils from ACLD are so unique and have so many ways to be used.
The stencil comes in 2 pieces; the stencil and the mask.
So here's what I did to create my card.
- I began by getting out my Gel Plate, brayer and Distress Oxide inks (Wilted Violet and Blueprint Sketch)
- I pressed the pads directly onto the Gel Plate, keeping them apart a bit in the center as not to contaminate the pads.
- Using my brayer, I blended the colours together and pressed on the Split Bling Swirl stencil being sure to get good contact between the stencil and the Gel Plate.
- Leaving the stencil in place, I rubbed a piece of white cardstock over the top to lift the print.
- Next, to add more interest to the background, I used the Twinkle Stars stencil and some more Wilted Violet DOX ink and randomly inked up the open areas with a blending brush.
- I placed the inked panel into my Misti to stamp the sentiment and clear heat embossed it so it would pop a bit more against the busy background.
- I glued the panel onto a piece of purple cardstock, then onto a white card base.
- I splattered with my white Posca pen, then added 3 little white gems.

Here are the stencils I used:


Discount Code for A Colorful Life Designs
*Just use the code KarenFan10 to get a discount on stencils and masks.
(affiliate with not extra cost to you)
Thanks so much for coming by and taking a look.
Supplies
Stamp- Glory (Impression Obsession)
Inks- Distress Oxide; Versafine Clair
Paper- heavy white (Scribes Nook- Waterloo, Ont.)
Accessories and Tools- Twinkle Stars and Split Bling Swirl stencil (ACLD);
Gel Plate; Speedball Brayer; clear eb powder; Misti; white Posca pen