Showing posts with label bunny. Show all posts

Friday, 14 November 2025

Little Bunny


Welcome
Today's card was made for a little friend who was turning one. Such a special time.

So, here's what I did to create my card.
  • I began by cutting the Curly Frame from a piece of white cardstock and glued that over a piece of blue cardstock to create my card front.
  • Next, I took another piece of white cardstock, stamped the Bunny in a Wreath in my Misti and coloured it using Copic markers. I fussy cut it out around the wreath and set aside.
  • I stamped the sentiment in my Misti with some Salty Ocean Distress Oxide ink and die cut it out.
  • I glued the bunny onto a small embossed piece of paper that I inked with the Salty Ocean DOX ink.
  • I glued my card front panel onto a white A2 sized card base and then used foam tape to pop the image and the sentiment over the front inside the framed area.

Thanks a lot for coming by and taking a look.

Adding my card to these challenges:
Word Power- ANYTHING WORDS AS FOCUS
The Male Room- FLORAL (masculine)

Supplies 
Stamps- Bunny in a Wreath (IO-out of business); Big and Bold Sentiments (SSS)
Inks- DOX; Copic Markers
Paper- Solar White (Prism)
Accessories and Tools- Loopy Frame (??thrifted); Sweater Knit EB folder; foam tape;
Misti (My Sweet Petunia)

Sunday, 31 March 2024

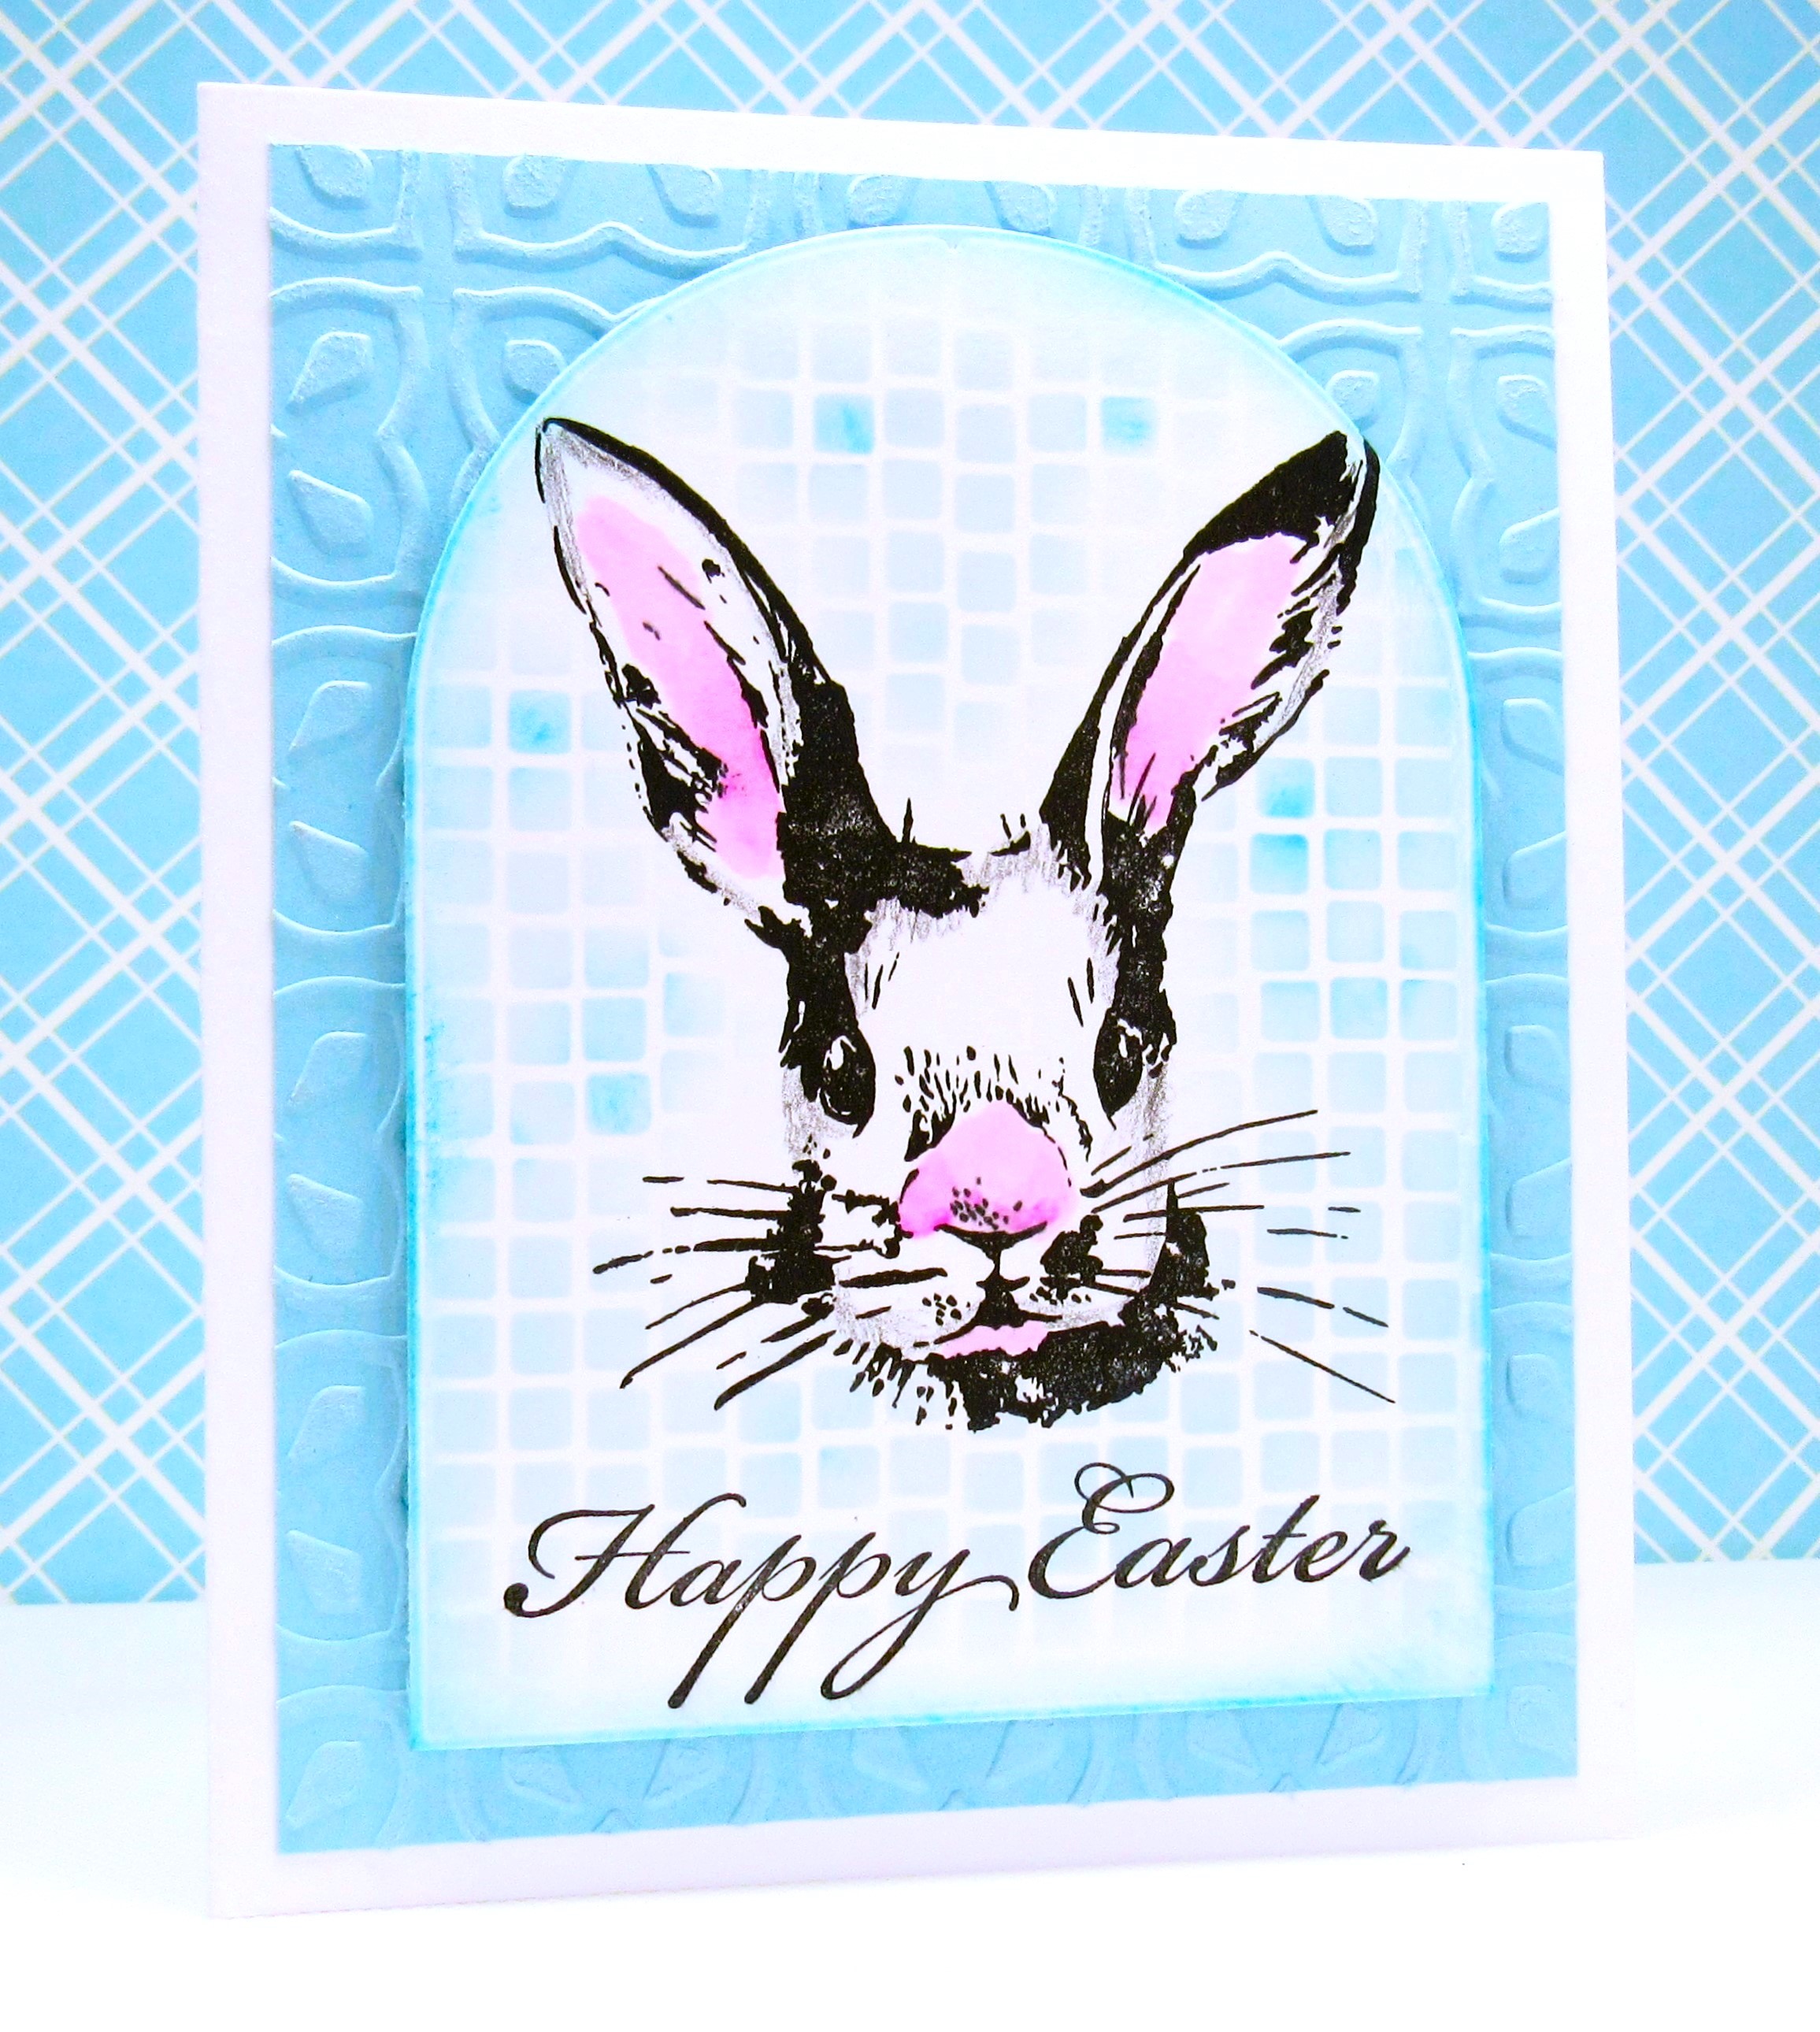
Happy Easter

Happy Easter!

I hope your day is filled with many blessings.
I created a fun card using some new and older supplies.

So, here's what I did to create my card.
  • I placed a piece of white cardstock into my Misti and stamped the new to me bunny face with Versafine Clair black ink.
  • I die cut around the bunny head with the arched die, being sure to leave enough space at the bottom to stamp the Happy Easter greeting.
  • Next, I used some watercolour pencils to add the pink to the ears and nose and fill in some areas.
  • To add detail to the background, I used the Simple Mosaic stencil and some Broken China Distress Oxide ink to help ground the bunny.  
  • I used the ink left on my blending brush to ink the edges of the arch as well.
  • I dry embossed a piece of pale blue cardstock and sanded it slightly to give it a bit of a distressed look.
  • I glued the embossed cardstock onto an A2 sized card base and then used some foam tape to pop the bunny arch over that.  

Here is the stencil I used:

Discount Code for A Colorful Life Designs
(Affiliate with no extra cost to you) 

Thanks so much for coming by and taking a look.

Adding my card to these challenges:
Simon Says Wed.- ANYTHING GOES
Little Red Wagon- ANIMAL ANTICS
Daring Cardmakers- EASTER THEME
Just Us Girls- ANYTHING GOES STENCIL WEEK

Supplies
Stamps- Happy Easter (Craftsmart); Hipster Bunny (TH)
Inks- Versafine Clair; DOX, watercolour pencils
Paper- heavy white (Scribes Nook- Waterloo, Ont.)
Accessories and Tools- stencil (A Colorful Life Designs); TE Blending Brushes;
Arches die (Photoplay); EB folder (Darice)

Saturday, 30 March 2024

Easter Bunny

Welcome
As we celebrate Easter and Spring, it's time to meet the new for March stencil from A Colorful Life Designs called 
I used the bunny along with the Marvelous Masks Hexagons in the background.

So, here's what I did to create my card.
  • I placed a piece of white cardstock onto my Make Art station and then put the Bunny Profile stencil along one side and inked it up with some Rusty Hinge and some Aged Mahogany Distress Oxide ink.
  • This stencil comes with a mask so I placed that over my stenciled bunny and secured in place.  
  • I put the smallest Marvelous Mask Hexagon over the bunny mask and inked it up with some Cracked Pistachio ink.
  • I added the next sized Hexagon and inked that with some Peacock Feathers DOX ink.  I repeated that all using the next largest sized Hexagon and inked with some Uncharted Mariner DOX ink.
  • I removed the Hexagon Masks, but left the Bunny Mask in place so I could splatter with my white Posca pen.
  • I stamped the sentiment along the bottom, then glued the panel onto a piece of blue cardstock, then onto an A2 sized card base.
  • Lastly, I added 2 black gems beside the sentiment.

Here is the stencil and masks I used:


Discount Code for A Colorful Life Designs
(Affiliate with no extra cost to you) 

Thanks so much for coming by and taking a look.

Adding my card to these challenges:
Simon Says Wed.- ANYTHING GOES
Shopping Our Stash- SPRING HAS SPRUNG
Just Us Girls- ANYTHING GOES STENCIL WEEK
Little Red Wagon- ANIMAL ANTICS

Supplies
Stamps- Hippity Hoppity (Craft Smart)
Inks- Versafine Clair, DOX
Paper- heavy white (Scribes Nook- Waterloo, Ont.)
Accessories and Tools- stencils (A Colorful Life Designs); TE Blending Brushes;
Make Art Station (Ranger); white Posca pen; black gems

Friday, 17 March 2023

Happy New Baby


Welcome
Today's card features this adorable newly released stencil from A Colorful Life Designs called
  Layered Bunny Faces.  Perfect for Easter or I chose to make a baby card using it.

So, here's what I did to create my card.
  • I put a piece of white cardstock onto my Make Art Station and positioned the Part #1 of the Layered Bunny Faces stencil over that.  I inked up the pink bunnies first, down the center of the cardstock panel using some Picked Raspberry Distress Oxide ink.  
  • I cleaned off the stencil and then repositioned it to ink up the blue bunnies along the sides using some Peacock Feathers Distress Oxide ink.
  • I removed Stencil #1 and positioned the second stencil (the face details) over the bunny heads and inked them up with some black ink....so cute
  • Next, I got out the Layered Rainbow Love stencil (January release) as I wanted to fill in some of the open areas.  Using just the hearts from that stencil and some more of the inks mentioned above, I inked up the hearts in the open areas between the bunnies.
  • I removed the heart stencil and used a pencil eraser to add the dots for fun.
  • I got out this fun die from Heffy Doodle and cut the outline of the words from the stenciled panel.  I also cut the sentiment with some white cardstock.
  • I glued the stenciled panel onto a piece of white cardstock, then onto an A2 card base.
  • I glued the sentiment onto the shadow piece and then pop dotted those back into place.

Here are the stencils I used:


Discount Code for A Colorful Life Designs
(Affiliate with no extra cost to you) 

Thanks so much for coming by and taking a look.

Adding my card to these challenges:
As You Like It- FAV EASTER CRITTER AND WHY (bunnies are so soft and gentle)
Critter Crazy- ANYTHING GOES WITH A FEATURED CRITTER


Supplies
Stamps- none
Inks- Distress Oxide
Paper- heavy white (Scribes Nook- Waterloo, Ont.)
Accessories and Tools- stencils (A Colorful Life Designs); Make Art Station (Ranger);
-Happy New Baby die (Heffy Doodles); TE Blending Brushes; Pencil-eraser

Saturday, 9 April 2022

Easter Time


Good Morning
As Easter is just around the corner, I wanted to make a few Spring/Easter inspired cards.
This one was totally done with the Bunny Fields stencil from A Colorful Life Designs.

So here's what I did to create my card.
  • I pulled out a piece of white cardstock for my front panel that was 3 3/4 x 5".
  • I laid the cardstock onto my Stencil Mat and positioned the bunny part of the Bunny Fields stencil over the center and then inked it up with some Peacock Feathers Distress Oxide ink.
  • I removed the stencil and wiped it off to continue on making my surrounding flowers.
  • Now if you look at the picture of the stencil below, it will give you a better idea about what I did next.
  • I masked off some of the flowers and then stenciled all the largest one around the bunny first using some more Distress Oxide inks in Spring-like colours.
  • When I was happy with those, I went back in and added the smaller flowers to fill in the open areas using more DOX ink.  Here are the colours I used:  Picked Raspberry, Cracked Pistachio, Mustard Seed, Peacock Feathers and Wilted Violet.  I cleaned off my stencil between colours as not to get muddy looking colours.
  • I rubbed over the bunny with my anti-static bag, stamped the sentiment and clear heat embossed it.
  • I glued the stenciled panel onto a piece of blue cardstock, then onto a white card base.


Here is the stencil I used:

Discount Code for A Colorful Life Designs
(affiliate with not extra cost to you)

Thanks so much for coming by and taking a look.

Adding my card to these challenges:
Simon Says Mon.- EASTER/SPRING
2 Sisters on the Blog- PASTEL COLOURS
Alphabet Challenge- ANIMAL ANTICS

Supplies
Stamp- Happy Easter (Printworks)
Inks- DOX, Versafine Clair
Paper- heavy white (Scribes Nook)
Accessories and Tools- Bunny Fields stencil (ACLD); Stencil Mat (Waffle Flower);
Lawn Fawn clear eb powder; heat tool; TE Blending Brushes