Tuesday, 21 April 2020

Blowing Bubbles


Hello and Welcome!
And now for some more fun......blowing more bubbles!
A few weeks ago, I hosted the Technique Lovers Challenge over at Splitcoast Stampers.  We did some bubble blowing you can see here:

I began by placing my Oval Acrylic Mask from A Colorful Life Designs onto my paper.  I used some Post-It Tape to hold it in place.  I filled a shallow dish with some water, soap and some Carved Pumpkin Distress re-inker and started blowing bubbles.  As soon as they come over the top, I pressed my paper over them to make the bubbles break and colour my paper. I found that the re-inkers are more concentrated so gave much deeper colour to the bubbles.  I repeated that process until I was happy with the coverage.
I left the mask in place and stamped the flowers and the sentiment from STAMPloration when it was all dry.  I mounted it onto some orange cardstock then onto a heavy white card base.  


Thanks so much for coming by and taking a look.

Discount Code for A Colorful Life Designs
*Just use the code KarenFan10 to get a discount on stencils and masks.*


Supplies
Stamps- Beautiful You (STAMPlorations)
Inks- Versafine Clair; Distress re-inker
Paper- heavy white (Scribes Nook)
Accessories and Tools- Dawn Dish soap; straw; Marvelous Oval Masks (ACLD)

Monday, 20 April 2020

Sweet Cheeks


Good Morning
Meet today's card.  
A simple one for some special friends that just welcomed a new baby boy.  Such an exciting time.

So here's what I did to create my card.
I began with a piece of white cardstock, then I chose 2 Copic markers in colours that would compliment each other and drew my background plaid.  It is really pretty easy to do and you can create any type of plaid you want.  If you feel like you don't have a steady enough hand, use a ruler to help draw the lines.  I just went for it trying to space out my lines as best I could.

When I was happy with the plaid bkg. I placed the panel into my Misti and stamped the sentiment...it's such a fun one from a set I got at a garage sale.
On another piece of cardstock, I stamped the buggie, coloured it using the same colours as the plaid then fussy cut it out so I could pop dot it over the sentiment.
I mounted it all onto a heavy white card base.


Thanks so much for coming by and taking a look.
To see another card that I drew some simple plaid on, go HERE.

Supplies
Stamps- Baby (Autumn Leaves)
Inks- Versafine Clair; Copic markers
Paper- heavy white (Scribes Nook)
Accessories and Tools- Misti (My Sweet Petunia); pop dots


Saturday, 18 April 2020

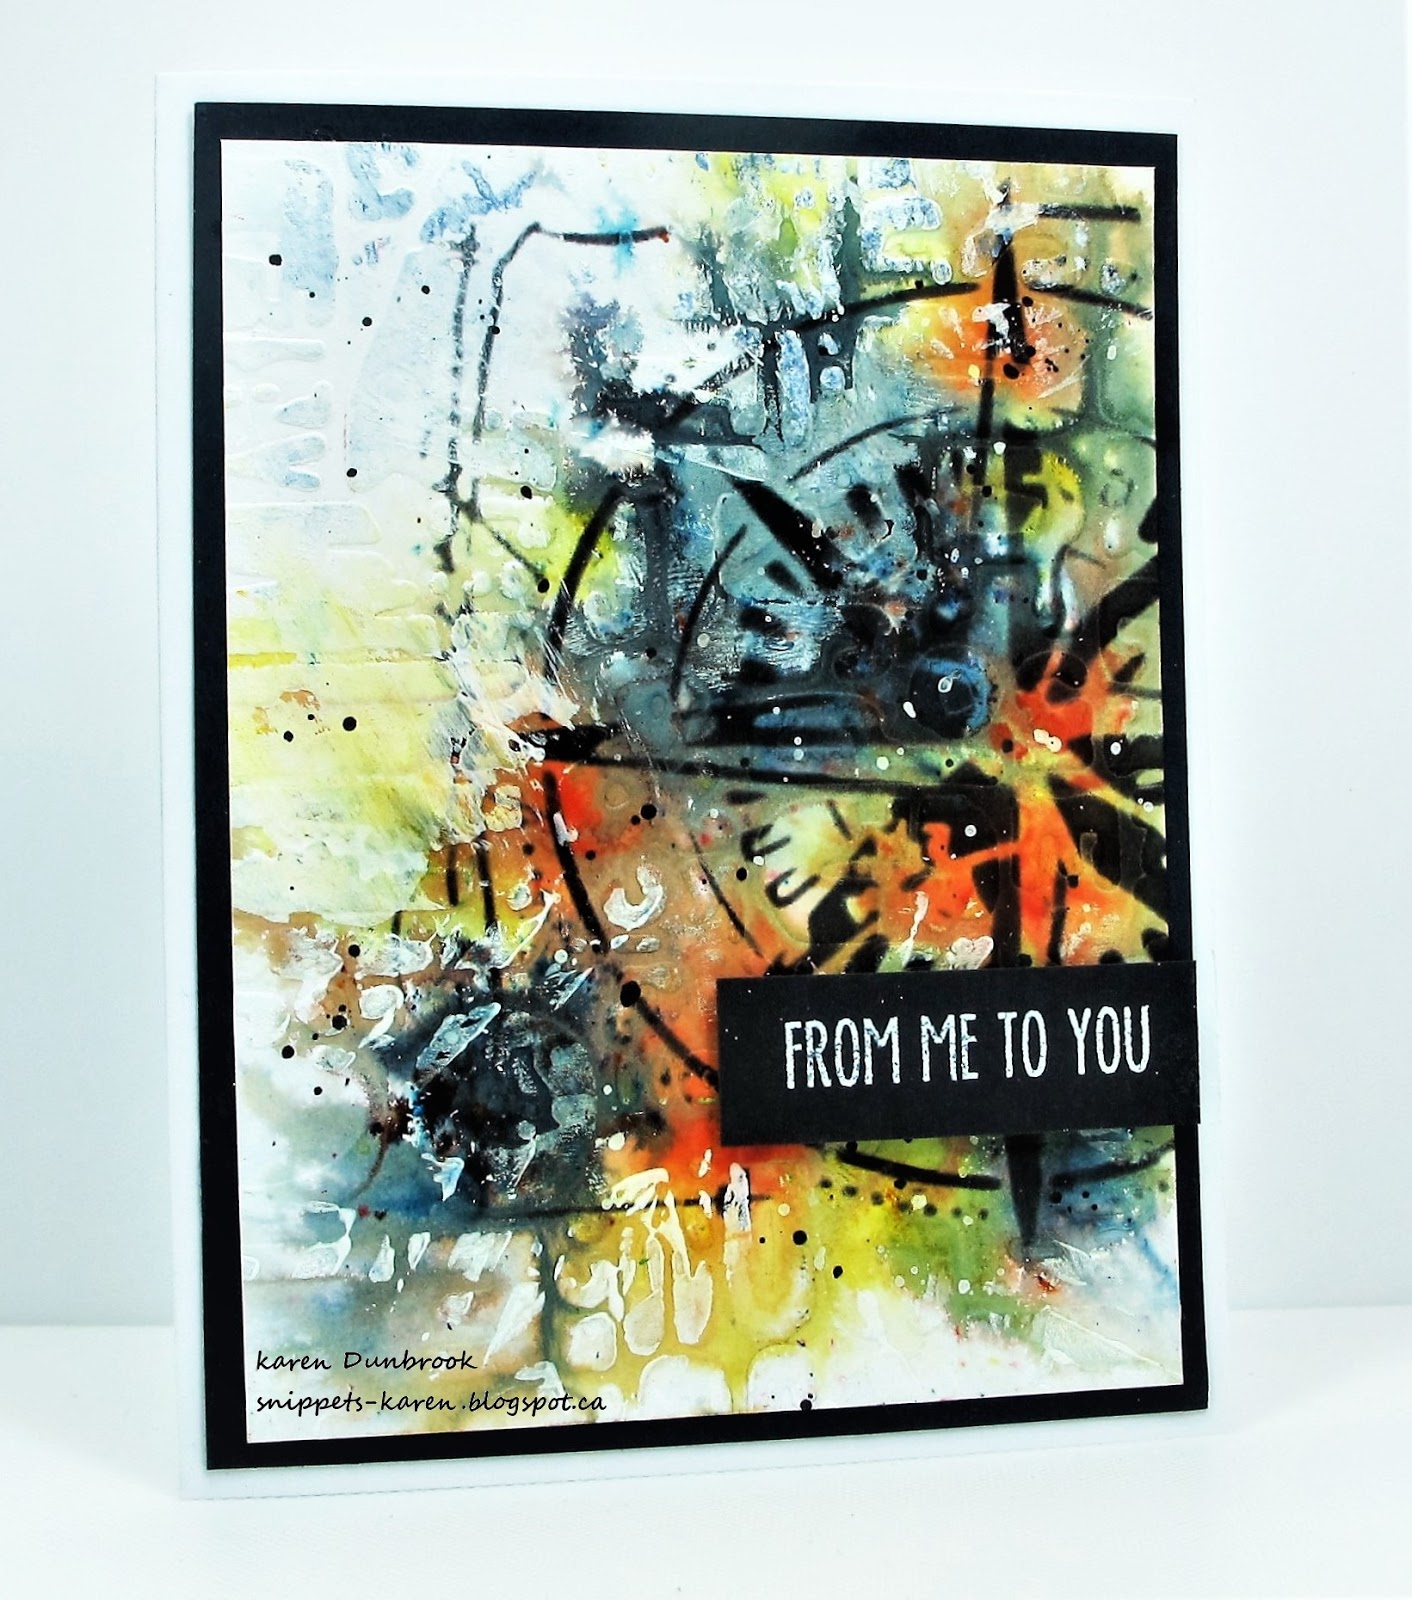
Lead the Way


Hello and Welcome
Today I'm trying my hand at some Mixed Media with this card.  Just playing around is fun.

So here's how my card came to be.
I began with a piece of heavy white cardstock.  I embossed it with my Cuttlebug using a folder from Carabelle Studio.  I think it's called Graffiti but I can't find it at the moment.
* helpful tip:  Lightly spray your paper before placing it inside your embossing folder to get a better impression*
Next, I sprinkled some Brushos onto my embossed card panel, sprayed with just a bit of water and let the colours bloom.  I used some black, lemon and some orange Brushos.  The black is the most amazing as when it is activated with water, you see shades of gray, blue and green.  I dried that with my heat tool. 
When it was all dry, I use the Compass stencil from AAll and Create with some Ranger Archival ink to stencil over to the side of the panel.  Some of the areas looked a bit dark, so I added touches of white acrylic paint using my brayer to lighten them up a bit.  I splattered with some black acrylic paint, then I stamped the sentiment onto a piece of black cardstock, white heat embossed it and pop dotted it over my background.
I glued it over a piece of black cardstock, then onto a white card base.


Thanks so much for coming by and taking a look.

Supplies
Stamps- Everyday Sentiments (YNS)
Inks- Ranger Archival, Brushos, Versamark
Paper- heavy white (Scribes Nook)
Accessories and Tools- EB folder (Carabelle Studios); Compass stencil (AAll Creates);
brayer; pop dots; white eb powder; black and white acrylic paint

Friday, 17 April 2020

What.....No Stamping?

Good Morning!
I hope you are all well and are finding things to keep busy with during these times of isolation.
Yesterday, I played along with a fun challenge over at Splitcoast Stampers called No Stamping.
Time to think outside of the box as I love to stamp!  

So here's what I did to create my card.
I began by making the background piece.  I found a piece of white tissue paper in my stash, wrinkled it all up to create creases and then flattened it back out with my hands.
I rubbed some Cracked Pistachio, Mermaid Lagoon and some Peacock Feathers Distress inks onto a piece of acetate, sprayed with water and then pressed that onto the tissue paper.  The tissue paper will soak in all the ink quickly so try not to make it too wet.  I set it aside to dry on a flat surface.
As it dried, I die cut a window from my white cardstock and then went on to die-cutting the flowers.

When the tissue was dry, I glued it behind the cut out window and then added the flowers, arranging them in a random fashion.
I love the way the white flowers look against that colourful bkg.
I glued it onto a piece of matching blue cardstock, then onto a heavy white card base.


Thanks so much for coming by and taking a look.

Supplies
Stamps- NONE!
Inks- Distress (TH)
Paper- heavy white (Scribes Nook); Tissue paper (Dollar Store)
Accessories and Tools- acetate sheet; Meadow Clover die (Poppystamps);
Tall Sketch Daisies (Poppystamps); Stitched Frames (Memory Box); Cuttlebug