Wednesday, 26 October 2022

Watching the Leaves Fall


Welcome
Meet today's card using the new stencil from A Colorful Life Designs called Oak Elements.
You get a variety of 3 different designs with this stencil, lots of possibilities with this one.

So, here's what I did to create my card.
  • I cut a piece of white cardstock and pulled out my Gel Plate, brayer and some Distress Oxide inks.
  • I rubbed some Carved Pumpkin and some Candied Apple Distress Oxide ink directly onto the Gel Plate, blended together with my brayer and placed the Oak Elements stencil onto my plate.
  • I rubbed the white cardstock over the stencil to create the print.
  • I let it dry and then added the stamped elements around it using some Carved Pumpkin DOX ink to add interest and to fill in the open areas.
  • I rubbed some Mustard Seed DOX all along the edges to add shading to the background.
  • I place the piece into my Misti to stamp the sentiment.
  • I glued the finished panel onto a piece of yellow cardstock, then onto an A2 card base.
  • Finally, to finish off my card, I added 3 orange gems around the sentiment.

Here is the stencil I used:


Discount Code for A Colorful Life Designs
(Affiliate with no extra cost to you)

Thanks so much for coming by and taking a look.

Adding my card to these challenges:
Stamping Sensation- ALL THING AUTUMN
Cardz for Guyz- AUTUMNAL COLORS

Supplies
Stamp- Take Time (Impression Obsession- retired); Details stamps #307 (AALL and Create)
Inks- DOX; Versafine Clair
Paper- Scribes Nook- Waterloo, Ont.
Accessories and Tools- stencil (ACLD); Gel Plate, Speedball Brayer; 
TE Blending Brushes; Misti

Tuesday, 25 October 2022

Your Big Day


Welcome
Meet today's card that came together easily.
I just picked up this fun sentiment and had to have a chance to use it.

So, here's what I did to create my card.
  • I began with a piece of white cardstock and inked it up with some Carved Pumpkin, Mustard Seed and some Candied Apple Distress Oxide inks.
  • When I was happy with the inking, I place the panel into the Crazy Paints embossing folder and ran it through my die cutting machine.
  • Using a piece of sandpaper, I sanded off some of the high areas to reveal more of the pattern.
  • To help show the raised areas off even more, I rolled my brayer into a small amount of white acrylic paint and brayered over the top.  It added some more white to the raised areas.
  • I splattered with my white Posca pen and set aside to dry.
  • I die cut the shadow part of the sentiment die with some black cardstock, then die cut the sentiment right from the center of the dried inked panel.
  • I glued the sentiment onto the shadow and set it aside.
  • I glued the panel onto a piece of black cardstock, then onto an A2 sized card base.
  • I popped the sentiment back into place over the panel and added 3 black gems for interest.

Thanks so much for coming by and taking a look.

Adding my card to these challenges:
Little Red Wagon- SEEING SPOTS/ STRIPES
AAA Birthday- A FAVORITE TECHNIQUE 
(sanding embossing)
Allsorts- COLORS OF AUTUMN

Supplies
Stamps- none
Inks- DOX; white acrylic paint
Paper- heavy white (Scribes Nook- Waterloo, Ont.)
Accessories and Tools- Crazy Paints eb folder (Lisa Horton); It's Your Day die (Heffy Doodle);
Speedball brayer; white Posca pen; black gems

Sunday, 23 October 2022

Blue Poinsettias


Good Morning.
Had some time to play and got another Christmas card finished.
This one was easy and came together quickly using the beautiful Perfect Poinsettias embossing folder.

So, here's what I did to create my card.
  • I cut a piece of white cardstock and placed it into the Perfect Poinsettias eb folder and ran it through my machine to emboss it.
  • With the raised area facing up, I took my Uncharted Mariner Distress Oxide ink and rubbed over the embossed areas, keeping the pad as flat against the cardstock as possible.
  • After it dried, I sanded it off in a few places to reveal more of the white, then splattered with my white Posca pen.
  • I die cut the sentiment from some white cardstock 3 times and glued them together.
  • This die has a shadow outline, so I cut that from the embossed panel and glued the sentiment into place over that.
  • I glued the panel onto another piece of white cardstock, then onto an A2 sized card base.
  • I popped the sentiment back into place and added a silver gem to the top of the 'jolly'.

Thanks so much for coming by and taking a look.

Adding my card to these challenges:
Dare 2B Artzy- FAVORITE COLOR
Winter Wonderland- LET IT SNOW
CRAFT Challenge- CHRISTMAS- NON-TRADITIONAL COLOuRS

Supplies
Stamps- none
Inks- DOX
Paper- heavy white (Scribes Nook- Waterloo, Ont.)
Accessories and Tools- eb folder (Altenew); white Posca pen; die- Catherine Pooler;
sandpaper; white acrylic paint; silver gem; foam tape

Friday, 21 October 2022

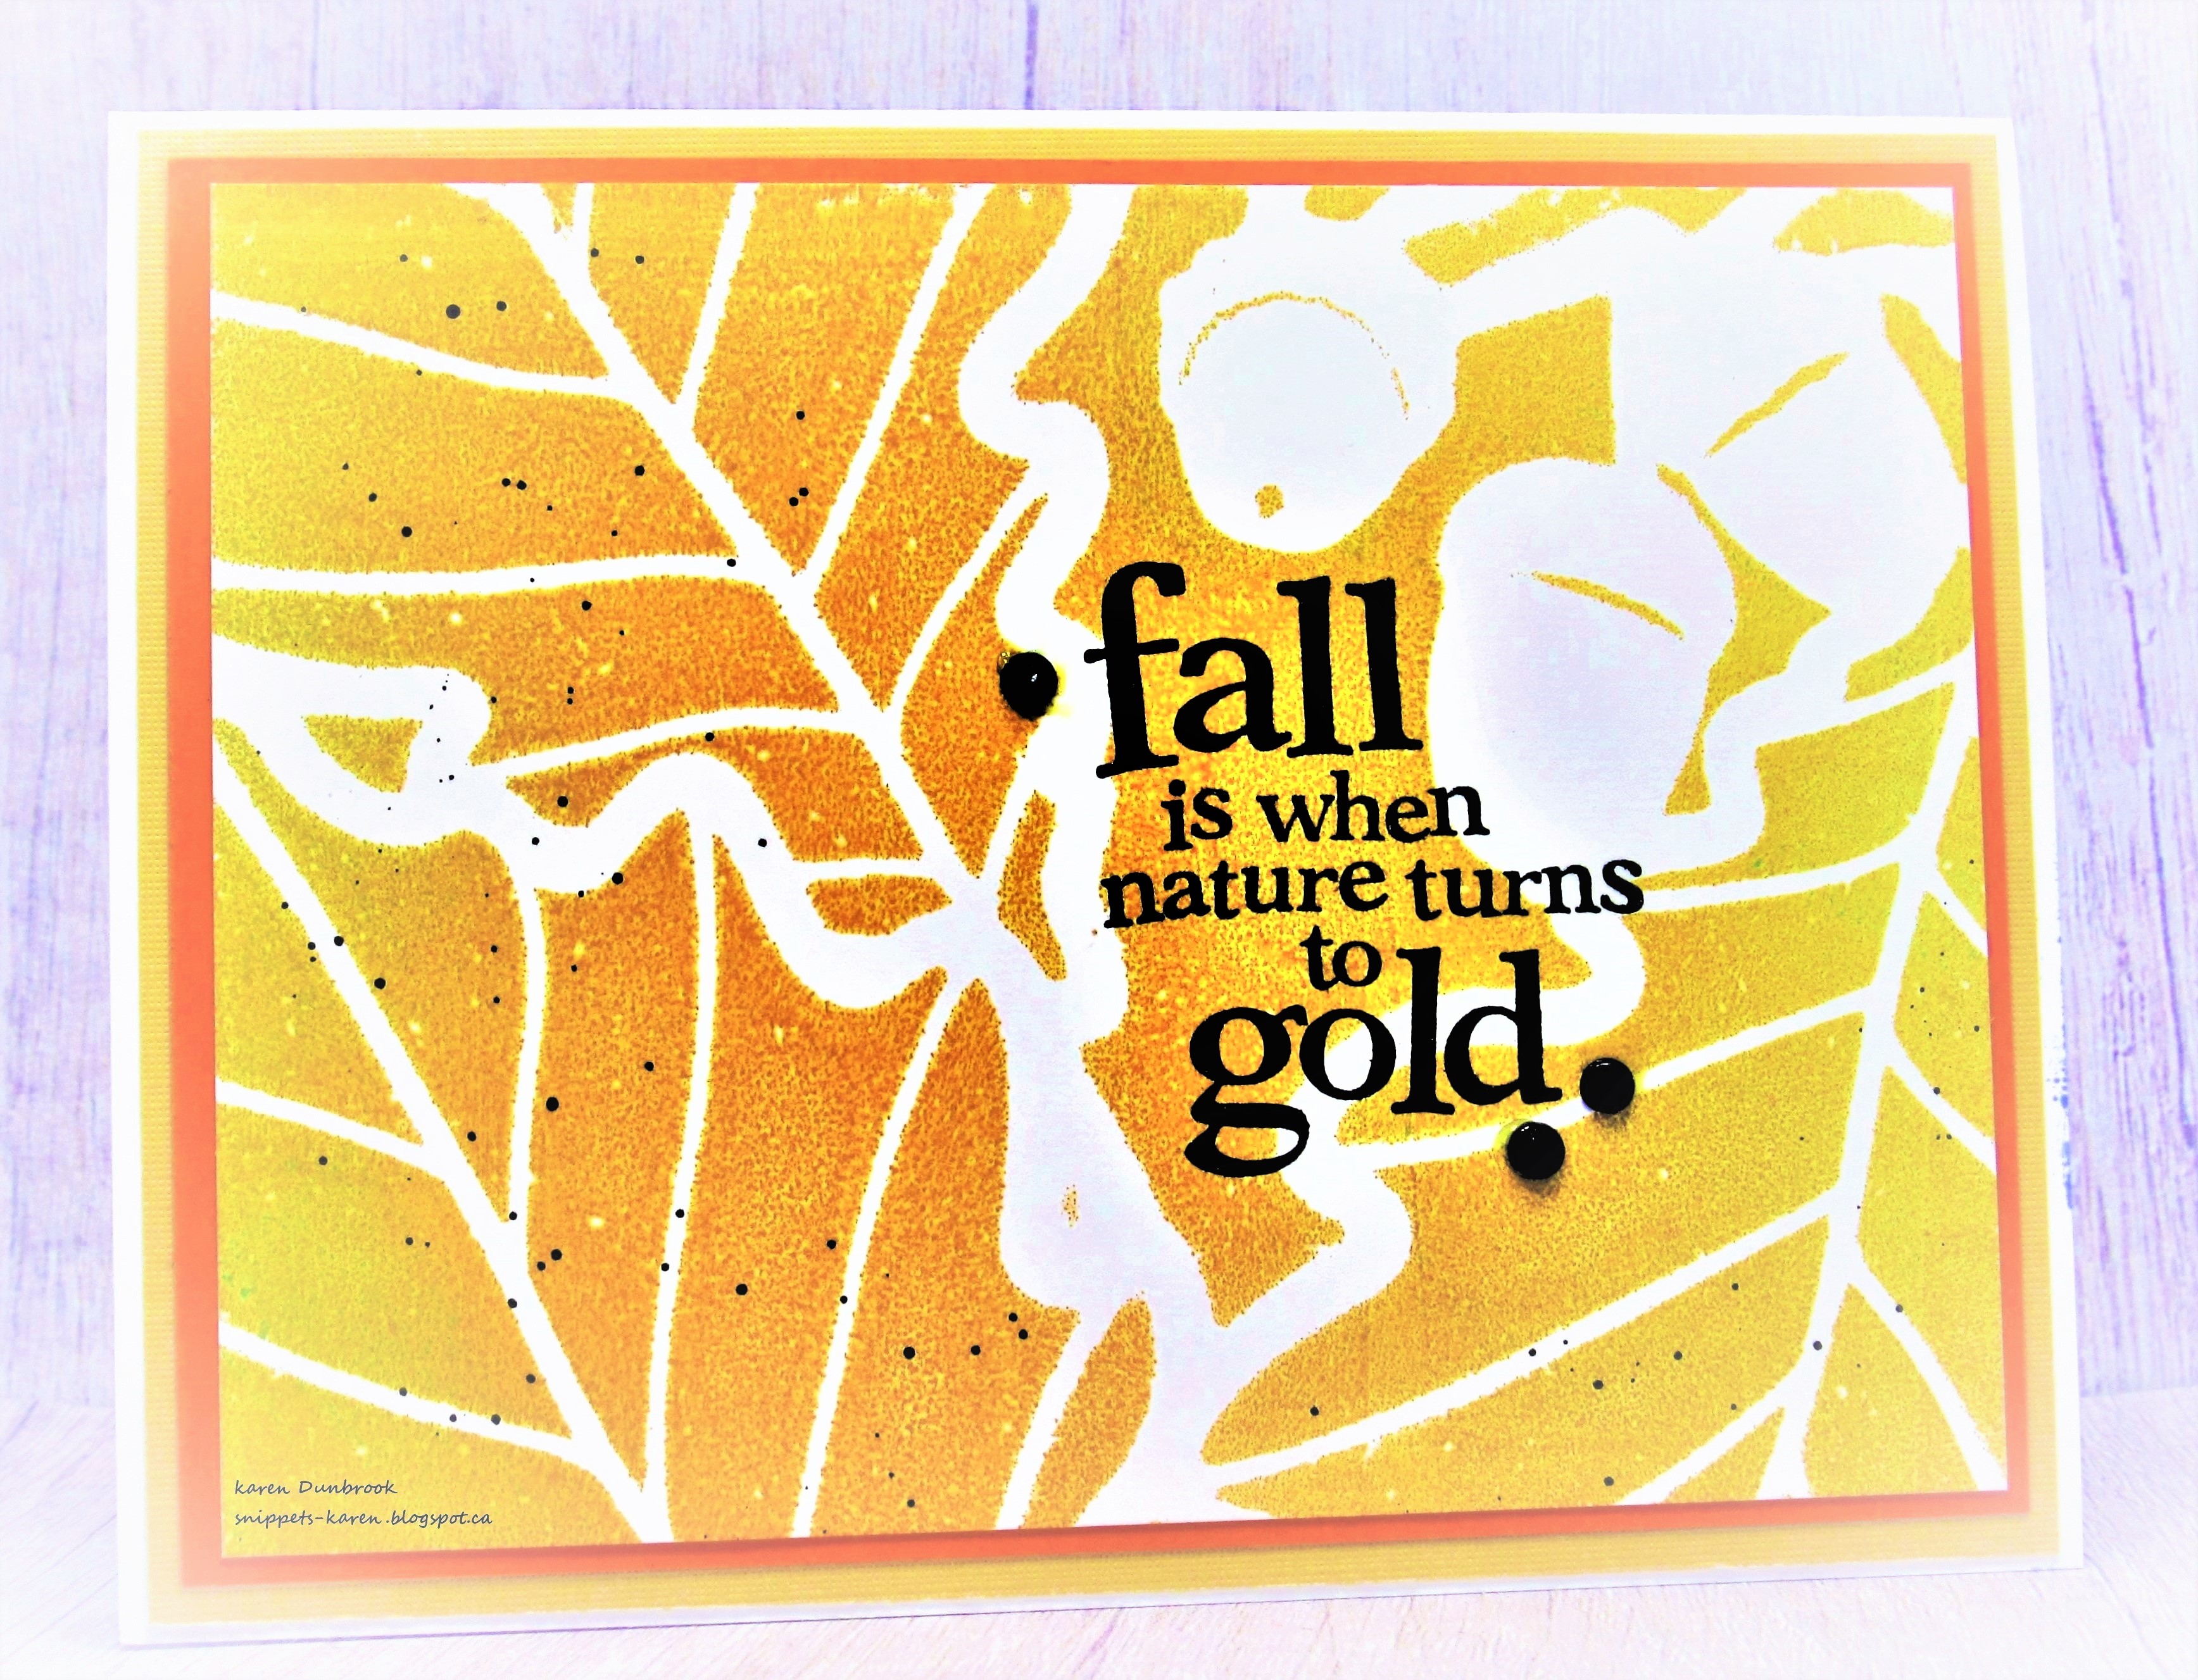
The Beauty of Fall


Welcome
Fall is such a wonderful time of year.
This newly released stencil called Big Oak from A Colorful Life Designs was a fun one to use.

So, here's what I did to create my card.
  • I began with a piece of white cardstock and got out my Gel Plate, brayer and inks.
  • I rubbed some Peeled Paint, Rusty Hinge and some Carved Pumpkin Distress Oxide ink directly onto my Gel Plate, then brayered the colours together.
  • I laid the Big Oak stencil onto the plate and rubbed over it with my white cardstock to get the print.
  • Next, I splattered with my black Posca pen to add interest.
  • I placed the dried panel into my Misti to stamp the fall sentiment.
  • I glued it onto a piece of orange cardstock, then onto a piece of yellow and finally onto an A2 size card base.
  • I added 3 black gems to finish off my card.

Here is the stencil I used:

Discount Code for A Colorful Life Designs
(Affiliate with no extra cost to you)

Adding my card to these challenges:
Cardz for Guyz- AUTUMNAL COLORS


Thanks so much for coming by and taking a look.

Supplies
Stamp- Autumn Foliage (Inkadinkadoo)
Inks- DOX, Versafine Clair
Paper- heavy white (Scribes Nook, Waterloo, Ont.)
Accessories and Tools- stencil (ACLD); Misti (My Sweet Petunia); 
Gel Plate, Speedball Brayer; Posca pen

Thursday, 20 October 2022

Live Your Life


Hello and Welcome
Today, I'm using the new Leaf Frame stencil from A Colorful Life Designs.
I decided to challenge myself to use it in a different way.

So, here's what I did to create my card.
  • I got out my Waffle Flower stencil mat and placed the Leaf Frame stencil over one corner of my 3 3/4" square piece of white cardstock.
  • I inked it up with some Carved Pumpkin and some Candied Apple Distress Oxide ink, blending the colours together.
  • I rotated the panel and inked again in the other 3 corners until the entire front was inked up.
  • Next, I grabbed my Mustard Seed DOX ink and lightly inked the edges and the center of the panel.
  • I splattered with a black Posca pen to add interest.
  • I placed the inked panel into my Misti to stamp the sentiment into the center area.
  • I glued it onto a piece of orange cardstock, then onto a 4 1/4" square card base.
  • Finally, I added 3 black gems for interest.

Here is the stencil I used:

Discount Code for A Colorful Life Designs
(Affiliate with no extra cost to you)

Adding my card to these challenges:
Cardz for Guyz- AUTUMN COLORS
Creative Crafters- ANYTHING GOES


Thanks so much for coming by and taking a look.

Supplies
Stamp- Serendipity (discontinued)
Inks- DOX; Versafine Clair
Paper- Scribes Nook- Waterloo, Ont.
Accessories and Tools- Leaf Frame stencil (ACLD); Waffle Flower Stencil Mat;
black Posca pen; TE Blending Brushes

Tuesday, 18 October 2022

Scripty Congrats


Welcome
Today's card was made using a white crayon and an embossing folder to create a unique background.

So, here's what I did to create my card.
  • I cut a piece of white cardstock, placed it into the Woodgrain embossing folder and ran it through my die cutting machine to emboss it.
  • With the raised side facing up, I rubbed over it with a white crayon.  The crayon acts as a resist when I apply the ink.
  • Next, I rubbed some Hickory Smoke Distress Oxide ink pad over the embossed background.  To add a bit more definition, I rubbed on a small touch of Black Soot DOX ink.
  • While I set that aside to dry, I die cut the sentiment and the flourish from some plain white cardstock a few times and then stacked and glued them all together.  
  • I glued the woodgrain panel onto another piece of white cardstock, then onto an A2 card base.
  • I glued the sentiment and the flourishes in place.


Thanks so much for coming by and taking a look.

Adding my card to these challenges:
Crafty Friends- USE MORE THEN ONE DIE
Crafts Galore Encore- ANYTHING GOES
Happy Little Stampers- ANYTHING GOES

Supplies
Stamps- none
Inks- DOX
Paper- white cs (Scribes Nook- Waterloo, Ont.)
Accessories and Tools- Woodgrain EB folder (Sizzix); Flourish die (Dollar Tree); 
Congrats die (Paper Smooches- closed); white crayon