Showing posts with label clover. Show all posts

Sunday, 1 February 2026

Simple I Love You

Good Morning and Welcome

Hooray...it's a new month and that means new stencil releases from A Colorful Life Designs.
So meet the newly released

It's getting close to Valentine's Day so I decided to make a card with that theme.
Here's what I did to create my card.
  • I cut a piece of white cardstock and placed the Fancy Four Leaf Clover stencil over that and inked with 3 Distress Oxide colours: Peacock Feathers, Salty Ocean and Uncharted Mariner.
  • To help make the flowers pop a bit more, I inked just the flower centers with some Wilted Violet DOX ink.
  • I removed the stencil and die cut a stitched square right from the middle of the stenciled panel and glued that onto a navy blue square piece of cardstock.
  • I glued my card front panel onto another piece of navy blue cardstock and then glued that onto a white 4 1/4" square card base.
  • I used some foam tape to add the smaller die cut piece back into place, matching the pattern.
  • I stamped the sentiment with some more Uncharted Mariner DOX ink and then used more of the foam tape to add it over the middle of my card.

Here is the stencil I used:


Thanks for coming by and taking a look.

Adding my card to these challenges:
Simon Says Wed.- ANYTHING GOES
Shopping Our Stash- LOVE ME DO
Cut It Up- MY HEART

Supplies
Stamp- Big and Bold Stamp and die (SSS)
Inks- DOX
Paper- solar white
Accessories and Tools- stencil (A Colorful Life Designs); TE Blending Brushes;
Stitched Square dies (Amazon); foam tape

Saturday, 22 February 2025

Wishing You Good Luck

Hello and Welcome
This month over at A Colorful Life Designs, we have a lot of fun new stencils with part of the release being a St. Patrick's Day theme. 
This new stencil is just right for that occasion. It is called:
This is a 2-part stencil with lots of possibilities. 

So, here's what I did to create my card.
  • I placed a piece of white cardstock onto my Make Art Station and put the clover stencil from the Layered Freckled Clover onto my paper. *For today's card I am only using one of the 2 stencils in this set*  I inked over the stencil with some Cracked Pistachio Distress Oxide ink.
  • I lifted the stencil off, cleaned it with a wet paper towel and repositioned it over the panel.  I inked again using some Rustic Wilderness DOX ink.  It gave a lovely layered look.
  • Next, I took the stenciled panel and ran it through my die cut machine with the Diagonal Stitched Rectangle to add some interest around the edges and to give a faux framed look.
  • I rubbed over my panel with an anti-static brush and then I stamped the sentiment in my Misti.  I clear heat embossed it to help it pop against the background.
  • I splattered the whole front of the panel with my black Posca pen and set aside to dry.
  • I glued the finished card front onto a piece of dark green, then onto a piece of lighter green cardstock.  I added that onto an A2 sized card base.
  • I added 3 shiny black gems around the sentiment to finish my card off.

Here is the stencil I used:

My Discount Code for Your Entire Order from A Colorful Life Designs:

Thanks so much for coming by and taking a look.

Adding my card to these challenges:
The Male Room- MONOCHROME
Ellibelle's Corner- I Spy With My Little Eye- NO DESIGNER PAPER
Word Power- WORDS AS FOCUS

Supplies
Stamps- Large Sentiments (Pinkfresh)
Inks- Versafine Clair; DOX
Paper- heavy white
Accessories and Tools- stencil (A Colorful Life Designs); black Posca pen;
clear EB powder (Lawn Fawn); Misti (My Sweet Petunia); black gems (Dollar Store)
Diagonal Stitch Rectangle Stacklets (TE); TE Blending Brushes

Thursday, 15 February 2024

Happy Birthday Wishes

Good Morning
Doing some stencil layering this morning with 2 new stencils from A Colorful Life Designs called
Combining the 2 made for a fun background.

So, here's what I did to create my card.
  • I placed the Double Honeycomb stencil onto a piece of white cardstock and inked that up with some Cracked Pistachio Distress Oxide ink.
  • I removed that stencil and placed the Clover Trellis stencil over my panel and inked with some Rustic Wilderness DOX ink.  
  • While that dried, I die cut the birthday sentiment with some white cardstock 2 x's, then I die cut it again with a piece of shiny black recycled paper and glued those together.
  • I glued the stenciled panel onto a piece of white cardstock, then onto a piece of green and then onto an A2 sized card base.
  • Finally, I glued the sentiment to the center and added some black gems around it 

Here are the stencils I used:


Discount Code for A Colorful Life Designs
(Affiliate with no extra cost to you) 

Thanks so much for coming by and taking a look.

Adding my card to these challenges:
A Place to Start- MONOCHROMATIC
The Crafty Addicts- ANYTHING GOES
option- love/hearts

Supplies
Stamps- none
Inks- DOX
Paper- heavy white (Scribes Nook- Waterloo, Ont.)
Accessories and Tools- stencils (A Colorful Life Designs); TE Blending Brushes;
Make Art Station (Ranger); Happy Birthday die (Amazon)

Sunday, 7 April 2019

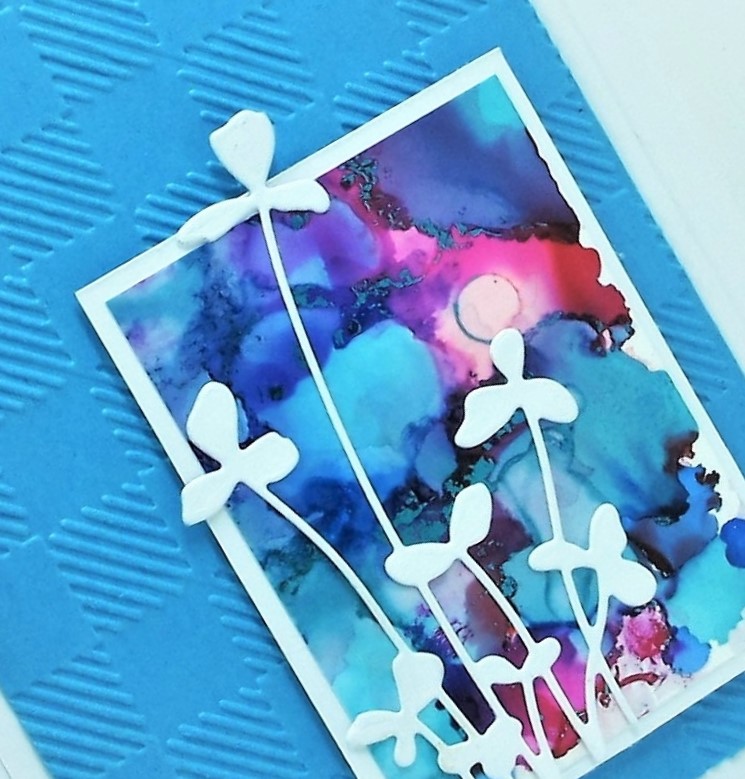
Meadow Clover

Hello and Welcome.
This is today's card inspired by a piece of inky Yupo paper I made awhile ago.

So onto my card.
This piece has been in my stash for awhile.  I like to do a bunch and put them away for future use.
I began with a piece of Yupo that I applied some Alcohol inks with Blending Solution to help move the inks around.  I love watching the magic of the inks move.  I did rub on some blue foil that stuck to the wet areas of the inks that added a bit of a shine.  I cut the larger piece into a small panel and adhered it to a piece of white cardstock for stability.  
Next, I die-cut the clovers with more white cardstock and glued them to the front of the inked panel.
Love how the white just pops against the inky bkg.
I took a piece of matching blue cardstock and ran it through my Cuttlebug in a plaid embossing folder to add some texture to the main panel.  
Lastly, I pop dot mounted the AI piece over the embossed bkg then onto a plain white card base.


Thanks so much for coming by and taking a look.

Adding my card to these challenges:
CASology- BURST


Supplies
Stamps- None
Inks- Alcohol inks (Ranger)
Paper- Yupo; heavy white (Scribes Nook)
Accessories and Tools- Blending Solution (Ranger); Blue Foil; 
Meadow Clover die (Poppystamps); Plaid eb folder (Echo Park); Cuttlebug

Saturday, 4 November 2017

CAS Silhouette- The Flower Challenge

Good Morning.

Time for more fun at 
Our theme this month is CAS; Clean and Simple.


My card came together quickly using one of my favourite silhouette stamps.
I began by inking up my Texte Grunge Embossing Folder with Distress inks, sprayed with water and pressed onto my paper.  Instant background.
Next, I placed the Clover Silhouette into my Misti and stamped it in black, then did the sentiment in the same way.
Finally, I diluted a bit of the same ink on my non-stick craft mat and flicked it all over my card front.


Please come and play along with us.
Thanks for looking.


Adding my card to these challenges:

Addicted to CAS- LEAVES
Alphabet Challenge- QUOTE
Simply Papercraft- ANYTHING GOES
Watercooler Wed.- FEMININE ANYTHING GOES

Supplies
Stamps- Live, Laugh (Rubbernecker)/ Clover Silhouette (Magenta)
Inks- Bundled Sage, Forest Moss Distress (TH)/ Tuxedo Black Memento
Paper- heavy white (local store)
Accessories and Tools- Misti/ EB Folder- Texte Grunge (Carabelle)/ paintbrush

Monday, 29 May 2017

Swipe Your Credit Card

Good Morning.
Today, I am hosting the Technique Lovers Challenge at 
I am calling this Challenge 'Swipe Your Credit Card'.

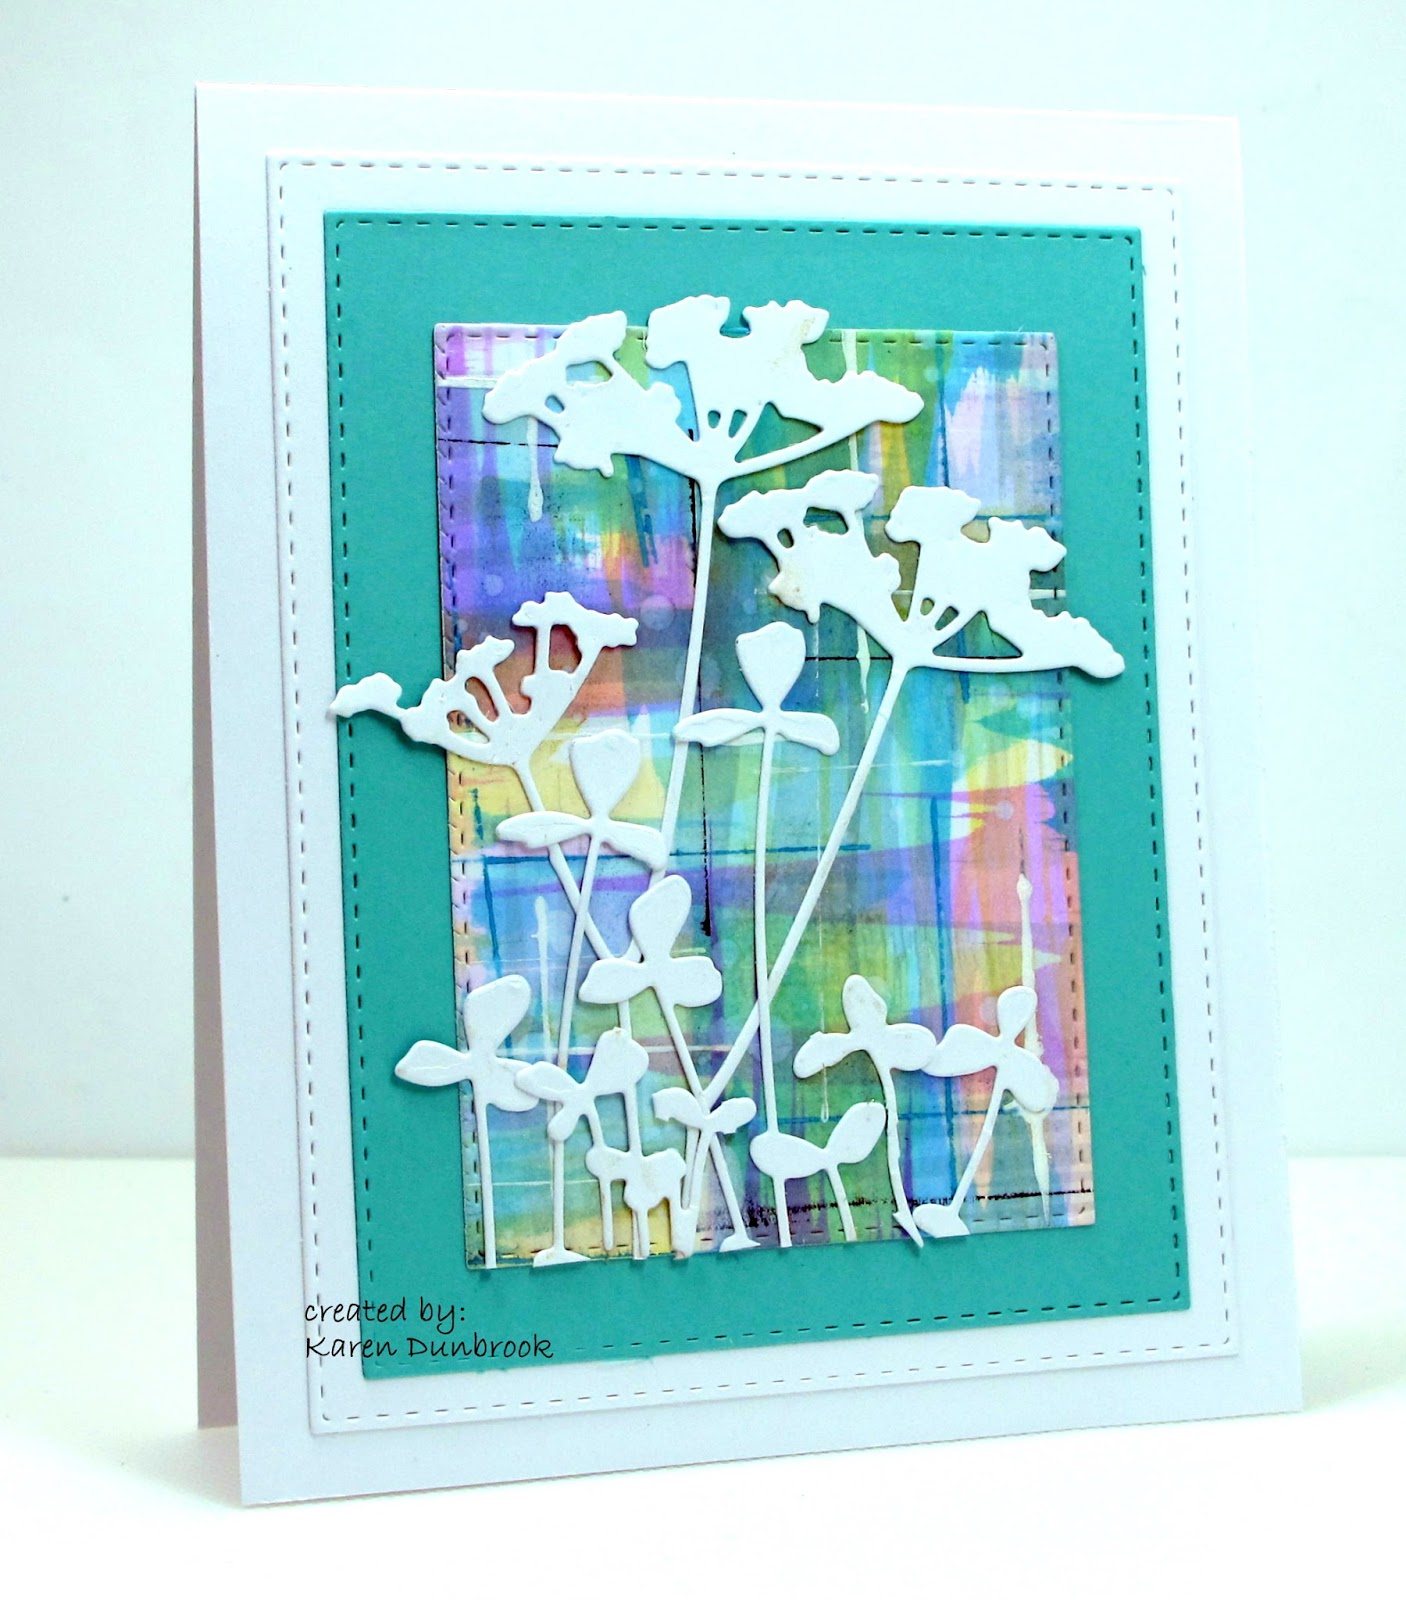
After making this card last week using the Distress Oxide inks and a credit card, I though it would make for a fun mini-tutorial and a challenge.  It is pretty simple to do and the nice thing is that you most likely have all the supplies already on hand.

 I have 2 cards I made using this technique.
This first one was done using Distress Oxides inks in four different colours.
Just a hint, I used a heavy weight cardstock instead of watercolour paper so the ink would sit on top of the paper and not soak in. 
I rubbed the ink directly onto my non-stick craft sheet, sprayed with water and dipped just the edge of my credit card into the ink and then dragged it across my paper.
I touched the edges of my credit card onto my black ink pad to create the black lines on my card and some white acrylic paint for the others.
I added the Tim Holtz die cut flowers some flowers from Memory Box across the bottom and used a stitched frame die on the edges.


So now onto my second card.
For those of you that have not ventured into the world of Oxides, I wanted to give this technique a try using my regular Distress inks.  I figured most of you had at least some of these inks on hand or others that were water-based. 
I will say that the Oxides do layer better then the regular Distress inks.

I did exactly the same technique as above but this time, I stamped on my card front instead of using the die-cuts.  By using the Misti, it was easy to get good coverage when I repeat stamped a few times.
I added some white acrylic paint splatters to this one too and stamped a sentiment as well.


Adding my cards to these challenges:

City Crafter- SUNSHINE
(card #2)

Time Out- INSPIRATION QUOTE

Love to Create- MIXED MEDIA


I hope you will check out my mini tutorial and give it a try.
Thanks again for coming by and taking a look.

 Supplies
Card #1
Stamps- none
Ink- Broken China, Wilted Violet, Peeled Paint, Iced Spruce Distress Oxides
Paper- heavy weight (bulk from local store)
Accessories and Tools- Cuttlebug, Dies- Wildflowers (TH), Meadow Clover (Poppystamps), 
Stitched Frame (Memory Box), credit card, wh acrylic paint

Card #2
Stamps- Clover Silhouette (Magenta), Wildflowers (TH), Live..Laugh..Love (Rubbernecker)
Ink- Ripe Persimmon, Carved Pumpkin, Fired Brick, Fossilized Amber Distress (TH);
Tuxedo Black Memento
Paper- heavy weight (bulk from local store)
Accessories and Tools- MISTI, wh acrylic paint, credit card, paintbrush