Saturday, 5 February 2022

Snowy Cabin


Good Morning
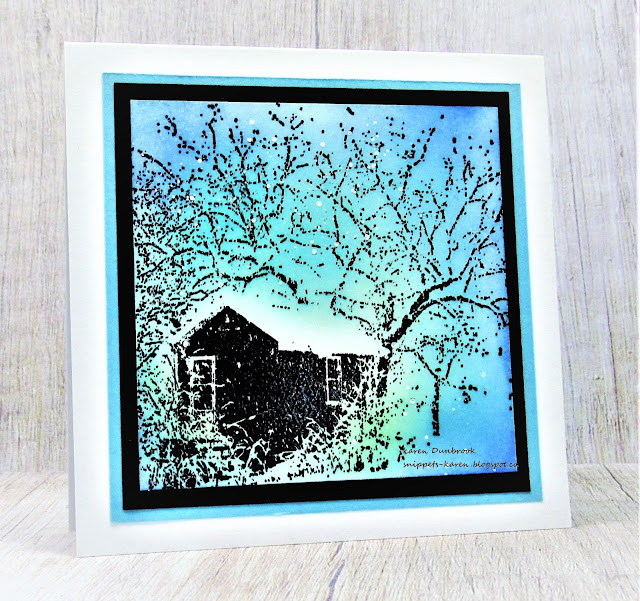
Meet today's simple card.
I just got this beautiful stamp called Snowy Studio from Impression Obsession that I wanted to play with.

So here's what I did to create my card.
  • I cut a piece of white cardstock, placed it into my Misti and stamped the image with some black Versafine Clair ink.  I clear heat embossed it as I wanted to ink over it with no smudges.  I also find that the image pops when embossed.
  • I inked the panel up using my TE Blending Brushes and some Cracked Pistachio, Peacock Feathers and Blueprint Sketch Distress Oxide ink. 
  • I splattered the whole inked panel with my white Posca pen.
  • When it was dry, I glued it onto a piece of black cardstock, then onto some blue to match the background, then finally onto a white card base.  My finished card size was 4 1/4 x 4 1/4 so it would fit into a standard size envelope.

Thanks so much for coming by and taking a look.

Adding my card to these challenges:
Krafty Chicks- STAMP ACT
CRAFT- WINTER


Supplies
Stamps- Snowy Studio (Impression Obsession)
Inks- Distress Oxides; Versafine Clair
Paper- heavy white (Scribes Nook- Waterloo, Ont.)
Accessories and Tools- TE Inking Brushes; Lawn Fawn EB powder; white Posca pen; 
Misti (My Sweet Petunia)

Thursday, 3 February 2022

Reflect and Hope


Hello and Welcome
After a long week, I enjoy watching a live on Friday nights hosted by Vicki Boutin.  
For those of you that don't know her, she's a mixed media artist, has her own brand, creates live online for free every Friday night and is a fellow Canadian with a big heart!
(You can catch her videos on FB or YouTube)
Last Friday, she showed one technique for creating Bokeh backgrounds. 
 I haven't done that in awhile so decided to make one.
For those of you that are unfamiliar with the term 'bokeh' basically it is a photographic effect that photographers can give to a photo to make the lights looked blurred and reflective.

So here's what I did to create my card.
  • I cut a piece of white cardstock and placed the Marvelous Masks Rectangle from ACLD over my cut panel.  These masks are so great when you want to have a crisp, white border left around the edge of your inking or stamping.
  • I used my Infinity Circle dies to cut some different sized circles on a sheet of acetate so I could reuse it.
  • Using the different size circles, I inked them randomly using some Blueprint Sketch, Peacock Feathers and Cracked Pistachio.  The DOX inks are opaque so they blend over each other which is great for this technique.
  • I kept blending different sizes of the circles, most without reinking my blending brush to give some a more faded look in the background.  
  • When I was happy with the inking, I removed the Rectangle mask and placed the panel into my Misti.
  • I stamped the dragonfly and the sentiment from the same set.  I clear heat embossed the image to help show more definition to the wings and body.
  • I replaced the mask over the panel, then splattered with my black, then white Posca pen.
  • I glued the inked panel onto a piece of navy cardstock, then onto a white card base.
 

Thanks so much for coming by and taking a look.

Here are the masks I used:

Discount Code for A Colorful Life Designs
(affiliate with no extra cost to you)

Adding my card to these challenges:
Crafts Galore Encore- ANYTHING GOES


Supplies
Stamps- Dragonfly Refection (Visible Image)
Inks- DOX, Versafine Clair
Paper- white (Scribes Nook- Waterloo, Ont.)
Accessories and Tools- Rectangle Mask (ACLD); Misti (My Sweet Petunia); 
Infinity circle die (HA);  Clear eb powder (HA); white and black Posca pen

Wednesday, 2 February 2022

Put Your Hands Up!!


Good Morning
Meet today's card.
Super simple one using this Love Hands Mask from A Colorful Life Designs.

So here's what I did to create my card.
  • I began with a white cardstock panel and placed the Love Hands Mask over it.  
  • I wanted to give this simple card more of a unique look, so instead of inking with my Blending Brushes, I rubbed my Peacock Feathers Distress Oxide ink pad directly onto my non-stick craft mat and used a baby wipe to pick up the ink and dabbed it over the mask.  I love the mottled look it gave to the inking.
  • When the ink was dry, I stamped the sentiment and clear heat embossed it.
  • I glued the inked panel onto another piece of white cardstock and foam tape mounted it on a tilt over a white card base.


Here is the mask I used:

Discount Code for A Colorful Life Designs
(affiliate with no extra cost to you)

Thanks so much for coming by and taking a look.

Adding my card to these challenges:
CASology- AFFECTION
Simon Says Wed.- ANYTHING GOES
Shopping Our Stash- MY HEART BEETS FOR YOU


Supplies
Stamps- Scripted Bold Sentiments (Pinkfresh Studios)
Ink- Versafine Clair; DOX
Paper- Scribes Nook, Waterloo, Ont.
Accessories and Tools- Love Hands Mask (ACLD); baby wipe; Non-stick craft mat (Ranger)
Clear eb powder; heat tool; foam tape


Tuesday, 1 February 2022

Caring Wishes


Welcome
Love is in the air as Valentine's Day approaches.
Today, I am playing with the new stencil from A Colorful Life Designs called Love Loops.
So fun to easily create a background using it.

So here's what I did to create my card.
  • I cut a piece of white cardstock for my card front.  I place it onto my Stencil Mat and positioned the Love Loops stencil over it.  Using some Candied Apple Distress Oxide ink, I rubbed over just the center area with a blending brush.  
  • When I was happy with the red blend, I took some Picked Raspberry and blended out the rest of the panel around the edges.
  • I splattered with my white Posca pen.
  • I stenciled an extra little heart with the same stencil and some more of the Candied Apple, then fussy cut it out.
  • I glued the stenciled panel onto a piece of red cardstock, then onto a white card base.
  • I die cut this new to me sentiment 3 times, glued them together then onto my card front.
  • I pop dotted the little heart I had cut out under the sentiment.


 Here is the stencil I used:

Discount Code for A Colorful Life Designs
(affiliate with no extra cost to you)

Thanks so much for coming by and taking a look.

Adding my card to these challenges:
Simon Says Wed.- ANYTHING GOES
Allsorts- A/G with OPTION OF STENCIL
Corrosive Challenge- ANYTHING GOES

Supplies
Stamps- none
Inks- DOX
Paper- Scribes Nook- Waterloo, Ont.
Accessories and Tools- Love Loops Stencil(ACLD); TE Blending Brushes;
Stencil Mat (Waffle Flower); Posca pen; foam tape

Sunday, 30 January 2022

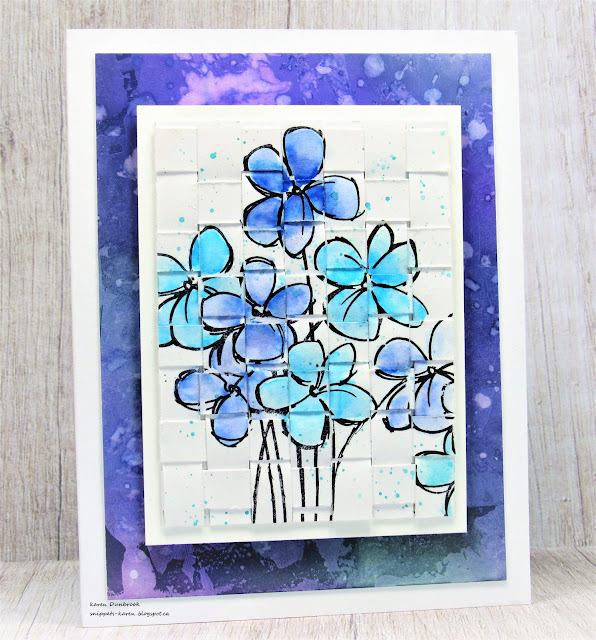
Paper Weaving with a Twist


Hello and Welcome
This week it's my turn to host the TLC (Technique Lover's Challenge) over at Splitcoast Stampers.
It's such a fun challenge where we try new techniques.  I always try and think of presenting a technique that is easy enough to do for everyone and that you will have the supplies needed on hand.
So I'm calling my challenge 
Paper Weaving with a Twist
(the twist being we are going to stamp on top of the weaving)

So here's what I did to create my card.
  • I actually began by scratching my head and try to think about what challenge I would present.  I do love the look of paper weaving.  Lately, as I have been going through all my random strips of paper, these white ones inspired me to use them.  
  • I cut a scrap of white cardstock and glued 7 paper strips vertically just along the top edge to hold them in place.  
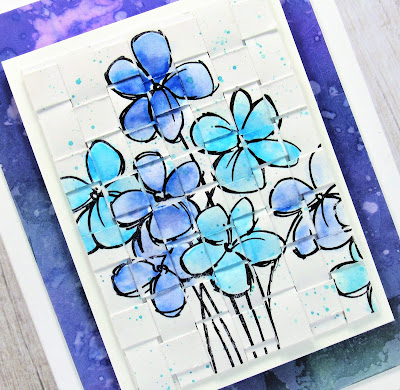
  • Using the other paper strips, I wove them over and under horizontally until the piece was all woven.
  • I glued all the edges down securely and waited for them to dry.
  • When all was dry, I placed the woven piece into my Misti and stamped the Blossom Bunch right over the weaving with some black Versafine Clair.
  • After the ink had dried, I diluted some Distress Oxide ink (Blueprint Sketch, Peacock Feathers) with some water on my non-stick craft mat and used a paint brush to colour in my flowers.
  • I had some diluted ink left on my mat so I used a wet paint brush to splatter it onto my card front.
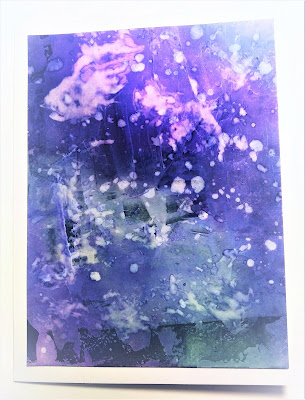
  • Now for the background....I found this piece in my stash.  I had put some Gesso onto it with a palette knife and let dry.  I inked it up with Distress Oxide inks, then splattered with water.
Here's what the panel looked like:
  • You can see how the Gesso resists the ink....I also threw some water on it to lift some of the colour.
  • I glued the gesso piece onto a white card base and pop dotted the woven flowers over that.
  • I left off the sentiment so you could fully see the weaving in the background.


Thanks so much for coming by and taking a look.

Supplies
Stamps- Blossom Bunch (Stampendous)
Inks- Versafine Clair, DOX
Paper- white (Scribes Nook, Waterloo, Ont.)
Accessories and Tools- paper strips; Misti (My Sweet Petunia); paint brush; 
non-stick craft mat; Gesso; palette knife

Saturday, 29 January 2022

Heavy Heart


Welcome
Happy Saturday.
Hoping to get in some crafting time today.
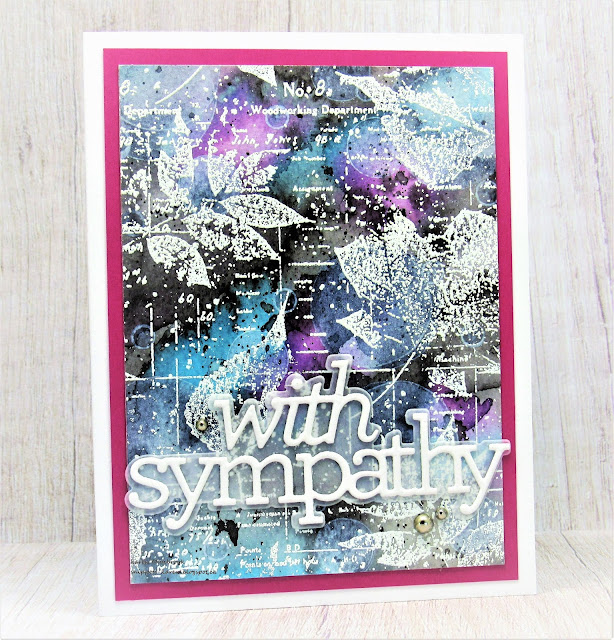
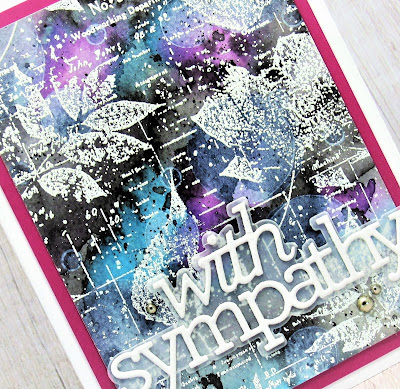
Meet today's card.  I'm trying to add to my stash of sympathy cards and this is what I came up with.

So here's what I did to create my card.
  • I began by cutting a piece of white cardstock 3 3/4 x 5".  I like that size as there is room to mat it before adding it onto a card base.
  • I got out a variety of Distress Oxide inks and using my Blending Brushes, just started blending away.  Colours used:  Black Soot, Picked Raspberry, Peacock Feathers, Blueprint Sketch, Weathered Wood
  • When I was happy with the inking, I spritzed water over the whole panel lifting some of the ink and blending other areas and then set it aside to dry.
  • I placed the dry panel into my Misti, rubbed with my Anti-static bag and stamped with this beautiful Leaf Ledger stamp using some Versamark ink and white heat embossed.
  • I splattered with my white Posca pen.
  • I glued the panel onto a piece of cardstock, then onto a white card base.
  • I die cut the new-to-me sentiment with white cardstock, then cut the outline with a piece of vellum and glued them together, then onto my card front.  
  • I added some silver gems that are most difficult to see in the photo.


Thanks again so much for coming by and taking a look.

Adding my card to these challenges:
Simon Says Wed.- ANYTHING GOES
Stamps & Fun= Creativity
A Place to Start- ANYTHING GOES

Supplies
Stamps- Leaf Ledger (Impression Obsession)
Inks- Versamark; Distress Oxide
Paper- Vellum; white cs- (Scribes Nook- Waterloo, Ont.)
Accessories and Tools- Lawn Fawn white eb powder; heat tool; Misti; 
white Posca pen; TE Blending Brushes; Sympathy die (SSS); Anti Static bag

Friday, 28 January 2022

Let There Be Light


Happy Friday and good Morning.
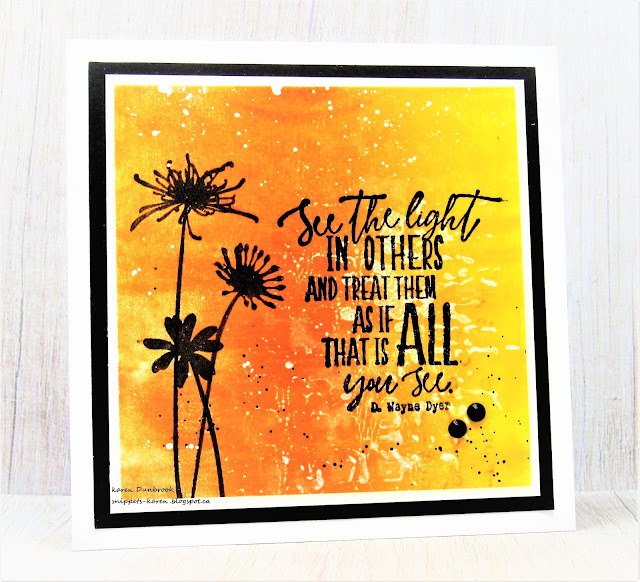
I don't know about you, but I need more sunshine in my life!
It is so cold, damp, dark and snowy where I live right now.
So I thought I would make a warm, sunny feeling card.

So here's what I did to create my card.
  • I pulled out this scrap of white cardstock that was cut off the bottom of a larger sheet I had applied Gesso over the top of with a palette knife.  It was for another card I was working on.  I thought the Gesso would add such great texture and it did.
  • I got out my Gel Plate and rubbed my Carved Pumpkin Distress Oxide ink pad right in the middle of my plate.  I then rubbed some Mustard Seed DOX ink on either side of that, then using my brayer, blended it all smooth and took the print.
  • When it was dry, I placed it into my Misti and rubbed it with my anti-static bag as I wanted to clear emboss it.  The bag helps the embossing powder stick just to the freshly inked area and not the whole card front.
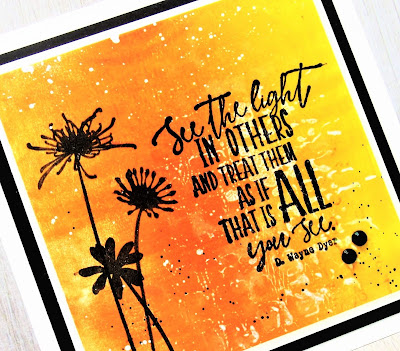
  • I stamped the flowers to one side, the sentiment along the other side and clear heat embossed them.
  • I splattered with my white Posca pen.  When dry, I glued it onto a piece of white cardstock, then black and finally onto a white card base.
  • I added some black gems for interest.

Thanks so much for coming by and taking a look.

Adding my card to these challenges:
Simon Says Wed.- ANYTHING GOES
Time Out- FRIEND QUOTE
Paper Craft Crew- FLORAL LOVE
Beyond the Blue- GEL PLATE


Supplies
Stamps- Wildflowers (Purple Onion); See the Light (Impression Obsession)
Inks- Distress Oxides; Versafine Clair
Paper- Scribes Nook- Waterloo, Ont.
Accessories and Tools- Misti (My Sweet Petunia); black gems; Hero Arts eb powder;
Anti-static bag; Gesso, Gel Plate, brayer; white Posca pen